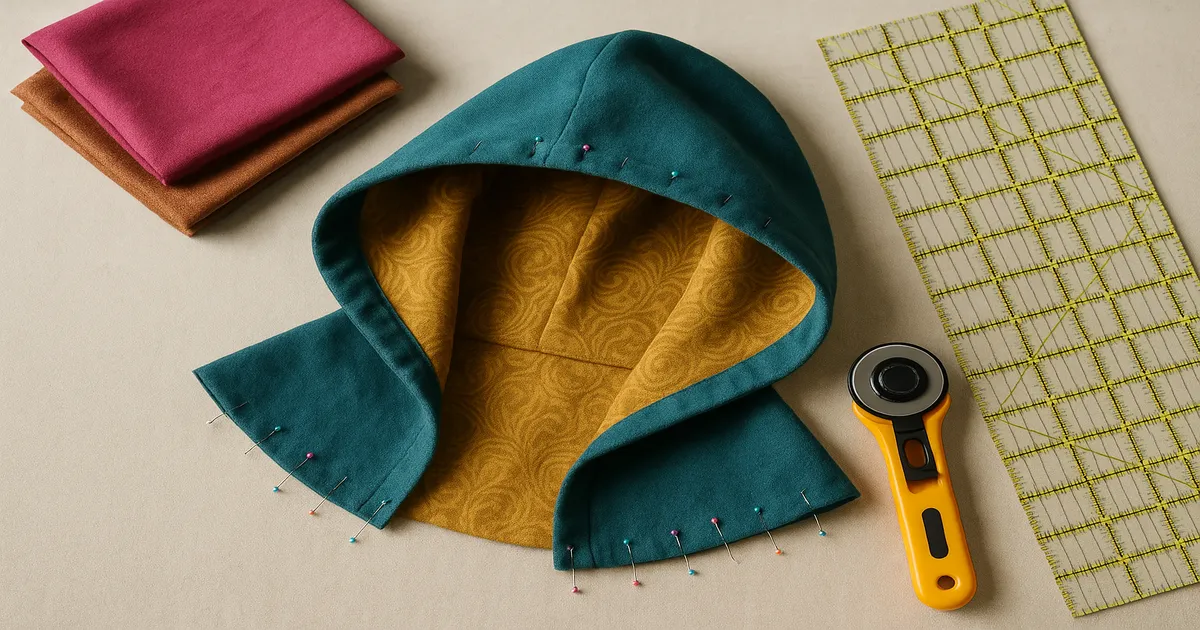
Quick Answer: To manage a hood with an inner side lined with different fabric, build two complete hoods — one outer shell, one lining — nest them right-sides together, sew around the face opening, then grade, understitch, and turn right-side out. Cut the lining 1/8 inch (3mm) smaller on the crown and side seams, match stretch percentages and care requirements between fabrics, and don’t skip the understitching. That last step is what keeps the lining from creeping out during wear.
Managing a hood with an inner side lined with different fabric sounds fiddly, but the logic is straightforward once you see it. You’re building two hoods and marrying them at the face opening. The sewing itself isn’t hard — the real work is choosing fabrics that won’t fight each other and accounting for the fact that a hood is a curved, three-dimensional shape, not a flat panel.
What Is a Lined Hood?
A lined hood has two complete layers: an outer shell (the fabric everyone sees) and an inner lining (the fabric against your face and neck). When finished correctly, there are no raw edges visible on either side. The two layers are sewn together at the face opening, turned right-side out, and then treated as a single unit when attached to the garment body.
This construction shows up in outerwear jackets, raincoats, hooded sweatshirts, baby garments, capes, and cosplay. The reasons for lining a hood haven’t changed much in centuries: comfort, warmth, structure, and a design detail that peeks out when the hood falls back.
Choosing Compatible Fabrics for Shell and Lining
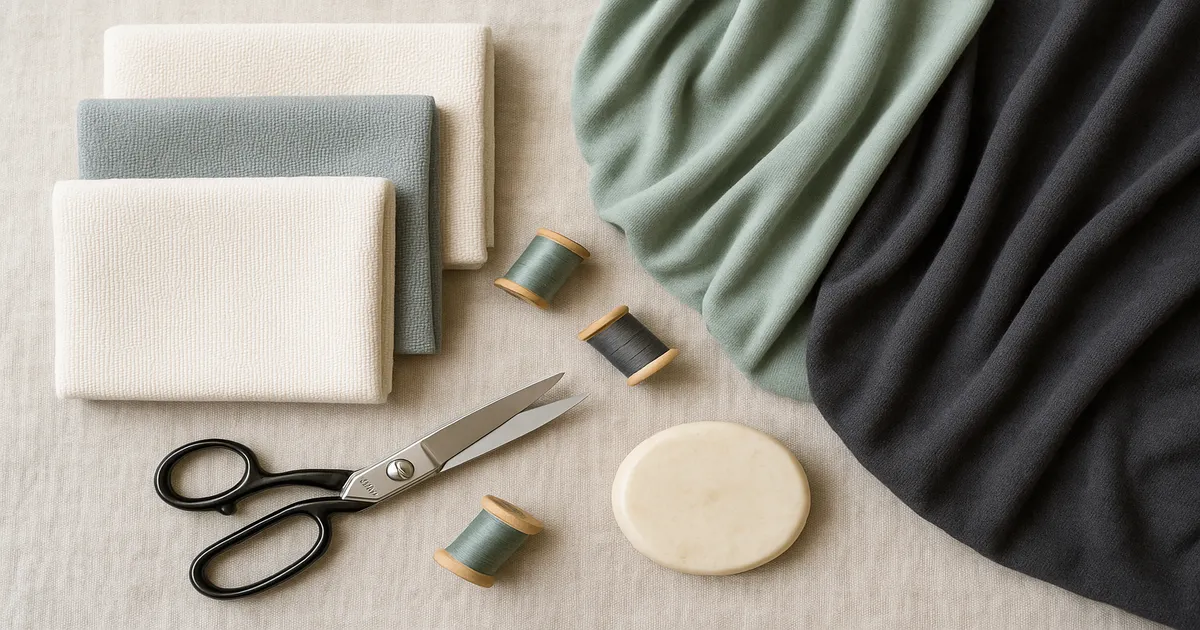
This is where most people run into trouble. Two fabrics that look fine together on a cutting table can fight each other once they’re sewn and washed.
Matching Fabric Weights and Stretch Percentages
The single most important rule: your lining should not be stretchier than your shell. If your outer shell is a non-stretch woven (0% stretch), keep your lining at 10% stretch maximum. A lining with more give than the shell will pull the outer layer inward, distorting the silhouette and causing bubbling along the crown seam.
Weight matters too. A very heavy lining paired with a lightweight shell makes the hood sag. Aim for the lining to be equal to or lighter than the shell.
Care Compatibility
Never pair a dry-clean-only shell with a machine-washable lining. The garment becomes impossible to clean properly, and if someone throws it in the wash anyway, one layer distorts while the other is fine. Check care labels before you buy.
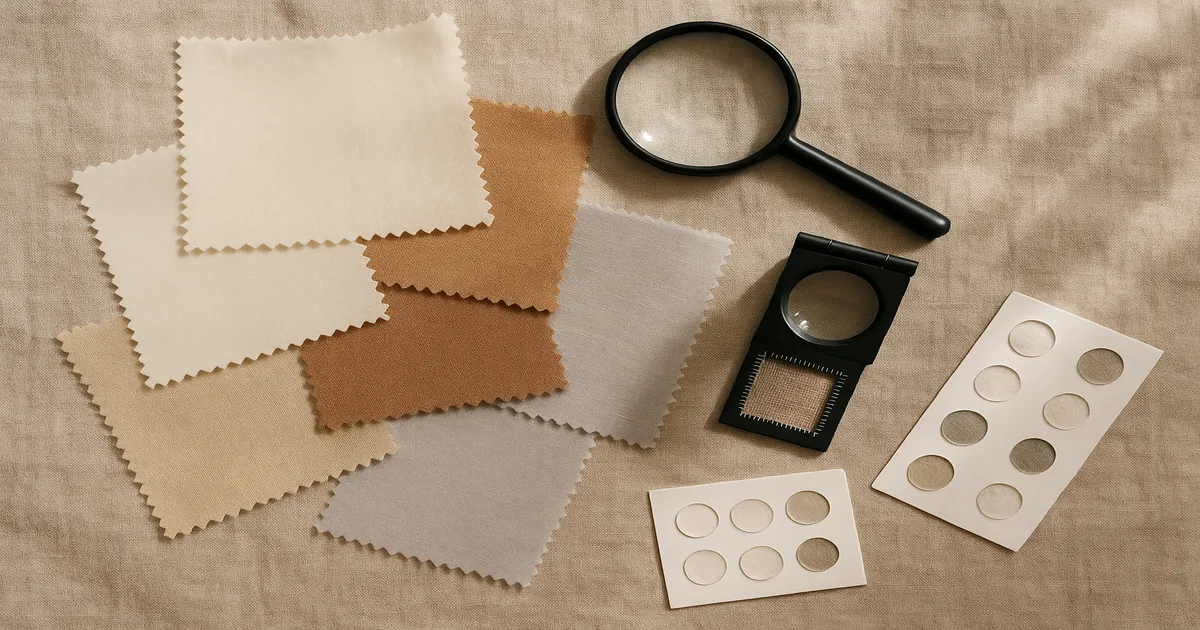
Pre-shrinking is non-negotiable. Cotton can shrink 3–5% in the first wash; polyester typically shrinks less than 1%. Sew those two together without pre-washing and you’ll get puckering after the very first laundry cycle — and there’s no fixing it once the garment is constructed.
Shell and Lining Combinations That Actually Work
| Outer Shell | Works Well With |
|---|---|
| Wool melton | Silk charmeuse, cotton jersey, cupro |
| Ripstop nylon | Microfleece, bamboo jersey |
| Denim | Flannel, cotton jersey |
| Waxed cotton | Microfleece, flannel |
| Ponte knit | Cotton jersey, bamboo jersey |
Tools and Notions You’ll Need
Thread and Needles
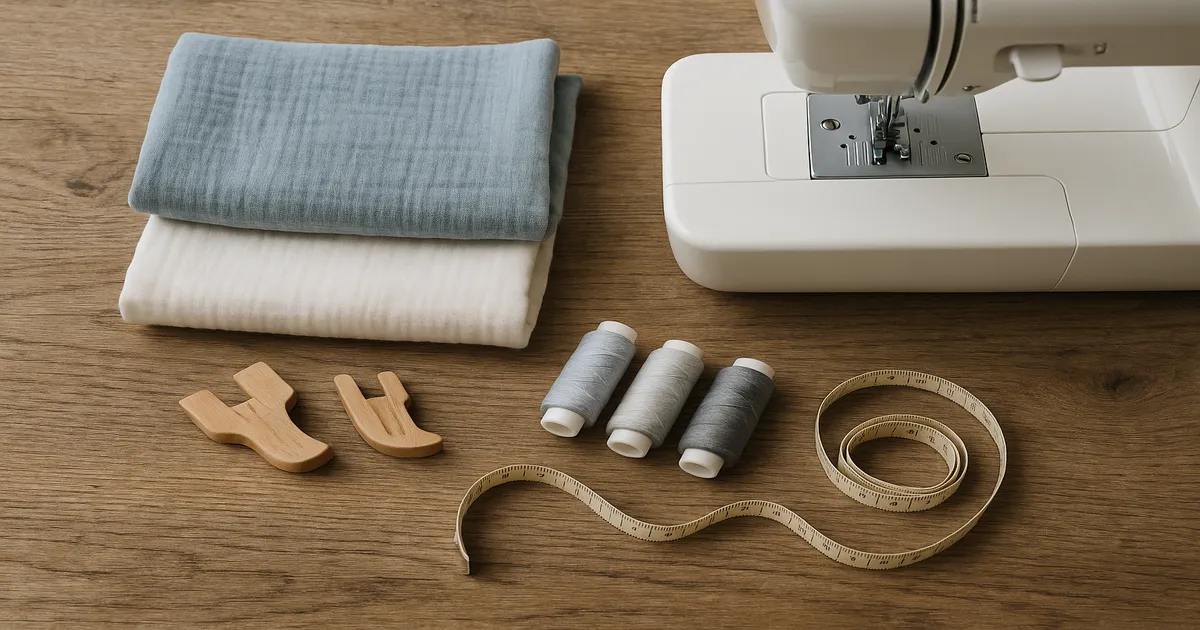
Use 50-weight all-purpose polyester thread for most fabric combinations — Gutermann Sew-All is reliable and widely available. For all-natural pairings like wool shell with flannel lining, cotton thread is a better choice. When your lining is a knit, wooly nylon in the bobbin adds stretch to the seam without changing the visible top thread.
Needle choice by combination:
- Woven shell + woven lining — Universal 80/12 or 90/14
- Woven shell + knit lining — Stretch or ballpoint 75/11 or 90/14
- Knit shell + knit lining — Ballpoint or stretch 75/11
- Denim or canvas shell — Denim needle 90/14 or 100/16
- Silk or delicate lining — Microtex/sharp 60/8 or 70/10
Change your needle every project. A dull needle causes more skipped stitches and fabric damage than almost any other variable.
Presser Feet
A walking foot is genuinely essential here — not a nice-to-have. When you’re sewing a slippery lining against a grippy shell, a standard presser foot will let one layer creep ahead of the other and you’ll end up with a twisted, puckered face opening. The Janome Even Feed Walking Foot fits most Janome machines and works well; most major brands make their own version. An edge-stitch foot keeps topstitching precise, and a zipper foot is useful if you’re adding a drawstring channel.
Interfacing and Pressing Tools
- Weft-insertion fusible interfacing cut into 1-inch (2.5cm) strips, fused along the face opening seam allowance of the outer shell — Pellon SF101 Shape-Flex is my go-to
- Knit fusible interfacing (Pellon 906F) for stabilizing knit shells without killing the stretch
- Tailor’s ham — essential for pressing the curved crown seam; pressing it flat on an ironing board creates creases that don’t belong there
- Wonder clips — better than pins for thick or slippery layers
- Pressing cloth — use it every time, especially with synthetic linings that melt
Cutting and Preparing Both Hood Layers
Pre-Wash First, Cut Second
Wash and dry both fabrics using the method you’ll use for the finished garment — before you cut anything. Wash them separately the first time so you can see how each behaves. Press both thoroughly before cutting.
Cutting the Shell and Lining
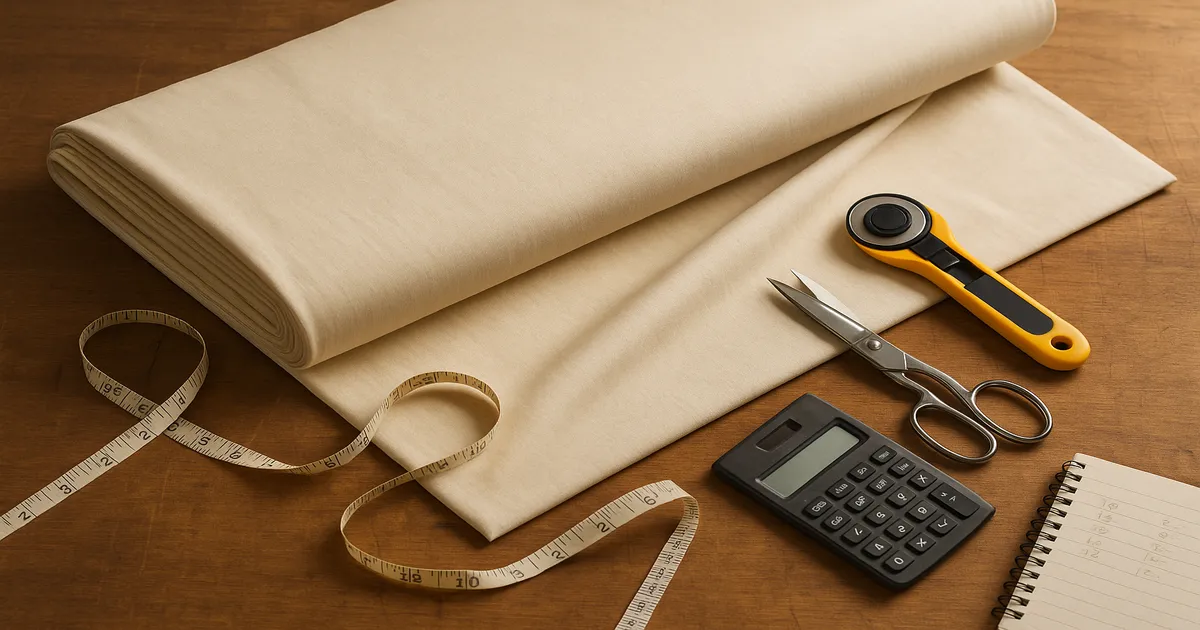
For a standard center-back-seam hood, you’ll cut four pieces total — two mirror-image pieces for the shell, two for the lining. Transfer all notches and center back marks.
Here’s the detail most people skip: cut the lining 1/8 inch (3mm) smaller on the side and crown seams — not the face opening or neckline. This tiny reduction prevents the lining from pulling the shell inward. It sounds almost too small to matter, but skip it and you’ll see the difference.
Applying Interfacing
Fuse a 1-inch (2.5cm) strip of weft-insertion interfacing along the face opening seam allowance of the outer shell pieces before you sew anything. Do this while the pieces are still flat — applying interfacing to a partially constructed hood is awkward and inaccurate.
How to Manage a Hood with Inner Side Lined with Different Fabric: Step by Step
Step 1 – Sew the Outer Shell Hood
Right sides together, sew the center back seam using your pattern’s seam allowance (usually 5/8 inch / 1.5cm). Press the seam open for bulky fabrics, to one side for lightweight ones. Clip the curved crown seam allowance every 1/2 inch (1.3cm) so it lies flat. Leave the face opening and neckline raw.
Step 2 – Sew the Lining Hood
Repeat for the lining. Press the lining’s center back seam in the opposite direction from the shell seam — this distributes bulk when the layers nest together. Trim the lining seam allowance to 3/8 inch (1cm) to reduce bulk at the center back.
Step 3 – Nest the Layers and Sew the Face Opening
Turn the outer shell right-side out. Leave the lining wrong-side out. Slide the lining inside the shell so the right sides of both fabrics face each other. Pin the center back seams together first, then work outward to the face opening edges, aligning raw edges and matching notches.
Sew the face opening with a 3/8-inch (1cm) seam allowance. Place the stretchier fabric against the feed dogs — the feed dogs ease it in slightly, which is exactly what you want. If the stretchier layer is on top, it stretches out and your face opening ends up wavy.
Step 4 – Grade, Clip, and Understitch
Grade the seam allowances:
- Outer shell: trim to 1/4 inch (6mm)
- Lining: trim to 1/8 inch (3mm)
Clip curves every 3/8–1/2 inch (1–1.3cm). Notch outward curves; clip inward curves straight in.
Now understitch: with the hood still partially turned, sew 1/8 inch (3mm) from the face opening seam through the lining and seam allowances only. This is the step that keeps the lining from rolling to the outside during wear. It takes three minutes and saves the whole project.
Step 5 – Turn, Press, and Topstitch
Pull the hood right-side out through the neckline opening. Press the face opening carefully, rolling the seam line about 1/16 inch (2mm) toward the lining side so the shell fabric wraps just barely to the inside. Use a pressing cloth.
Optional but worth doing: topstitch 1/4 inch (6mm) from the face opening edge. Match thread to the shell on top, thread to the lining in the bobbin.
Step 6 – Baste the Neckline and Attach to the Garment
Align the neckline raw edges of both layers and baste them together 1/4 inch (6mm) from the edge. This treats the double-layer hood as a single unit. Before sewing permanently, double-check that the center back seam of the hood lines up with the garment’s center back.
Common Mistakes (and How to Avoid Them)
Skipping pre-washing. Different shrinkage rates between shell and lining cause puckering after the first wash. There’s no fixing it once the garment is constructed.
Cutting both layers the same size. A lining cut identically to the shell will pull it inward. Cut the lining 1/8 inch (3mm) smaller on side and crown seams.
Skipping grading or understitching. No grading creates a visible ridge at the face opening. No understitching means the lining rolls out during wear. Both steps take minutes.
Pressing without a pressing cloth. Polyester and nylon linings melt. Wool shells get shine. Use a damp pressing cloth or Teflon pressing sheet every time.
Wrong fabric on top when sewing the face opening. Stretchier fabric belongs against the feed dogs. Getting this backwards gives you a wavy, distorted face opening.
Off-grain cutting. Lining pieces cut off-grain cause the hood to twist or hang unevenly. Measure your grainline from both ends before cutting.
Pro Tips for a Cleaner Finish
Stay-stitch curved face openings before assembly. Before nesting the layers, stay-stitch the lining face opening 1/8 inch (3mm) from the raw edge. This prevents the curve from stretching during pinning — especially important with jersey linings.
Use the burrito method for a fully machine-sewn neckline. Hand slip-stitching the lining to the neckline is slow and often looks worse than a machine finish. Instead, after the face opening is done and the hood is turned, roll the garment body up tightly and tuck it between the shell and lining layers at the neckline. Sew across, then pull everything through. You get a completely machine-sewn neckline with no hand stitching. It works especially well for hooded sweatshirts.
Press curves over a tailor’s ham, not flat. The ham’s curved surface matches the three-dimensional shape of the hood and prevents you from pressing flat creases into a seam that’s meant to curve.
Frequently Asked Questions
Can I use a stretchy fabric as the lining for a woven hood?
Yes, with one constraint: the lining’s stretch should be no more than about 10% if your shell is a non-stretch woven. More than that and the lining will pull the shell inward. Cut the lining 1/8 inch (3mm) smaller on the crown and side seams, use a ballpoint or stretch needle, and place the lining against the feed dogs when sewing the face opening.
How do I stop the lining from showing on the outside of the face opening?
Two things work together. First, understitch the face opening seam through the lining and seam allowances before turning — this anchors the lining in place. Second, when pressing, roll the seam line about 1/16 inch (2mm) toward the lining side so the shell fabric wraps just slightly to the inside. Topstitching the face opening from the right side adds another layer of insurance.
Do I need to cut the lining the same size as the outer hood?
No — and you shouldn’t. Cut the lining 1/8 inch (3mm) smaller on the side and crown seams. The face opening and neckline edges should match the shell exactly, since those are the edges you’ll be sewing together.
What’s the best fabric for the inside lining of a hood?
It depends on the garment’s purpose. For warmth, microfleece or flannel are hard to beat. For everyday comfort against the face, cotton jersey or bamboo jersey are soft and breathable. For a luxurious finish on a wool coat or cape, silk charmeuse or cupro drapes beautifully. Whatever you choose, make sure the care requirements match your shell and that the stretch percentage is compatible.
How do I attach a lined hood to a garment without hand sewing?
Use the burrito method. Roll the garment body up tightly and tuck it between the shell and lining layers at the hood’s neckline opening, aligning the raw edges. Sew across the neckline, then reach in and pull the garment body through. You get a clean, fully machine-sewn finish — no slip-stitching required.