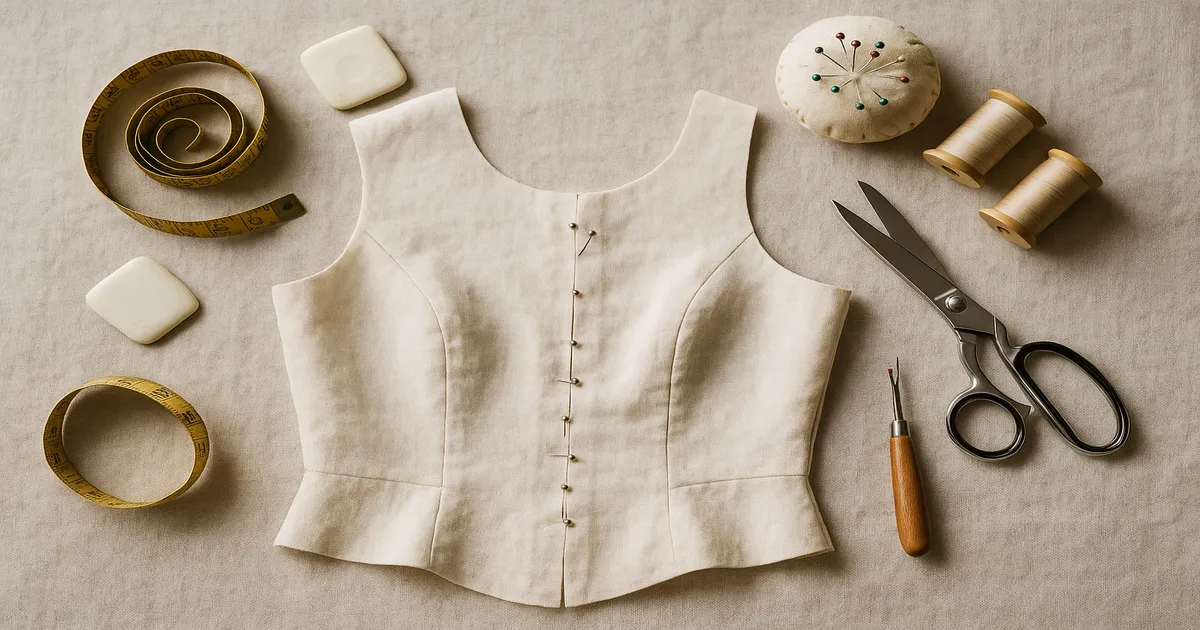
Quick Answer: Taking in a bodice means reducing the circumference of a dress through the bust, waist, and/or side seams so it fits closer to your body. You mark a new seamline, baste and test the fit, then sew the permanent seam and press it flat. Most home sewists can handle reductions up to about 4 inches (102mm) total — anything beyond that is worth taking to a professional.
If you’ve ever bought a dress that fits perfectly at the hips but swims through the torso, you already know the frustration. Learning how to take in a bodice on a dress is one of the most useful alterations you can add to your skill set — and it’s genuinely approachable at home, as long as you go slowly and don’t skip the basting step. A too-large bodice is one of the most common fit problems with off-the-rack dresses, and fixing it yourself saves both money and the disappointment of a dress that just hangs wrong.
What Does “Taking In a Bodice” Actually Mean?
Taking in a bodice means removing excess fabric from the upper portion of a dress — at the side seams, back seam, or darts — so the garment sits closer to the body through the bust and waist. It’s the opposite of letting out, and it doesn’t require any structural changes unless you’re dealing with boning or built-in cups.
You’ll know the bodice needs taking in if you see any of these signs:
- The back zipper gaps open instead of lying flat
- Side seams rotate toward the front or back
- Excess fabric pools horizontally across the bust or waist
- The armhole hangs too low or the shoulder seam slides off your shoulder
- The dress fits fine at the hips but is clearly too big through the torso
Tools You’ll Actually Need
You don’t need a lot of specialist equipment, but a few items make a real difference.
Measuring and marking:
- Flexible tape measure, at least 60 inches (152cm)
- Seam gauge — a 6-inch metal one is far more accurate than eyeballing
- Tailor’s chalk or chalk pencil in two contrasting colors
- French curve or hip curve ruler — most tutorials skip this, but it’s what separates a smooth seamline from a lumpy one
- Fine glass-head straight pins, size 17 or 20
At the machine: For woven fabrics, a standard presser foot and a 2.0–2.5mm straight stitch is all you need. For slippery fabrics like satin or chiffon, switch to a walking foot — it feeds both layers evenly and prevents that maddening shifting. Knits need a stretch or knit foot and a narrow zigzag (0.5mm wide, 2.5mm long) instead of a straight stitch.
| Fabric | Needle |
|---|---|
| Cotton, linen | Universal 80/12 |
| Silk, chiffon | Microtex 70/10 |
| Polyester satin | Universal 80/12 |
| Jersey/knit | Stretch 75/11 |
All-purpose 50-weight polyester thread works for almost everything. On silk, use silk thread.
Pressing: Pressing isn’t optional — you genuinely cannot assess fit without it. You need a steam iron, a tailor’s ham for curved sections, a seam roll for long straight seams, and a pressing cloth for anything delicate. An organza pressing cloth is ideal because you can see through it.
Assess the Fit Before You Touch the Seams
Wear the Right Undergarments
Put on the exact bra (or shapewear) you plan to wear with the dress, and wear shoes at the heel height you’ll actually wear. Posture shifts with heel height, and that changes how the bodice hangs. This sounds obvious, but skipping it is how you end up with a dress that fits at the fitting and pulls at the party.
Find Where the Excess Actually Lives
Stand in front of a full-length mirror. Is the excess fabric evenly distributed around the torso, or is it concentrated at the back? Just the waist? Through the bust only? Knowing where it lives tells you which seams to target — and saves you from altering seams that don’t need touching.
The Pinch Test
Have a helper pinch each side seam until the dress lies smoothly against your body, then pin those pinches in place. The total fabric pinched across both sides equals your total circumference reduction. Divide by 4 to get the amount per seamline — so if you pinch 2 inches (51mm) total, you’re taking in ½ inch (13mm) at each of the four seamlines (two per side seam).
How much is realistic at home?
- ½–1 inch (13–25mm) total: very manageable
- 1–2 inches (25–51mm) total: doable, but spread it across multiple seams
- 2–4 inches (51–102mm) total: requires careful planning and multiple seam locations
- Over 4 inches (102mm): call a tailor — at this point you’re reconsidering the proportions of the entire bodice, not just adjusting a seam
How to Take In a Bodice on a Dress: Step by Step
Step 1: Mark the New Seamline
Turn the dress inside out and lay it flat. Using tailor’s chalk and a French curve ruler, draw a smooth new seamline connecting your pinned points. The line should taper gradually back into the original seamline — allow at least 3–4 inches (76–102mm) of transition above and below the adjusted section. Abrupt angles cause puckering. Don’t rush this step.
Step 2: Check Seam Allowances and the Lining
Open a small section of the side seam and measure the existing seam allowance. Standard ready-to-wear is 5/8 inch (16mm). If it’s less than 3/8 inch (10mm), you have very little to work with and should reconsider your approach.
Also check the lining. Is it sewn into the side seams, or free-hanging? A sewn-in lining must be altered at the same time as the outer fabric. A free-hanging lining (attached only at the neckline and hem) can usually be left alone for reductions under 1 inch (25mm).
Step 3: Baste and Test the Fit
Set your machine to its longest stitch length — 4.0–5.0mm — and sew a basting stitch along your new seamline. Try the dress on. Move around. Sit down. Raise your arms. Only when you’re happy with the basted fit should you move to permanent stitching. I know it feels like an extra step, but ripping permanent stitching out of a fitted bodice is a genuinely unpleasant experience. Basting takes five minutes. Ripping and re-sewing takes an hour and stresses the fabric.
Step 4: Sew the Permanent Seam
Set your stitch length to 2.0–2.5mm for wovens, or a narrow zigzag (0.5mm wide, 2.5mm long) for knits. Sew from the bottom of the bodice upward toward the armhole — this follows the grain and gives you better control. Backstitch 3–4 stitches at both ends.
Step 5: Press the Seam
Press the seam open using a tailor’s ham under any curved sections. Use a pressing cloth on delicate fabrics. Finger-press first by running your thumbnail firmly along the seamline — it sets the stitches and makes the iron more effective.
Step 6: Final Fitting, Then Trim
Don’t trim the seam allowances yet. Wear the dress around the house for 20–30 minutes — sit, move, raise your arms. Fabric relaxes with movement, and what feels perfect standing still sometimes pulls when you sit. Once you’re satisfied, trim the excess seam allowance to match the rest of the garment (typically 5/8 inch / 16mm), then finish the raw edges with a serger, zigzag stitch, or Hong Kong finish on delicate fabrics.
Variations: Different Ways to Take In a Bodice
Side seams are the default and work for most dresses. For reductions over 1 inch (25mm) per side, split the alteration between the side seams and another location to avoid grain distortion.
Center back seam — common in formal and bridal gowns — is a good option when the excess is concentrated at the back. The zipper gaps but the front fits? This is your seam.
Darts are the right tool when the issue is specific to the bust cup area. If the cup is too large but the waist fits, adjusting or deepening the bust darts is more precise than working the side seams.
Princess seams offer the most control of all. You can adjust the curve of each seam independently, which allows for very precise shaping through the bust and waist.
For any reduction over 1 inch (25mm) per side, spread the alteration across multiple seam locations. Taking too much from a single seam pulls the grain sideways and creates diagonal drag lines that no amount of pressing will fix.
Mistakes That’ll Haunt You Later
Skipping the basting step. Already covered this, but it bears repeating.
Not tapering gradually. An abrupt angle where the new seamline meets the old one causes puckering. Use a French curve and allow a 3–4 inch (76–102mm) transition on either side.
Forgetting to alter the lining. A lining left at its original size will bunch, pull, and show below the hem. If it’s sewn into the side seams, it must be altered. No exceptions.
Trimming too early. Leave yourself an escape route. If you’ve taken in too much, you’ll need that fabric to let back out.
Ignoring the armhole. After taking in, raise your arm fully. The armhole seam should sit at the natural underarm crease without pulling or binding. Taking in too aggressively at the underarm area raises the armhole and restricts movement — and that’s a much harder fix than the original problem.
A Few Tips for a Cleaner Finish
Mark both sides symmetrically. After marking one side seam, fold the dress in half lengthwise with the side seams matched, and use the marked side as a template for the other. Most tutorials skip this step and then wonder why one side looks different.
Tissue paper for slippery fabrics. Place a strip of tissue paper or tear-away stabilizer under satin or chiffon as you sew. It feeds evenly through the machine and prevents the fabric from being dragged into the feed dogs. Tear it away gently after sewing.
Thick underarm layers. The underarm area often has 4–6 layers converging at once. Slow down, use the hand wheel through the thickest spots, and consider switching temporarily to a jeans needle (90/14) — it punches through dense layers without deflecting.
Stay stitch curved seams. If your new side seam curves significantly through the waist, sew a stay stitch at 1.8mm just inside the seam allowance on the concave side before sewing the seam. It keeps the curved edge from stretching as you handle the fabric.
Know when to stop. If the dress has boning, structured cups, or a built-in corset, you’re dealing with a structural alteration that goes beyond adjusting a seam. Same goes for heavy beading at the seamlines, or any total reduction exceeding 4 inches (102mm). A good tailor will do in an hour what might take you a frustrating afternoon — and the result will be better.
Frequently Asked Questions
How much can you take in a dress bodice at home?
Most home sewists can comfortably handle up to 4 inches (102mm) total. For reductions of 2 inches or more, distribute the alteration across multiple seam locations rather than pulling it all from the side seams. Beyond 4 inches, the proportions of the bodice shift in ways that require more advanced tailoring skills.
Can you take in a dress bodice without a sewing machine?
Yes — use a small backstitch rather than a running stitch for durability. It’s slower and the seam won’t be quite as strong or consistent, but it works. Hand sewing can actually be a good choice for very delicate fabrics where machine stitching might leave visible needle holes.
How do you take in a dress that’s too big in the chest but fits at the hips?
Taper the alteration — take in the full amount at the bust, then gradually reduce to zero by the time you reach the hip. A French curve ruler makes this much easier. If the issue is specifically the cup area rather than the overall circumference, adjusting or deepening the bust darts will give you more precise results than working the side seams alone.
Do I need to alter the lining when taking in a bodice?
It depends on how the lining is attached. If it’s sewn into the side seams, yes — alter it at the same time or carefully detach and re-attach it afterward. If it’s a free-hanging lining attached only at the neckline and hem, you can usually leave it alone for small reductions under 1 inch (25mm). Leaving a sewn-in lining unaltered is one of the most common mistakes in home alterations, and it shows.
How do I know whether to take in at the side seams or the back seam?
Look at where the excess fabric is concentrated. If the dress is too large all the way around the torso, the side seams are your primary target. If the excess is mostly at the back — the zipper gaps but the front fits well — the center back seam is the better option. For formal or bridal gowns with a center back seam, taking in at the back is often cleaner because it preserves the side seam lines and doesn’t affect the front silhouette.