Quick Answer: To sew fabric together by hand, press your fabric flat, mark a seam line, pin the pieces right sides together, knot your thread, and work a running stitch or backstitch along the marked line. The running stitch is faster; the backstitch is stronger and won’t pull apart under stress. Full step-by-step instructions are below.
Learning how to sew fabric together by hand is one of those skills that looks intimidating until you actually try it — and then you wonder why you waited so long. It’s portable, quiet, satisfying, and more precise than a machine in tight spots. Whether you’re repairing a seam, piecing a quilt block, or finishing an area a machine can’t reach, the process is the same every time.
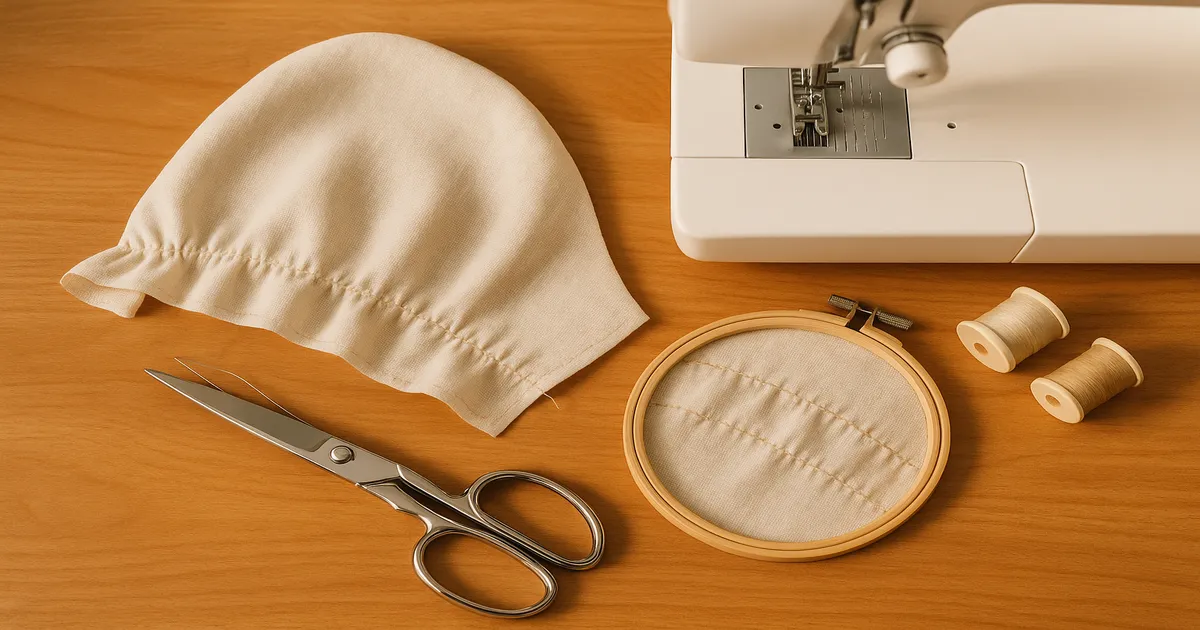
What You Need Before You Start
Good tools make this easier. You don’t need much, but what you do need should be decent quality — a dull needle or cheap thread will fight you the whole way.
Choosing the Right Needle for Your Fabric
| Needle Type | Size Range | Best For |
|---|---|---|
| Sharps | 5–10 | General hand sewing, most woven fabrics |
| Betweens (Quilting) | 8–12 | Quilting, fine detail, tight stitches |
| Milliners/Straw | 3–9 | Gathering, basting, long running stitches |
| Ballpoint | 7–9 | Knit fabrics — slides between fibers instead of piercing |
| Leather | 1–8 | Leather and faux leather only |
Higher number = finer needle. Use the smallest needle your thread will pass through comfortably, and replace them often. If you feel resistance pushing through fabric, swap it out. Needles are cheap; your time isn’t.
Thread: What Actually Works
For most beginners, 50wt all-purpose polyester thread is the right call — it’s strong, has a slight stretch, and works on almost everything. Gutermann Sew-All is widely available and reliable. For quilting and natural fabrics, cotton thread (50wt or 60wt) is a better match; Aurifil 50wt is a favorite among quilters for good reason — it’s fine enough to sink into the fabric rather than sitting on top of it. For fine fabrics like silk or wool suiting, silk thread leaves no impression when pressed and is worth the extra cost.
One thing that makes a bigger difference than most people expect: run your thread across a block of beeswax before you start. It cuts down on tangling, strengthens the thread slightly, and helps it glide through fabric instead of dragging. Collins Beeswax is the classic choice and costs almost nothing. For silk or light-colored fabrics, use Thread Heaven instead — it conditions without leaving a waxy residue.
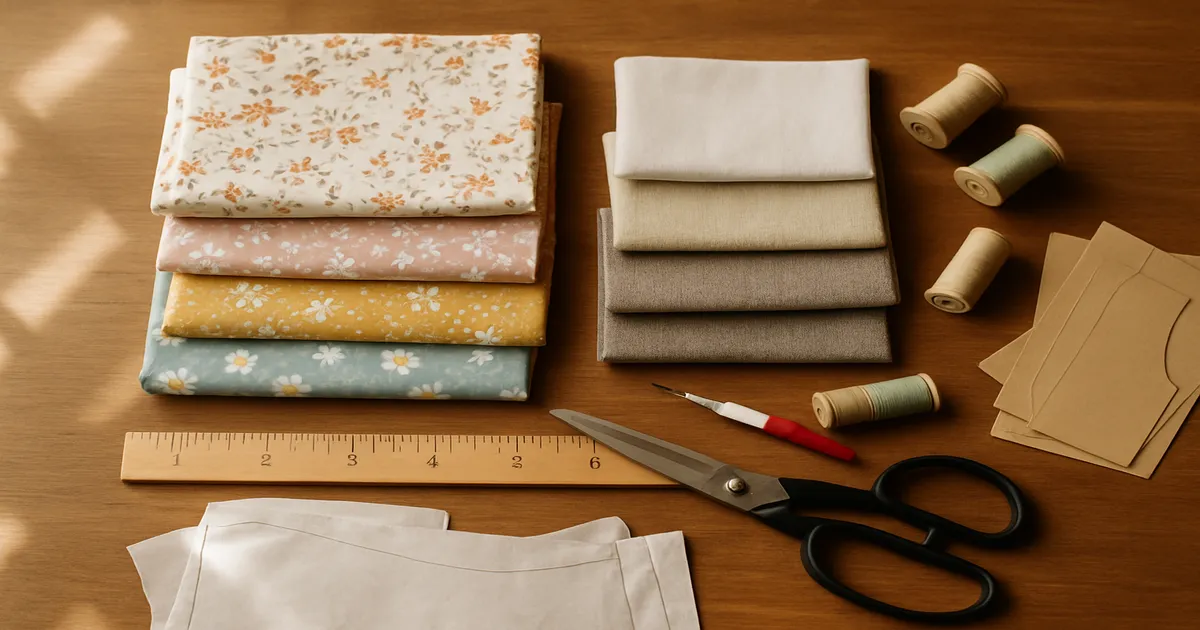
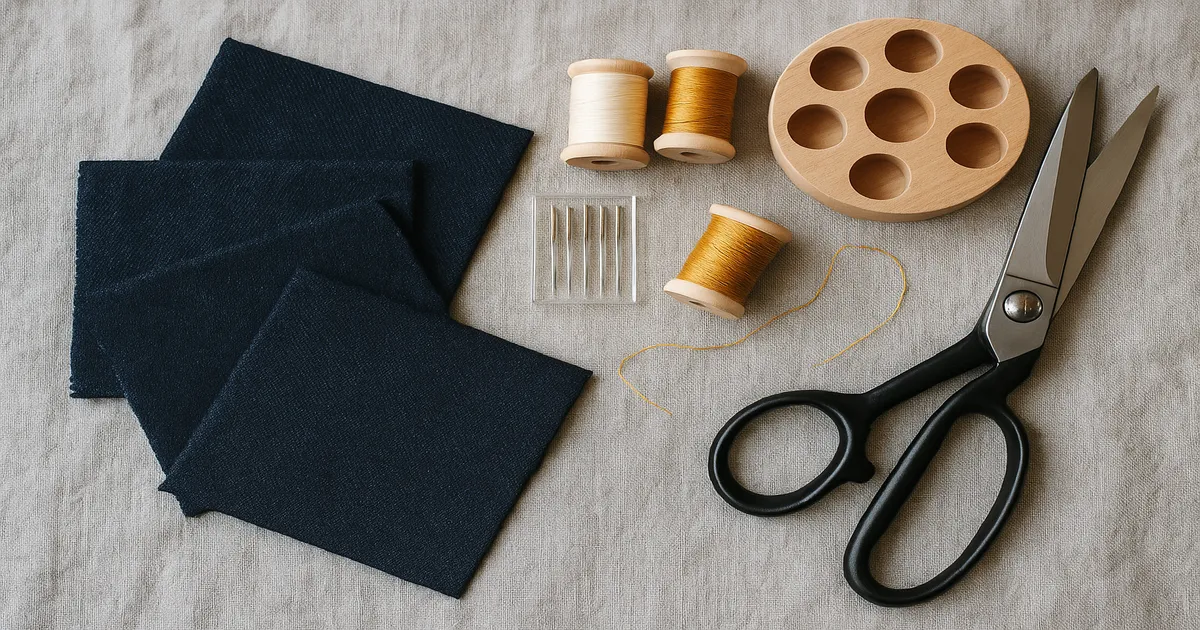
Notions You’ll Actually Use
- Thimble — metal, leather, or silicone; protects your middle finger when pushing the needle through
- Seam gauge — a 6-inch (15cm) metal ruler with a sliding marker; use it constantly to keep your seam allowance honest
- Dressmaker’s shears — 8–10 inches (20–25cm), sharp, never used on paper
- Embroidery scissors — small and pointed, for trimming thread ends close
- Seam ripper — for fixing mistakes without destroying fabric
- Water-soluble fabric marker or tailor’s chalk — for marking seam lines
- Needle threader — a genuine lifesaver for fine needles
- Iron and pressing board — non-negotiable; more on this below
How to Prepare Your Fabric
Prep work is where clean seams are actually made. Skip any of these steps and you’ll feel it later.
Press and Mark First
Press both pieces flat before you do anything else. Wrinkled fabric produces uneven seams — there’s no way around it. Once everything is smooth, mark your stitching line with a water-soluble marker or tailor’s chalk. Use 5/8 inch (16mm) from the raw edge for garments (the standard dressmaking seam allowance) or 1/4 inch (6mm) for quilting. Don’t trust yourself to eyeball it, especially at first.
Pin Perpendicular to the Seam
Place your fabric pieces right sides together — good sides facing each other. Pin perpendicular to the seam line every 2–3 inches (5–7.5cm). Perpendicular pinning lets you sew right up to each pin and pull it out as you go without stopping or distorting the fabric.
For slippery fabrics like silk charmeuse or satin, hand-baste first with long, loose stitches before your final seam. It takes a few extra minutes and saves you from a frustrating mess.
Thread Your Needle
Cut your thread to 18–24 inches (45–60cm) — no longer. Thread that’s too long is the number one cause of mid-seam tangles. The easy way to remember: cut from your fingertip to your elbow.
Thread your needle with a single strand, leaving about a 6-inch (15cm) tail on the short end. For the knot, I recommend the quilter’s knot: hold the needle in your dominant hand, lay the thread end against the needle, wrap the thread around the needle three or four times, then pinch the wraps and slide them down to the thread end. You get a small, tight, tidy knot every time. A plain overhand knot works too, but it’s bulkier and harder to bury in a seam.
How to Sew Fabric Together by Hand: Two Essential Stitches
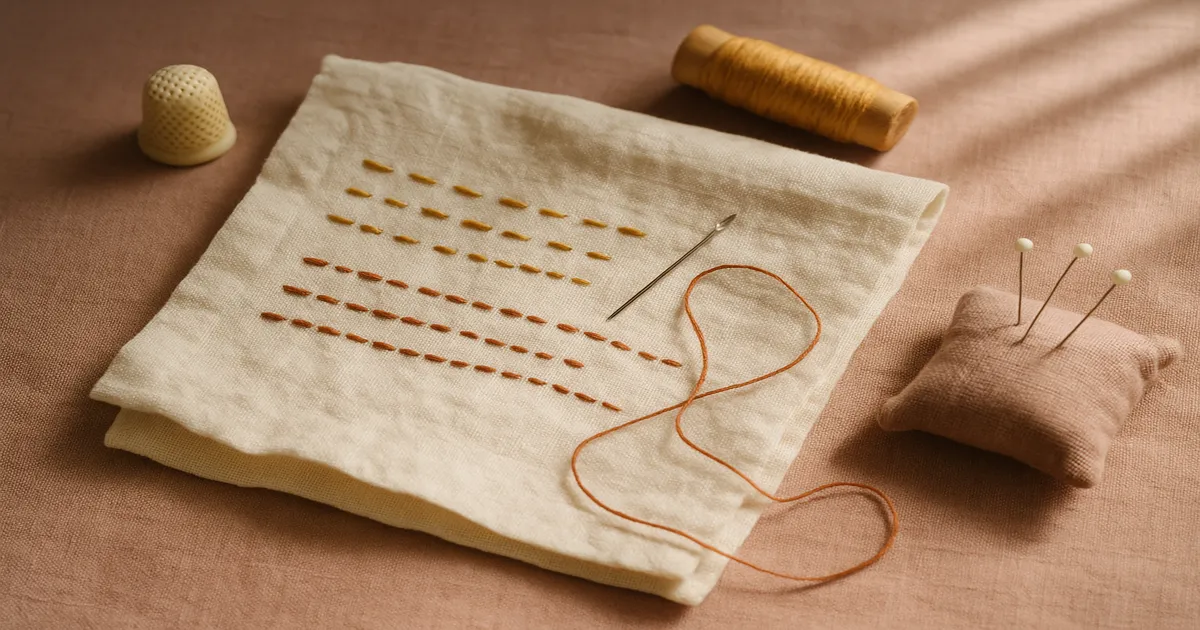
The Running Stitch (Fast and Great for Quilting)
The running stitch is the most fundamental way to join two pieces of fabric by hand. It’s not the strongest stitch, but it’s fast, even, and perfect for quilting, lightweight seams, and basting.
To start: Insert your needle from the wrong side up through both layers at the beginning of your marked seam line. Pull the thread through until the knot catches.
The rocking motion: Push the needle tip down through both layers, then rock it back up — repeat this three or four times before pulling the thread through. Each stitch should be 1/8 to 1/4 inch (3–6mm) long, with equal-length spaces between them. This “loading” motion is much faster than taking one stitch at a time, and it produces more even results once you get the rhythm.
Pull the thread through in one smooth motion while holding the fabric gently taut with your other hand. Don’t yank — the fabric should lie flat after each pull, not pucker.
To finish: Take two or three backstitches to lock the end, then knot off on the wrong side by passing the needle under the last stitch loop, pulling almost through to form a small loop, threading the needle through that loop, and pulling tight. Do it twice. Trim, leaving a 1/2-inch (12mm) tail.
How to Sew a Backstitch for Stronger Seams
For any seam that needs to hold under stress — side seams, armholes, bag construction, anything structural — use the backstitch. It’s the strongest seam you can make by hand, full stop. On the top surface it looks almost identical to a machine stitch line.
Step by step:
- Anchor your knot from the wrong side as usual.
- Bring the needle up one stitch length (about 1/8 inch / 3mm) ahead of your starting point.
- Insert the needle backward to the starting point — you’re going back to where you began.
- Bring the needle up one stitch length ahead of where the thread currently exits.
- Repeat: always insert backward to the end of the previous stitch, come up one stitch length ahead.
The top surface should show a continuous, unbroken line of stitching with no gaps. The underside will have overlapping stitches — that’s correct. For maximum strength, keep stitches at 1/8 inch (3mm). For general seams, 3/16 inch (5mm) is fine and a bit faster.
Working through thick layers like denim or canvas? Switch to the stab stitch: push the needle straight down through all layers, reposition your hand underneath, then push it straight back up. Slower, but much easier on your hands than trying to rock through four layers of heavy fabric.
Finishing Your Hand-Sewn Seam
Press It — Every Time
Once your seam is sewn, press it immediately. For garments, press the seam open so both allowances lie flat in opposite directions — this reduces bulk and gives a cleaner silhouette. For quilts, press to one side, usually toward the darker fabric to prevent show-through. Either way, pressing is what makes a hand-sewn seam look intentional rather than homemade. Skipping the iron is the single fastest way to make hand sewing look amateurish.
Finishing Raw Edges
Raw edges will fray over time if you leave them. Your options:
- Whipstitch each raw edge separately with small diagonal stitches
- Fold and slip-stitch a narrow hem along each edge for a clean finish
- Apply seam binding tape by hand for a quick, tidy result
Check Before You Move On
Flip your work to the right side and look at the seam line. Check for puckers (thread too tight), gaps (missed stitches or thread too loose), and wandering (you drifted off your marked line). Fix problems now — it’s much harder after you’ve moved on.
Common Mistakes and How to Fix Them
Thread tangling: Cut to a maximum of 24 inches (60cm). If your thread starts twisting mid-seam, let the needle dangle freely for a moment — it’ll untwist on its own in about five seconds. Beeswax conditioning before you start reduces this significantly.
Puckering: Two causes — inconsistent stitch length and pulling the thread too tight. Aim for stitches and spaces of equal length, and after every few stitches, lay the fabric flat to check it’s lying smooth. The thread should sit on the surface, not dig into it.
Sewing through only one layer: This happens more than you’d think, especially on slippery fabrics. Hold both layers firmly together and feel the needle go through both before pulling through.
Seams that unravel: Never just cut the thread at the end of a seam. Always finish with backstitches and a knot. Always press.
Wrong needle for the fabric: A sharp needle on knit fabric causes runs. Too large a needle on silk leaves visible holes. Check the needle table above when working with something unfamiliar, and always test on a scrap first.
Quick Tips for Better Results
- Use a thimble from day one. Your fingertip won’t toughen up fast enough. If you hate metal, try leather or silicone — there are enough styles out there that you’ll find one that works.
- Sew toward yourself. Most people find it more natural and controlled, and consistency in direction helps keep stitch length even.
- Match thread to the darker fabric when joining two different colors. The eye reads the darker thread, so matching to the lighter fabric makes it more visible, not less.
- Bury your starting knot for an invisible finish: insert the needle about 1 inch (2.5cm) from your starting point, bring it up at the start, and the knot gets tucked inside the seam allowance.
Frequently Asked Questions
What is the strongest stitch to sew fabric together by hand?
The backstitch. On the top surface it looks like a continuous machine stitch line, and it resists pulling apart under stress far better than a running stitch. Use it for any seam that needs to hold — side seams, armholes, bag handles, anything structural.
How do you keep hand-sewn stitches from coming undone?
Finish every seam with two or three backstitches, then knot off on the wrong side by passing the needle through the last stitch loop twice and pulling tight. Never just cut the thread. Pressing the seam afterward also helps it set and stay stable.
What needle and thread should a beginner use?
Start with a size 8 sharp needle and 50wt all-purpose polyester thread — Gutermann Sew-All is a solid choice. The needle is fine enough for most woven fabrics but not so small it’s hard to thread, and polyester thread is strong and forgiving across a wide range of projects.
Can you sew knits and denim by hand?
Yes, but with different tools. Knit fabrics need a ballpoint needle (size 7–9) so the needle slides between fibers rather than piercing them — and use a running stitch only, since a backstitch on knits can pop when the fabric stretches. For denim or canvas, use a size 5–7 sharp needle with heavier thread (30–40wt polyester or upholstery thread), use a thimble, and use the stab stitch method rather than the rocking motion.
How long should your thread be?
Cut to 18–24 inches (45–60cm) — roughly fingertip to elbow. Anything longer and it’ll tangle, knot, and fray from being pulled through the fabric repeatedly. It feels like you’ll be re-threading constantly, but you won’t, and your sewing will go much more smoothly.