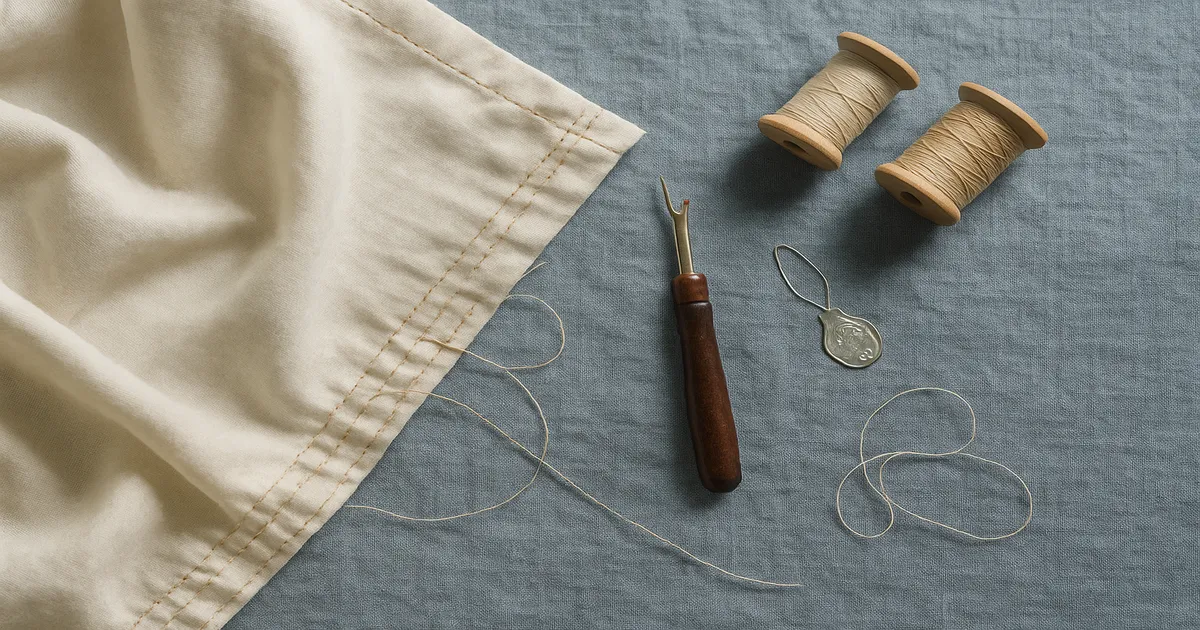
Quick Answer: Yes, you can almost certainly save this hem. The three things that matter are whether you still have enough hem allowance to work with, whether the fabric is intact at the fold, and whether the garment is worth your time. If you’ve got at least 5/8 inch (16mm) of allowance and the fabric isn’t torn or badly frayed at the crease, you’re good to go.
So your hem fell out, or it’s gone wavy, or it’s dragging on one side — and you’re standing there wondering: can I save this hem, or should I just buy new trousers? Good news: hem repair is one of the most forgiving alterations there is. Even a completely detached hem with visible old stitch lines is usually fixable in under an hour. The cases where a hem truly can’t be saved are rare, and I’ll tell you exactly what they look like so you’re not wasting time on something that needs a different solution.
Can This Hem Actually Be Saved? Three Questions First
Before you pick up a seam ripper, answer these:
- Is the hem allowance still wide enough? Turn the garment inside out and measure from the fold to the raw edge. You need at least 5/8 inch (16mm) for a shirt or skirt, 3/4 inch (19mm) for jeans, and 1 inch (25mm) for dress trousers. Less than that, and you’ll need to add fabric — but it’s still fixable.
- Is the fabric intact at the fold line? Give the fold a firm but gentle tug. If it tears, or if you can see thinning or abrasion along the crease, that fold line is done. You’d need to trim above the damage and re-fold, which only works if there’s enough allowance left.
- Is the garment worth the time? Be honest. A $15 fast-fashion top might not be worth two hours of careful hand-hemming. A good pair of wool trousers absolutely is.
When a Hem Is Genuinely Beyond Saving
Unsalvageable hems are uncommon, but they exist. If the allowance has been taken up so many times there’s less than 1/4 inch (6mm) left and you can’t add a facing, that’s a real problem. Same goes for fabric that’s torn or abraded through at the fold. One more thing worth knowing: dark denim and dark wool can develop a permanent faded line at the old fold that no amount of pressing will hide. That’s not structural failure, but it’s a cosmetic issue worth spotting before you invest an hour in the repair.
Why Hems Fail
Thread Breaks and Chain-Stitch Unraveling
The most common cause is simple wear — friction from walking, repeated washing, and age eventually break hem stitches, especially at side seams. Easy fix.
The surprising one is chain-stitch unraveling on jeans. Industrial machines use chain stitch because it’s fast, but if that chain gets snagged and you pull the wrong thread, the entire hem unravels like a zipper in seconds. If your jeans hem came completely undone from a single snag, that’s exactly what happened.
Hem Allowance Too Narrow to Hold
An allowance under 5/8 inch (16mm) doesn’t have enough fabric to grip. This happens after multiple alterations or when a manufacturer cut corners. The fix is a hem facing — a strip of fabric sewn on to extend what you’re working with.
Fraying, Stretching, and Crease Damage
Some fabrics fray aggressively at the raw edge, and if the hem was never properly finished, that fraying works its way up until there’s nothing left to stitch into. Knits sewn with a straight stitch will always fail eventually — the fabric stretches, the stitches don’t, and they pop. On silk and vintage synthetics, a sharp crease from years of folding can actually weaken the fiber at that line.
Shrinkage and Bubbling
If your hem looks wavy after washing, the fabric body and the hem allowance shrank at different rates. This happens because the fold often puts the hem allowance on a slightly different grain than the garment body. Annoying, but fixable with a thorough press and sometimes a bit of ease-stitching.
Phase 1 — Assessment: What Are You Working With?
Identifying Your Hem Problem
Lay the garment flat under good light and figure out which situation you’re dealing with:
- Partially unstitched — most salvageable; often just needs re-stitching
- Completely detached — fine as long as the allowance is intact
- Uneven or crooked — needs re-leveling, not just re-stitching
- Too short after washing — check allowance depth before anything else
- Frayed or damaged allowance edge — needs trimming and re-finishing first
- Exhausted allowance — needs a facing or extension
Minimum Hem Allowances by Garment Type
| Garment | Minimum Workable | Ideal |
|---|---|---|
| Dress trousers | 1 inch (25mm) | 1.5–2 inches (38–51mm) |
| Jeans | 3/4 inch (19mm) | 1–1.5 inches (25–38mm) |
| Dress / skirt | 5/8 inch (16mm) | 1–2 inches (25–51mm) |
| Shirt / blouse | 1/2 inch (13mm) | 5/8–1 inch (16–25mm) |
| Knit tops | 5/8 inch (16mm) | 3/4 inch (19mm) |
Phase 2 — Preparation: The Steps Most People Skip
Remove Every Last Thread of Old Stitching
This is the step people try to shortcut, and it always shows. Old thread left under a new hem creates lumps, uneven tension, and a result that looks homemade in the bad way. Remove everything — even the sections still holding.
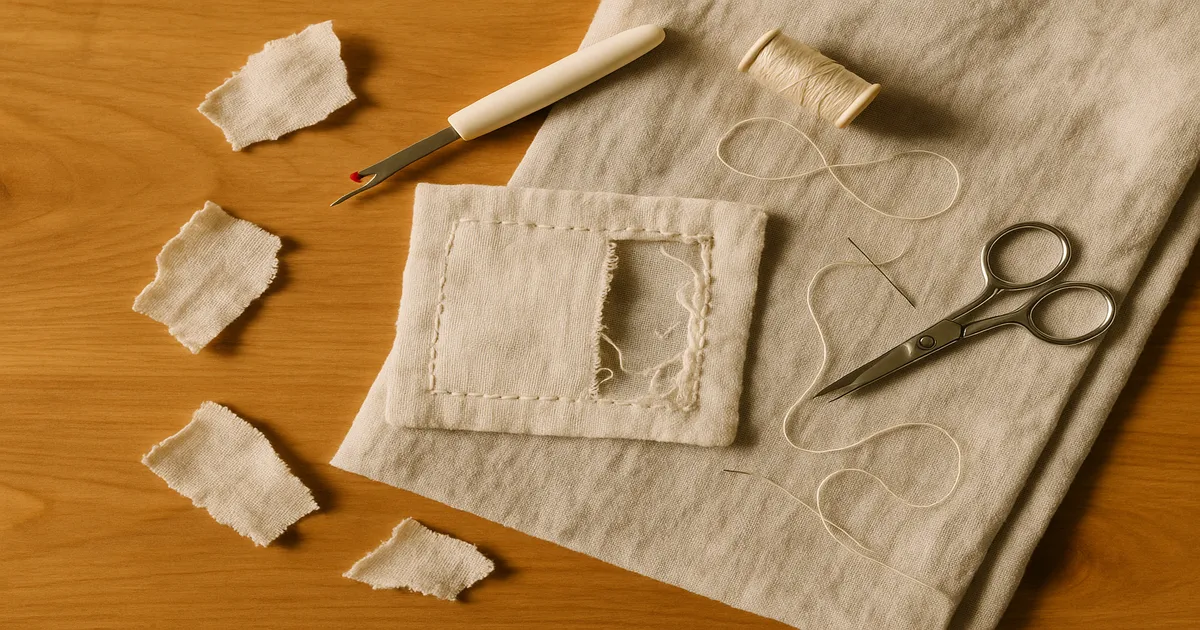
Use a seam ripper and work slowly, especially on tightly woven fabrics where aggressive ripping can leave pulls. On hand-stitched hems, clip every 3–4 stitches rather than pulling a long thread through. Finish with tweezers or a lint roller to get every last thread end.
Press the Allowance Completely Flat
Press the hem allowance flat — fully unfolded — before you do anything else. This is non-negotiable.
| Fabric | Temperature | Notes |
|---|---|---|
| Silk / acetate | 275°F / 135°C | Always use a press cloth |
| Wool | 300°F / 150°C | Damp press cloth; never iron directly |
| Polyester / synthetics | 300°F / 150°C | Press cloth required |
| Knits (cotton jersey) | 300°F / 150°C | Pat, don’t drag; no steam pressure |
| Cotton | 400°F / 205°C | Steam directly is fine |
| Linen | 445°F / 230°C | Steam generously |
For a stubborn crease from the old fold, steam it well, then immediately press hard with a clapper and hold it while the fibers cool. This works far better than ironing over it repeatedly.
Re-Level an Uneven Hem
Measure from the floor up, not from the waistband down — waistbands are almost never perfectly level. Put the garment on (or use a dress form), mark the desired length every 2 inches (51mm) around the hem using a skirt marker or hem gauge, then trim to add your desired allowance above that line.
Finish the Raw Edge
- Serged/overlocked edge — best all-around for wovens
- Zigzag stitch (3–4mm wide, 2–2.5mm long) — good without a serger
- Pinking shears — acceptable for tightly woven fabrics like wool
- Hong Kong finish — bias-tape bound edge; the right choice for quality trousers
- Turned-and-stitched — fold under 1/4 inch (6mm) and stitch; works on lightweight cottons
- No finish — knits don’t fray; lined garments don’t need it
Phase 3 — Re-Hemming: Choosing the Right Stitch
Machine Blind Hem: Fast and Nearly Invisible
My go-to for dress trousers and skirts. Fold and press the hem allowance up, then hold it with wonder clips. Fold the garment back on itself so about 1/8 inch (3mm) of the garment body peeks past the hem fold. Attach the blind hem foot, set stitch length to 2.0–2.5mm and width to 4–5mm. The zigzag bite should catch only 1–2 threads of the face fabric. Always test on a scrap folded the same way first — the width almost always needs adjusting.
Hand Slip Stitch: When It Has to Be Invisible
For quality wool trousers, silk, or anything you care about, hand slip stitch is worth every minute. Use about 18 inches (46cm) of thread to avoid tangles. Anchor your knot in the fold of the hem allowance, not in the garment face. Working right to left, pick up just 1–2 threads from the garment face, then slide your needle through the fold for about 1/4 inch (6mm). Keep the thread loose — if you can see dimples on the outside, you’re pulling too tight. Space stitches every 1/4 inch (6mm) for lightweight fabrics, 3/8 inch (10mm) for medium-weight, 1/2 inch (13mm) for heavy.
Topstitched Hem: The Right Choice for Denim and Casual Wear
For jeans, topstitching isn’t a compromise — it’s correct. Use a double-fold hem: fold the raw edge under 1/4 inch (6mm), press, fold up to hem depth, press again. Stitch from the right side, 1/8–1/4 inch (3–6mm) from the bottom fold. Use a size 16/100 or 18/110 jeans needle, topstitching thread, and a 3.0–3.5mm stitch length. For the classic double-topstitch look, add a second row 1/4 inch (6mm) above the first.
Fusible Hem Tape: The Emergency Fix
Fusible tape works, but go in with realistic expectations. It’s great for emergencies or dry-clean-only garments, but it will eventually fail in a hot dryer. Place the tape between the hem allowance and the garment body, press for 10–15 seconds per section with a damp press cloth, and let it cool fully before handling. (HeatnBond Hem)
Hemming Knits: Don’t Use a Straight Stitch
Straight stitch on a knit hem will pop. Every time. You have three good options: a twin needle (two parallel rows on the right side, a zigzag on the back — gives the hem stretch), a stretch stitch on your machine, or a cover stitch on a serger. Use a ballpoint or stretch needle and don’t stretch the fabric as you feed it through, or the hem will wave.
Common Mistakes That Wreck a Hem Repair
Leaving old thread in. Even a few ends create bumps and uneven tension. Ten extra minutes with tweezers is always worth it.
Not pressing at every stage. Pressing isn’t finishing — it’s construction. Press the allowance flat before folding, press the fold before stitching, press again when you’re done.
Using the wrong stitch for the fabric. Straight stitch on a knit. Blind hem on denim. These mismatches are why repaired hems fail again within a month.
Measuring from the waistband. Waistbands shift and stretch. Always measure from the floor.
Stitching too tight by hand. The thread should lie in the fabric, not pull it. If the outside of the garment puckers, loosen up.
FAQ: Saving a Hem
Can I save a hem that’s completely fallen off? Yes, as long as the hem allowance is still intact and the fabric isn’t damaged at the fold. A fully detached hem is no harder to fix than a partially detached one — you just re-press, re-fold, and re-stitch.
My hem keeps coming undone after I repair it. What am I doing wrong? Usually one of two things: you’re using a straight stitch on a knit (use a twin needle or stretch stitch instead), or you’re not removing all the old thread before re-stitching, which creates weak spots. Also check that your needle is the right type for the fabric.
Can I save a hem that’s too short after washing? Maybe. Turn the garment inside out and measure the allowance. If there’s at least 3/4 inch (19mm) to let down, you can gain some length. If the allowance is already at the minimum, you’ll need to add a hem facing or accept the length.
The old fold line is still visible after I re-hemmed. How do I get rid of it? On most fabrics, a good steam press with a damp press cloth and a clapper will remove it. On dark denim or dark wool, the faded line may be permanent — in that case, position your new hem fold slightly above or below the old one, or use the line as a guide and accept it’ll be hidden inside the hem.
Is fusible hem tape a permanent fix? It’s more durable than people give it credit for on garments that are dry-cleaned or washed on a gentle, cool cycle. In a hot dryer, it will eventually release. For everyday machine-washed clothes, stitch the hem — tape is best kept for emergencies or dry-clean-only pieces.