Quick Answer: The moment you spot a tangle, stop pulling — pulling turns a loose loop into a tight friction knot that’s much harder to fix. Use a blunt size 24–26 tapestry needle to pick open the loop from the center outward, then let your needle hang and spin freely for 15–30 seconds to release accumulated twist. If the floss is also dirty, wash it in lukewarm 85°F (30°C) pH-neutral water, press dry in a white towel, and re-wind onto labeled bobbins. The exact approach depends on whether you’re dealing with a knot mid-stitch or a whole skein that’s turned into a bird’s nest.
Knowing how to address cleaning tangled floss is one of those skills that separates a calm stitching session from a teeth-gritting half hour of increasingly tight knots. It sounds simple, but most people’s instinct — pull harder — is exactly wrong. This guide covers in-progress tangles, full skein disasters, and how to wash floss properly so the problem stops repeating itself.
Why Embroidery Floss Tangles in the First Place
Every time your needle passes through fabric, it rotates slightly. Over dozens of stitches, that rotation accumulates as twist memory — the strands either over-twist into a tight coil or untwist until they loop back on themselves. Either way, you end up with a knot. This isn’t a flaw in the thread; it’s physics, and it affects every embroiderer from beginner to professional.
Which floss types tangle most? Standard DMC or Anchor stranded cotton is actually the most forgiving. The real troublemakers are:
- Metallic floss (DMC Light Effects, Kreinik Blending Filament) — the wire core is stiff and kinks aggressively
- Silk floss — beautiful but slippery, slides into knots almost silently
- Overdyed variegated threads (Weeks Dye Works, The Gentle Art) — slight irregularities in twist from the hand-dyeing process make these extra prone to snarling
Dry air below about 40% relative humidity creates static that causes strands to cling to each other even sitting still on a bobbin. High humidity does the opposite: cotton fibers swell slightly and grip themselves. Neither extreme is your friend.
Tools You Need Before You Start
For Untangling
| Tool | Spec | What It’s For |
|---|---|---|
| Tapestry Needle | Size 24–26 (blunt tip) | Picking open knots without snagging |
| Straight Pins | Fine, glass-head | Loosening tight loops |
| Bamboo Skewer | 12-inch / 30cm | Lifting strands from a pile |
| Seam Ripper | Fine-point style | Accessing compound knots only |
| Lighted Magnifier | 2x–5x | Seeing fine thread paths clearly |
A lighted magnifier on a flexible arm is genuinely worth it if you stitch regularly. Tangles that are nearly invisible under warm household lighting become obvious under a daylight-balanced 5000–6500K LED. (Brightech LightView Pro Magnifying Glass Lamp)
For Cleaning
- Small bowl, 4–6 inch / 10–15cm diameter
- pH-neutral soap — Eucalan Wool Wash or plain baby shampoo both work
- White vinegar (1 tablespoon / 15ml per quart of rinse water) to set color and lift soap residue
- Clean white towel — never colored, since wet floss can pick up dye
For Storage
- Plastic or cardboard bobbins
- Thread Heaven conditioner for silk, metallic, and synthetic threads
- Beeswax block for cotton floss only (more on that distinction below)
- Silica gel packets and dryer sheets for humidity and static control
How to Address Cleaning Tangled Floss Mid-Stitch
Step 1: Stop — Do Not Pull
Seriously, put the hoop down. Pulling tightens knots significantly and turns a fixable loop into a hard friction knot. Take a breath and look at what you actually have — a simple loop, a figure-eight, or a compound mess of overlapping loops.
Step 2: Drop and Spin the Needle
Let your needle hang freely from the fabric and wait. Gravity causes the needle to spin and unwind accumulated twist over about 15–30 seconds. For stubborn twist, pinch the thread about 6 inches (15cm) above the needle and let only the lower section spin.
Step 3: Pick Open the Loop
Insert a size 24 or 26 tapestry needle into the center of the loop — not the tight part. Move the tip outward in a gentle circular motion, working from the center toward the outside to enlarge the loop until you can see the thread path clearly.
Step 4: Feed the Tail Through
Once the loop is open, identify which tail needs to pass through and guide it with the blunt end of your tapestry needle in small increments — about 1/8 inch (3mm) at a time. One slow, controlled pass beats three rushed ones that tighten everything back up.
Step 5: Smooth and Condition
Run the freed thread between your thumb and forefinger from the fabric end toward the needle end to re-align the fibers. A quick pass over a Thread Heaven block (or beeswax for cotton) settles the strands before you continue stitching.
How to Address Cleaning Tangled Floss from a Whole Skein
Step 1: Spread It Out
Lay everything on a white pillowcase or light-colored towel. You need to see the thread paths clearly, and dark or patterned surfaces make that nearly impossible. Two minutes of getting oriented saves twenty minutes of frustrated picking.
Step 2: Work from the Outside In
Find the outermost free strand and lift it gently away from the mass using a bamboo skewer or tapestry needle — not your fingernails. Fingernails have microscopic serrations that split plies. I’ve ruined more than one length of silk that way before I learned better.
Step 3: Wind Freed Sections as You Go
As each section comes free, wind it into a loose butterfly bobbin (figure-eight around your thumb and pinky) or onto a plastic bobbin. Don’t wind tightly — thread under tension develops kink memory that causes problems later.
Step 4: Work One Knot at a Time
Resolve one knot completely before moving to the next. Trying to loosen three simultaneously almost always makes all three worse.
Step 5: Wash If Needed
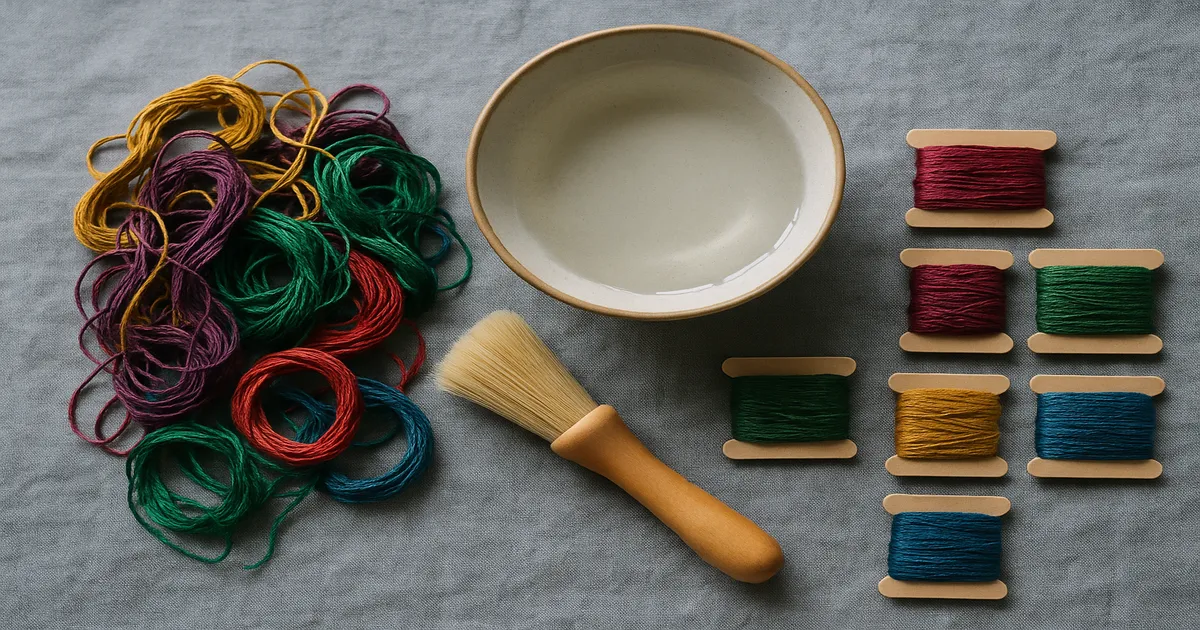
If the floss has been heavily handled or stored somewhere dusty, wash it before re-winding:
- Fill a small bowl with lukewarm water — around 85°F (30°C). Not hot.
- Add one small drop of pH-neutral soap.
- Submerge the loosely wound floss and gently agitate by hand for 2–3 minutes.
- Rinse at the same temperature — a sudden temperature change can cause cotton to shock-shrink.
- Add a tablespoon of white vinegar to the final rinse if you’re worried about color bleeding.
Pillowcase trick: Place the loose skein inside an old pillowcase tied loosely at the top before submerging. It keeps the skein contained without blocking water flow, so washing doesn’t create new tangles.
Step 6: Dry and Re-Wind
Roll the washed floss in a clean white towel and press firmly — never wring. Let it air dry flat. Once dry, wind loosely onto labeled bobbins and mark each one with brand and color number (e.g., “DMC 321” or “Anchor 47”).
Mistakes That Make Tangled Floss Worse
Pulling both ends of a knot. This is the big one. It converts a loop knot into a tight friction knot. Always work from inside the loop outward.
Using fingernails or sharp tools. A fine seam ripper is fine for accessing very tight compound knots, but a blunt tapestry needle should be your default.
Working with thread lengths that are too long. Anything over 18 inches (46cm) accumulates twist fast. For metallics, 12 inches (30cm) is the real maximum — re-threading is annoying, but it’s less annoying than fighting metallic knots every three stitches.
Storing floss in a loose pile. A bag of loose floss becomes a tangle within days. Always wind onto bobbins or tie into a slip-knot bundle before putting it away.
Washing in hot water or wringing wet floss. Heat shrinks cotton and can set wrinkles permanently. Wringing creates tight twists that become new knots as the thread dries.
Ignoring thread twist direction. Drop your needle and let it spin every 20–30 stitches for cotton, every 8–10 stitches for metallics. Make it a habit and most mid-project tangles simply stop happening.
Prevention: Storage Systems That Actually Work
Pre-cut bobbin system: Before a project starts, cut all floss into 18-inch (46cm) lengths, wind onto labeled bobbins, and store in a divided box or on a bobbin ring. There’s an upfront time investment, but it pays back quickly on any project larger than a small sampler.
Floss drop loop method: Store pre-cut loops on a binder ring organized by color family. Pull individual strands without disturbing the others. Less compact than bobbins but faster to set up — popular in the cross-stitch community for good reason.
Ort jar for short ends: Keep a dedicated jar for scraps too short to use. “Ort” is an Old English word for leftover bits of food or fiber. Short tangled ends are perfect for needle felting, stuffing small pincushions, or fiber art collage.
Anti-static storage in dry climates: In dry air below 40% relative humidity, static makes threads cling even on bobbins. Rub a dryer sheet lightly over stored bobbins and keep a silica gel packet in the storage box to stabilize humidity.
Beeswax vs. Thread Heaven: Beeswax is fine for cotton but leaves a residue that dulls silk sheen and can stiffen the wire core in metallics. Use Thread Heaven for silk, metallic, and synthetic threads. If you’re out of Thread Heaven, a tiny drop of hair conditioner (rinsed thoroughly afterward) works in a pinch.
Frequently Asked Questions
Can washing help untangle embroidery floss?
Washing can loosen stiff or oily tangles, but it won’t untangle thread on its own — you still need to work through knots manually. Untangle as much as possible first, then wash in lukewarm 85°F (30°C) pH-neutral water if the floss is dirty. Hot water and wringing are the two things most likely to make the situation worse.
What’s the best way to untangle severely knotted embroidery thread?
Spread it on a white pillowcase so you can see the thread paths, and work from the outside of the tangle inward using a blunt tapestry needle or bamboo skewer. Resolve one knot completely before moving to the next. If a single knot won’t open after 3–4 minutes of careful picking, cut it out and move on — prolonged forcing damages the fibers and isn’t worth it.
How do you stop floss from tangling while you’re stitching?
Drop your needle every 15–20 stitches and let it hang freely to unwind accumulated twist. Keep working lengths to 18 inches (46cm) or less — 12 inches (30cm) for metallics. Applying a thread conditioner before you start also reduces the friction and static that lead to tangling.
Is beeswax safe for all types of embroidery floss?
No. Beeswax works well on cotton but shouldn’t be used on silk or metallic threads. On silk it dulls the sheen; on metallics it can stiffen the wire core and make kinking worse. Use Thread Heaven for those instead.
When should you just cut a knot out instead of untangling it?
If a knot hasn’t yielded after 3–4 minutes of careful work, cut just beyond it and rejoin with a fresh length. You’ll lose maybe 2–4 inches (5–10cm) of thread — a small price compared to the time and fiber damage from continued fighting. Knowing when to quit on a knot is a skill, not a failure.