Quick Answer: Cross stitch means forming X-shaped stitches on even-weave fabric to build up pixelated images — one stitch, one square, repeat. You’ll need 14-count Aida fabric, a size 24 tapestry needle, and DMC 6-strand floss separated to 2 strands. Start from the center of your fabric, anchor your thread with the loop start method (no knots), keep all your top diagonals slanting the same direction, and weave ends into the back when you’re done. A small beginner motif is genuinely finishable in a single evening.
If you’ve been wondering how to actually cross stitch — not just the vague idea of it, but the real mechanics — you’re in the right place. The technique boils down to one repeating stitch shape worked on a grid. That’s it. There’s a very short learning curve before you’re making something that looks legitimately good, and I say that as someone who has watched complete beginners finish their first piece in an afternoon.
What Is Cross Stitch?
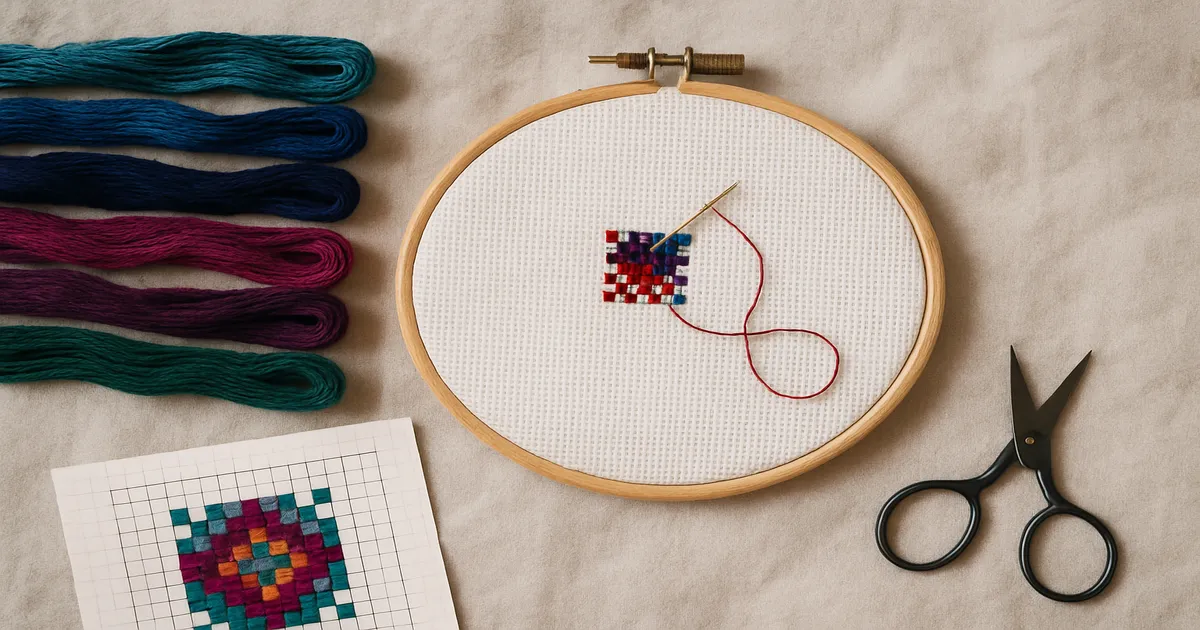
Each X-shaped stitch sits inside one square of your fabric’s grid. Stack enough of them together and you get a pixelated image — letters, animals, geometric patterns, whatever the design calls for. That grid-based structure is what makes it so beginner-friendly: you’re not freehand drawing with a needle. You’re counting squares and following a map.
Counted vs. stamped: Counted cross stitch means you follow a printed chart, counting fabric squares to place each stitch. Stamped cross stitch has the design pre-printed on the fabric — you just stitch over the marks. Stamped is faster to start, but it limits you to whatever designs come pre-printed and the marks can be hard to cover completely. Start with counted. The charts look intimidating for about ten minutes, then they click.
A quick history note: Cross stitch goes back at least to the Tang Dynasty (618–907 AD). European samplers date from the 16th century, the Victorians went wild for Berlin woolwork, and then came the 1980s–90s kit boom with brands like Dimensions and Bucilla. The post-2010 “subversive cross stitch” movement — irreverent, funny designs — pulled in a whole new generation. It’s a craft with real staying power.
Everything You Need to Get Started
Fabric
Aida cloth is the standard beginner fabric — a stiff, heavily sized cotton with clearly visible holes that make counting easy. The “count” refers to how many squares per inch:
| Count | Best For | Strands to Use |
|---|---|---|
| 11-count | Children’s projects, chunky designs | 3 strands |
| 14-count | Beginners — start here | 2 strands |
| 18-count | Finer detail, smaller finished size | 1–2 strands |
| 28-count evenweave | Softer drape, advanced work | 2 strands over 2 threads |
Evenweave linen is beautiful but requires counting individual threads rather than using pre-formed holes. Save it for later — it’s not harder in principle, just more tedious until you’ve built up some counting confidence.
Thread
DMC 6-strand embroidery floss is the industry standard — over 500 colors, widely available, and around $0.50–$1.00 per skein. Anchor is a solid European alternative with its own color numbering system (conversion charts are easy to find). Hand-dyed threads like Weeks Dye Works give a gorgeous variegated effect, but save those for when you’re comfortable with the basics. Metallic floss adds sparkle and is genuinely fiddly — more on that in the tips section.
Needles
Use a size 24 tapestry needle for 14-count Aida with 2 strands. The blunt tip is non-negotiable — it slides between fabric threads instead of splitting them. A sharp embroidery needle will distort your Aida grid and make everything harder. Replace your needle when it starts feeling sticky going through the fabric; a worn needle drags thread and it shows.
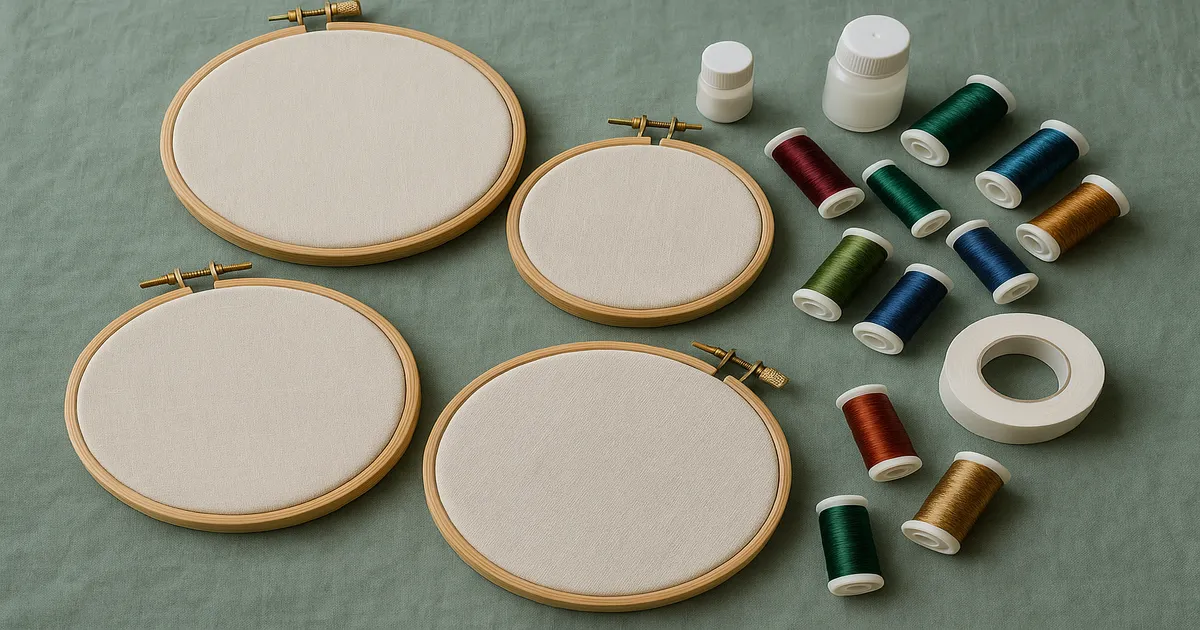
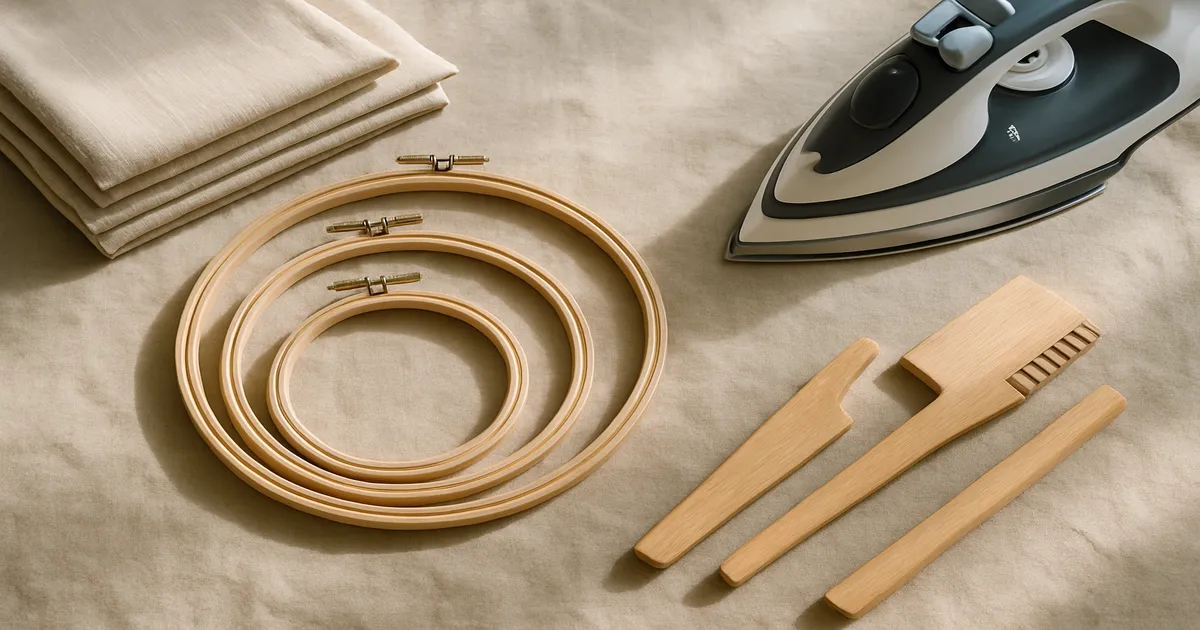
Hoops and Extras
A 6-inch (15cm) plastic or wooden embroidery hoop is the easiest starting point. Wrap the inner ring with cotton twill tape to prevent slipping and reduce hoop marks on your fabric. Q-Snap frames are a step up — no hoop marks, fabric stays taut longer — but they can wait until you know you’re hooked.
A few other things worth having from day one:
- Small, sharp embroidery scissors (3–4 inch) — keep these for thread only, never paper
- A water-soluble fabric pen for marking your center point
- A needle minder so you stop losing your needle every five minutes
- Bobbin cards labeled by DMC number to keep your floss organized
How to Prepare Your Fabric and Thread
Cut your fabric at least 3 inches (7.6cm) larger on every side than your finished design — so a 4 × 4-inch design needs at least a 10 × 10-inch fabric piece. Seal the raw edges with Fray Check, masking tape, or a folded-and-pressed hem. Don’t skip this. Raveling edges mid-project are infuriating.
To find center, fold the fabric in half vertically, then horizontally. Mark the intersection with a water-soluble pen or a small loop of contrasting thread. Your chart will have arrows on each edge pointing to its center — match those up and start stitching outward from there, not from a corner.
For thread prep: cut working lengths of 15–18 inches (38–46cm). Longer than that and the thread twists, tangles, and loses its sheen from being pulled through fabric too many times. Then — and this step matters more than it sounds — separate all 6 strands individually before recombining just the 2 you need. It takes an extra ten seconds and makes a noticeable difference in how evenly the thread lies on the fabric.
How to Actually Cross Stitch: Step by Step
Step 1: Anchor Your Thread with the Loop Start
No knots. Ever. Here’s the cleanest way to begin:
- Cut a single strand 30–36 inches (76–91cm) long and fold it in half.
- Thread the two cut ends through the needle eye — the loop hangs free at the other end.
- Bring the needle up through your starting hole from the back.
- Make your first diagonal stitch and bring the needle back down.
- On the back, pass the needle through the loop and pull snug. Done — thread is anchored.
If you’re using an odd number of strands, use an away waste knot instead: tie a knot, insert the needle from the front about 1 inch (2.5cm) ahead of where you’ll be stitching, then stitch toward it. Once the tail on the back is covered by 4–5 stitches, clip the knot from the front.
Step 2: Form Your First Cross Stitch
Each stitch uses four holes — the corners of one fabric square:
- Come up at hole 1 (bottom-left)
- Go down at hole 2 (top-right) — first diagonal done
- Come up at hole 3 (bottom-right)
- Go down at hole 4 (top-left) — X complete
Step 3: Work Rows with the Two-Pass Method
For large filled areas, don’t complete each X individually — it’s slow. Instead, work across the row making half-stitches (bottom-left to top-right only), then return in the opposite direction completing each X. Much faster, and the tension stays more consistent.
Step 4: Keep Your Top Diagonal Consistent
This is the golden rule of cross stitch. Every single X in your project needs its top diagonal slanting the same direction. Most stitchers use \ on top (top-left to bottom-right). If some of your X’s go \ and others go /, the finished piece will look patchy even if your colors are perfect. Decide before you start and check yourself until it’s automatic.
Step 5: Move Between Areas and End Your Thread
Don’t travel more than 1 inch (2.5cm) across the back without anchoring — long thread floats show through light fabric and snag on everything. To end a thread, weave the needle under 4–6 stitches on the back in a zigzag, then trim close. No knots.
Step 6: Add Backstitch and French Knots
Backstitch creates outlines and lettering. Come up at A, go back down at B (behind where you came up), come up at C ahead of A — a solid, unbroken line. Use 1 strand for backstitching on 14-count; 2 strands looks clunky and overwhelms the cross stitches underneath.
French knots add texture and detail. Come up through the fabric, wrap the thread around the needle twice, reinsert the needle one thread away from where you came up (not in the same hole — it’ll pull straight through), and pull through slowly while holding the wraps against the fabric surface.
Common Mistakes and How to Fix Them
Knotting the thread end. Knots create lumps visible from the front and can pop through fabric holes. Loop start or away waste knot, always.
Inconsistent top stitch direction. This is the single thing that separates “looks handmade” from “looks amateurish.” Pick a direction and stick to it.
Thread that’s too long. Anything over 18 inches (46cm) frays and tangles. Cut shorter — you’ll save time overall even though it feels wasteful.
Pulling stitches too tight. The thread should lie flat on the fabric without distorting the weave. If your fabric is puckering, ease up. A hoop helps maintain consistent tension.
Carrying thread too far across the back. More than 1 inch (2.5cm) of float will show through light fabrics from the front. End the thread and restart.
Skipping the wash before framing. Hoop marks, fabric sizing, and handling oils stay in the fabric if you skip washing — and they yellow over time. Always wash and press before framing, even if the piece looks clean.
Pro Tips to Level Up Fast
Use a laying tool. This is the thing most beginner tutorials skip entirely. A laying tool — or even the back of your thumbnail — smooths your strands parallel to each other as you pull each stitch through. The difference in stitch quality is immediately visible: flatter, more even, more professional. An inexpensive stiletto-style laying tool is worth every penny.
Park your needle. On multi-color designs, instead of ending your thread every time you switch colors, leave the needle threaded and “parked” in the fabric near where you’ll return to it. Saves time and reduces the number of thread ends to weave in.
Working with metallic floss. Cut it to 10–12 inches (25–30cm) maximum — shorter than you think you need. It frays fast, and the shorter length keeps it manageable. Thread it doubled through the needle if you can, and accept that it will test your patience. That’s just metallic floss.
Finishing: Washing, Pressing, and Framing
Washing: Hand wash in cool water with a drop of gentle soap — something like Soak or Woolite. Rinse thoroughly, roll the piece in a clean towel to press out moisture, and lay flat to dry. Never wring it.
Pressing: Place the finished piece face-down on a thick terry towel. Press from the back with a steam iron on medium heat. The towel cushions the stitches so they don’t get flattened. Don’t press from the front — you’ll crush your French knots and lose all the texture.
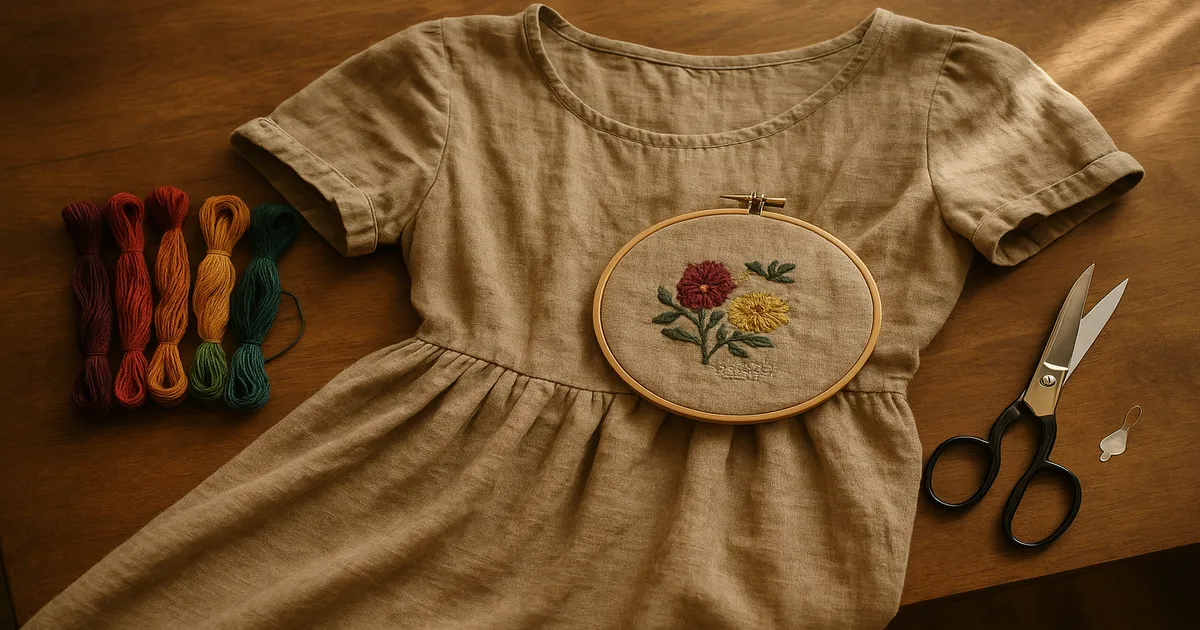
Framing: For a professional finish, stretch the piece over acid-free mat board and lace the back with thread in a herringbone pattern — even tension, no staples, no adhesive. A standard frame insert works fine for most projects. Just make sure you left that 3-inch border of fabric around the design, because you’ll need it to wrap.
Frequently Asked Questions
What fabric and thread count should a complete beginner use?
Start with 14-count Aida and 2 strands of DMC 6-strand floss. The holes are large enough to see clearly, the fabric is forgiving, and almost every beginner pattern is designed for this count. Once you’re comfortable, 18-count is a natural next step for finer detail.
How do you start and end a thread in cross stitch without knots?
The loop start is the easiest method: fold a single strand in half, thread the cut ends through the needle, and anchor by passing the needle through the loop on the back after your first stitch. To end, weave the needle under 4–6 stitches on the back in a zigzag and trim close. Knots create lumps and can pop through the fabric — skip them entirely.
How do you read a cross stitch pattern chart?
A cross stitch chart is a grid where each square represents one stitch. Each symbol or color block corresponds to a specific thread color listed in the key. The center of the chart is marked with arrows on the edges — match that to the center of your fabric and work outward. Use a magnetic chart keeper or even a sticky note to track your row so you don’t lose your place.
How long does a beginner cross stitch project take?
A small motif — around 30 × 30 stitches — can realistically be finished in one evening, maybe 2–3 hours. A 4 × 4-inch design might take a few weekends. It varies a lot based on complexity and how often you sit down, but that’s part of the appeal: you can pick it up for 20 minutes and actually make visible progress.
What’s the difference between cross stitch and embroidery?
Cross stitch is technically a form of embroidery, but “embroidery” usually refers to freehand techniques using many different stitch types — satin stitch, stem stitch, long-and-short stitch — often on non-grid fabric. Cross stitch is counted and grid-based, using almost exclusively the X-shaped stitch plus backstitch and French knots for detail. It’s more structured and easier to learn because you’re following a chart rather than drawing with thread.