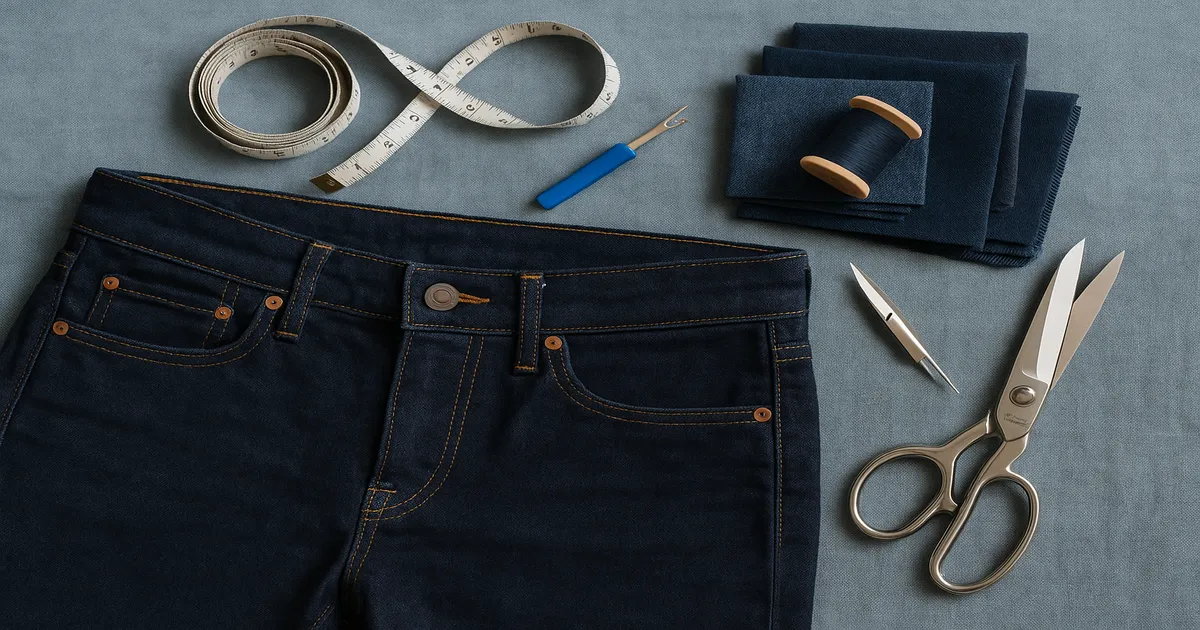
Quick Answer: You can make jeans larger at home using four methods: letting out the side seams (up to 1 inch per seam), adding a side gusset panel (1–4+ inches), extending the waistband (1–3 inches), or inserting a crotch gusset for seat and thigh ease. Denim is heavier and more structured than most fabrics, but with the right tools and a bit of patience, none of these require professional tailoring experience.
Knowing how to make jeans larger is one of those skills that sounds harder than it is. Yes, denim is dense. Yes, the seams are layered and there are bar tacks in inconvenient places. But once you understand what you’re actually working with — and which method suits your fit problem — it’s completely manageable at home. You just need the right approach before you start ripping seams.
How Much Larger Can You Make Jeans?
Realistic Gains by Method
Here’s what’s actually achievable, method by method:
- Letting out side seams: ½–1 inch (13–25mm) per seam, so up to 2 inches (50mm) total. Entirely dependent on how much seam allowance the manufacturer left.
- Adding a gusset panel: 1–4+ inches (25–100mm+) in circumference. This is the one to reach for when you need more than a size.
- Waistband extension: 1–3 inches (25–76mm) at the waist, without touching the leg seams.
- Crotch gusset: adds ease in the seat and inner thigh — less about circumference, more about comfort and mobility.
Rigid vs. Stretch Denim
Standard jeans denim runs 10–14 oz per square yard (340–475 gsm), 100% cotton with a tight twill weave. Stretch denim contains 1–4% elastane — up to 30% in super-stretch blends — and behaves almost like a knit. They need different needles, different thread, and they look different in raking light, which matters when you’re cutting matching panels.
Most classic denim (Levi’s, Wrangler) is right-hand twill, with the diagonal running from lower-left to upper-right. Any panel you cut needs to match that direction, or it’ll catch the light differently and look obviously mismatched even if the color is perfect.
Tools and Materials
Fabric for Panels and Gussets
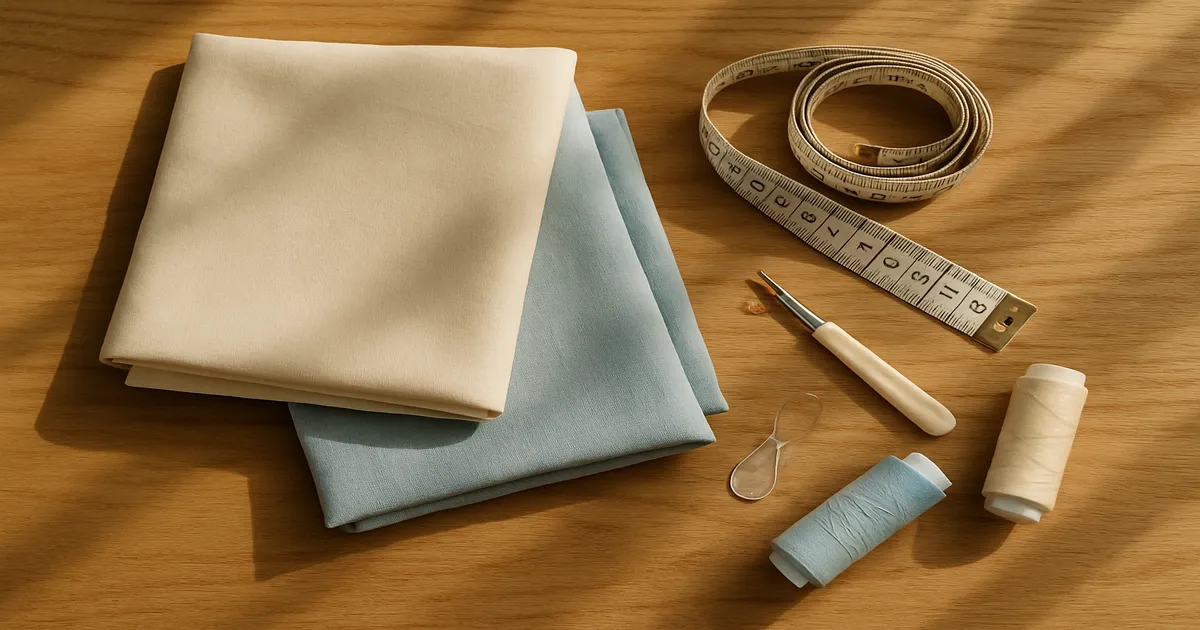
Match the weight of your original jeans as closely as possible — 10–14 oz (340–475 gsm) for rigid denim, 8–10 oz (270–340 gsm) for lighter or stretch styles. An old donor pair of jeans in a similar wash is often your best source. For waistband extensions on rigid denim, use a woven fusible interfacing (Pellon SF101). For stretch applications, switch to a knit fusible (Pellon 931TD). Cut interfacing to about ¾ of the finished piece size to reduce bulk at the seam allowances.
Thread
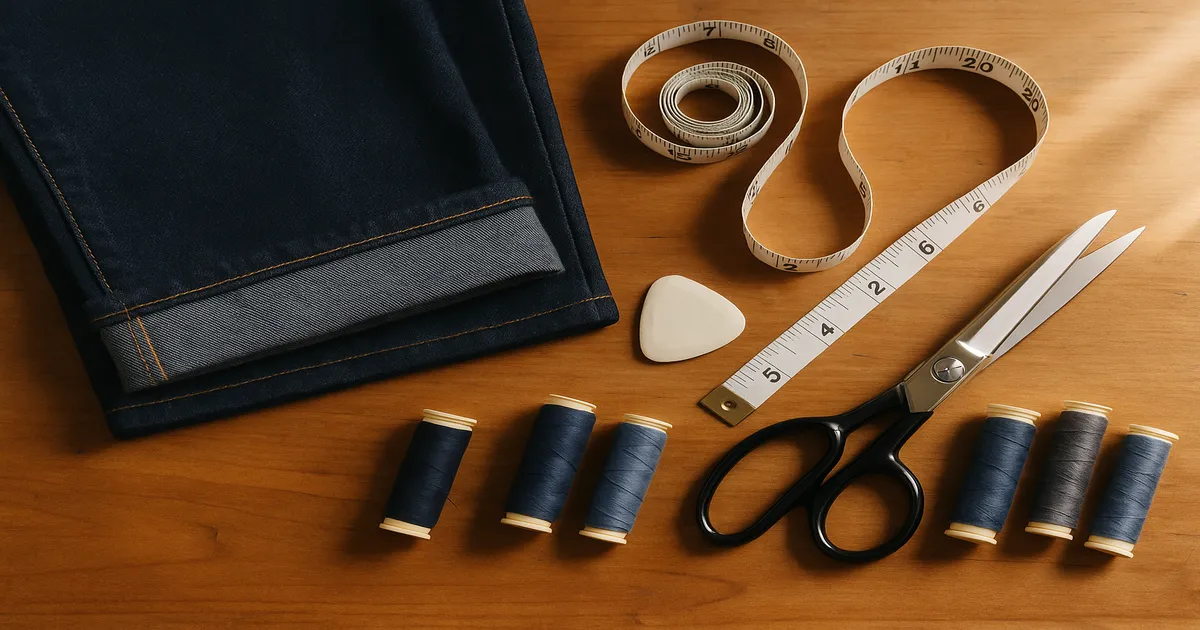
Always use 100% polyester thread for construction — something like Gutermann Sew-All or Coats & Clark All Purpose. Polyester has stretch recovery that cotton doesn’t, and on a garment that flexes constantly at the hip and thigh, cotton thread will eventually pop. For topstitching, use a heavier 30–40 wt topstitching thread in the needle with regular 50 wt polyester in the bobbin. The classic golden topstitching color is Gutermann 968 if you want to match that factory look.
Needles, Feet, and Equipment
Needles: Size 16/100 or 18/110 denim needle for rigid denim ; size 75/11 or 90/14 stretch needle for stretch denim. Replace your needle every 6–8 hours of sewing — denim dulls them fast.
Presser feet worth having: A roller foot or Teflon foot reduces drag on heavy layers. A topstitching/edgestitch foot with a center guide blade is a game-changer for keeping parallel topstitching straight. A zipper foot handles stitching close to waistband edges.
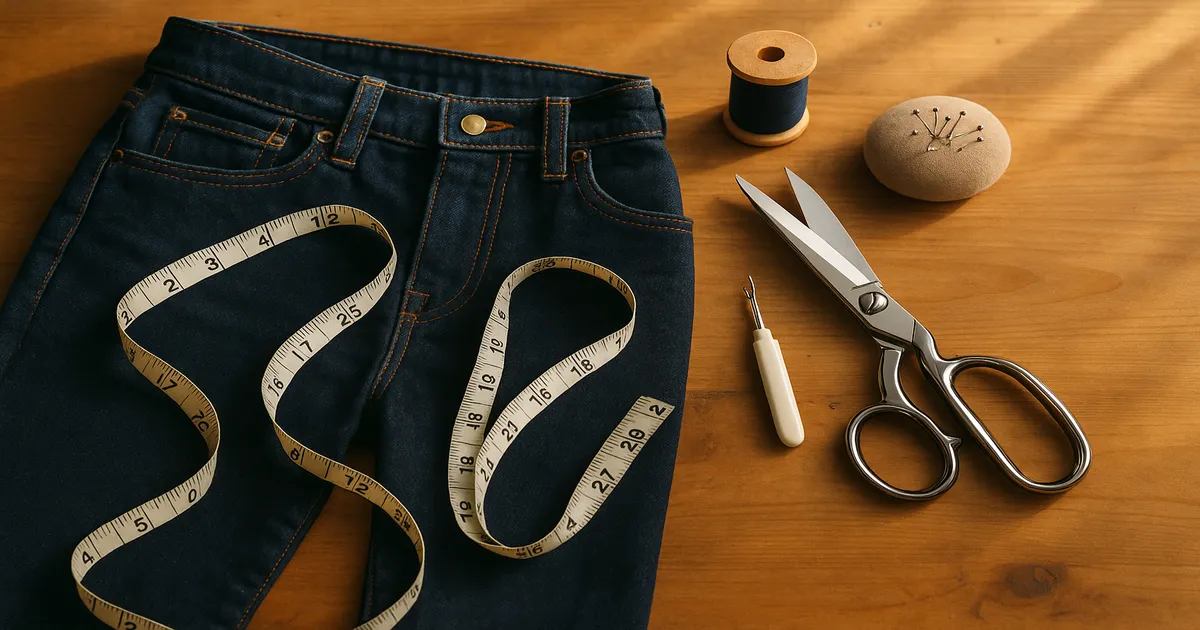
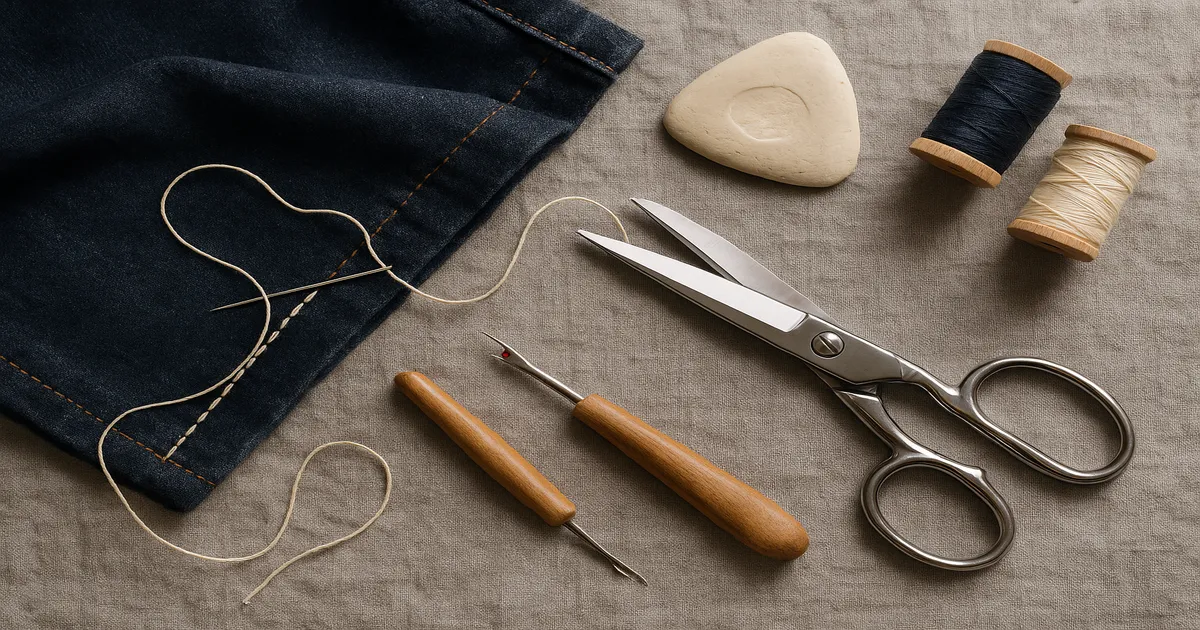
Other essentials: Sharp seam ripper, tailor’s chalk or water-soluble marker, 6-inch seam gauge, rubber mallet or seam roller for flattening intersections , hump jumper (Jean-a-ma-jig) for sewing over thick seam crossings, and a steam iron set to cotton (~400°F / 204°C). If you have a serger, use it — denim frays aggressively and unfinished edges will fail.
Method 1: Letting Out the Side Seams
Step 1: Check the Seam Allowance
Turn the jeans inside out and measure the outseam with a seam gauge. You need at least ½ inch (13mm) of fabric beyond the stitch line to have anything to work with. Factory allowances are usually ⅝ inch (16mm), but after serging there’s sometimes less. If you’ve got under ¼ inch (6mm), skip this method and go straight to a panel.
Step 2: Mark, Rip, and Press
Mark your new seamline ¼–⅜ inch (6–10mm) outside the existing one with tailor’s chalk — both sides at once so the jeans stay symmetrical. Rip the side seam from hem to waistband slowly; denim is dense and a slipped ripper can cut the fabric itself.
Then press the seam allowances completely flat with a damp pressing cloth and a hot iron. Don’t skip this. Denim has strong fabric memory, and if you sew over an old fold line without pressing it out first, your new seam will pucker no matter how careful you are.
Step 3: Sew, Finish, and Topstitch
Sew the new seam at 2.5–3.0mm stitch length, backstitching 3–4 stitches at each end. Finish raw edges with a serger or zigzag at 4.0mm width / 2.5mm length. Press the seam toward the back, as in the original construction.
For a factory look, topstitch ¼ inch (6mm) from the seam using a size 16/100 needle and topstitching thread at 3.0–3.5mm stitch length. It’s optional, but it makes the alteration look intentional rather than patched.
Method 2: Adding a Side Gusset Panel
Calculate the Panel Width
Take your total desired increase, divide by 2 (for two side seams), then add 1 inch (25mm) for two ½-inch seam allowances. So if you need 3 inches (76mm) more total: each panel is 1½ inches (38mm) wide, cut at 2½ inches (64mm) to include seam allowances.
Cut and Match the Fabric
Cut a strip the full length of the side seam — waistband to hem — at your calculated width, on the straight grain parallel to the selvage. Check the twill direction against your jeans before you cut. A contrasting fabric — chambray, canvas, a printed cotton — can turn a functional alteration into a deliberate design detail. That’s a legitimate choice.
Sew and Topstitch
- Open the side seam completely and press the allowances flat.
- Pin the panel to the front piece, right sides together, ½-inch seam allowance. Sew at 2.5mm stitch length.
- Pin and sew the panel to the back piece. Try the jeans on before finishing the edges — much easier to adjust now than after everything is serged.
- Finish all raw edges with a serger or zigzag.
- Press seams toward the panel and topstitch both seams at ¼ inch (6mm) from the seam line.
Method 3: Waistband Extension
This is the right move when your hips and thighs fit fine but the waistband digs in. It’s the least invasive of the four methods — you’re only touching the waistband.
- Remove the button and any bartacks at the waistband ends.
- Open the waistband at center back, or at one or both side seams depending on how much you need.
- Cut an extension piece: waistband height + 1 inch (25mm) tall, desired addition + 1 inch (25mm) wide.
- Cut matching interfacing and fuse it to the wrong side at 300–325°F (149–163°C) for 10–15 seconds with steam.
- Sew the extension into the waistband gap with a ½-inch seam allowance. Press seams open.
- Fold and press the extension to match the existing waistband fold.
- Slipstitch or edgestitch the inner facing down, then add a hook-and-bar closure or relocate the original button.
A hook-and-bar gives a cleaner finish than a button and makes future adjustments easier if your weight fluctuates — worth considering.
Method 4: Crotch Gusset for Seat and Thigh Ease
If your jeans pull and bind across the seat and inner thigh but the waist fits fine, this is your method. It’s not about adding circumference — it’s about adding depth through the curve, which letting out side seams won’t fully solve.
Open the inseam approximately 4 inches (100mm) below the crotch point on both legs, and open the crotch seam 2–3 inches (50–76mm) on both front and back rise. For moderate ease, cut a diamond-shaped gusset at 3 × 3 inches (76 × 76mm). For significant ease, scale up to 5 × 5 inches (127 × 127mm). Clip a small V-notch — about ⅜ inch (10mm) deep — at the crotch point so the fabric can spread and accept the gusset without puckering.
- Pin the gusset in on all four sides with a ½-inch seam allowance, pivoting at the corners.
- Sew at 2.5mm stitch length.
- Reinforce every corner with a second row of stitching ⅛ inch (3mm) inside the first — this area takes serious stress.
- Trim corners to ¼ inch (6mm) and clip curves.
- Press thoroughly.
Mistakes That’ll Ruin the Alteration
Skipping pressing. Press between every single step. Denim holds old fold lines until you force them out with heat and steam. This is the single most common reason alterations pucker.
Wrong needle and thread. A universal needle on rigid denim will skip stitches, deflect, or break. Use a denim needle (16/100 or 18/110). For stretch denim, use a stretch needle. And always polyester thread — cotton pops under repeated flexing, sometimes within weeks.
Skipping edge finishing. Denim frays back to the stitch line within a few washes if you leave raw edges. The seam will fail. Serge or zigzag everything.
Mismatched twill direction. A gusset panel cut with the twill running the wrong way will catch the light differently from the surrounding fabric. It’ll be obvious in any decent light.
Not doing an intermediate fitting. Sew first, try on, then finish. Adding too much at once without checking is how you end up with jeans that are too big in the other direction.
Ignoring the waistband when letting out side seams. If you’re opening the side seams, plan what you’re doing with the waistband at the same time — otherwise it’ll pull and distort.
Underestimating bulk at seam intersections. Where the inseam meets the crotch, or the waistband meets the side seam, you can have 6–8 layers of denim. Use a hump jumper to keep the presser foot level, and hit the intersection with a rubber mallet before sewing.
A Few Pro Tips Worth Knowing
Pre-wash new denim panels. Denim can shrink 3–8% in the first wash. If your panel shrinks after it’s sewn in, the alteration will pucker and pull regardless of how carefully you sewed it. Wash new denim at least twice in hot water before you cut anything.
Use a rubber mallet on thick seam crossings. Lay the jeans flat on a hard surface and give the intersection 5–6 firm blows before you sew over it. It compresses the fibers, flattens the hump, and makes a real difference in stitch quality. Sounds odd; works brilliantly.
Test before you touch the jeans. Always run a test on a denim scrap sandwich — two layers of similar-weight denim — before sewing on the actual garment. Check stitch length, tension, and needle performance. Two minutes of testing saves a lot of unpicking.
Frequently Asked Questions
How many sizes can you make jeans larger by letting out the seams?
Letting out the side seams typically adds ½–1 inch (13–25mm) per seam — roughly 2 inches (50mm) total circumference, or about one to two sizes. The limiting factor is how much seam allowance the factory left. If you need more than that, add a gusset panel instead.
Can you make jeans larger without sewing?
There are no-sew workarounds — stretching damp denim over a form, using a waistband extender button, soaking and wearing the jeans as they dry. These might give you ½–1 inch (13–25mm) of extra room, but the results aren’t permanent and they don’t work reliably on rigid denim. For a lasting fix, sewing is the only real option.
How do you make the waistband of jeans bigger without altering the legs?
Use a waistband extension: open the waistband at center back or at the side seams, insert a cut-and-interfaced extension piece, and finish with a hook-and-bar closure or a relocated button. This adds 1–3 inches (25–76mm) at the waist without touching the hip or thigh seams.
What’s the best fabric for a denim gusset?
Matching denim from a donor pair of jeans is ideal — same weight, same wash, same twill direction. If you can’t find a match, chambray or canvas in a complementary color makes a great decorative gusset. Avoid quilting cotton; it’s too light and will wear out faster than the surrounding denim.
Can stretch jeans be altered to make them larger?
Yes, but they need different handling. Use a stretch needle (75/11 or 90/14), polyester thread with good stretch recovery, and match the elastane percentage of your panel fabric as closely as possible to the original. A panel with no stretch sewn into stretch denim will pull and restrict movement — it defeats the whole point.