Quick Answer: To sew jeans shorter, measure while wearing your intended shoes, mark both legs independently, then cut leaving a 1-inch (2.5cm) hem allowance. Finish the raw edge, press the fold crisp, and topstitch 1/4 inch (6mm) from the fold using a size 16 denim needle and a 3.0–3.5mm stitch length. Doing it yourself saves $10–$25 per pair compared to a tailor.
Knowing how to sew jeans shorter is one of those skills that pays for itself embarrassingly fast. If you’re under 5’6” (168cm) — or you just fell for a pair of wide-legs that pool on the floor — you’ve probably handed a tailor $20 more than once. This guide covers two methods: the standard new hem and the original hem preservation technique, which keeps the factory stitching intact. Pick the one that fits your jeans and your goals.
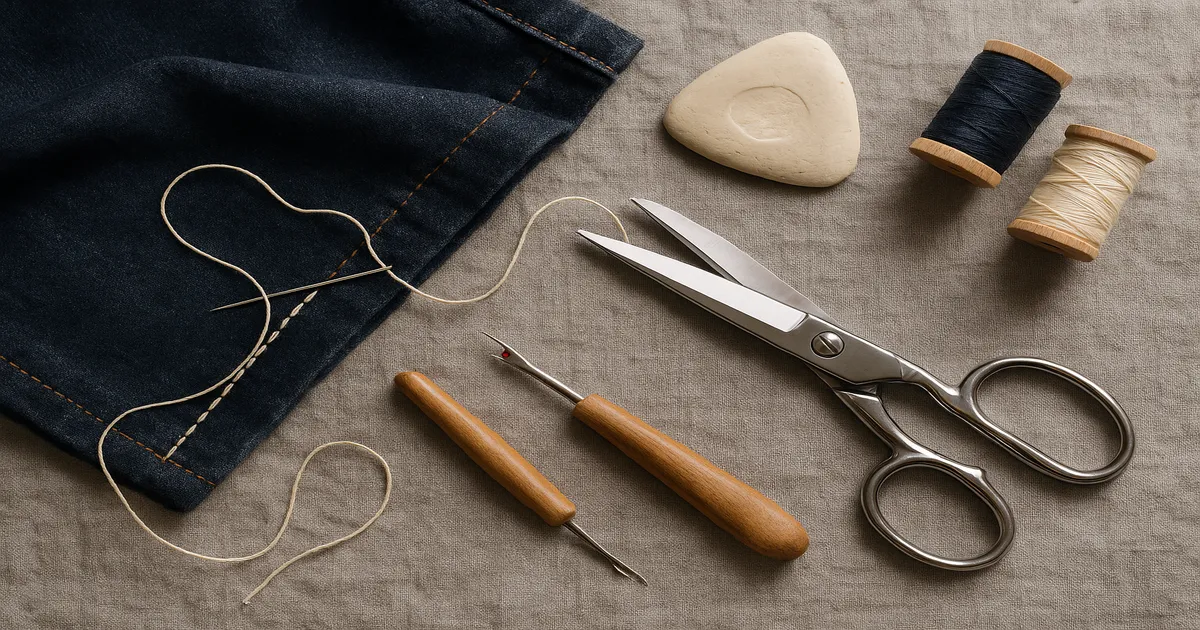
What You Need Before You Start
You don’t need a lot of gear, but the right gear matters more here than on most sewing projects. Denim is unforgiving, and the wrong needle will remind you of that immediately.
Needles and Thread
Use a size 16 (100) denim needle for midweight jeans — that’s 9–12 oz, which covers most everyday pairs. Step up to a size 18 (110) only for heavyweight raw or selvedge denim; the larger needle punches a more visible hole, so don’t default to it. For stretch jeans or jeggings with spandex, swap to a stretch needle (size 75/11 or 90/14) — a denim needle can snag and damage elastic fibers. Replace your needle every one to two pairs. Denim dulls them fast, and a dull needle is the number-one cause of skipped stitches.
For thread, 40wt all-purpose polyester is reliable for the hem itself. If you want that classic jeans look, grab a 30wt topstitching thread in golden amber — Gutermann’s color #968 is the one to look for. It’s the same warm yellow you see on virtually every pair of Levi’s, and it makes a home-sewn hem look intentional rather than patched.
Presser Feet
A walking foot is my strong recommendation. It feeds multiple layers of denim evenly and dramatically cuts down on the shifting that causes wavy hems. A standard jeans foot works too. If your denim has any kind of coating or wax treatment, a roller foot is worth having — coated denim sticks under a regular foot and throws off your stitch line.
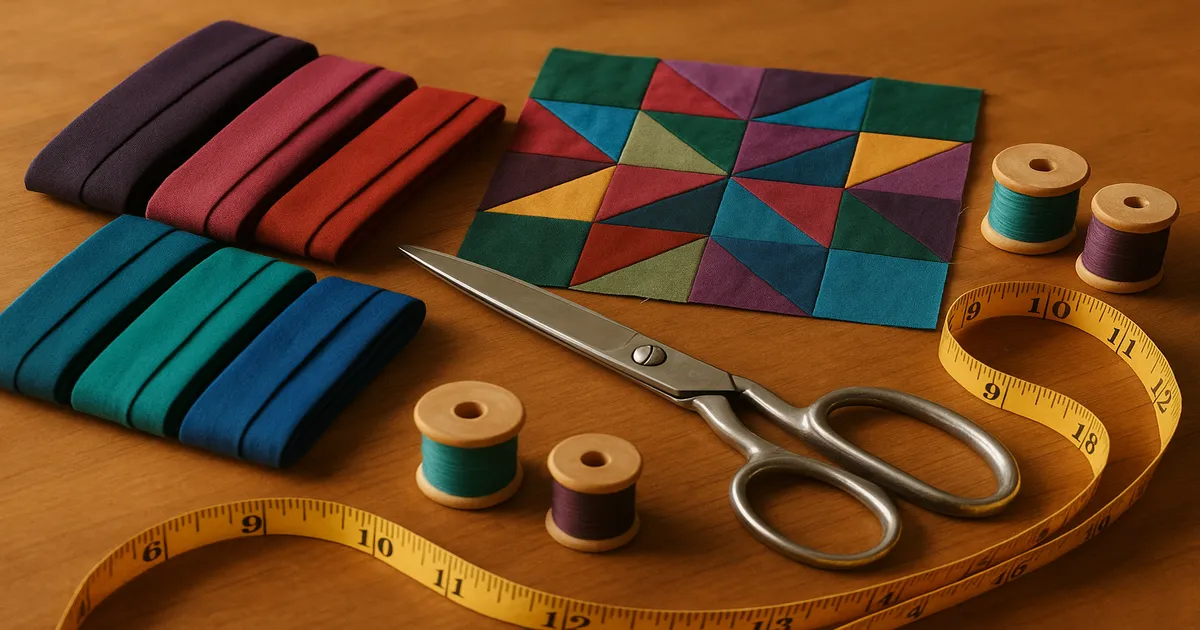
Cutting and Marking Tools
- Sharp fabric scissors (8–10 inch / 20–25cm) or a 45mm rotary cutter
- Self-healing cutting mat and a clear 6 x 24-inch (15 x 61cm) quilting ruler
- Tailor’s chalk or a water-soluble fabric pen
- Wonder Clips rather than pins — clips don’t distort thick denim the way pins do
Pressing Equipment
A hot steam iron on the cotton setting is non-negotiable. Add a clapper if you have one — it’s a wooden block you press firmly onto a seam right after the iron, and it makes denim folds stay put in a way nothing else does. Always use a pressing cloth on dark or black denim to prevent iron shine.
A hump jumper (sometimes called a Jean-a-ma-jig) is a small plastic wedge that levels your presser foot over thick seam intersections. It’s a few dollars and it saves needles. Worth having.
A Quick Word About Denim Before You Cut
Denim is a twill-weave fabric — that diagonal structure is why it frays at an angle and behaves differently from woven cotton or canvas. Weight is measured in ounces per square yard: lightweight (4–8 oz) for jeggings and stretch jeans, midweight (9–12 oz) for everyday denim, and heavyweight (13–16+ oz) for raw and selvedge denim. Weight determines your needle size, your stitch length, and how much you’ll be fighting the fabric at seam intersections.
One more thing worth knowing: factory hems are sewn on industrial chain-stitch machines with a specialized hemmer attachment. That slightly puckered, stacked look is nearly impossible to replicate on a home machine — and that’s not a failing on your part, it’s just a different type of equipment. This is exactly why the original hem technique exists. Instead of trying to copy the factory stitch, you preserve it entirely.
How to Sew Jeans Shorter: Step-by-Step
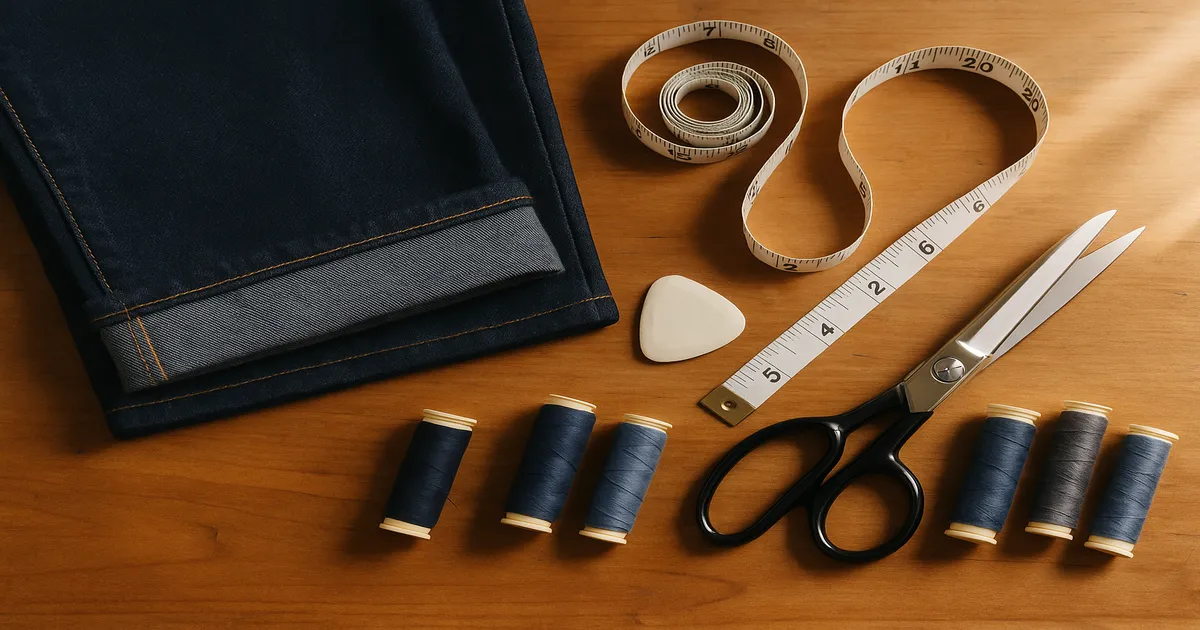
Step 1: Measure and Mark the New Length
Put on the shoes you’ll actually wear with these jeans. A 2-inch (5cm) heel changes the required length by nearly that much, so this step isn’t optional. Have someone mark both legs at the side seams while you’re standing naturally.
Measure both legs independently. A difference of 1/4–1/2 inch (6–13mm) between legs is completely normal — posture and manufacturing variance both contribute. Treating them as identical is one of the most common hemming mistakes, and you won’t notice it until the jeans are done.
Your cutting line should be: desired finished length + 1 inch (2.5cm) hem allowance. Before you mark it, fold back the existing hem to check its depth — factory hems are typically 5/8–3/4 inch (16–19mm).
Step 2: Cut the Fabric
Lay the jeans flat on your cutting mat. Use your rotary cutter and quilting ruler to cut straight across, perpendicular to the leg — one leg at a time. Even a slight diagonal cut creates a hem that spirals around the leg after sewing. The ruler prevents this.
Step 3: Finish the Raw Edge
Do this immediately after cutting, before the denim frays during handling. Your options:
- Serger/overlocker: 3-thread overlock — the cleanest finish
- Zigzag stitch: 2.5–3mm width, 2–2.5mm length — works fine on any home machine
- Pinking shears: acceptable as a temporary fix, not ideal long-term
Step 4: Press the Hem Fold
Fold the hem allowance up toward the wrong side and press with a hot steam iron. Use your clapper right after the iron passes over each section — hold it down firmly for a few seconds. Clip every 1–1.5 inches (2.5–3.8cm), paying extra attention around the inseam and outseam where the fabric stacks up.
Step 5: Sew the Hem
Machine setup before you start:
- Size 16 (100) denim needle
- Stitch length: 3.0–3.5mm — longer than the default, and not negotiable on denim
- Walking foot or jeans foot
- Test tension on the cut-off scrap first
Start at a side seam, not the inseam. The side seam is relatively flat, so your tension is consistent before you hit the thick intersections. Sew 1/4 inch (6mm) from the folded edge.
When you reach a seam intersection, slow down. Hand-walk the needle through the thickest layers using the hand wheel, and use your hump jumper to keep the presser foot level as it climbs the bulk. Backstitch at the start and end, overlapping your beginning stitches by about 1/2 inch (13mm).
Finish with a press from the wrong side, then a pressing cloth on the right side.
How to Preserve the Original Hem
Why Bother?
The factory hem has character — worn edges, chain-stitch texture, sometimes a brand stamp or bar tack that disappears the moment you cut it off. If your jeans have any of that, it’s worth keeping. This technique works best when you’re shortening by 2–3 inches (5–7.6cm) or less; bigger adjustments can distort the leg opening shape.
Step-by-Step: Original Hem Method
- Measure how much total length needs to come off — say, 2 inches (5cm).
- Fold the leg up by half that amount — 1 inch (2.5cm) — on the outside of the leg, so the original hem is still visible below the fold.
- Sew a seam through all layers at the fold line, exactly 1 inch (2.5cm) above the original hem edge.
- Trim the excess fabric inside to a 1/4–3/8 inch (6–10mm) seam allowance.
- Press the seam upward. The original hem drops back down and sits naturally at the new length.
The seam you sewed is now hidden behind the original hem. From the outside, the jeans look untouched.
Common Mistakes and How to Avoid Them
Not wearing the right shoes while measuring. Everything else flows from that first measurement. This is the mistake that makes you redo the whole thing.
Measuring only one leg. They’re not identical. Measure both, every time.
Cutting at the finished length instead of finished length plus hem allowance. Sounds obvious until you’re tired and rushing.
Using a universal needle. It will skip stitches or break. Use a denim needle.
Default stitch length (2.0–2.5mm). Too short for denim — it creates a stiff, puckered hem. Go to 3.0–3.5mm.
Starting at the inseam. It’s the thickest point on the leg. Start at a side seam instead and work your way around.
Skipping the raw edge finish. Denim frays aggressively. It will eventually work through the fold and the hem will fail.
Pressing dark denim without a pressing cloth. That shiny iron mark doesn’t come out easily.
Pro Tips for a Cleaner Result
Before you sit down at the machine, hammer the folded hem at each seam intersection with a rubber mallet on a hard surface. It compresses the fibers and can reduce a six-layer stack to something your machine can actually handle. Combined with a hump jumper and slow hand-walking, you’ll stop breaking needles at the worst moment.
Run your thread across a block of beeswax before sewing. It reduces friction through the needle eye and cuts down on thread breakage noticeably on heavy denim.
If you’re hemming raw or unwashed selvedge denim, add 1/4–3/8 inch (6–10mm) to your hem length to account for first-wash shrinkage.
One more counterintuitive tip: position your topstitching line 1/8 inch (3mm) closer to the fold than looks right. After pressing and a few wears, the hem relaxes slightly and the stitch line visually shifts outward. Accounting for that in advance is what separates a hem that holds up from one that looks off after a month.
Frequently Asked Questions
Can I hem jeans without a sewing machine?
Yes — a slip stitch or catch stitch by hand works for lightweight denim or a temporary fix. It’s slower and less durable than machine stitching. Use a thimble; denim is rough on fingers.
How much does it cost to have jeans hemmed at a tailor?
Most tailors charge $10–$25 USD per pair for a basic hem. If you wear jeans regularly and own multiple pairs, learning to do it yourself pays off quickly.
What stitch length should I use for hemming jeans?
3.0–3.5mm. The default on most machines (2.0–2.5mm) is too short for denim and causes puckering. A longer stitch also looks closer to the original factory topstitching.
How do I shorten jeans and keep the original hem?
Use the original hem technique: fold the leg up by half the amount you need to remove, sew a seam at the fold line, trim the excess inside to 1/4–3/8 inch (6–10mm), then press the seam upward so the original hem falls back into place. The new seam hides behind the factory hem.
What needle should I use for denim?
A size 16 (100) denim needle handles most everyday jeans. Use a size 18 (110) for heavyweight raw or selvedge denim. For stretch jeans or jeggings with spandex, use a stretch needle (size 75/11 or 90/14) — a denim needle can damage elastic fibers.