Quick Answer: Yes, you can sew jeans by hand — people did it for centuries before industrial machines existed. A full build takes 20–40 hours and roughly 500–700 yards of thread, but the results are structurally sound and often more satisfying than anything you’d pull off a rack.
Hand-sewing jeans isn’t a party trick or a desperate workaround. It’s a legitimate construction method with a long history, and if you’ve ever wondered how to sew jeans by hand — whether you’re patching a blown-out knee or building a pair from scratch — the process is more approachable than you’d think. You need the right materials, the right stitches, and a thimble you’re willing to actually wear.
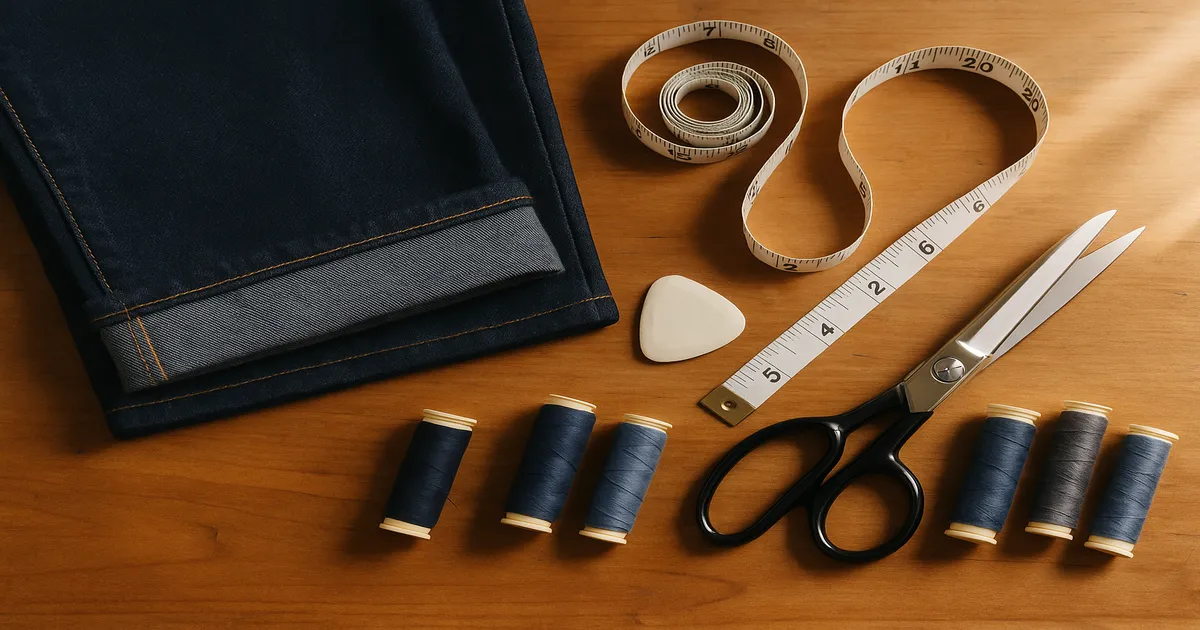
What You Need to Sew Jeans by Hand
Denim Weight
8–10 oz (270–340 gsm) is the sweet spot. Heavy enough to hold structure, light enough that a needle can still push through multiple layers without your hand cramping after ten minutes. Go heavier than 12 oz and you’re fighting the fabric on every single stitch. Also avoid anything with more than 2% elastane — stretch denim is slippery and nearly impossible to control without a machine’s feed dogs keeping it honest.
Thread: Don’t Skimp Here
This is where most people go wrong. Standard 50-weight all-purpose thread will shred against denim’s abrasive twill weave — sometimes within the first inch. For structural seams, you need upholstery or topstitching thread in the 30–40 weight range. Gutermann Mara 30 is a reliable choice that’s widely available. For bold topstitching that actually looks like the real thing, 12-weight cotton thread is even better — Aurifil’s 12wt Cotton is worth the price. Save the 50-weight for basting only, where you’ll pull it out anyway.
Run every length of thread through beeswax before you sew. It cuts friction, prevents tangling, and genuinely strengthens the thread. This isn’t optional on denim.
Needles
- Chenille or tapestry needle (size 18–22): General construction. The blunt tip is kinder to thread than a sharp.
- Glover’s needle (size 18–20): When you’re fighting a tight weave, the triangular tip cuts through cleanly.
- Sashiko needle: Long (about 2.5 inches/64mm), designed to load multiple running stitches at once.
- Two blunt harness needles: The saddle stitch setup — one needle on each end of a single length of thread.
- Fine beading needle (size 10–12): For pick stitch on zipper installation, where subtlety matters.
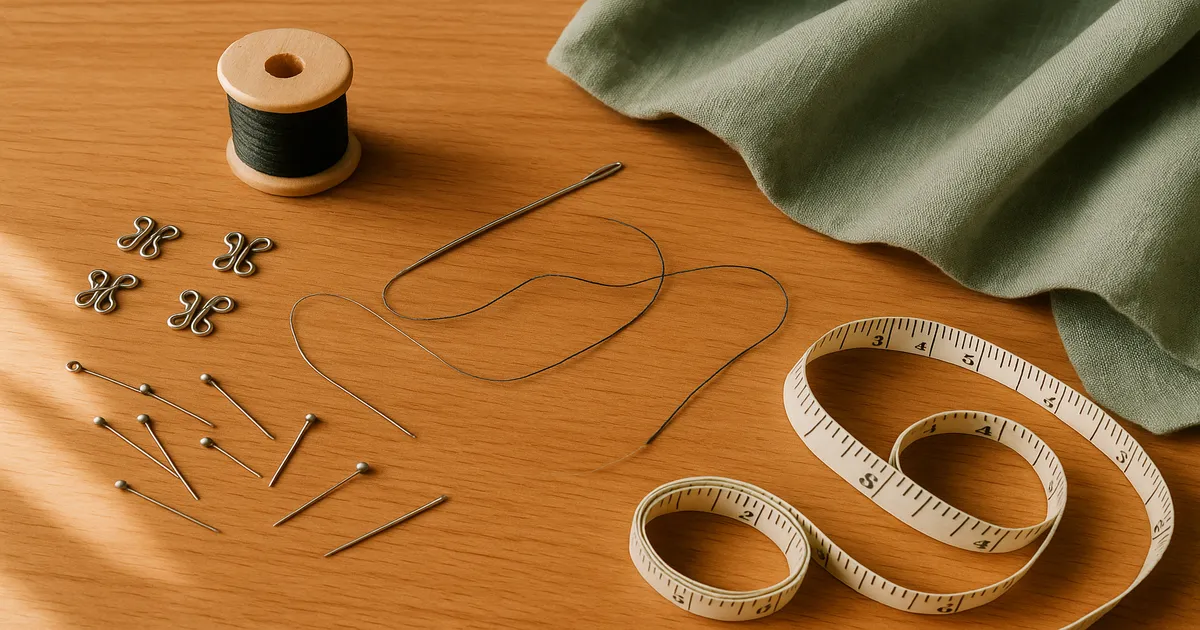
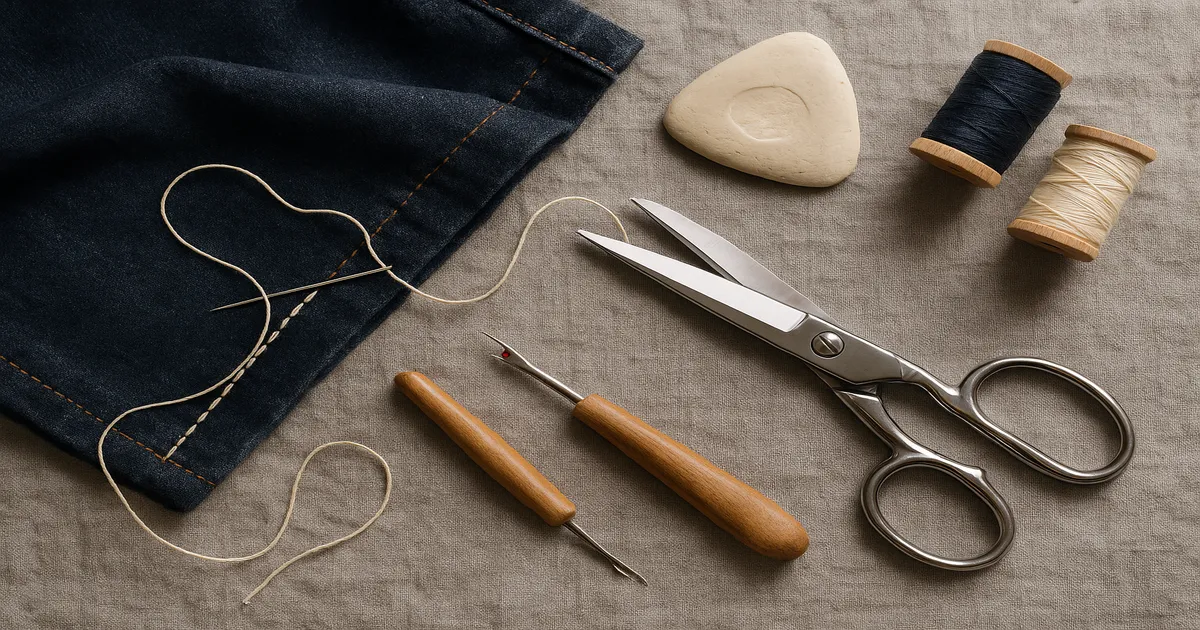
Other Tools You’ll Actually Use
A metal thimble is non-negotiable. Denim will shred your fingertip in under an hour without one. I keep a leather thimble on the index finger of my non-dominant hand for pushing too. Beyond that: an awl for pre-opening holes where six or eight layers stack up, a wooden clapper for pressing (more effective than an iron alone on heavy denim), a tailor’s ham for curved seams, and a sharp rotary cutter. A 45mm or 60mm Olfa works well — just replace the blade before you cut, because denim dulls them fast. Use a #5 metal zipper, not plastic coil. Plastic coil doesn’t belong in jeans.
The Key Stitches for Hand-Sewn Jeans
Backstitch
Backstitch is your workhorse. The needle goes back into the fabric behind where the thread exits, then comes up ahead — creating a continuous, interlocked line. At 8–10 stitches per inch (25mm), you’re approximating standard machine stitch density. It’s slower, but the seam is solid.
Saddle Stitch
Two needles, one thread, opposite ends. Each needle passes through the same hole from opposite sides, locking the stitch. If one thread breaks, the other holds — which is actually more resistant to seam failure than a machine lockstitch, where a single break can cause the whole seam to unravel. Use this on the crotch seam and anywhere else that takes real stress.
Pick Stitch
Pick stitch catches only one or two threads of the face fabric, leaving almost nothing visible on the outside. It’s the right call for attaching zipper tape to the fly extension — clean front, no obvious hand-stitching showing through.
Running Stitch and Sashiko
Running stitch is fast and useful for basting. It’s also the foundation of sashiko-style reinforcement — worked in grid or wave patterns across a worn knee patch using Olympus Sashiko Thread, it’s both functional and genuinely beautiful.
Bar Tack
At every pocket corner and the base of the fly, you need a bar tack. Work 6–8 stitches over a 1/4-inch (6mm) span, then wrap them perpendicularly four or five times and finish with a small knot. Two minutes of work that prevents catastrophic pocket failure.
Preparing Your Denim
Wash your denim twice in hot water and dry on high heat before you cut anything. Denim shrinks 3–8% lengthwise — skip this and your finished jeans will shrink after the first real wash, no matter how carefully you sewed them.
Cut with a rotary cutter on a self-healing mat. If you’re using scissors, make sure they’re sharp — dragging a dull blade through 10 oz twill is genuinely miserable. Cut notches as 1/4-inch (6mm) clips into the seam allowance rather than outward triangles. Mark everything clearly with tailor’s chalk: grain lines, pocket placement, the fly extension, all notches. Denim is unforgiving about misaligned pockets.
Baste everything with a long running stitch before committing to a final seam. This is especially true for the crotch curve and waistband. Use a contrasting thread color so you can find and pull the basting stitches easily.
How to Sew Jeans by Hand: Step-by-Step
These instructions assume you’re working from a fitted commercial pattern — Closet Core’s Ginger Jeans is a solid choice — with standard 5/8-inch (16mm) seam allowances.
Phase 1 – Back Pockets Turn under and press the pocket top hem: 1/4 inch (6mm), then 1/2 inch (13mm). Topstitch the hem by hand using backstitch, 1/8 inch (3mm) from the fold. Turn under remaining edges 5/8 inch (16mm) and press over a cardboard template cut to finished pocket size. Backstitch pockets to back leg pieces 1/8 inch (3mm) from the folded edge. Bar tack all four corners.
Phase 2 – Back Yoke and Flat-Felled Seams The flat-felled seam is the defining detail of jeans — that double row of topstitching on every outseam and yoke. Backstitch the initial seam at 5/8 inch (16mm), 8–10 stitches per inch. Trim one seam allowance to 1/4 inch (6mm). Fold the wider allowance over the trimmed one, enclosing it completely, and press hard with a clapper. Topstitch through all layers 1/8 inch (3mm) from the folded edge. Practice this on scraps before you hit the actual yoke.
Phase 3 – Front Pockets Backstitch pocket facing to front leg along the curved opening at 3/8 inch (10mm). Clip the curve every 1/2 inch (13mm) to within 1/8 inch (3mm) of the stitch line. Understitch the facing by hand — stitch 1/16 inch (2mm) from the seam through facing and seam allowances only. Press facing to inside, baste pocket bag pieces together, backstitch the bag closed at 1/2 inch (13mm), then baste the pocket to the front leg at the side seam and waist edges.
Phase 4 – Fly and Zipper This is the most demanding phase. Don’t rush it. Stitch the crotch seam from the bottom of the fly opening to the inseam at 5/8 inch (16mm), then add a second reinforcing row 1/4 inch (6mm) away. Fold under the fly extension on the overlap side and press. Position the zipper tape and attach with pick stitch — catching only one or two threads of face fabric, spaced 1/4 inch (6mm) apart. Backstitch the remaining zipper tape to the fly shield on the underlap side. Topstitch the fly curve at 3/8 inch (10mm) from center front using backstitch. Bar tack the base of the fly with 8–10 stitches.
Phase 5 – Inseam and Outseam Join front and back leg pieces at both seams using backstitch at 5/8 inch (16mm), then construct each as a flat-felled seam. On the outseam, the fell faces toward the back. On the inseam, it also faces toward the back leg. Press thoroughly between every step — denim doesn’t forgive skipped pressing.
Phase 6 – Crotch Seam Join the two leg units at the crotch, right sides together. Backstitch from center front to center back at 5/8 inch (16mm). Add a second reinforcing seam 1/4 inch (6mm) from the first, running about 2 inches (5cm) on either side of the crotch point. Trim the curved area only to 3/8 inch (10mm) to reduce bulk. Finish raw edges with a whipstitch.
Phase 7 – Waistband Interface the waistband with sew-in woven interfacing — not fusible. Pellon SF101 works well here. Backstitch the outer waistband to the jean top edge, right sides together, at 5/8 inch (16mm). Press the seam allowance into the waistband, fold the inner band down, turn under 5/8 inch (16mm), and slipstitch to the inside. Topstitch from the outside using backstitch, 1/8 inch (3mm) from both the top and bottom edges.
Phase 8 – Hem Try on the jeans and mark the finished length. Cut the allowance to 1.5 inches (38mm), press up 5/8 inch (16mm), then again 7/8 inch (22mm), and topstitch by hand at 1/8 inch (3mm). For a selvedge-style hem on raw denim, fold once to your preferred height and tack at the side seams only.
Repairs and Alterations
Hemming by hand is often indistinguishable from a machine hem when done well. Press the fold crisply first, then backstitch at 1/8 inch (3mm) from the folded edge with even tension. Takes 30–60 minutes.
Taking in seams: Baste the new seam line, try on, adjust, then backstitch the final seam. Trim excess allowance to 5/8 inch (16mm) and whipstitch the raw edges. Letting out only works if there’s sufficient seam allowance — most RTW jeans leave very little, but it’s worth checking before you give up on a pair that’s almost the right fit.
Patching worn areas: Cut a patch from matching or contrasting denim, turn under the edges 1/4 inch (6mm), and backstitch it over the worn area. For interior reinforcement — a worn crotch, for instance — apply the patch on the inside and sew through both layers. Sashiko stitching over the patch on the outside makes it look intentional rather than repaired.
Common Mistakes
Using thread that’s too fine. 50-weight against denim’s rough weave frays, breaks, and produces seams that won’t last a season. Use 30–40 weight for everything structural.
Skipping basting on curved seams. The crotch curve and waistband attachment are the two places this will come back to bite you. Without basting, layers shift as you sew and you end up with a puckered seam that’s miserable to unpick from heavy denim.
Not using a thimble. I’ve seen people try to push through without one. They always regret it. Metal thimble on your middle finger, leather on your index. Put them on before you start.
Inconsistent stitch tension. Pulling too tight puckers the seam; too loose and it gaps. Work in shorter thread lengths — 18–24 inches (45–60cm) — so you’re not fighting a long thread that tangles and creates uneven drag.
Skipping pressing. Pressing isn’t a finishing step — it’s part of construction. Every seam needs to be pressed before you sew over it or fell it. Use a wooden clapper after the iron: press hot, strike, hold. The steam gets trapped and the seam stays flat in a way that iron-only pressing won’t achieve.
Frequently Asked Questions
How long does it take to sew a pair of jeans by hand?
A full pair takes roughly 20–40 hours for someone with intermediate sewing experience. First-timers should budget toward the higher end. Repairs are much faster — hemming takes 30–60 minutes, and patching a knee takes about the same.
What is the strongest hand stitch for denim seams?
Saddle stitch. Two needles on a single thread, passing through each hole from opposite sides. If one thread breaks, the other holds — making it more resistant to seam failure than a machine lockstitch. Use it on the crotch seam and any other high-stress area.
Can I hand-sew a zipper into jeans?
Yes, and placement is actually easier to control by hand than by machine. Use pick stitch on the overlap side of the fly — it catches only one or two threads of face fabric and leaves almost no visible stitching on the outside. Backstitch works fine on the underlap side, where the stitching is hidden by the fly shield.
What weight denim is easiest to hand-sew?
8–10 oz (270–340 gsm). It holds structure, wears well, and a needle can still push through multiple layers without destroying your hand. Anything heavier than 12 oz is a real fight, and stretch denim with more than 2% elastane is more trouble than it’s worth.
Do I need a pattern to sew jeans by hand?
You need a well-fitted pattern, yes. Jeans have a lot of curved seams — the crotch, the yoke, the pocket openings — and those curves need to be drafted correctly or nothing will fit right. If you’re new to jeans construction, start with a commercial pattern and fit it in a cheap fabric before you cut into your good denim.