Quick Answer: A sew-in involves braiding your natural hair into flat cornrows, then using a curved weaving needle and specialist thread to stitch weft hair directly onto those braids. The result lasts 6–8 weeks, protects your natural hair, and — if you learn to do it yourself — saves you anywhere from $150 to $600+ per appointment. Plan for three core phases: prep, cornrow, and sew.
Learning how to sew in hair extensions is one of those skills that genuinely pays for itself. It looks intimidating the first time — all those tools, the curved needle, the braiding pattern — but it’s methodical. Once you understand why each step matters, the whole thing clicks. This guide covers everything from picking the right weft to the exact stitch that locks each row in place, so you’re not guessing your way through it.
What Type of Sew-In Is Right for You?
All sew-ins share the same foundation: cornrowed natural hair with wefts stitched on top. What differs is how you braid and what you leave out.
Full sew-in: Every strand of natural hair is braided flat to the scalp. No leave-out means no blending headaches, but you’re fully committed to the extensions for styling. Great if you want a clean, consistent look.
Partial sew-in: A 2–3 inch (5–7.5 cm) strip around the perimeter or crown is left unbraided to blend with the weft hair. This is the most forgiving option for beginners — you get a natural-looking finish without needing a closure piece. The trade-off is that blending the leave-out takes practice.
Vixen sew-in: A cross-shaped part divides the hair into four separate quadrants, each braided independently. The payoff is real versatility — you can wear a high ponytail or side part without revealing the braided base. It’s more complex to install, so save it for your second or third attempt.
Closure and frontal sew-in: Instead of leaving out any natural hair, you sew in a lace closure (4×4 inch / 10×10 cm) or lace frontal (13×4 inch / 33×10 cm) at the hairline. Cleanest-looking option, and the best choice for anyone with thin or damaged edges. It does require extra skills — customizing the lace, plucking the hairline — so factor that in before you commit.
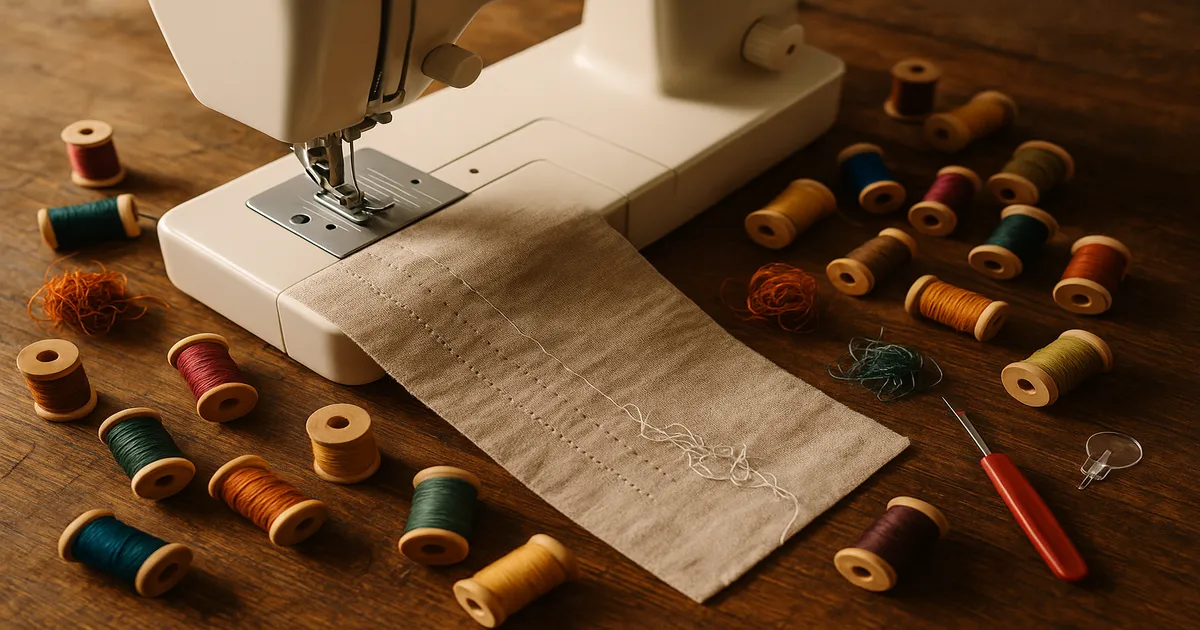
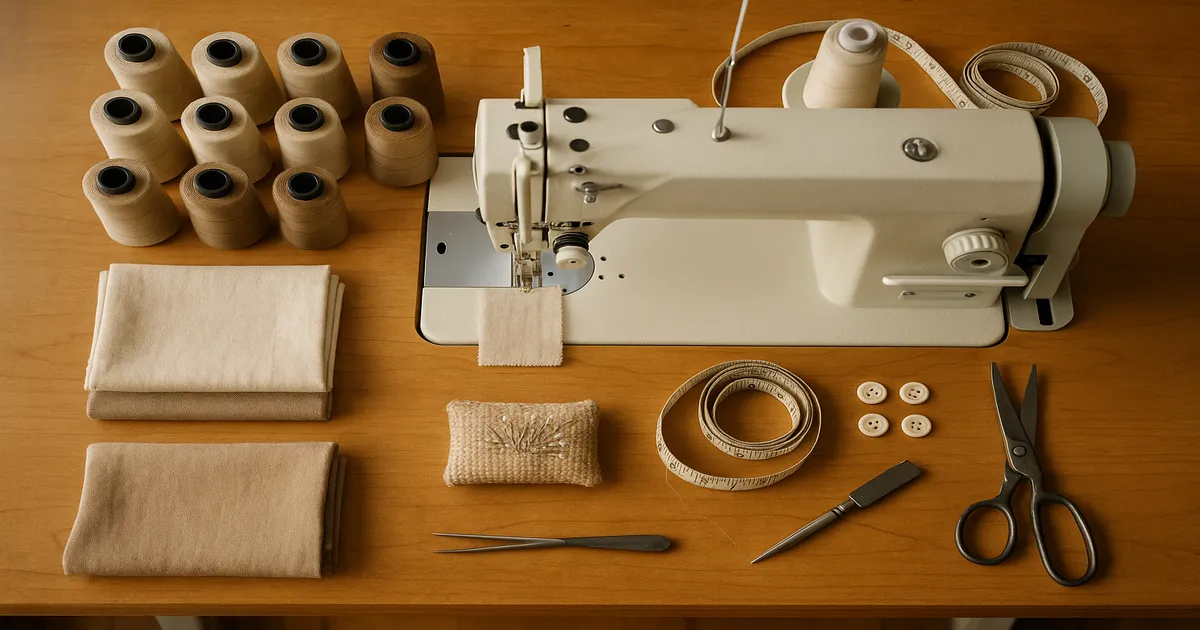
Tools and Materials You’ll Need
Getting the materials right matters more than most tutorials admit. The wrong thread alone can ruin an otherwise perfect installation.
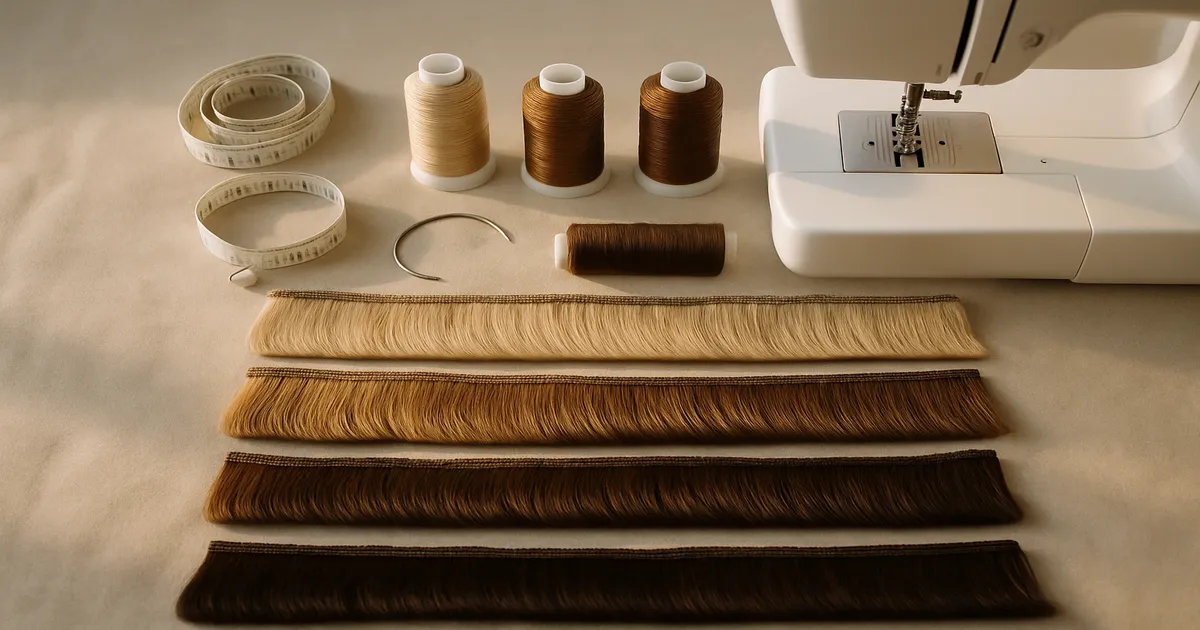
Choosing the Right Hair Weft
Human hair wefts — Brazilian, Peruvian, Indian virgin — are heat-styleable, longer-lasting, and worth the extra cost if you plan to reuse them. Synthetic wefts ($10–$40 per pack) are budget-friendly but generally can’t handle a flat iron and tangle faster.
Most wefts are sold in 3.5 oz (100g) bundles. A full sew-in typically needs 2–4 bundles depending on length and density — longer hair means more bundles. Machine wefts have a 1/4-inch (6mm) track; hand-tied wefts are thinner at about 1/8 inch (3mm) and lie flatter, though they shed more easily if you cut them carelessly.
Weaving Needles
The curve on a weaving needle isn’t cosmetic — it’s what lets you pass under a cornrow without catching the scalp. A 2-inch (50mm) C-needle is the most versatile size and the right starting point for beginners. J-needles have a sharper curve and work better on very tight cornrows or thick wefts. Straight weaving needles exist, but keep them away from the scalp until you really know what you’re doing.
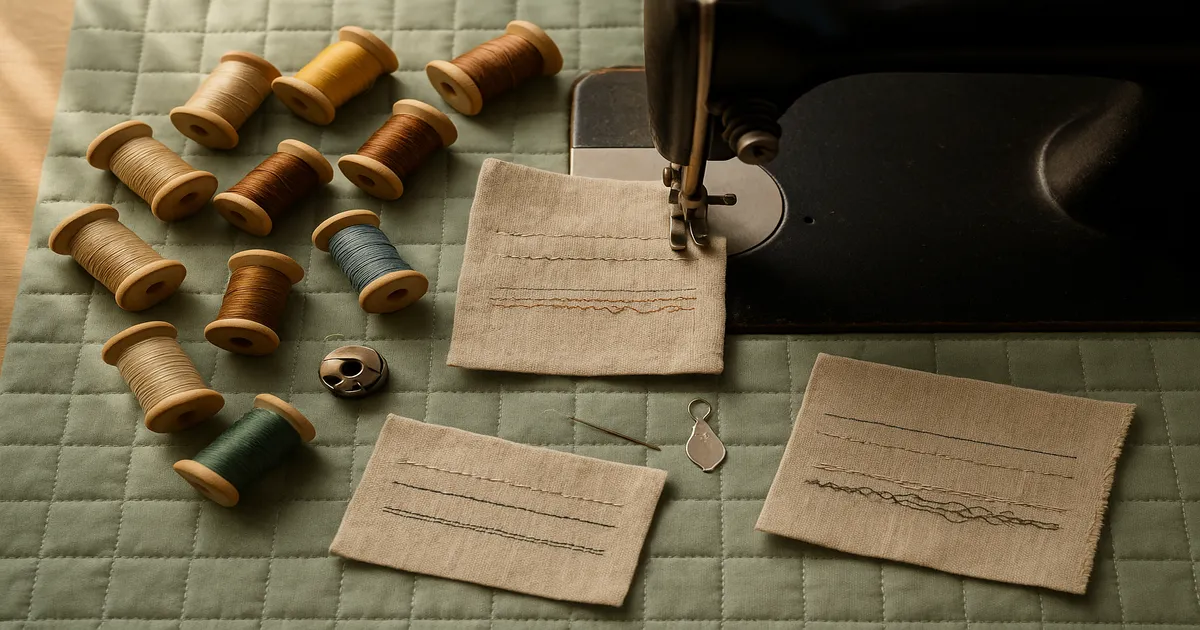
Weaving Thread
Standard all-purpose sewing thread will snap under the tension of a sew-in — full stop. You need dedicated weaving thread, a tightly twisted polyester or nylon thread roughly equivalent to size 10–20 button thread in weight. Match the thread color to the weft track (the fabric strip at the top of the weft), not to the hair color itself.
Everything Else You’ll Need
- Rat-tail comb — for clean, sharp partings
- Duckbill or butterfly clips — to section hair while you work
- Small snag-free elastic bands — to secure braid ends
- Sharp hair shears — dull scissors cause immediate shedding
- Weft sealer or clear nail polish — to seal cut ends
- Measuring tape and bobby pins — for positioning wefts before you stitch
- Spray bottle with water — keeps natural hair pliable during braiding
- Good lighting — a ring light or magnifying lamp makes close scalp work much easier
Phase 1 – Preparing Your Natural Hair
Wash your hair before every sew-in. A lot of people skip this when they’re short on time — don’t. Oils, product buildup, and bacteria trapped under a sew-in for six weeks cause real scalp problems. A clean scalp isn’t optional.
Blow-dry or stretch your hair to about 90–95% dry before you start braiding. Damp hair shrinks as it dries, which makes cornrows looser and lumpier than they should be. Detangle thoroughly from ends to roots with a wide-tooth comb — any knots left in now will be impossible to address once the wefts are on.
Use a rat-tail comb to create clean, precise part lines. For a partial sew-in, leave out a 2–3 inch (5–7.5 cm) section around the perimeter or crown. For a full sew-in, section everything for braiding. Take your time here — messy sections lead to uneven rows, and uneven rows lead to gaps in coverage.
Phase 2 – Cornrowing the Base
Start at the nape of the neck and work upward toward the crown, braiding ear-to-ear in horizontal rows. Each row becomes the anchor for one weft, so flat, consistent cornrows directly affect how the finished install looks and feels.
Space your rows about 1/2 to 3/4 inch (12–19mm) apart. Too far and you’ll have visible gaps; too close and the install gets thick and uncomfortable. Tension matters just as much as spacing — the braid needs to be secure, but you should be able to slide a finger underneath without forcing it. If the skin at the hairline is visibly pulled tight or the person winces, loosen up. Traction alopecia is a genuine risk and it’s cumulative.
Loose braid ends create lumps under the weft that you’ll both feel and see. Tuck each end flat and secure it with a small elastic band or by wrapping the tail back into the braid. Before you start sewing, a light leave-in conditioner or braid spray on the cornrows won’t affect the stitching but will keep your natural hair from drying out underneath.
Phase 3 – Cutting and Preparing the Weft
Hold the weft against the row you’re about to cover and mark it about 1/4 inch (6mm) shorter than the full width of the row — that small margin keeps the weft edges hidden at the sides. Always cut between the weft tracks, never through them, using sharp hair shears. Cutting through a track destroys the weft’s structure and causes immediate, heavy shedding.
Seal every cut end right away with weft sealer, clear nail polish, or fabric glue. Give it about 60 seconds to dry before you start sewing. For machine wefts that tend to shed, run a thin bead of fabric glue along the entire top edge of the track — not just the cut ends. It sounds fussy, but it genuinely extends the life of the extension by weeks.
How to Sew in Hair Extensions: The Stitch-by-Stitch Method
Threading the Needle
Cut about 24–36 inches (60–90 cm) of weaving thread — longer than that and it’ll tangle constantly. Fold it in half and thread both cut ends through the needle eye, leaving a loop at the opposite end. Tie a secure knot at the two loose ends, leaving a 1/4-inch (6mm) tail past the knot. This doubled setup is significantly stronger than single-strand threading and creates a natural self-locking start.
One trick most tutorials skip: run the thread across a block of beeswax before threading. It reduces tangling, strengthens the thread, and helps it glide through the weft track smoothly. It makes a noticeable difference.
The Lock Stitch, Step by Step
- Position the weft along the top edge of a cornrow — hair flowing downward, fabric track sitting directly on the braid.
- Push the curved needle under the cornrow, between the braid and scalp. Never through the scalp.
- Bring the needle back up through the weft track.
- Loop the thread around both the braid and the weft track simultaneously, then pull snug. Firm, not strangling.
- Repeat along the entire weft, spacing stitches 1/4 to 1/2 inch (6–12mm) apart.
A standard 10–12 inch (25–30 cm) row should have roughly 20–30 stitches. Double-stitch the first and last 1/2 inch (12mm) of every row — the ends take the most stress and are always the first to loosen. At the end of each row, backstitch 2–3 times in place to lock off, cut the thread, and tuck the tail under the weft. Skipping the lock-off stitches is how entire rows unravel from a single loose end.
Working from Nape to Crown
Work upward from the nape, sewing one weft per cornrow. As you reach the final rows near the crown, angle the weft slightly to follow the natural curve of the head — this gives the hair a more natural fall rather than sitting stiffly flat. After each row, slide two fingers between the weft and scalp: mild resistance is right. Can’t get your fingers in at all? Too tight. No resistance? Too loose.
Common Mistakes to Avoid
Braiding too tight is the single most common mistake, and the one with the worst long-term consequences. If the skin at the hairline is pulled taut or someone complains of a headache within an hour, the tension is too high. Uneven row spacing and skipping the pre-wash are the other big braiding errors — both are easy to avoid if you slow down.
Weft mistakes to watch for:
- Cutting through the weft track instead of between tracks
- Skipping sealant on cut ends
- Cutting wefts too long so they extend to the hairline
Sewing errors that cause loose or damaged wefts:
- Using regular sewing thread — it will snap
- Stitches more than 1/2 inch (12mm) apart — the weft will sag and fold
- Not doubling the thread
- Skipping lock-off backstitches at the end of each row
Keep wefts at least 1/2 inch (12mm) back from the perimeter hairline — any closer and they’ll show. For partial sew-ins, take time to actually blend the leave-out hair with the extensions. An obvious line of demarcation is the giveaway that something was rushed.
Pro Tips for a Long-Lasting Sew-In
Thread multiple needles at the start of your session and keep them on a pincushion nearby. Stopping mid-row to re-thread breaks your rhythm and your tension consistency.
Find the center of each weft by folding it in half, then sew outward to both ends. This distributes tension evenly and prevents the weft from pulling to one side. Briefly warming the weft in your hands or with a low blow-dryer makes the track more pliable and easier to stitch through.
Apply a thin layer of scalp oil or serum to the cornrows before you start sewing — it gives your natural hair a head start on moisture without interfering with the stitching. During the wear period, spritz water and a light leave-in conditioner through the weft rows every 3–4 days to keep the scalp from drying out.
Sleep on a satin pillowcase or in a satin bonnet every night. Friction from cotton is the number one reason sew-ins loosen prematurely, and it’s the easiest thing to fix. Alternating your stitch direction row by row during installation — left-to-right on one row, right-to-left on the next — also distributes tension more evenly and reduces that tight, pulling sensation over time.
Frequently Asked Questions
Does a sew-in hair extension hurt?
A properly installed sew-in shouldn’t hurt. Some initial tightness in the first 24–48 hours is normal, but actual pain — especially at the hairline — means the cornrows are too tight. Persistent pain is a warning sign for traction alopecia, so don’t ignore it.
How long does a sew-in weave last?
With good maintenance, a sew-in typically lasts 6–8 weeks. Sleeping in a satin bonnet, keeping the scalp moisturized, and avoiding excessive manipulation at the roots will get you closer to the 8-week end. After 8 weeks, natural hair growth underneath makes the install look grown-out and puts more stress on the roots.
Can you sew in hair extensions yourself at home?
Yes, though the cornrowing phase is easier with a second pair of hands. The sewing itself is manageable solo once you have the right tools and a mirror setup you can work with. Start with a partial sew-in before attempting a full sew-in — it’s more forgiving and lets you practice the stitch without committing every strand of hair.
What thread do you use to sew in hair extensions?
You need dedicated weaving thread — a strong, tightly twisted polyester or nylon thread designed specifically for this purpose. Standard all-purpose sewing thread is too thin and will break under tension. Match the thread color to the weft track, not the hair, and look for brands like Diane or Annie International.
How do you remove a sew-in without damaging your hair?
Use small, sharp scissors or a seam ripper to carefully cut the stitching on each row — work slowly and cut thread, not hair. Once the wefts are off, gently unravel the cornrows with your fingers before detangling with a wide-tooth comb. Follow with a thorough wash and deep conditioning treatment to rehydrate your natural hair before your next style.