Quick Answer: The best sewing machine for beginners in the Janome lineup is the Janome 2212 — mechanical, reliable, and priced around $150–180. Sewing heavier fabrics? Step up to the HD1000. Ready to go computerized? The 3160QDC is the smartest mid-range upgrade.
If you’ve spent any time searching for the best sewing machine for beginners, Janome keeps coming up — and it’s not just marketing. These machines have metal frames, consistent tension systems, and threading diagrams printed right on the body. That combination of durability and clarity is exactly what a new sewist needs, and it’s why sewing instructors keep recommending them over flashier alternatives.
Which Janome Is Best for Beginners? Our Top Picks
Top Pick: Janome 2212 (~$150–180)
The Janome 2212 is the one I’d hand to someone just starting out. It’s mechanical — no touchscreen, no computer, nothing to confuse you — with 12 built-in stitches, a drop-in bobbin, and a 4-step buttonhole. It does exactly what a beginner needs without overwhelming them with options.
Best Budget vs. Best Value vs. Best Upgrade
| Category | Model | Price Range |
|---|---|---|
| Best Entry-Level | Janome 2212 | ~$150–180 |
| Best for Heavy Fabrics | Janome HD1000 | ~$200–230 |
| Best Mid-Range Upgrade | Janome 3160QDC | ~$300–400 |
What makes Janome worth the price over budget competitors? Metal interior frames, tension that’s consistent right out of the box, and that numbered threading path printed on the machine. These aren’t small things — they’re the exact pain points that make cheap machines miserable to learn on.
Janome Beginner Models Compared
Janome 2212: Best True Entry-Level Machine (~$150–180)
Twelve stitches, a 4-step buttonhole, a drop-in bobbin. That’s really all you need to start. The 2212 is mechanical, which means no touchscreen to confuse you and nothing computerized to malfunction. It’s the machine I’d recommend to someone who wants to learn sewing fundamentals without distractions.
Janome HD1000: Best for Heavier Fabrics (~$200–230)
The HD1000 has a die-cast aluminum frame and is specifically built to handle canvas, denim, and multiple layers. If you’re planning to sew bags, home dec projects, or anything with thick seams, this is the better starting point. It’s not as beginner-friendly as the 2212 in terms of features, but it’s a genuine workhorse that won’t flinch at a double layer of 12-oz denim.
Janome Magnolia 7318: Best All-Rounder (~$250–300)
Eighteen stitches, an automatic needle threader, and a slightly more refined feel than the 2212. The Magnolia 7318 is a solid choice if you want a mechanical machine with a few more conveniences built in — particularly that needle threader, which beginners underestimate until they’ve threaded a needle by hand fifty times.
Janome 3160QDC: Best Computerized Upgrade (~$300–400)
Sixty built-in stitches, an automatic needle threader, and computerized stitch selection. The 3160QDC is where I’d point someone who’s already finished a few projects and knows they’re in this for the long haul. The jump from mechanical to computerized feels significant, but Janome’s interface is intuitive enough that it doesn’t overwhelm.
Janome 9100QCP: Best for the Serious Beginner Quilter ($500+)
This one’s for the person who learned fast and is already thinking about quilting seriously. The 9100QCP (Janome 9100QCP) has an extension table, a precise 1/4-inch quilting foot, and adjustable speed control that experienced quilters love. It’s not a starter machine, but it’s a natural next step if quilting is your goal.
Matching the Machine to Your Goals
- Garment sewing on a budget: Janome 2212
- Bags, home dec, heavier fabrics: Janome HD1000
- Quilting as a primary focus: Janome 3160QDC or 9100QCP
- Want computerized convenience from day one: Janome 3160QDC
One practical note on the upgrade path: presser feet and accessories are interchangeable across many Janome models. A walking foot you buy for the 2212 will likely work on whatever you upgrade to next. That’s not true of most other brands.
How to Set Up Your Janome: Step-by-Step
Step 1: Workspace Setup
Place the machine on a sturdy table at elbow height — at least 24 × 18 inches (61 × 46cm) of surface. The foot pedal cord on most Janome beginner models runs 5–6 feet (152–183cm), so plan your outlet placement before you start. If a needle isn’t already installed, start with a size 80/12 universal.
Step 2: Wind the Bobbin
Route thread from the spool through the bobbin winding guide, then through the small hole in the bobbin from inside to outside. Push the bobbin onto the winder spindle, slide it right to engage, and wind until full. Target fill: thread should sit within 1/16 inch (1.5mm) of the bobbin rim. Overfilling is a real tension killer — the thread binds in the case and creates inconsistent stitches.
Step 3: Load the Drop-In Bobbin
Drop the bobbin into the case so the thread unwinds counterclockwise when viewed from above. Route the thread through the J-shaped slot, then through the small notch — you should feel slight resistance as the tension spring engages. Pull out a 4–6 inch (10–15cm) tail.
Step 4: Thread the Upper Thread
Follow the numbered path printed on the machine. Three spots beginners most often miss:
- Thread must pass between the tension discs, not around them
- Thread must catch the take-up lever, threading right to left
- Thread must pass through the needle bar guide just above the needle
Thread the needle front to back, leave a 4–6 inch tail, and do all of this with the presser foot UP — that’s what opens the tension discs so the thread seats correctly.
Step 5: Draw Up the Bobbin Thread
Lower the presser foot, hold the upper thread loosely, and turn the handwheel toward you one full rotation. The upper thread catches the bobbin thread and pulls up a loop. Pull both threads out to the left or back — about 6 inches (15cm).
Step 6: Stitch Settings Reference
| Task | Stitch | Length | Width | Needle | Thread |
|---|---|---|---|---|---|
| Woven cotton seams | Straight | 2.5mm | 0 | 80/12 Universal | 50wt polyester |
| Edge finishing | Zigzag | 2.5mm | 3–4mm | 80/12 Universal | 50wt polyester |
| Stretch fabrics | Zigzag/stretch | 2.5–3mm | 2–3mm | 75/11 Stretch | 50wt polyester |
| Basting | Straight | 4–5mm | 0 | 80/12 Universal | 50wt polyester |
| Topstitching | Straight | 3–3.5mm | 0 | 90/14 Topstitch | Topstitch thread |
| Buttonholes | Auto | Per machine | Per machine | 80/12 Universal | 50wt polyester |
Step 7: Sew Your First Seam
Use a 5/8-inch (16mm) seam allowance for garment patterns, 1/4-inch (6mm) for quilting. Align your fabric edge with the corresponding guide on the needle plate. Backstitch 3–4 stitches at the start and end to lock the seam. Sew at a steady, moderate pace — the foot pedal is like a car accelerator, and new sewists almost always press it too hard.
Step 8: Check Your Tension
Sew a test seam on a doubled scrap of your actual project fabric. The stitches should look identical on both sides — small interlocked loops visible only at the midpoint of the layers. On Janome beginner models, tension 4 is the standard starting point on a 0–9 scale.
- Loops on the bottom: upper tension too loose — increase the number
- Loops on the top: upper tension too tight — decrease the number
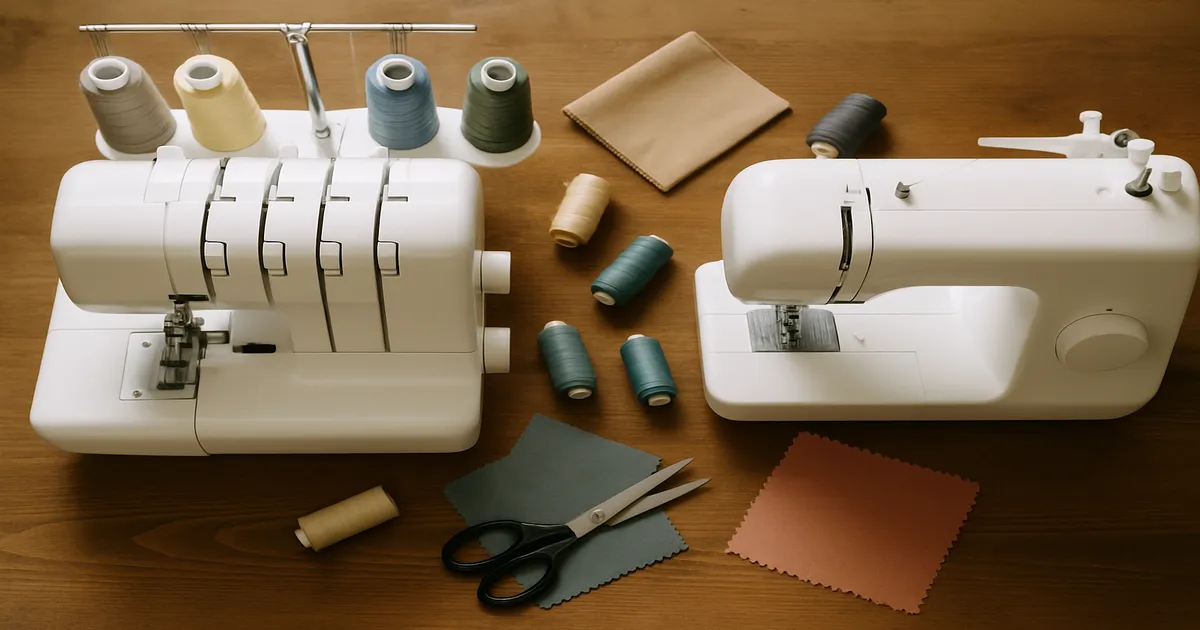
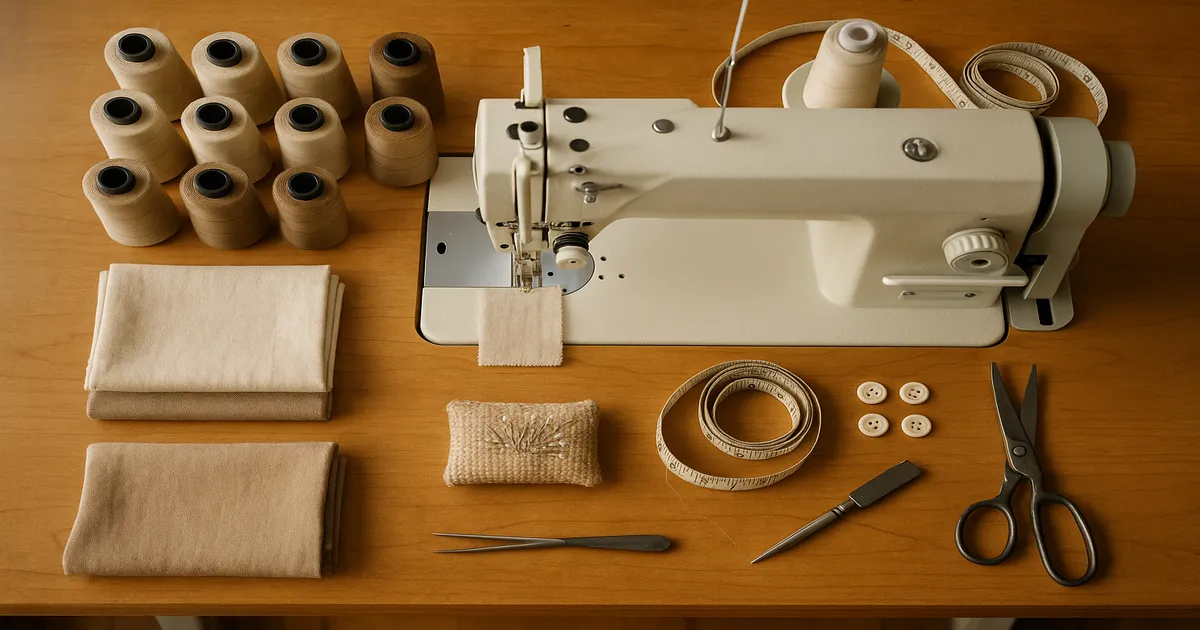
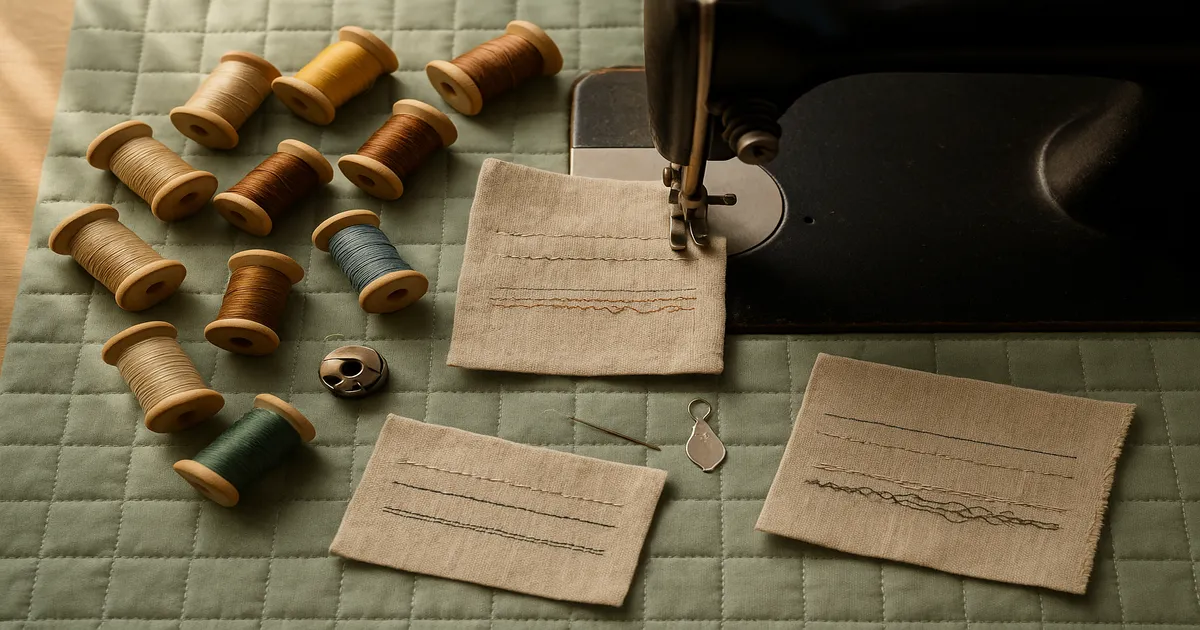
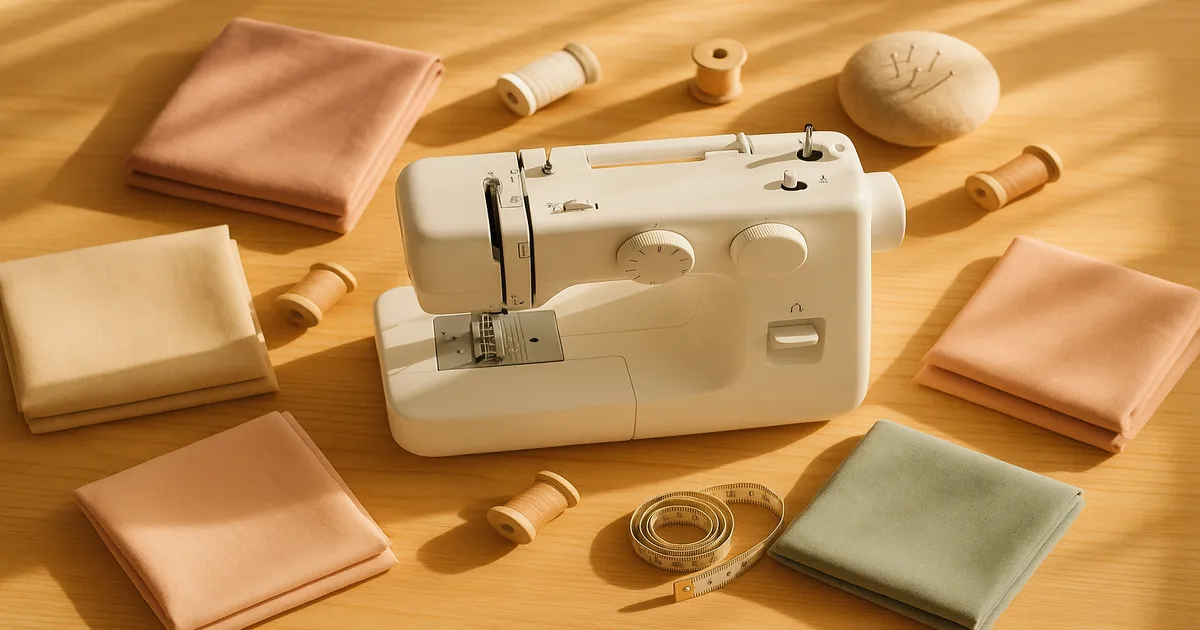
Essential Supplies for Beginner Sewists
Fabrics: Start Here, Avoid These
Quilting cotton is the single best beginner fabric — 100% cotton, 44 inches (112cm) wide, around 3–4 oz weight. It’s stable, doesn’t stretch, and presses beautifully. Muslin at $2–4/yard is perfect for practice seams. Cotton-linen blends work well for bags and home dec once you’re comfortable.
Avoid for now: slippery silks, chiffon, knits, and heavy denim over 12 oz. These require techniques and sometimes equipment that beginners don’t have yet.
Thread
Stick with 50-weight all-purpose polyester from a reputable brand — Gutermann , Coats & Clark, or Mettler are all solid. Bargain bin thread is a false economy. It’s one of the most common causes of tension problems and breakage, and you’ll waste more time troubleshooting than you saved at the checkout.
Needles
- 70/10 Universal: Lightweight fabrics (voile, batiste)
- 80/12 Universal: Your default — quilting cotton, linen, light canvas
- 90/14 Universal: Medium-weight fabrics, lighter denim
- 100/16 Universal: Heavy canvas, denim, upholstery
- 75/11 Stretch: Jersey, knits, spandex blends
- 90/14 Topstitch: Decorative topstitching with heavier thread
Change your needle every 8–10 hours of sewing, or at the start of every new project. A dull needle causes skipped stitches, puckering, and fabric snags — more problems than most beginners realize.
Presser Feet Worth Having
- J foot (general-purpose/zigzag): Comes standard; handles most tasks
- 1/4-inch quilting foot: Essential for quilting — maintains a precise 1/4-inch (6mm) seam allowance
- Zipper foot: For standard zippers
- Buttonhole foot: Most Janome beginner models include a 4-step or 1-step version
- Walking foot: Great for quilting layers and matching plaids; usually $20–40 separately
Other Notions That Make a Real Difference
- Seam ripper: Buy two . Seriously.
- Dressmaker shears (8–9 inch): Never cut paper with these
- Rotary cutter + self-healing mat: 45mm cutter, mat at least 18 × 24 inches
- Clear acrylic rulers: A 6 × 24 inch and a 6-inch square to start
- Fabric marking tools: Water-soluble pen or chalk pencil
- Wonder Clips: Better than pins for beginners — no stabbing yourself
- Iron with steam: A good iron matters as much as the machine
- Seam gauge: A 6-inch ruler with a sliding marker; invaluable for consistent seam allowances
Common Beginner Mistakes on Janome Machines
Bird’s Nesting and Thread Tangles
That ugly nest of loops on the bottom of your fabric? Almost always a threading error. The thread has to pass between the tension discs, not around them. If it’s not seated there, you have zero upper tension.
The second most common culprit: sewing with the presser foot up. The foot being down is what engages the tension discs. Sewing with it up means thread piles up immediately in a tangle. Also make sure your thread tails are at least 4 inches (10cm) before you start — short tails pull right out of the needle on the first stitch.
Bobbin Problems
On Janome drop-in models, the bobbin thread should unwind counterclockwise. Insert it clockwise and you’ll have tension failure immediately. Overfilling the bobbin — winding past that 1/16-inch margin — causes the thread to bind in the case and create inconsistent tension.
Tension Issues (That Aren’t Actually Tension Issues)
Here’s what most beginners don’t know: 95% of tension problems are threading errors, not actual tension setting problems. Before you touch the tension dial, re-thread the entire machine — upper thread and bobbin both. You’ll fix it almost every time.
Fabric Handling
Don’t pull or push the fabric while sewing. The feed dogs move the fabric; your job is to guide it gently. Pulling distorts stitches and can bend or break the needle. Sew at 30–40% of your machine’s maximum speed until muscle memory develops. And don’t start right at the fabric edge — begin about 1/4 inch (6mm) in to prevent the fabric from getting pulled down into the needle plate.
Machine Maintenance
Clean the bobbin area after every 8–10 hours of sewing. Lint accumulates fast under the needle plate and in the bobbin race, and it directly affects stitch quality. When oiling is needed (check your manual), use only clear, purpose-made sewing machine oil . WD-40 is not a substitute. Neither is cooking oil. Both will damage the machine.
Pro Tips for Sewing on a Janome
Thread with the presser foot up. Always. This opens the tension discs so the thread seats properly. Threading with the foot down is one of those subtle errors that causes mysterious tension problems that aren’t actually mysterious at all.
Wind several bobbins in your most-used colors and store them together. It saves real time mid-project. Use the same thread weight in the bobbin as in the needle — mismatched weights create subtle tension inconsistencies that are genuinely hard to diagnose.
The snap test for bobbin tension: hold the bobbin thread and let the bobbin case dangle. It should hold still. Give a small jerk — it should drop slightly. Falls freely? Bobbin tension is too loose. Doesn’t move at all? Too tight.
For straighter seams: keep your eyes on the seam guide line, not the needle. It’s the same principle as steering a car by looking ahead, not at the hood. Try the anchor stitch trick too — lower the needle into the fabric first, then lower the presser foot. Those first few stitches won’t shift.
Use a stiletto or the tip of a seam ripper to guide fabric near the needle. It keeps your fingers safely away while giving you precise control. For bulky seam intersections, slow way down and use the handwheel to walk the needle through one stitch at a time.
Frequently Asked Questions
Is Janome a good brand for beginners? Yes — consistently one of the best. Janome uses metal interior frames even on entry-level models, their tension systems are reliable out of the box, and the threading path is printed right on the machine. That last detail sounds minor until you’ve watched a beginner struggle with an unmarked machine.
What’s the difference between the Janome 2212 and the HD1000? The 2212 is the better all-around beginner machine — lighter, easier to use, and more than capable for garments, quilts, and home dec on standard fabrics. The HD1000 has a heavier aluminum frame and is built specifically for thick materials: canvas, denim, multiple layers of batting. If you know you’ll be sewing bags or heavy home dec projects, start with the HD1000. Otherwise, the 2212 is the smarter choice.
Do I need a computerized sewing machine as a beginner? No. A mechanical machine like the Janome 2212 is actually better for learning because it forces you to understand stitch settings manually. Computerized machines are a nice upgrade once you know what you’re doing — the Janome 3160QDC is a great step up when you’re ready.
How often should I service my Janome sewing machine? Clean the bobbin area every 8–10 hours of sewing. For a full professional service — cleaning, oiling, timing check — every 1–2 years is reasonable for a beginner who sews regularly. If the machine starts skipping stitches or making unusual noise, don’t wait.
Are Janome presser feet interchangeable between models? Most Janome models use a low-shank presser foot system, which means feet are interchangeable across a wide range of machines. This is one of the real practical advantages of staying in the Janome ecosystem — accessories you buy now will likely work on whatever you upgrade to later.