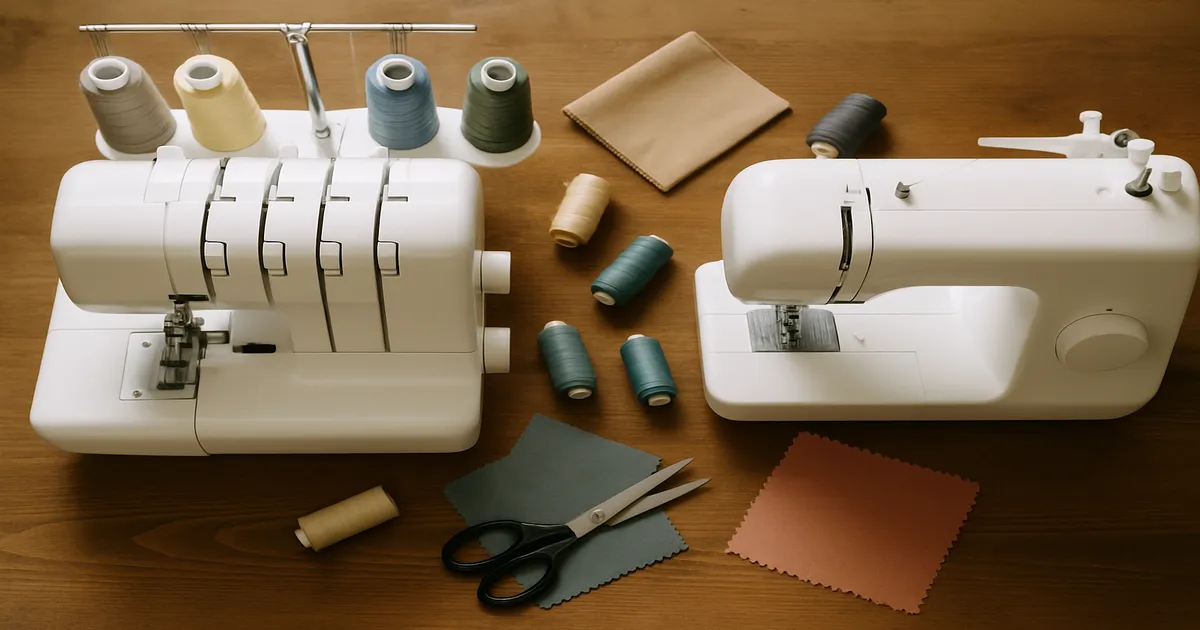
Quick Answer: A sewing machine uses two threads (one from the needle, one from a bobbin) to form a lockstitch — it’s your go-to for seams, zippers, buttonholes, and anything requiring precision. A serger uses 2–8 thread cones, no bobbin, and a built-in trimming blade to simultaneously cut, wrap, and finish a raw edge at high speed. They do different jobs, and you genuinely need both for complete garment construction.
If you’ve been trying to figure out the difference between a serger vs sewing machine, you’re in good company — it’s probably the most common question new garment sewists ask. Here’s the short version: a sewing machine builds a garment, and a serger finishes it. But that one-liner doesn’t tell the whole story, especially once you start sewing knits or want seams that don’t look homemade.
Serger vs Sewing Machine: Side-by-Side
| Feature | Sewing Machine | Serger |
|---|---|---|
| Thread count | 1–2 (needle + bobbin) | 2–8 cones (no bobbin) |
| Bobbin | Yes | No |
| Trims fabric | No | Yes (built-in blade) |
| Seam + finish in one pass | No | Yes |
| Speed (home models) | 400–900 SPM | 1,000–1,700 SPM |
| Stitch types | Many (straight, zigzag, decorative, buttonhole) | Limited (overlock, flatlock, rolled hem, cover stitch) |
| Can pivot / sew in place | Yes | No |
| Replaces the other? | No | No |
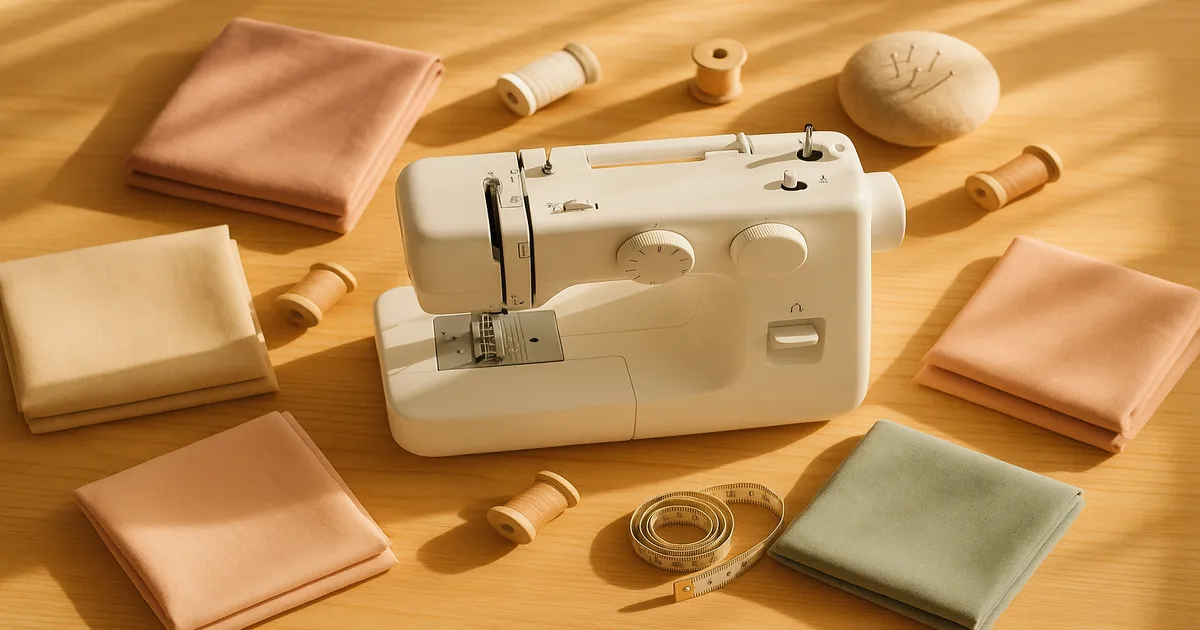
What Is a Sewing Machine?
The lockstitch is elegantly simple. The needle carries the upper thread down through the fabric, a hook beneath the needle plate catches that thread loop and wraps it around the bobbin thread, and the take-up lever pulls everything tight so the two threads interlock right in the center of the fabric. The result looks identical on both sides — clean, flat, and secure.
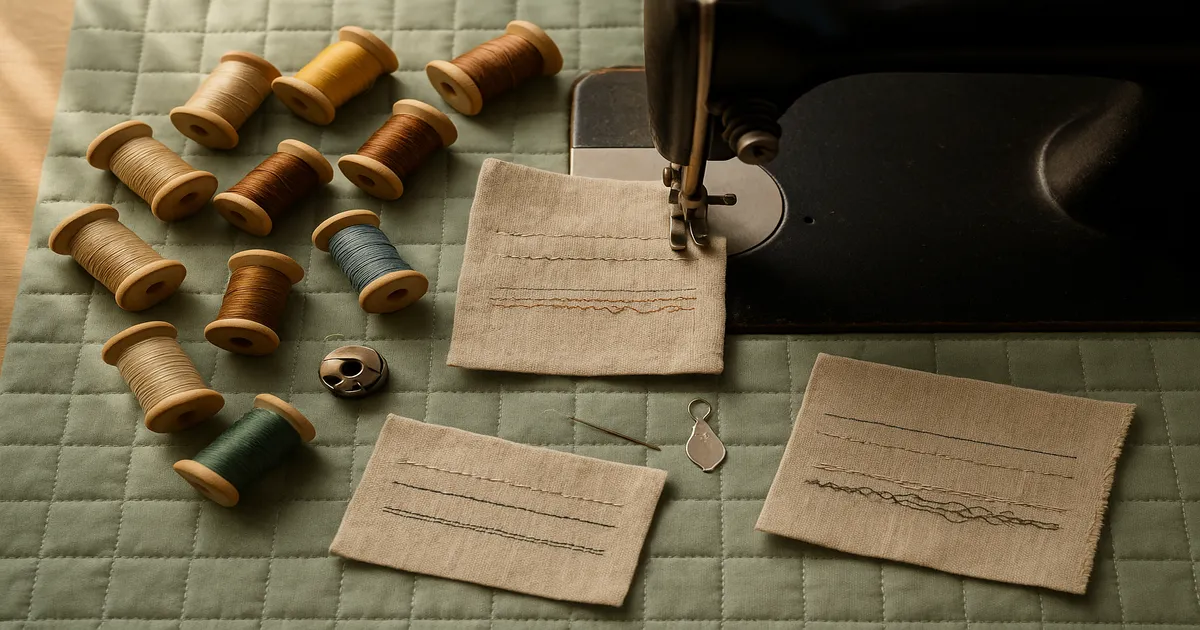
What can a sewing machine do? Honestly, almost everything. Straight seams, zigzag stitches, buttonholes, zipper insertion, topstitching, blind hems, quilting, decorative work. Home models run at 400–900 stitches per minute, which is plenty for most projects. The ability to pivot — stopping with the needle down, lifting the presser foot, turning the fabric — is something a serger simply can’t do, and it’s what makes a sewing machine indispensable for collars, corners, and curved seams.
Price ranges to know:
- Entry-level ($100–$200): The Brother CS6000i and Singer Heavy Duty 4452 are solid starting points with enough stitch options to keep you busy for years.
- Mid-range ($200–$500): The Janome HD3000 and Brother SE700 step up the durability and feed system quality noticeably.
- Advanced ($1,000–$3,000+): Bernina and Janome’s top-tier machines (the 570 QE and 9450QCP, respectively) are genuinely in a different league for stitch quality and longevity.
What Is a Serger (Overlocker)?
A serger has no bobbin. Instead, it uses an upper looper and a lower looper — threads that pass across the top and underside of the fabric edge — while one or two needles pierce the fabric and interlock with those looper threads. The result is that wrapped, enclosed edge you see inside every commercial T-shirt. If you’re in the UK, Australia, or Europe, you know this machine as an overlocker. Same machine, different name.
The Built-In Blade
That little trimming blade is what makes a serger worth owning. It trims the fabric edge a split second before the loopers wrap it, so you’re always working with a clean, even edge. On knit fabrics especially, this matters — you can’t get a smooth, professional finish without it. You can disengage the blade for flatlock seams or decorative work, but for standard edge finishing, leave it on.
Serger Stitch Types
- 3-thread overlock: the everyday workhorse; great for knit seams and edge finishing on lighter fabrics
- 4-thread overlock (safety stitch): stronger and more secure — use it for activewear and high-stress seams
- Flatlock: creates a flat, ladder-like seam with minimal bulk; ideal for fleece and sportswear
- Rolled hem: uses a narrow stitch length (1.0–1.5mm) to roll and encase the very edge of the fabric; gorgeous on chiffon and lightweight knits
- Cover stitch: technically a separate function (some machines do both), it creates the double-needle hem you see on the outside of T-shirts
Price ranges to know:
- Entry-level ($200–$250): The Brother 1034D is a reliable 3/4-thread machine and a genuinely good place to start.
- Mid-range ($300–$500): The Juki MO654DE offers better build quality and differential feed — worth the step up if you sew knits regularly.
- Advanced ($600–$2,000+): Baby Lock’s self-threading sergers (the Triumph, for example) are life-changing if you hate threading loopers. The Bernina L460 is another excellent option at this tier.
Key Differences Between a Serger and a Sewing Machine
Threading
A sewing machine has two thread sources: the upper thread and the bobbin. Threading is forgiving — mess it up and you’ll know immediately. A serger has three to eight separate thread paths, each with its own tension dial, and the threading order is non-negotiable. Thread the loopers out of sequence and you’ll spend 20 minutes untangling a mess. Tape a printed threading diagram to the front of your machine. Seriously, just do it.
Speed and What That Actually Means
At 1,000–1,700 SPM, a serger is roughly twice as fast as a home sewing machine. More importantly, it does three things at once — trim, wrap, and secure — that would require separate passes on a sewing machine. For finishing a full set of garment seams, a serger is dramatically faster.
What Each Machine Cannot Do
A serger cannot:
- Pivot and sew corners or curves with precision
- Insert a zipper
- Sew a buttonhole
- Backstitch to lock a seam end
- Do decorative topstitching
A sewing machine cannot:
- Trim and enclose a raw edge in a single pass
- Handle knit seams as cleanly without extra steps
- Produce that professional wrapped-edge finish
Fabrics
Sergers shine on knits (jersey, interlock, rib), activewear, swimwear, and delicate fabrics like chiffon where a rolled hem is the right finish. The differential feed is what makes knit sewing manageable — without it, you get wavy, stretched-out seam edges. Sewing machines are essential for structured garments, quilts, wovens, and anything requiring precise placement or stopping mid-seam.
Thread, Needles, and Accessories
For Your Sewing Machine
For wovens, an 80/12 universal needle handles most medium-weight fabrics — quilting cotton, linen, light denim. Go up to a 90/14 for heavier canvas or denim, and down to a 60/8 or 70/10 for silk and chiffon. For knits, always use a ballpoint or stretch needle (75/11 or 90/14) — the rounded tip slides between fibers instead of piercing them, which prevents skipped stitches.
50wt all-purpose polyester thread covers 90% of sewing machine projects. Gutermann Sew-All is the one I reach for most. For quilting, 50wt cotton is a better choice. For visible topstitching, step up to a 30wt or 12wt topstitching thread.
Presser feet worth owning: a zipper foot (standard and invisible), a 1/4-inch quilting foot, a walking foot (not just for quilts — use it for plaids and slippery fabrics), and an automatic buttonhole foot if your machine supports it.
For Your Serger
Serger thread is sold on large cones (1,000–3,000 yards) and is a finer 2-ply construction. Maxi-Lock and Wooly Nylon are the two you’ll reach for most. Standard sewing machine thread on small spools works in a pinch for the needle positions, but it’s too heavy for the loopers — it creates tension imbalances and a stiff, bulky edge.
Most home sergers take the same 130/705H needles as a regular sewing machine, which is convenient. Use the same ballpoint/universal logic as above.
Two accessories you actually need: tweezers for threading loopers (the built-in threaders on budget machines are often useless), and a bottle of Dritz Fray Check for securing thread tails after serging.
Common Mistakes (and How to Avoid Them)
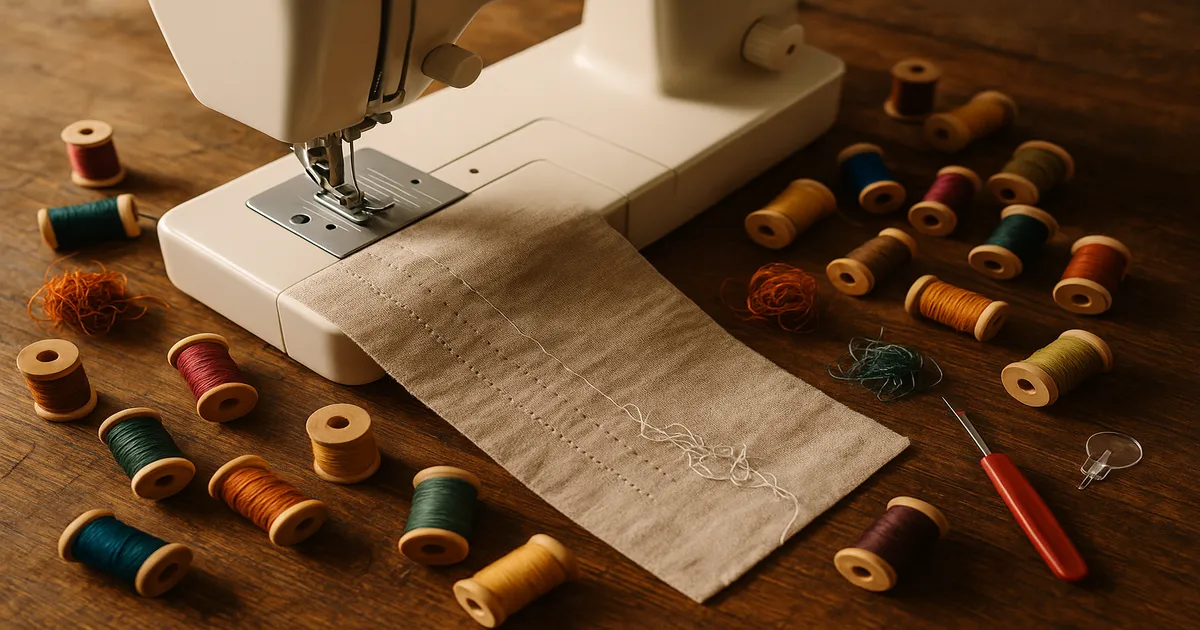
On the sewing machine: Not changing your needle often enough is probably the most widespread mistake in home sewing. A dull needle causes skipped stitches, snags, and tension problems — change it every 8–10 hours of sewing or at the start of every major project. And please stop sewing over pins. Even if it doesn’t break the needle immediately, it can nick the blade and damage your feed dogs over time.
Skipping pressing is the fastest way to make handmade garments look homemade in the bad sense. Press every seam before you cross it with another one. No exceptions.
On the serger: Threading in the wrong order is the number one serger mistake. Always follow your manual’s exact sequence. The other big one: cutting the thread tails flush with the machine when you’re done. Always serge off the fabric edge and leave a 3–4 inch (7.5–10cm) chain — cut it flush and those threads will pull right out of the loopers on your next pass.
Ignoring differential feed on knits will give you wavy, stretched seam edges every time. Set it to 1.5–2.0 for most jersey and interlock, and your results will improve immediately.
Pro Tips
Sewing machine: Turn on needle-down if your machine has it. It sounds minor until you use it, and then you can’t imagine sewing without it. Use a stiletto or seam awl to guide fabric near the needle instead of your fingers — safer and more accurate. A strip of blue painter’s tape on the needle plate at your desired seam allowance works just as well as any fancy seam guide.
Serger: The thread-chain trick for re-threading is one of the best serger techniques out there. When you need to change thread color, tie the new thread to the old tails with a simple overhand knot and slowly pull the old thread through — the new thread follows the exact same path. It doesn’t always work for needle threads if the knot is too thick, but for loopers it’s a genuine time-saver. Always serge a test chain off-fabric for 6–8 inches before touching your project pieces. Thirty seconds on a scrap can save you from ripping out a seam.
Do you need both? Start with a sewing machine — it’s the foundation of everything. Once you’re regularly sewing knit garments or activewear, or you’re frustrated with how long seam finishing takes, that’s when a serger earns its place. For quilters working primarily with wovens, a serger is nice but not urgent. For garment sewists working with knits, it’s transformative.
Frequently Asked Questions
Can a serger replace a sewing machine?
No. A serger can’t sew buttonholes, insert zippers, pivot around corners, or backstitch to lock seam ends. It feeds fabric continuously in one direction and is designed specifically for edge finishing and knit seaming. If you’re only buying one machine, buy the sewing machine first.
Do I need both a serger and a sewing machine?
For complete garment construction, yes. A sewing machine handles construction — seams, closures, topstitching — while a serger handles edge finishing and knit seams. If you’re just starting out or primarily sewing quilts and structured wovens, a sewing machine alone will take you a long way. Add a serger when you start working regularly with knits.
What is a serger used for?
A serger simultaneously trims, encloses, and finishes raw fabric edges in a single pass. It’s the machine behind the professional-looking seams inside commercial T-shirts and activewear. Home sewists use sergers for finishing seam allowances on wovens, sewing stretchy knit seams, creating rolled hems on lightweight fabrics, and speeding up any project with a lot of straight seaming.
What’s the difference between an overlocker and a serger?
No functional difference — same machine, different regional names. “Serger” is the term used in North America; “overlocker” is standard in the UK, Australia, and much of Europe.
Can a beginner use a serger without a sewing machine?
Technically yes, but it’s not a good idea. A serger alone can’t complete most sewing projects — no buttonholes, no zipper insertion, no precise corners. Threading a serger is also more complex than threading a sewing machine, so starting on one without sewing machine basics under your belt is a frustrating way to learn. Get comfortable on a sewing machine first, then add a serger when you’re ready.