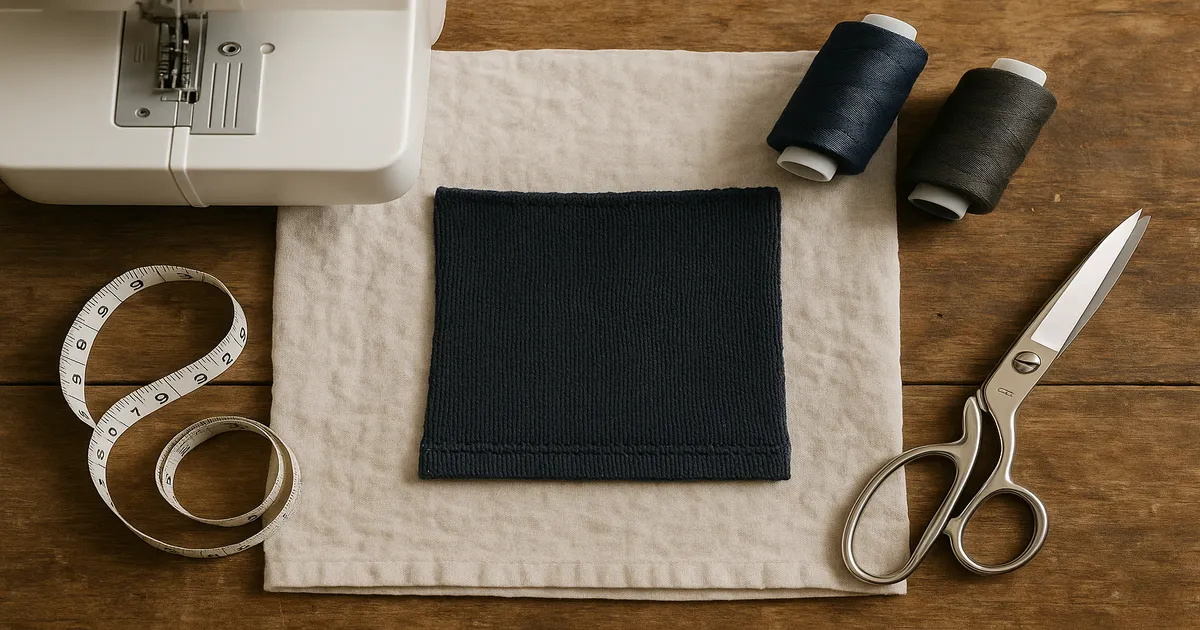
Quick Answer: Hem curl comes from knit fabric construction, bias grain, lightweight fabric with too little body, or mismatched stitch tension. The fix depends on your fabric: use a twin needle or coverstitch for knits, edgestitching or fusible web for wovens, a rolled hem for sheers, and staystitching for anything cut on the bias. Match the method to the fabric and you’ll stop the curling edge of a hem before it starts.
Hem curl is one of those problems that makes an otherwise beautiful garment look unfinished — and it’s frustrating because the cause isn’t always obvious. Whether you’re dealing with a T-shirt hem that flips up after every wash or a chiffon skirt that refuses to lie flat, the fix exists. You just need to match the solution to what’s actually causing it.
Quick Reference: How to Stop a Curling Hem by Fabric Type
| Fabric | Best Anti-Curl Method |
|---|---|
| Jersey / knit | Twin needle or coverstitch |
| Rib knit | Coverstitch or twin needle (5.0mm) |
| Medium-weight wovens | Edgestitching + pressing |
| Lightweight wovens (chiffon, voile) | Serger rolled hem |
| Silk, rayon | Rolled hem or fusible web |
| Bias-cut edges | Staystitch first, then hem |
| Quick repairs / no-sew | Fusible web tape |
What Causes a Hem Edge to Curl?
Knit Fabric: Built-In Curl by Design
Single-jersey knit — the fabric in most T-shirts — has a looped construction that naturally rolls toward the technical face (the right side). This isn’t a defect. Textile engineers measure this tendency using a curl index, and single-jersey can exceed 90 degrees of rotation from flat. That’s a full quarter-turn. Pressing alone won’t fix it permanently; you need a stitch that accommodates stretch.
The coverstitch machine was developed specifically for this problem in industrial knitwear production. It exists because knit curl is a real engineering problem, not just an annoyance.
Bias-Cut Wovens and Diagonal Grain Instability
When you cut a woven fabric on the diagonal, you’re cutting across both warp and weft threads at once. That edge has maximum stretch and minimal structural support, so it waves, stretches, and curls — and gets worse with wear and washing.
Lightweight Wovens with Insufficient Body
Chiffon, silk charmeuse, and voile curl because there’s simply not enough weight in the fabric to hold a fold flat. Nothing is anchoring the hem edge down.
Stitch Tension Imbalance
If your needle thread tension is too tight relative to the bobbin, the stitch line creates a spiral pull along the hem edge. It looks like curl but is actually the fabric being drawn into a ridge by uneven thread tension. Always test on a scrap first.
Method 1: Edgestitching and Pressing (Best for Wovens)
This is the workhorse method for woven fabrics, and it’s underused because people skip the pressing step — which is, frankly, the whole point.
Single-fold vs. double-fold: A single-fold hem works for heavier wovens where bulk isn’t an issue. For lightweight to medium-weight fabrics, a double-fold hem is more stable because it encases the raw edge entirely, eliminating the structural imbalance at the cut edge.
How to do it:
- Press the hem allowance up — ⅝ inch (16mm) for single-fold, 1 inch (25mm) total for double-fold (fold up ½ inch/13mm, press, fold again, press).
- For curved sections, use a pressing ham to ease the fold flat without puckers.
- Sew edgestitching ⅛ inch (3mm) from the upper folded edge on the right side.
- If there’s bulk inside the fold, trim the inner seam allowance to ¼ inch (6mm) before stitching.
Stitch length: 2.5mm for medium-weight wovens, 2.0mm for lightweight. A hem that hasn’t been pressed before stitching has no fold memory and will curl no matter how carefully you sew it.
Method 2: Twin Needle Hem for Knit Fabrics
No coverstitch machine? This is your method. It works on any standard sewing machine and produces a result close enough to ready-to-wear that most people won’t know the difference.
Use a 4.0mm/75 twin stretch needle for most jersey knits, or a 5.0mm/90 for rib knit. Thread two spools simultaneously — one through each needle path — using the same thread weight for both.
How to do it:
- Fold the hem allowance up 1 inch (25mm) and press gently. Don’t stretch the knit while pressing — just let it relax.
- Sew from the right side at 3.0mm stitch length, guiding the fold so both needle lines land within the hem allowance on the wrong side.
- The twin needle creates two parallel rows on the right side and a zigzag-like chain on the wrong side — that zigzag is what gives the hem stretch and prevents both stitch popping and curl.
If your machine has differential feed, set it to 1.5–2.0. No differential feed? Use a walking foot instead. Either option feeds both layers at the same rate and stops the knit from stretching as it goes through.
Method 3: Coverstitch Machine Hem (The Professional Standard for Knits)
This is how ready-to-wear garments are hemmed. If you sew a lot of knits, a coverstitch machine is worth every penny.
2-needle vs. 3-needle: A 2-needle coverstitch is standard for most hems. A 3-needle is wider and more decorative — great for activewear. For everyday hemming, 2-needle is the one to reach for.
How to do it:
- Thread the looper with wooly nylon thread for stretch and a smooth finish on the garment’s outside.
- Fold the hem allowance up 1 inch (25mm) and press.
- Sew from the wrong side so the looper chain faces outward on the finished garment.
- Maintain a consistent ¼-inch (6mm) margin from the fold edge.
- Stitch length: 3.0–3.5mm for standard knits, 4.0mm for thick or textured knits.
To secure the chain ends, pull the tail through a tapestry needle and bury it back through the hem allowance. Or put a small drop of seam sealant (Dritz Fray Check) on the chain end — takes five seconds and holds through washing.
Method 4: Fusible Web Tape (No-Sew Option for Wovens)
Fast, beginner-friendly, and genuinely useful for repairs and alterations. Don’t use it as your go-to on stretch knits — it won’t hold through repeated washing on fabric that moves.
Choosing the right tape:
- Steam-A-Seam 2 : Repositionable before fusing, which is great if you need to adjust hem depth.
- HeatnBond Lite: Softer hand after fusing — better for garments that drape. Avoid the regular-weight version for clothing; it goes stiff.
Use ¼-inch (6mm) tape for narrow hems and ⅝-inch (16mm) for deeper hem allowances.
How to do it:
- Fold the hem allowance up and press lightly to crease.
- Unfold, insert tape along the fold line between the hem allowance and the garment body.
- Re-fold and press with a damp press cloth at the appropriate temperature for your fabric.
- Hold the iron still for 10–15 seconds per section — sliding it shifts the tape before it bonds.
- Let it cool for at least 60 seconds before handling. Butt tape strips end-to-end; overlapping creates a stiff ridge that buckles.
Method 5: Rolled Hem and Staystitching for Special Cases
Serged Rolled Hem for Sheers and Lightweight Fabrics
The rolled hem is the right answer for chiffon, georgette, and organza. Set your serger to the narrow rolled hem setting (disengage the left needle, tighten the lower looper tension — check your manual for exact settings), trim the allowance to ¼ inch (6mm), and let the machine do the work. The result is a ⅛-inch (3mm) fully enclosed edge with nothing left to curl.
For chiffon specifically: use a rolled hem foot, 60-weight thread (Gutermann Extra Fine 60-weight), and set stitch length to 1.5mm. Press lightly with a cool iron.
Staystitching Bias Edges Before Hemming
This is the step most people skip, and it’s exactly why bias-cut hems end up wavy and sad. Before hemming any bias or curved edge, sew a single row of straight stitches at 2.0mm length, ⅛ inch (3mm) inside the cutting line. Sew with the grain direction, not against it. This stabilizes the edge and keeps it from stretching out during every subsequent step.
Common Mistakes That Cause Hem Curl
Straight stitch on knit fabric. A straight stitch has zero stretch. When the knit moves, the thread snaps before the fabric gives, creating a rigid tension line that curls the hem. Use a zigzag (width 2.0–2.5mm, length 2.5mm), a stretch stitch, twin needle, or coverstitch on any knit.
Skipping the pressing step. Hems that aren’t pressed before stitching have no fold memory and will curl. Press the fold, stitch it, press again. Three touches of the iron minimum.
Stretching knit fabric while sewing. Even gentle pulling stretches the knit and causes the finished hem to wave and curl. Let the machine feed. Use a walking foot or engage differential feed, and hold the fabric with just your fingertips.
Not pre-washing fabric before hemming. Fabric shrinks. If you haven’t pre-washed, the hem will pull up after the first wash and the stitching will pucker. Wash and dry the fabric the same way you’ll care for the finished garment before you cut a single piece.
Hemming bias edges without staystitching. This produces a wavy, curling edge that gets worse every time the garment is worn or washed. Staystitch bias edges before you do anything else to them.
Pro Tips for Flat Hems Every Time
The negative ease press trick for knits. Before hemming a knit, stretch the fabric lengthwise by about 5–10% while pressing the folded hem allowance. When you release it, the hem allowance is slightly shorter than the garment body — that subtle negative ease holds the hem flat instead of rolling outward. It’s the same principle used in industrial knitwear production.
Spray starch for lightweight wovens. Spray the hem allowance with actual spray starch — not sizing — before pressing. The starch temporarily stiffens the fibers and gives them enough body to hold a crisp fold. Especially effective on silk, rayon, and chiffon, which are otherwise nearly impossible to press into a stable crease.
Sew with the natural curl direction. On fabrics that curl toward one side, fold and sew in the direction that works with the curl. If a knit curls toward the right side, fold the hem to the wrong side and sew from the right side — the fabric’s own tendency helps hold the fold in place during stitching.
Frequently Asked Questions About Stopping Hem Curl
Why does my hem keep curling up after washing?
Almost always unshrunk fabric. If you didn’t pre-wash before hemming, the fabric shrinks in the wash while the stitching doesn’t, pulling the hem out of shape. The second most common cause is using a straight stitch on knit fabric — it has no stretch and creates a rigid line that curls as the fabric relaxes through washing.
How do I stop a knit hem from rolling without a coverstitch machine?
A twin needle on a standard sewing machine is your best option. Use a 4.0mm/75 twin stretch needle, fold and press the hem allowance, and sew from the right side at 3.0mm stitch length. The mock coverstitch on the wrong side gives the hem enough stretch to lie flat without a dedicated machine.
Can I use a regular sewing machine to hem stretchy fabric without curl?
Yes — with the right technique. A twin needle is the most reliable method. If you don’t have one, a narrow zigzag stitch (width 2.0–2.5mm, length 2.5mm) works as a backup. Always use a walking foot or engage differential feed, and never pull the fabric as it feeds through.
Why is my hem curling even though I used a straight stitch on woven fabric?
On woven fabric, the most likely culprit is tension imbalance. If the needle thread is too tight relative to the bobbin, it pulls the hem edge into a ridge that looks like curl. Test on a scrap with the same number of layers and adjust tension until the stitch sits exactly halfway between the two fabric layers. Also check that you pressed the hem before stitching — an unpressed fold has no memory and will drift.
Does fusible web tape stop hem curl permanently?
On woven fabrics, yes — fusible web holds a hem flat through normal washing and wearing when applied correctly. On knit fabrics, it’s a temporary fix at best. The adhesive bond breaks down as the fabric stretches and relaxes through wear and washing. For knits, use a twin needle or coverstitch instead.