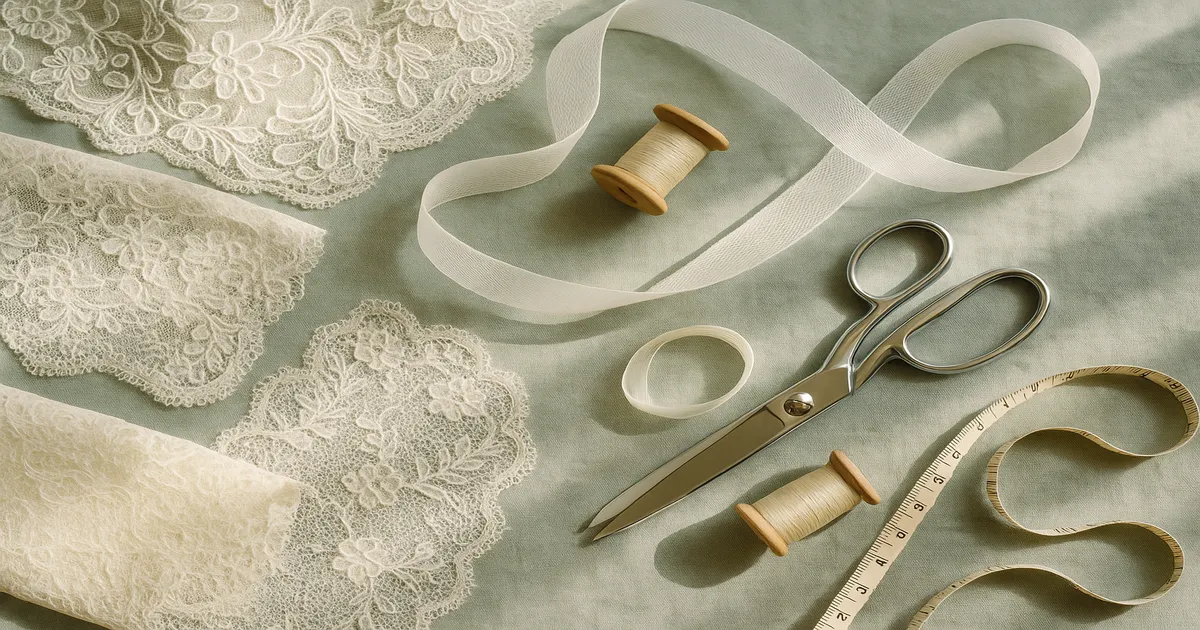
Quick Answer: Lace doesn’t always need to be hemmed — it depends entirely on the edge type. Scalloped, picot, or other decorative borders are already the hem; straight cut edges through a pattern repeat do need finishing. Knowing the difference before you pick up your scissors can save hours of unnecessary work and protect an expensive piece of fabric.
Whether you’re staring at a length of bridal Chantilly or a stretch lace destined for lingerie, the question of “will this lace need hemmed?” is one of the most common — and most misunderstood — in sewing. The answer is: sometimes yes, sometimes absolutely not, and applying the wrong answer to the wrong lace can ruin it. Lace behaves nothing like woven fabric, and once you understand why, the hemming decision becomes a lot more straightforward.
Will This Lace Need Hemmed? Start Here
Finished decorative edges need no hemming. Raw cut edges do. That’s the whole rule.
If your lace has a built-in scallop, picot, or ornamental border along the working edge, that edge is already finished. Folding it under and stitching it down would be a mistake — you’d be hiding the most beautiful part of the fabric. If the edge is a straight cut through the middle of a pattern repeat, it needs some form of finishing.
Galloon lace has decorative finished borders on both long sides. Edging lace has one decorative edge and one straight edge. In both cases, the decorative edge needs nothing done to it — trim close to the border and you’re done. Bridal lace runs $30–$150+ per yard, so adding an unnecessary hem to a finished scallop edge isn’t just time-consuming; it’s expensive.
Why Lace Behaves Differently from Woven Fabric
Lace is constructed from looped, twisted, or knitted threads with intentional voids — there are no warp and weft threads running in a grid the way there are in cotton or silk. That open structure is the whole aesthetic point, and it’s also why lace doesn’t behave like other fabrics when you cut it.
Because there are no cut warp or weft threads along a decorative edge, most lace won’t unravel the way linen or chiffon would. The threads loop back on themselves or are secured within the pattern structure. This is the single most important thing to understand before you decide whether to hem — a lot of lace edges are perfectly stable without any finishing at all.
A quick note on history, because it actually matters here: traditional bobbin and needle lace, dating from 15th-century Europe, was finished by the lace-maker as part of construction. The edge was the design. Machine-made lace on Leavers and Raschel looms changed that — it produces allover yardage that gets cut from a larger piece, creating raw edges that genuinely do need finishing. Then came 20th-century stretch lace with elastomeric fibers, which introduced its own set of challenges. These three categories behave very differently from each other, and treating them the same is where most hemming disasters start.
Identifying Your Lace Type Before You Cut Anything
Allover Lace
Cut from larger yardage, so all four edges are raw cuts through the pattern repeat. These need finishing — the specific method depends on weight and fiber content.
Galloon Lace
Decorative finished borders on both long edges. If you’re using it as a trim or band, those long edges need nothing done to them. Only address the short ends where you’ve cut across the width.
Edging Lace
One straight edge, one decorative edge. The straight edge may need finishing depending on how it’s being used — often it’s sewn into a seam, which takes care of it. The decorative edge is already finished. Don’t touch it.
Stretch Lace
Contains elastomeric fiber — Lycra, Spandex, or similar — and needs finishing methods that move with the fabric. A straight stitch will snap the moment the fabric stretches. This category needs its own approach entirely.
Guipure and Venetian Lace
Heavy, cord-outlined motifs with open spaces between them. Rather than hemming, cut individual motifs out along their outlines and appliqué them. Trying to turn a hem on stiff guipure creates a bulky mess. A seam sealant on the cut edges is often all you need. (Dritz Fray Check)
Not Sure? Do the Fray Test
Cut a 2-inch (5cm) scrap from the edge in question. Rub it firmly between your fingers for about 30 seconds, then run it through a short machine wash cycle in a mesh bag. If threads have loosened or the edge has degraded, you need to finish it. If it’s held cleanly, you probably don’t.
I also swear by the float test: hold the lace up to a window. Light reveals the true edge structure far more clearly than staring at it flat on a table — you can immediately see whether there’s a built-in border or a raw cut edge. Do this before you cut anything, every single time.
Does This Lace Need Hemmed? Choosing the Right Finishing Method
Narrow Rolled Hem — Best for Lightweight and Delicate Lace
A narrow rolled hem — two folds of ¼ inch (6mm) each — is the most versatile finish for fine allover lace. It’s nearly invisible when done well, adds minimal weight, and works on both straight and gently curved edges.
How to do it:
- Press the lace gently through a pressing cloth — approximately 275°F (135°C) for nylon lace, 300°F (150°C) for cotton lace.
- Fold the raw edge under ¼ inch (6mm), then fold again another ¼ inch (6mm) to create a double-fold hem.
- Secure with sewing clips every 3–4 inches (7.5–10cm). Pins distort lace — skip them.
- Stitch with a straight stitch at 2.0–2.5mm length, sewing as close to the inner folded edge as possible — ideally within 1/16 inch (1.5mm).
- Trim any excess hem allowance to ⅛ inch (3mm) after stitching.
- Press lightly from the wrong side through a pressing cloth.
Horsehair Braid Hem — The Couture Choice for Bridal and Formal Wear
Horsehair braid (also called crinoline braid) gives a hem structure and a slight flare without visible bulk. It’s the technique couture houses used on lace for decades, and it’s still the best choice for bridal skirts and formal gowns.
How to do it:
- Cut horsehair braid to the length of the hem edge. Use ½-inch (12mm) wide braid for most lace; 1-inch (25mm) for heavier or longer skirts.
- Place the braid on the right side of the lace, aligning the flat edge of the braid with the raw edge of the lace.
- Stitch with a straight stitch at 2.0mm length, sewing ¼ inch (6mm) from the raw edge through both layers.
- Fold the braid to the wrong side, rolling the lace edge over the braid.
- Leave the braid’s inner edge free-floating — do not stitch it down. This is what allows the hem to flare naturally.
- Slip-stitch the folded edge by hand using matching thread, catching only the back of the lace stitches — approximately one stitch per ¼ inch (6mm).
A good rule of thumb: horsehair braid width should equal half the finished hem depth. For a 2-inch (5cm) hem, use 1-inch (25mm) braid.
Finishing Stretch Lace Edges
Don’t use a straight stitch — it will snap under tension. Your options:
- 3-thread overlock on a serger, with woolly nylon in the loopers for a soft, stretchy finish
- Narrow zigzag on a conventional machine — 1.5mm width, 2.0mm length — or a lightning bolt stitch if your machine has one
- Twin needle at 4.0mm spacing for a professional lingerie finish: fold under ⅜ inch (9.5mm) and stitch; the bobbin thread zigzags between the two needle threads, providing stretch
- Fold-over elastic for waistbands and leg openings, applied at about ¾ of the fabric’s stretched length to prevent flaring
Lace-to-Lace Overlap Hem — For an Invisible Finish on Patterned Lace
On allover lace with a strong pattern repeat, overlap the hem allowance so the motifs align, stitch through both layers along a motif outline, then trim away the excess. Done well, the join is genuinely invisible. It takes planning and a steady hand, but the result is worth it.
Tools That Actually Make a Difference
Thread: Use 60–80wt thread — Aurifil 80wt cotton is excellent for machine stitching cotton or mixed-fiber lace. Silk thread (50–60wt) is the best choice for hand finishing; it sinks into the fiber and disappears. For synthetic lace, 60wt polyester. Match thread color exactly — even a half-shade off shows against lace’s open structure.
Needles: A 60/8 or 65/9 Microtex sharp for fine, non-stretch lace; a 70/10 Microtex for medium-weight allover lace. For any lace containing elastomeric fiber, switch to a 75/11 stretch needle. Change your needle every 6–8 hours of sewing — a dull needle snags lace catastrophically.
Stabilizer: Always place wash-away stabilizer beneath lace when machine stitching. The open structure will get pulled into the feed dogs without it. No Solvy? A layer of gift-wrap tissue paper works in a pinch — tear it away carefully after stitching.
Presser feet: A 2mm rolled hem foot for consistent narrow hems; an open-toe embroidery foot for maximum visibility near motifs; a walking foot for stretch lace; a Teflon-coated foot if synthetic lace sticks to your standard foot.
Common Mistakes (and How to Avoid Them)
Hemming a decorative edge that was already finished. Examine the lace before cutting. If there’s a defined decorative border, that is the hem. Folding it under destroys the design.
Heavy thread and a large needle on fine lace. Stitching Chantilly with 40wt thread and a size 80 needle is a recipe for visible, puckered stitching. Drop to 60–80wt thread and a 60/8 or 65/9 Microtex needle.
Skipping stabilizer. The open holes in lace get caught in the feed dogs, causing puckering and skipped stitches. Use wash-away stabilizer beneath lace every time you machine stitch.
Too much heat on synthetic lace. Nylon and polyester lace melt or flatten permanently at cotton iron settings. Test on a scrap first; stay at approximately 275°F (135°C) for synthetics and always use a pressing cloth.
Cutting through motifs without planning. Treat lace like a solid fabric and you’ll end up with half-motifs at the hem edge. Plan your cutting line to fall between motifs or at a natural pattern break — you can add or subtract up to 1 inch (2.5cm) from the pattern’s hem allowance to make it work.
Stretching lace while stitching. If your finished hem comes out ruffled or wavy, you pulled the fabric through the machine instead of guiding it. Let the feed dogs do the work. Hold the fabric taut — not stretched — with equal tension front and back.
FAQ
Can I leave lace completely unhemmed? Yes, if the edge is a finished decorative border — scallop, picot, or ornamental outline. These edges are designed to be exposed. Raw cut edges through a pattern repeat are a different story and will degrade over time without finishing.
What’s the easiest way to hem lace for a beginner? A narrow rolled hem on a conventional machine is the most forgiving starting point. Use wash-away stabilizer underneath, a 65/9 Microtex needle, and 60–80wt thread. Test on a 12-inch scrap before touching your actual fabric.
Will this lace need hemmed if it’s going to be lined? Not necessarily. If the lace is fully enclosed in a lining, the raw edges are hidden and won’t be subject to wear or washing stress. A simple serged edge or even a clean cut is usually sufficient when the hem will be sandwiched inside a lining.
How do I hem stretch lace without it going wavy? Use a walking foot, woolly nylon in your serger loopers or a zigzag stitch on a conventional machine, and apply any elastic at ¾ of the fabric’s stretched length. Never pull stretch lace taut while stitching — guide it with light, even pressure.
Can I use fabric glue instead of sewing a lace hem? For non-stretch lace in low-stress applications — a decorative trim, a costume piece — a flexible fabric adhesive can work. It’s not suitable for garments that will be washed repeatedly or for stretch lace, where the glue will crack and fail.