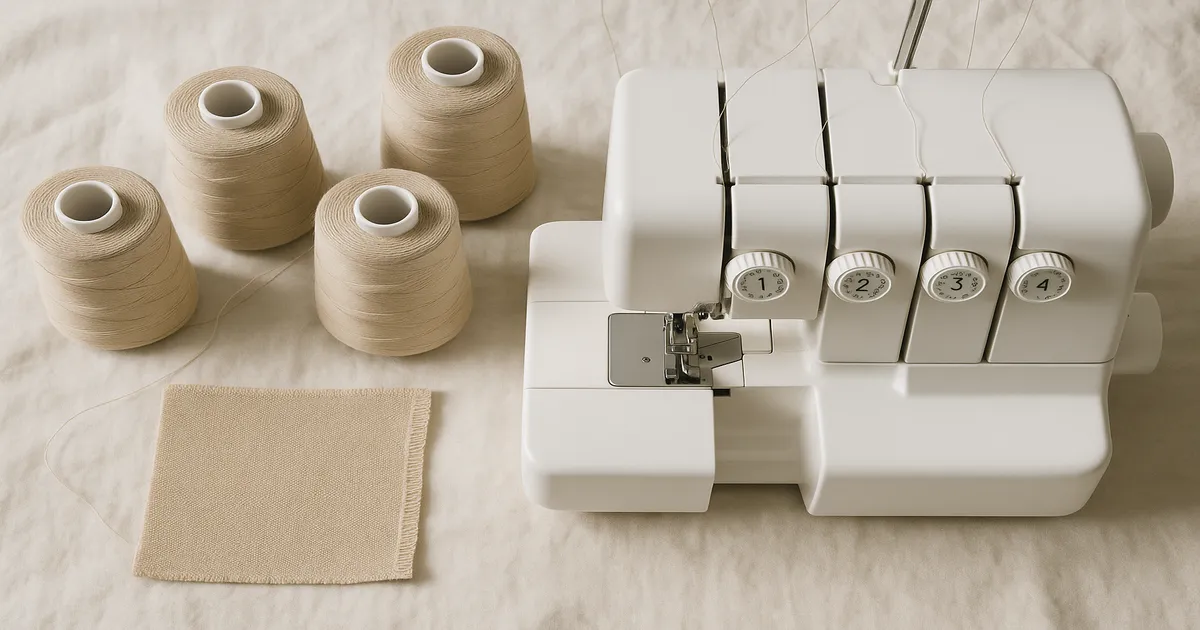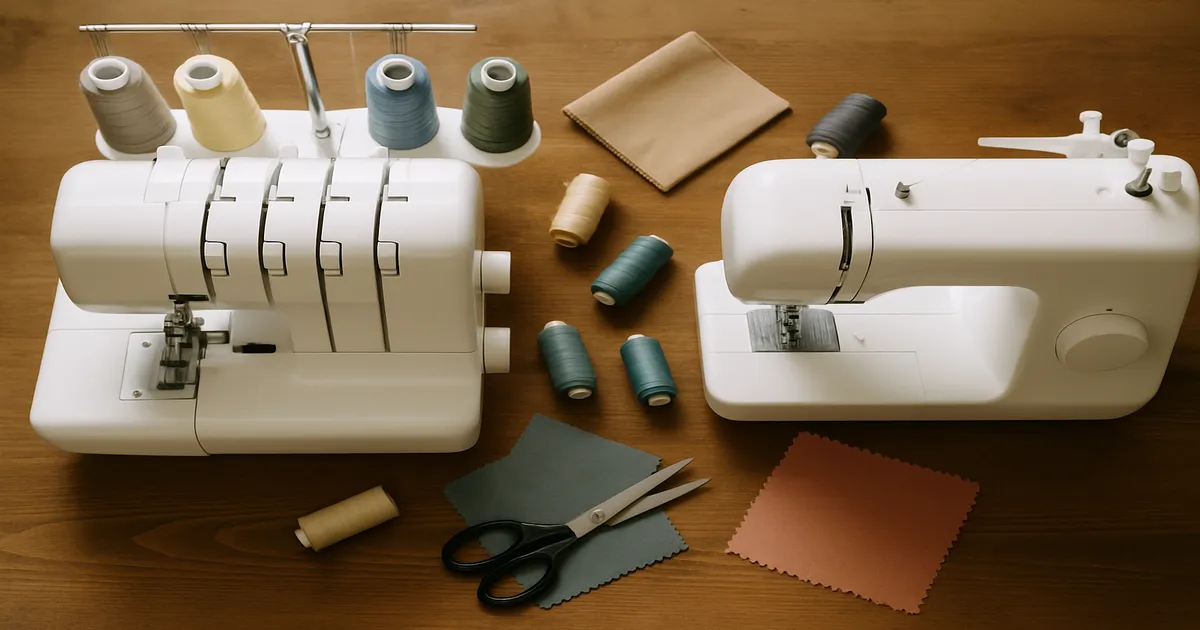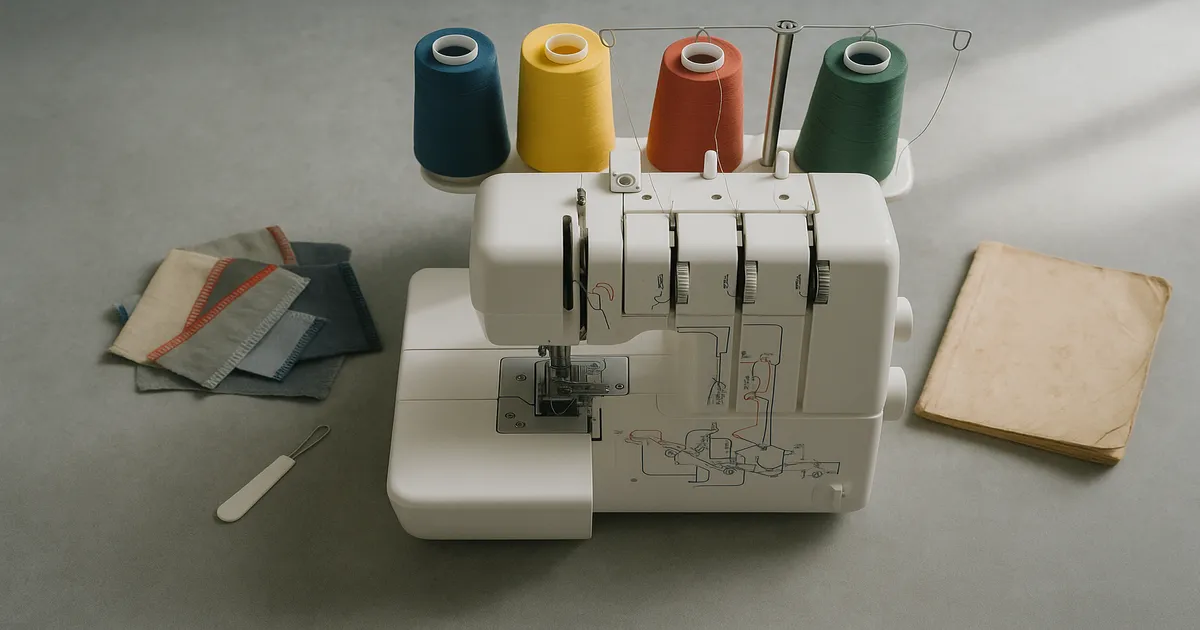
Quick Answer: Somewhere between 70–80% of serger problems come down to a threading error, a tension setting that’s off, or a dull/wrong needle. Before you touch a single dial, rethread the entire machine with the presser foot raised. That one step fixes most issues.
If you’ve ever stared at a tangled mess of loops and muttered “why does my serger do this?”, you’re not alone — and you’re probably not doing anything wrong. Sergers are genuinely more complex than a regular sewing machine. Instead of a bobbin, they use two loopers and up to four separate thread paths that all have to work in sync. When one thing slips, the result can look like something completely different is broken. The good news: it’s almost always the same handful of problems, and once you know what to look for, you can diagnose them in minutes.
Identify Your Symptom First
Don’t touch anything until you can name exactly what you’re seeing. Serger troubleshooting goes sideways fast when people start turning tension dials based on a vague sense that “something looks off.” Get specific.
Thread and Stitch Problems
| Symptom | Most Likely Cause |
|---|---|
| Loops on top of fabric | Upper looper too loose, or lower looper too tight |
| Loops on underside | Lower looper too loose, or upper looper too tight |
| Loops along the fabric edge | Looper tension imbalance |
| Skipped stitches | Wrong needle type, dull needle, or needle not fully seated |
| Thread breaking | Tension too tight, threading error, or a burr in the thread path |
| Puckering or tunneling | Tension too tight, or differential feed set too high |
| Wavy, stretched-out seam | Differential feed too low — rarely a tension issue |
| Stitches falling off the edge | Stitch width too narrow, or fabric misaligned |
| Thread bunching at the start | Thread tails not held, or threading error |
Mechanical Problems
- Loud knocking or grinding: bent needle, timing issue, or debris caught in the knife assembly
- Fabric not feeding: presser foot pressure too high, lint-packed feed dogs, or differential feed maxed out
- Blade not cutting: upper knife disengaged, dull blade, or blade misaligned
- Machine runs but no stitch forms: threading error, almost without exception
Tension vs. Differential Feed: How to Tell the Difference
Wavy, stretched-out seams on knits are almost always a differential feed problem, not a tension problem. Bump the differential feed up to 1.5–2.0 and see if the waves disappear — if they do, you’ve found it. Puckering on wovens, on the other hand, is usually tension, or the differential feed left too high after a knit project.
Why Does My Serger Do This? Start With Rethreading
Rethreading is not a last resort. It’s the first thing you do, every single time something looks wrong. It solves roughly 70–80% of serger problems and takes about three minutes.
The Correct Threading Order
The standard order is: upper looper → lower looper → right needle → left needle. Always thread the loopers before the needles. Your specific machine may vary slightly — check the manual once, then commit it to memory.
Check That Thread Is Seated in the Tension Discs
Before you start threading, raise the presser foot. This is non-negotiable. The tension discs only open when the foot is up — thread that goes in while the foot is down will sit beside the disc instead of inside it, and your tension will be completely unpredictable no matter what numbers you dial in.
After threading, pull each thread gently. You should feel a small amount of resistance from each disc. If a thread slides through with zero resistance, it’s not seated — that’s your problem right there.
Tips for Easier Rethreading
- Use four different thread colors while you’re learning. Being able to trace each path visually is genuinely worth the extra effort.
- Leave 4–6 inch (10–15 cm) tails hanging behind the presser foot before you start sewing.
- For the lower looper, a pair of fine-tipped tweezers and the flexible wire threading tool that came with your machine are not optional — they’re essential. That lower looper eye is in an awkward spot by design, and bare fingers won’t cut it.
Diagnosing and Fixing Serger Tension Problems
How Serger Tension Works
Each thread — upper looper, lower looper, left needle, right needle — has its own tension setting, and they work independently. That’s what makes serger tension feel complicated. The standard starting point on most machines is 3–4 on a 0–9 scale, but treat that as a baseline, not a rule.
How to Read a Test Seam
Fold a piece of quilting cotton and serge a short test seam. Then examine it closely:
- The upper looper thread should lie flat on the top surface along the edge
- The lower looper thread should lie flat on the underside
- The needle thread(s) should disappear straight through the fabric — you shouldn’t see them on either surface
If the upper looper thread is getting pulled to the underside, the upper looper tension is too tight. Loosen it by one number, sew another test seam, and look again. One variable at a time — always.
Tension Quick-Reference
| Symptom | Culprit | Fix |
|---|---|---|
| Loops on top of fabric | Upper looper too loose | Tighten upper looper |
| Loops on underside | Lower looper too loose | Tighten lower looper |
| Upper looper thread pulled under | Upper looper too tight | Loosen upper looper |
| Lower looper thread pulled over top | Lower looper too tight | Loosen lower looper |
| Needle thread visible on surface | Needle tension too tight | Loosen needle(s) |
| Seam puckering | All tensions too tight | Loosen all by 0.5–1 |
Specialty Threads
Woolly nylon is fantastic for knit seams — stretchy, soft, and it fills out the edge beautifully. But it needs looser tension than regular thread, typically 1–2 numbers lower on whichever looper you’re running it through. Monofilament needs even more adjustment. Always sew a test seam after any specialty thread swap.
Differential Feed: The Setting Most People Ignore
What It Actually Does
Your serger has two sets of feed dogs — front and rear. The differential feed ratio controls how fast the front set moves relative to the rear. At 1.0, they move at the same rate. Above 1.0, the front dogs move faster, easing fabric in (great for knits). Below 1.0, the front dogs slow down, stretching the fabric as it feeds.
Settings by Fabric Type
- 1.0 — neutral; use for most woven fabrics
- 0.5–0.9 — stretches fabric slightly as it feeds; use for lettuce-edge hems or to prevent tunneling on very lightweight fabrics
- 1.5–2.0 — eases fabric; use for knits to prevent stretched seams, or to gather one layer onto another
The most common mistake I see is people leaving the differential feed at 2.0 after finishing a knit project, then wondering why their quilting cotton is puckering. Reset it to 1.0 every time you switch fabric types. It takes two seconds.
Needles, Blades, and Stitch Settings
Choosing the Right Needle
| Fabric Type | Needle Type | Size |
|---|---|---|
| Woven cotton, linen | Universal | 75/11 – 90/14 |
| Knit, jersey, spandex | Ballpoint or Stretch | 75/11 – 90/14 |
| Denim, canvas | Denim/Jeans | 90/14 – 100/16 |
| Silk, chiffon, organza | Microtex/Sharp | 60/8 – 70/10 |
| Leather, faux leather | Leather | 90/14 – 100/16 |
Using a universal needle on knit fabric is one of the most common causes of skipped stitches on a serger. A ballpoint tip slides between fibers instead of piercing them — it makes a real, immediate difference. Look for Schmetz 130/705H SUK (ballpoint) or HS (stretch) needles.
Installing the Needle Correctly
Flat side faces back, pushed all the way up into the clamp until it stops. A needle that’s even 1mm too low will cause skipped stitches consistently. Double-check every time you change one. Replace needles every 6–8 hours of sewing time — and if you hear a faint popping or clicking while sewing, that’s a bent needle hitting the throat plate. Change it immediately.
When to Replace the Blade
The upper knife does the actual cutting and dulls with regular use. Replace it every 3–6 months if you sew regularly. Blades typically cost $3–$8 and take about five minutes to swap. A dull blade chews the fabric edge instead of cutting cleanly, which is often mistaken for a tension problem.
And please — never sew over pins on a serger. A pin hitting the blade can shatter it and send metal fragments in multiple directions. Use wonder clips instead, or just pull pins before they reach the knife.
Stitch Length and Width
Standard stitch length is 2.5–3mm for most seams. Go shorter (1–2mm) for curves and stress points; longer (3.5–4mm) for basting or gathering. Stitch width typically runs 3–7mm — narrower for rolled hems and sheers, wider for knits and heavier fabrics.
Thread, Feet, and a Note on Cleaning
Use Cone Thread
Standard spool thread runs out in minutes on a serger, costs more per yard, and the cross-wound spools can cause tension inconsistencies at high speeds. Cone thread — 40-weight polyester or cotton on 1,000–3,000 yard cones — is what the machine is designed for. It’s finer, more consistently twisted, and runs smoothly at serger speeds.
Presser Feet Worth Knowing
- Standard overlock foot — everyday seaming and edge finishing
- Rolled hem foot — narrow 2–3mm rolled hem
- Blind hem foot — nearly invisible hem on wovens
- Gathering foot — gathers one layer while joining it to a flat layer
- Elastic foot — guides elastic evenly onto a fabric edge
Don’t Skip Cleaning
Sergers produce dramatically more lint than conventional machines because they’re cutting fabric constantly. A few minutes of cleaning every 2–3 sewing sessions prevents more problems than any amount of troubleshooting. Whether your machine needs oiling depends on the model — some are self-lubricating and adding oil is actually harmful, so check your manual before you do anything.
Frequently Asked Questions About Serger Problems
Why does my serger keep breaking thread?
Broken thread is almost always one of three things: tension set too tight, a threading error where the thread isn’t properly seated in a guide or tension disc, or a burr somewhere in the thread path. Rethread completely with the presser foot raised, then reduce tension by one number on the thread that’s breaking. If it keeps happening, run your fingertip slowly along the thread path and feel for rough spots — a tiny burr can shred thread repeatedly.
Why is my serger making loops on top of the fabric?
Loops on the top surface mean your upper looper tension is too loose — or your lower looper tension is too tight, which pulls the upper looper thread down and creates the same visual effect. Tighten the upper looper one number at a time, sewing a test seam after each adjustment. If that doesn’t resolve it, try loosening the lower looper slightly.
Why does my serger skip stitches on knit fabric?
Almost always a needle issue. Switch to a ballpoint or stretch needle (Schmetz 130/705H SUK or HS) in size 75/11 or 90/14. A universal needle skips stitches on knit because its sharp point deflects fibers instead of sliding between them. Also confirm the needle is pushed all the way up into the clamp and isn’t dull.
Why is my serger puckering the fabric?
Two likely culprits: overall tension that’s too tight, or a differential feed setting left too high from a previous project. Reset differential feed to 1.0, loosen all tensions by half a number, and sew a test seam on a fresh piece of fabric. If the puckering disappears, you’ve found it.
Do I need to rethread every time something goes wrong?
Yes — or at minimum, it should always be your first step. It takes three minutes and fixes the majority of serger problems. Tension adjustments, needle changes, and blade checks are all valid, but they’re wasted effort if a thread has quietly slipped out of a guide. Rethread first, then diagnose from there.