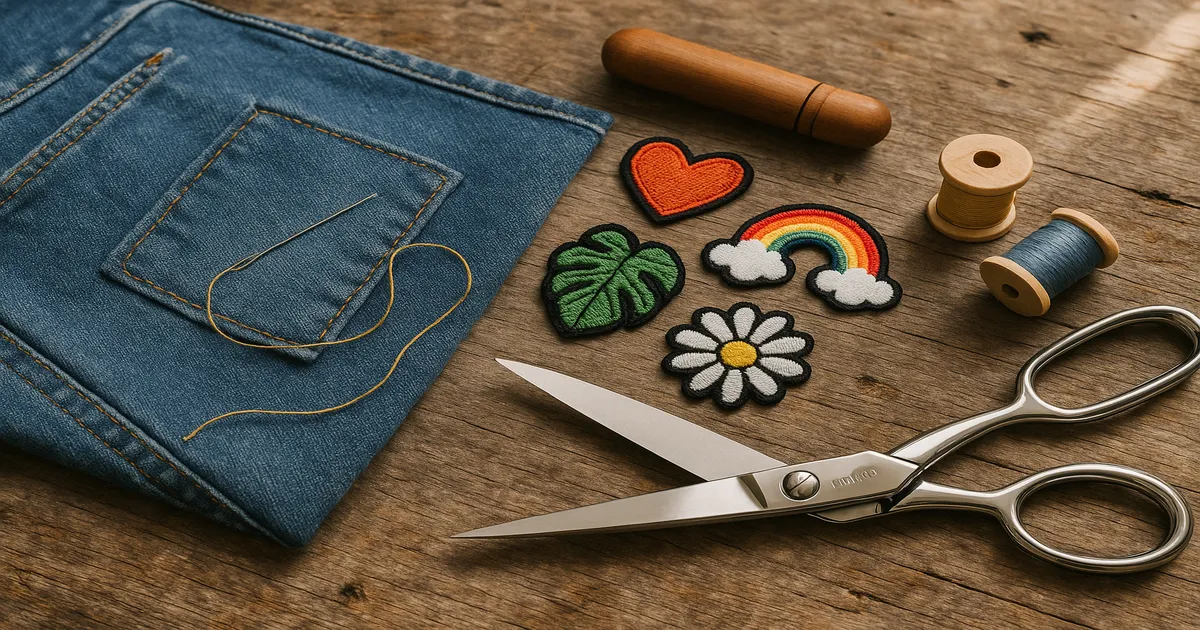
Quick Answer: For most garments, machine sewing is the best way to attach patches — it’s the most durable option, handles any patch size, and survives repeated washing without complaint. If you’re a beginner, iron-on adhesive followed by a perimeter stitch gives you professional-looking results with a much gentler learning curve.
The best way to attach patches depends on what the patch is made of, what it’s going on, and how much abuse it’ll take. A chenille varsity patch on a wool jacket needs a completely different approach than a denim knee patch on a toddler’s jeans or an embroidered badge on a canvas tote. This guide covers all four main methods — machine sewing, iron-on adhesive, hand sewing, and fabric glue — with honest takes on where each one works and where it doesn’t.
What to Consider Before Attaching Patches
A few minutes of thinking upfront saves you from ripping everything out after the first wash.
Durability requirements. A patch on a wall hanging can be glued and forgotten. A knee patch on kids’ jeans needs to survive mud, machine washing, and the kind of structural stress that would test a suspension bridge. Match your method to the actual wear the item will see.
Base fabric compatibility. Check the care label before you pick up an iron. Nylon, acetate, and thin synthetics will pucker or melt under high heat. Stretch knits need a stitch that moves with them — a straight stitch on a knit base will pop the first time someone bends their knee.
Patch type. Embroidered patches with a merrowed (overlocked) edge work with nearly every attachment method. Leather and vinyl patches need a Teflon presser foot and a leather needle; pressing them directly with an iron ruins the surface. Chenille patches are thick and delicate at the same time, which makes hand sewing the safest bet.
Pre-washing. Pre-wash both the patch and the garment before attaching anything, especially with cotton. Patches can shrink 3–5% in the first wash, and that differential shrinkage creates permanent puckering you cannot fix after the fact.
At-a-Glance Comparison: All Four Patch Attachment Methods
| Method | Durability | Best Fabric Types | Tools Required | Skill Level | Wash-Safe | Ideal Use Case |
|---|---|---|---|---|---|---|
| Machine Sewing | ★★★★★ | Denim, canvas, cotton twill | Sewing machine, correct needle | Intermediate | Yes | Garments, high-wear areas |
| Iron-On Adhesive | ★★☆☆☆ | Cotton, poly-cotton | Iron, pressing cloth | Beginner | Short-term only | Decorative or as basting step |
| Hand Sewing | ★★★★☆ | Any, including leather & delicates | Hand needle, thread | Beginner–Intermediate | Yes | Leather, chenille, shaped patches |
| Fabric Glue | ★★☆☆☆ | Thick or unusual materials | Glue, clamps | Beginner | Poor long-term | Crafts, display items only |
Machine Sewing: The Best Way to Attach Patches for Durability
Machine sewing is the gold standard for any patch that will be washed, worn hard, or expected to still look good in two years. It works on virtually every patch size, produces consistent stitching, and — done right — gives you a finish that looks like it came off a factory floor.
Key specs:
- Thread weight: 40wt for general use; 30wt for denim or canvas
- Needle: 80/12 for medium fabrics; 90/14 or 100/16 for denim
- Stitch options: straight stitch at 2.5–3.0mm; zigzag at 3.0–4.0mm wide, 1.5–2.0mm long; satin stitch at 0.3–0.5mm length for a polished border
- Presser feet: edge stitch foot for precision; walking foot for thick layers
- Start at the midpoint of a straight side — never at a corner
The stitch choice matters more than most tutorials admit. A straight stitch looks clean on patches with finished edges. Zigzag encases raw edges and prevents fraying. A satin stitch (dense zigzag at 0.3–0.5mm length) mimics a professionally embroidered border and looks genuinely sharp on the right garment.
For patches on high-stress areas like knees or elbows, do a double pass: one row 1/8 inch (3mm) from the edge, a second row 1/4 inch (6mm) inside the first. Then add a bar tack — dense zigzag, 0mm stitch length, 4–5mm width, 8–10 stitches — at each corner. That’s how manufacturers reinforce belt loops and pocket corners, and it works just as well here.
Pros
- Most durable attachment method available — survives years of machine washing
- Consistent, even stitching that’s hard to replicate by hand
- Handles patches of any size, from tiny badges to full back panels
- Multiple stitch options let you match the look to the garment
Cons
- Requires a sewing machine and some comfort with pivoting at corners
- Tricky to maneuver on curves without practice
- Can’t reach areas a machine physically can’t access (like the bottom of a sewn-shut bag)
Best for: Any patch on a garment that will be washed regularly, or anywhere the patch will take mechanical stress.
Iron-On Adhesive: The Fastest Patch Application Method
Iron-on adhesive gets a bad reputation mostly because people use it wrong. The two most common mistakes: using steam (don’t — it activates the adhesive unevenly and creates weak spots) and treating it as a finished attachment rather than a first step.
Key specs:
- Iron temperature: High/400°F (204°C) for cotton; medium/300°F (149°C) for poly-cotton
- Press time: 30–45 seconds of firm, stationary pressure — stamping motion, not gliding
- Cool time: 2–3 minutes before touching
- Always use a pressing cloth between iron and patch
The double-bond method makes a real difference: press once from the front, let it cool completely, then flip the garment and press again from the reverse for 15–20 seconds. That second press bonds any spots the first one missed and noticeably extends the life of the hold.
Here’s the honest truth: iron-on adhesive alone degrades within 10–20 wash cycles, and dryer heat accelerates that. For anything that’ll be washed, always follow up with at least a perimeter stitch. Think of iron-on as an excellent basting method — it holds the patch perfectly flat while you sew, which is actually its best use case.
Pros
- Fast — most patches are bonded in under 10 minutes
- Holds the patch flat without pins, making subsequent sewing much easier
- No sewing skills required for the initial application
- Most embroidered patches come with adhesive backing already applied
Cons
- Adhesive degrades with repeated washing and dryer heat
- Cannot be used on nylon, acetate, or thin synthetics
- Sliding the iron shifts the patch before the adhesive sets — you must stamp, not glide
Best for: Quick decorative application on items that won’t be washed often, or as a basting step before machine or hand sewing. Rarely sufficient on its own for wearable garments.
Hand Sewing: Best Way to Attach Patches on Leather and Delicates
There are situations where a sewing machine is genuinely the wrong tool. Leather patches, chenille, irregular shapes, vintage garments with fragile fabric, and areas a machine physically can’t reach all belong in this category. Hand sewing isn’t a fallback here — it’s the better choice.
Key specs:
- Thread length: 18–24 inches (45–61cm) maximum — longer lengths tangle
- Needle: Sharps 7–9 for general work; triangular-point leather needle for vinyl or leather; curved needle for hard-to-reach areas
- Run thread through beeswax before sewing to prevent tangling and add strength
- Knot off with 2–3 backstitches, then run the needle through the seam allowance before cutting
The four stitches worth knowing:
- Slip stitch — nearly invisible; catches only a few threads of the patch edge and base fabric alternately. Best for turned-under edges where you want the attachment to disappear.
- Whip stitch — goes over the edge at 1/4-inch (6mm) intervals. Fast and decorative; works well on felt or chenille where the stitch is part of the look.
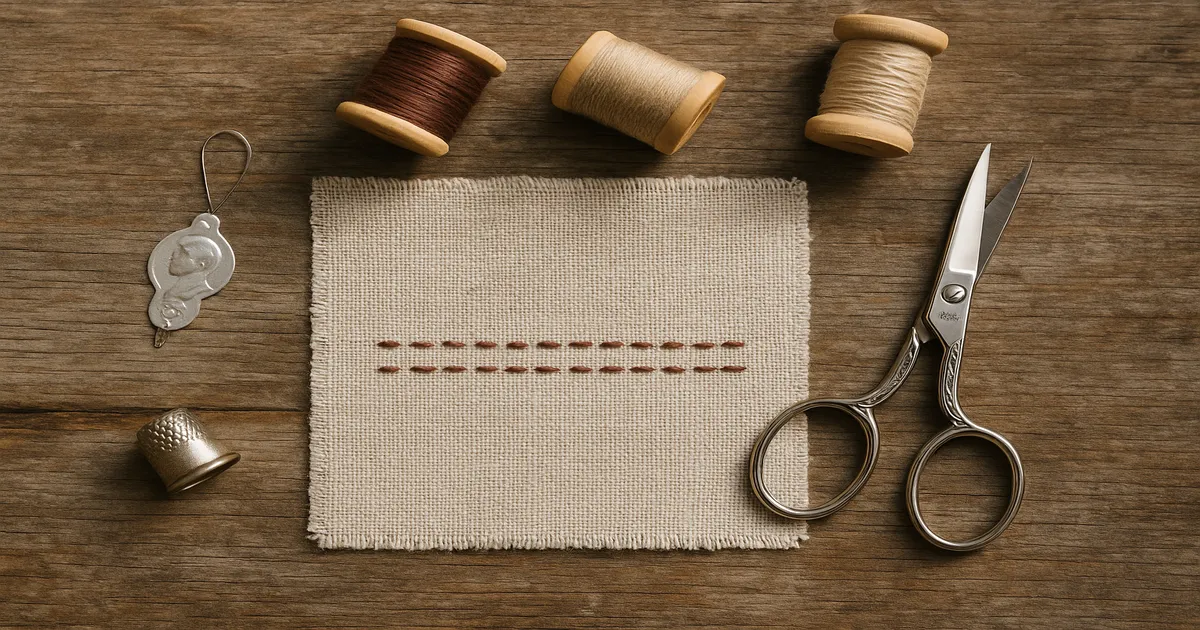
- Running stitch — in-and-out at 1/8-inch (3mm) intervals. Light duty; fine for basting or low-stress decorative work.
- Backstitch — the most durable hand stitch by a wide margin. Stitch forward 1/8 inch (3mm), go back 1/16 inch (1.5mm), repeat. It mimics machine stitching and holds up significantly better than running stitch under stress.
Pros
- Maximum control over placement, stitch angle, and tension
- Works on any fabric, including materials that can’t tolerate machine pressure or heat
- No machine required — genuinely portable
- The only practical option for leather, thick chenille, or tight spaces
Cons
- Time-intensive — a 3-inch (7.6cm) patch can take 30–60 minutes to attach properly
- Stitch consistency takes practice; uneven spacing is very visible up close
- Backstitch is durable but still not as strong as machine stitching for high-stress areas
Best for: Leather patches, chenille varsity patches, heirloom or vintage garments, and any area a sewing machine can’t physically access.
Fabric Glue: Best for Non-Washable and Craft Projects
Fabric glue has a specific and legitimate use case — it’s just not wearable garments. For wall hangings, framed textile art, or anything that will never see the inside of a washing machine, it works fine. It’s also useful on very thick materials (multiple layers of canvas or foam-backed fabric) where getting a needle through cleanly is genuinely difficult.
Key specs:
- Apply a thin bead 1/8 inch (3mm) from the patch edge — don’t flood the surface
- Press firmly and weight with a heavy book or clamp for even pressure
- Cure time: 24–48 hours before handling; 72 hours before any washing
- Apply seam sealant like Fray Check around the perimeter after the glue dries for extra edge security
The main problems with fabric glue on washable items: it stiffens the fabric around the patch, it doesn’t reliably survive repeated washing and drying, and once a corner starts peeling, the whole patch tends to follow. It also can’t be undone cleanly if you change your mind about placement.
Pros
- No sewing required whatsoever
- Works on thick or unusual materials that are hard to sew through
- Easy enough for absolute beginners
- Good for temporary holds and craft projects where permanence isn’t the goal
Cons
- Long cure time before the item can be used
- Not reliably wash-safe long-term; bond weakens with repeated laundering
- Can stiffen the surrounding fabric in a way that’s noticeable and not always fixable
Best for: Decorative or display items, craft projects, and temporary positioning holds before sewing. Not recommended as a standalone method for anything that will be worn or washed regularly.
Our Verdict: Best Way to Attach Patches by Use Case
Best overall — Machine sewing with zigzag or satin stitch. For garments, full stop. Use a Schmetz Denim/Jeans Needle (90/14 or 100/16) for heavy fabrics and Gütermann Top Stitch Thread for visible stitching. An edge stitch foot keeps your line consistent without much effort.
Best for beginners — Iron-on plus perimeter straight stitch. Bond the patch flat with iron-on adhesive, then run a straight stitch 1/8 inch (3mm) from the edge all the way around. You get the placement accuracy of iron-on with the durability of machine stitching. This is genuinely the approach I’d recommend to anyone who’s new to this — not a compromise, just a sensible starting point.
Best for leather and specialty patches — Hand sewing with backstitch. Use a triangular-point leather needle and Sharps 7–9 for hand work. Don’t skip the beeswax on your thread — it makes a noticeable difference in how smoothly the thread pulls through leather and thick chenille.
Best for craft and display projects — Aleene’s Fabric Fusion. If it’s never going in a washing machine, fabric glue is perfectly adequate and saves you a lot of time. Give it the full cure time — 48 hours minimum — before handling.
Best for heavy denim and high-wear areas — Machine sewing with double pass and bar tacks. Two rows of stitching plus bar tacks at the corners. This is how you attach knee patches that will survive a kid’s entire school year. The bar tacks take five seconds and prevent the most common failure point.
The combination method — iron-on as basting, machine sewing as the permanent attachment — is the most reliable approach for the majority of sewers. It eliminates fussing with pins, keeps the patch perfectly flat while you sew, and gives you the full durability of machine stitching as the final result.
Frequently Asked Questions
Will iron-on patches stay on after washing?
Iron-on patches hold for a while, but most adhesives start degrading after 10–20 wash cycles — and dryer heat speeds that up considerably. For anything you plan to wash regularly, always reinforce the bond with a perimeter stitch. Iron-on alone is fine for items that rarely get washed, but it’s not a long-term solution for garments.
What is the strongest way to attach a patch to jeans?
Machine sewing with a denim needle (90/14 or 100/16) and a double pass — one row 1/8 inch (3mm) from the edge, a second row 1/4 inch (6mm) inside it — gives you the strongest attachment. Add bar tacks at each corner for the highest-stress points. Starting with an iron-on bond to hold the patch flat also gives you cleaner, more consistent stitching.
Can you attach patches without sewing?
Yes — iron-on adhesive or fabric glue can both attach a patch without any sewing. Iron-on works well for decorative patches on low-stress areas; fabric glue works for non-washable items and craft projects. Neither is reliably durable for garments that will be washed repeatedly. For those, some form of stitching is necessary to make the attachment last.
How do you attach a patch to fabric that can’t be ironed?
Hand sewing is your best option for heat-sensitive fabrics like nylon, acetate, or thin synthetics. Use a fine needle (Sharps 7–9 or a Microtex for delicate wovens), a single strand of thread, and a slip stitch or backstitch depending on how much durability you need. You can also use fabric glue rated for synthetics, but test it on a scrap first — some adhesives react poorly with synthetic fibers.
Should you sew over an iron-on patch to make it more secure?
Absolutely — for any patch on a washable garment, always follow up iron-on adhesive with a perimeter stitch. The iron-on holds the patch flat and in position while you sew, which makes the machine stitching easier and more accurate. The stitching is what provides the real long-term hold.