Quick Answer: To best line your piece and add lace trim, start with the bagged method for lining — it gives you a clean, fully enclosed finish on jackets, skirts, and bags with no visible hand-stitching. For lace trim, flat topstitched application with wash-away basting tape is the fastest and most forgiving technique. Read on for step-by-step instructions, comparison tables, and use-case recommendations.
How to Best Line Your Piece: Choosing the Right Method
Before you cut a single piece of lining fabric, you need to make one decision: how heavy is your outer fabric? A lining that’s heavier than the shell will drag it down and wreck the silhouette. I use the float test — hold the lining at shoulder height and let it drop. It should drift. If it thuds, it’s too heavy. If it barely moves, it’s too stiff.
| Outer Fabric | Recommended Lining | Weight (gsm) |
|---|---|---|
| Wool suiting | Bemberg/Cupro (Ambiance) | 45–55 |
| Cotton quilting fabric | Cotton batiste or lawn | 60–80 |
| Silk charmeuse | Silk habotai (China silk) | 30–40 |
| Denim or canvas | Cotton sateen or poly-cotton | 100–120 |
| Bridal satin | Poly duchess satin or charmeuse | 55–75 |
| Knit fabrics | Stretch tricot or jersey lining | 80–100 |
Lining Methods Compared
| Method | Best For | Skill Level | Pros | Cons |
|---|---|---|---|---|
| Bagged | Jackets, skirts, bags | Beginner–Intermediate | Clean enclosed finish, no hand-stitching | Hard to repair later; not for coats |
| Attached-at-Hem | Dresses, full skirts | Intermediate | Moves with garment; repairable | More steps; careful hem matching needed |
| Free-Hanging | Coats, structured outerwear | Intermediate–Advanced | Professional standard; independent movement | Most time-intensive; requires hand-hemming |
Bagged Lining: Step-by-Step
This is the method I recommend to almost everyone who asks how to best line their piece. It’s forgiving, fast, and the result looks genuinely professional — even on a first attempt.
Cutting and Adjusting Your Pattern Pieces
Use the same pattern pieces as your outer garment, with these adjustments:
- Skirts and dresses: Shorten lining by 1 inch (2.5 cm) so it doesn’t peek below the hem.
- Jackets: Add a ½-inch (12 mm) back pleat — fold a vertical tuck at center back neckline, releasing it at the hem. This gives you ease of movement.
- Sleeves: Shorten by ⅝ inch (16 mm) and widen the underarm curve by ¼ inch (6 mm).
- Bags: Cut all lining pieces ¼ inch (6 mm) smaller on every side to prevent bubbling.
Grain line is non-negotiable. If the lining grain doesn’t match the outer fabric, the finished piece will twist.
Constructing the Lining Shell
Sew the lining using the same ⅝-inch (16 mm) seam allowance as your outer garment. Press every seam open — this is the step most people skip, and it’s exactly why their lining looks lumpy. Leave a 6–8 inch (15–20 cm) turning gap in one seam. Stay-stitch necklines and armholes at ½ inch (12 mm) from the raw edge before assembly, ideally within the first 30 minutes of cutting — bias-cut curves stretch fast.
Joining Lining to Outer Garment
- Complete the outer shell — all seams sewn, zipper installed.
- Place outer garment and lining right sides together, matching seams and notches.
- Stitch around the neckline and armholes (or bag opening) at ½ inch (12 mm).
- Clip curves every ½ inch (12 mm), cutting to within ⅛ inch (3 mm) of the stitch line. Notch convex curves; clip concave ones.
- Grade the seam allowances — trim lining seam to ¼ inch (6 mm), outer fabric seam to ⅜ inch (10 mm). This eliminates the ridge you’d otherwise see from the outside.
- Turn right side out through the gap. Press from the lining side using a pressing cloth.
- Slip-stitch or machine-stitch the gap closed.
Pros
- Fully enclosed finish with no visible raw edges or hand-stitching
- Beginner-friendly — the turning gap is forgiving
Cons
- Hard to repair later without opening a seam
- Not suitable for coats, where the lining needs independent movement
Verdict: Use the bagged method for jackets, structured skirts, and bags. It’s the right call for most sewers, most of the time.
Attached-at-Hem and Free-Hanging Lining Methods
Attached-at-Hem: Best for Dresses and Full Skirts
The lining is joined at the waistband or bodice seam and left free at the hem. Construct each layer separately, join at the waist, then hem independently. The lining hem sits ½ inch (12 mm) above the outer hem — never level with it, never below.
Pros
- Lining moves with the garment without restricting it
- Easy to access for repairs
Cons
- More construction steps than the bagged method
- Requires careful attention to hem lengths at fitting
Free-Hanging: Best for Coats and Structured Outerwear
The lining is tacked only at the facing edges and sleeve hems — it hangs completely free everywhere else. Hand-hem separately using a blind hem stitch, catching only 1–2 threads of the lining per stitch. Leave ½ inch (12 mm) of ease between the lining hem and the outer hem; a taut lining pulls the outer hem upward and creates drag lines.
Pros
- The professional standard for outerwear
- Allows independent movement; prevents drag on the outer shell
Cons
- Most time-intensive of the three methods
- Requires confident hand-stitching for a clean finish
Verdict: If you’re making a coat, don’t shortcut this. Free-hanging is the only method that looks right on outerwear.
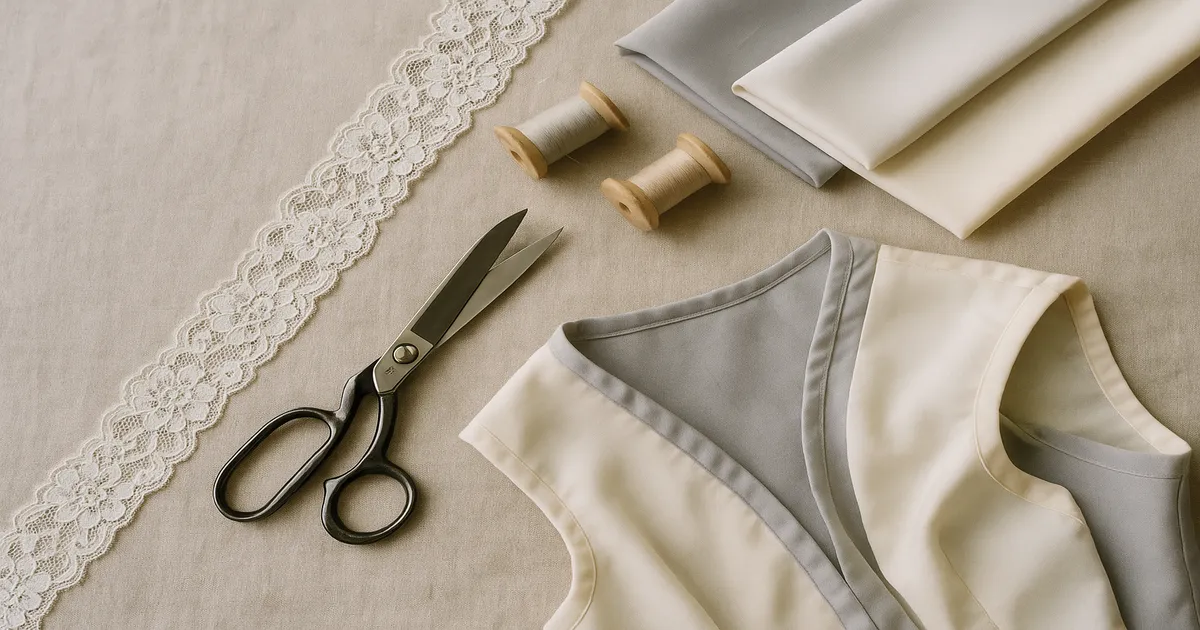
How to Add Lace Trim: Methods Compared
| Method | Best For | Skill Level | Finish Quality | Stitching Visible? |
|---|---|---|---|---|
| Flat/Topstitched | Bags, home décor, children’s clothing | Beginner | Good | Yes |
| Seam-Caught | Garment hems, necklines, sleeve edges | Intermediate | Excellent | No |
| Insertion | Heirloom sewing, blouses, christening gowns | Advanced | Heirloom | No |
Choosing the Right Lace
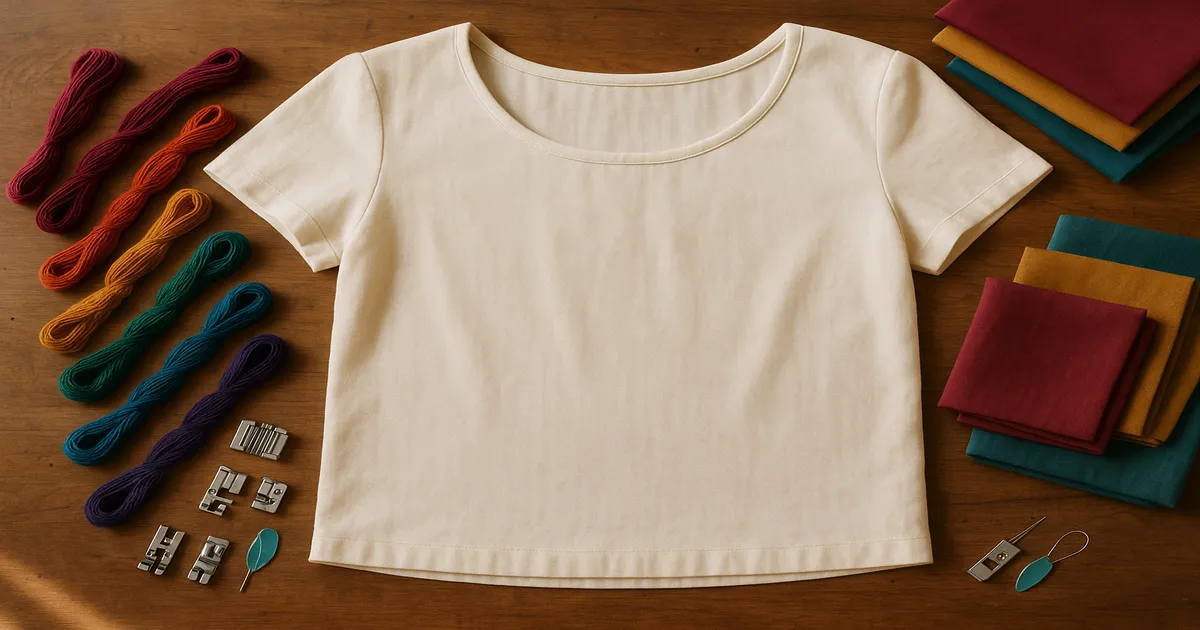
Venise and guipure lace have zero stretch — rigid, sculptural, great for structured garments and bags. Stretch lace (30–50% stretch) is for lingerie and activewear; always sew it with a narrow zigzag (width 1.5 mm, length 1.5 mm). Cotton eyelet is the most washable and casual option. Chantilly and Alençon are the fine laces you see on bridal gowns — beautiful, expensive, and unforgiving if you make a mistake.
Thread and Needle
Standard 40-weight all-purpose thread is too heavy for lace — it shows through the net ground and creates a clunky stitch line. Use 60-weight fine cotton or polyester instead. For lining construction, 50-weight polyester all-purpose thread is fine. (Gütermann Sew-All 50wt)
For needles: a Microtex 60/8 or 65/9 pierces lace net cleanly without snagging threads. A Universal 70/10 handles most lightweight linings; step up to an 80/12 for medium-weight fabrics.
Flat Topstitched Lace Application
Pre-wash cotton lace in cool water before you do anything else. Cotton lace can shrink up to 5% — skip this and you’ll have puckered trim after the first wash.
- Identify the header (straight edge, often with a woven cord) and the footer (scalloped edge that faces outward).
- Overlap the header onto the finished fabric edge by ¼ inch (6 mm).
- Hold it with wash-away basting tape rather than pins through the motifs.
- Stitch along the header with a straight stitch at 2.0–2.5 mm. For stretch lace, use a narrow zigzag (width 1.5 mm, length 1.5 mm).
- Add a second row of stitching ⅛ inch (3 mm) from the first for security.
Use a stiletto — not your fingers — to guide the lace under the presser foot. Your fingertips stretch the net without you even realizing it. An edge-stitch foot keeps that second row of topstitching exactly ⅛ inch (3 mm) from the first.
Pros
- Fast and forgiving — ideal for beginners
- Works on virtually any straight edge
Cons
- Stitching is visible on the right side
- Not suitable for curved or shaped edges without careful easing
Seam-Caught Lace Application
- Baste the lace to the right side of the fabric edge, header aligned with the raw edge, lace facing inward (right sides together).
- Stitch at ¼ inch (6 mm).
- Fold the lace outward and press using a pressing cloth.
- Optionally, topstitch the seam allowance down at ⅛ inch (3 mm) from the fold.
The result: lace extends cleanly beyond the finished edge with no visible stitching on the outside. This method requires a bit more planning — the lace must be applied before the final seam is closed — but it’s worth it on any garment that’ll be closely scrutinized.
Mitering Corners
Stop stitching exactly at the corner point with your needle down. Fold the lace at 45 degrees away from the corner, then fold it back along the next edge. Hand-stitch the diagonal fold with a whip stitch using a single strand of matching thread. Trim excess lace behind the miter to ¼ inch (6 mm). It sounds fiddly — it is, the first time. After that, it’s quick.
Pros
- No stitching visible on the right side
- Ideal for garment hems, necklines, and sleeve edges
Cons
- Must be planned into the construction sequence before the final seam closes
- Slightly more steps than flat application
Verdict: Seam-caught for wearable garments. Flat topstitched for bags and home décor where the inside isn’t closely examined.
Lace Insertion for Heirloom Sewing
Insertion lace sits within the fabric rather than along an edge — you see it on christening gowns, fine blouses, and heirloom lingerie. It’s time-intensive, but nothing else replicates the effect.
A light mist of spray starch on floppy lace before cutting makes it dramatically easier to handle. Wash it out afterward so it doesn’t affect the finished drape.
- Mark the placement line on the right side of the fabric with a water-soluble marker.
- Center the lace strip over the line and secure with wash-away basting tape along both long edges.
- Stitch both long edges using a straight stitch, or a pin stitch if your machine supports it. Work from the same direction on both sides to prevent shifting.
- Flip to the wrong side and carefully cut the fabric behind the lace, leaving ¼-inch (6 mm) seam allowances on both sides. Press allowances away from the lace.
For finishing lace ends: plan your layout so ends are caught inside a garment seam — that’s the cleanest option. If that’s not possible, fold the raw end under ¼ inch (6 mm) twice and slip-stitch.
Pros
- Stunning heirloom finish visible from both sides
- Creates a decorative effect impossible to achieve any other way
Cons
- Time-intensive; requires precise marking
- Mistakes are difficult to undo without damaging the fabric
Verdict: Worth every minute for christening gowns and heirloom pieces meant to be kept for generations.
Common Mistakes to Avoid
Lining Mistakes
- Wrong grain line — the lining will twist and pull the outer garment out of shape.
- No ease or back pleat — a lining cut identically to the outer garment restricts movement.
- Taut hem — always leave ½ inch (12 mm) of ease between lining and outer hem.
- Skipping pressing — every seam needs pressing before you join it to the next piece. Non-negotiable.
- Wrong lining weight — heavier than the outer fabric means drag and distortion.
- Not clipping and grading seams — unclipped curves pucker; ungraded seams create ridges.
Lace Mistakes
- Pulling lace while stitching — even slight tension causes ruffling. Let the feed dogs do the work.
- Using 40-weight thread — too visible through lace net. Use 60-weight or finer.
- Pressing directly on lace — the iron crushes the pattern permanently. Always use a pressing cloth.
- Not pre-washing cotton lace — it shrinks up to 5%.
- Using a universal needle — it snags lace net. Use a Microtex sharp.
- Pinning through lace motifs — pins distort or break decorative threads. Pin through the header only, or use wash-away tape.
Our Verdict: Best Method for Your Project
Best overall lining: Bagged lining for the vast majority of projects. Fast, clean, no hand-stitching required. If you’re not sure, use this one.
Best for beginners adding lace: Flat topstitched application with Dritz Wash-Away Wonder Tape and Venise or cotton eyelet trim on a bag or child’s dress. Two rows of straight stitching — that’s it.
Best for bridal and formalwear: Free-hanging Bemberg lining combined with seam-caught Chantilly or Alençon lace at the hem and neckline. The seam-caught method keeps the finish invisible; the free-hanging lining lets the gown move.
Best for children’s and heirloom sewing: Attached-at-hem lining in cotton batiste with cotton eyelet insertion lace for decorative panels. Both are washable and durable.
Best for bags and home décor: Bagged lining combined with flat topstitched Venise or Cluny lace trim. Bags don’t need the same ease considerations as garments, and the flat method holds up to the structural demands of a bag edge.
The rule across all of these: match lining weight to outer fabric, match lace stretch to garment stretch, and always finish the underlying edge before you apply any trim.
Frequently Asked Questions
What is the easiest lining method for a beginner?
The bagged method. You sew the lining and outer garment right sides together, clip and grade the seams, then turn everything through a small opening. No hand-stitching on the main seams, and the enclosed finish hides minor imperfections. It looks professional even on a first attempt.
How do I stop lace trim from puckering when I sew it on?
Switch to a 60-weight thread and a Microtex 60/8 or 65/9 needle — heavier thread and blunt needles are the most common culprits. Guide the lace with a stiletto rather than your fingers, which stretch the net without you realizing it. A walking foot also helps keep lace and fabric feeding at the same rate.
Should I line a garment before or after adding lace trim?
Complete the lining first, then add lace to the finished outer edge. The exception is seam-caught lace, which must be basted to the raw edge before the final seam closes — plan that into your construction sequence early.
What lining fabric works best for a cotton dress?
Cotton batiste or lawn — lightweight (60–80 gsm), breathable, and washable. Pre-wash both the lining and outer fabric before cutting so they shrink at the same rate. Avoid polyester lining in cotton dresses; it doesn’t breathe and makes the garment uncomfortable in warm weather.
Can I add lace trim to stretch or knit fabrics?
Yes, but match the lace to the fabric’s stretch. Use stretch lace (30–50% stretch) rather than rigid Venise or guipure, sew with a narrow zigzag (width 1.5 mm, length 1.5 mm) or a dedicated stretch stitch, and use a ballpoint needle so you don’t snag the knit. For the lining, use tricot or jersey so it moves with the garment instead of fighting it.