Quick Answer: Most sewing shears that seem “broken” are actually just dirty, misadjusted at the pivot screw, or both — and you can fix them at home in under an hour. Clean the blades, adjust the pivot tension, sharpen if needed, and lubricate. A good pair of Gingher or Kai shears can last 20–50 years with basic maintenance. They’re worth the effort.
If you’re trying to figure out how to fix sewing shears that are suddenly tearing fabric, grinding when you open them, or just feeling wrong in your hand, here’s the short version: most problems come down to grime, a loose or tight pivot screw, or a dull edge. None of that requires professional help — unless you’ve let it go for years.
This guide walks through every fix, from a five-minute pivot adjustment to full whetstone sharpening, so you can figure out exactly what your shears need and get back to cutting.
Why Sewing Shears Stop Working
The Six Most Common Causes
- Dullness — almost always from cutting paper, tape, or stiff interfacing even once
- Blade misalignment — usually from being dropped on a hard floor
- Loose or over-tightened pivot — causes blades to fold fabric or grind together
- Rust or corrosion — from humidity or a damp sewing room
- Nicks and chips — from hitting pins or clipping a cutting mat edge
- Adhesive buildup — fusible web and tape residue are incredibly common and easy to miss
Diagnose Before You Touch a Screwdriver
Run three quick tests first. Make a 6-inch (15 cm) cut through a single layer of cotton muslin and note where it fails — at the tip, the middle, or near the pivot each points to something different. Then close the blades and hold the shears up to a light source; you should see hairline contact along the full length, not a visible gap. Finally, open and close the blades a few times. They should move with moderate, consistent resistance — not flop freely or grind.
One more thing worth knowing: dressmaker’s shears aren’t just long scissors. The bent handle keeps the lower blade flat against the table while you cut, which is what makes them so accurate for fabric. That offset design also puts more mechanical stress on the pivot screw than regular scissors, so tension drift is more common than most people expect.
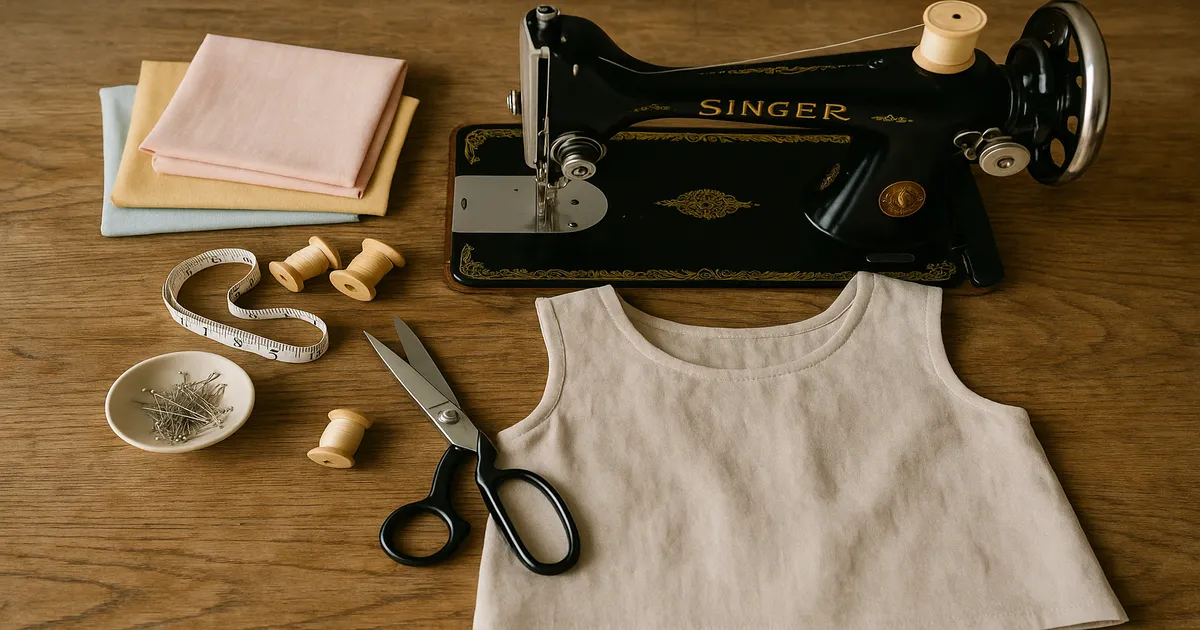
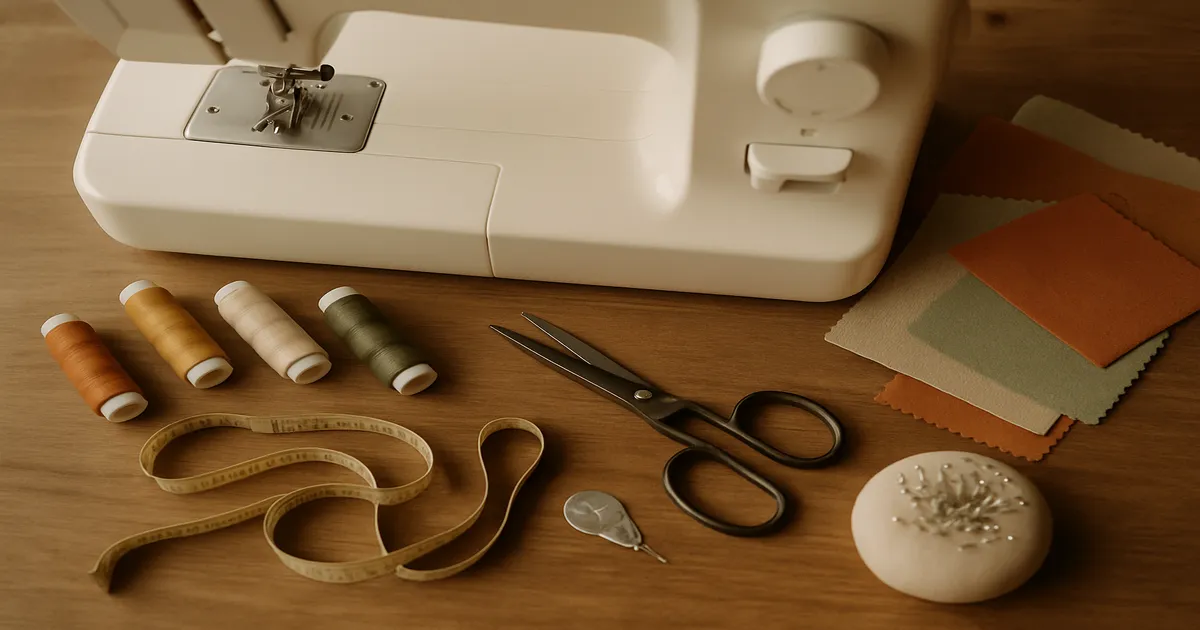
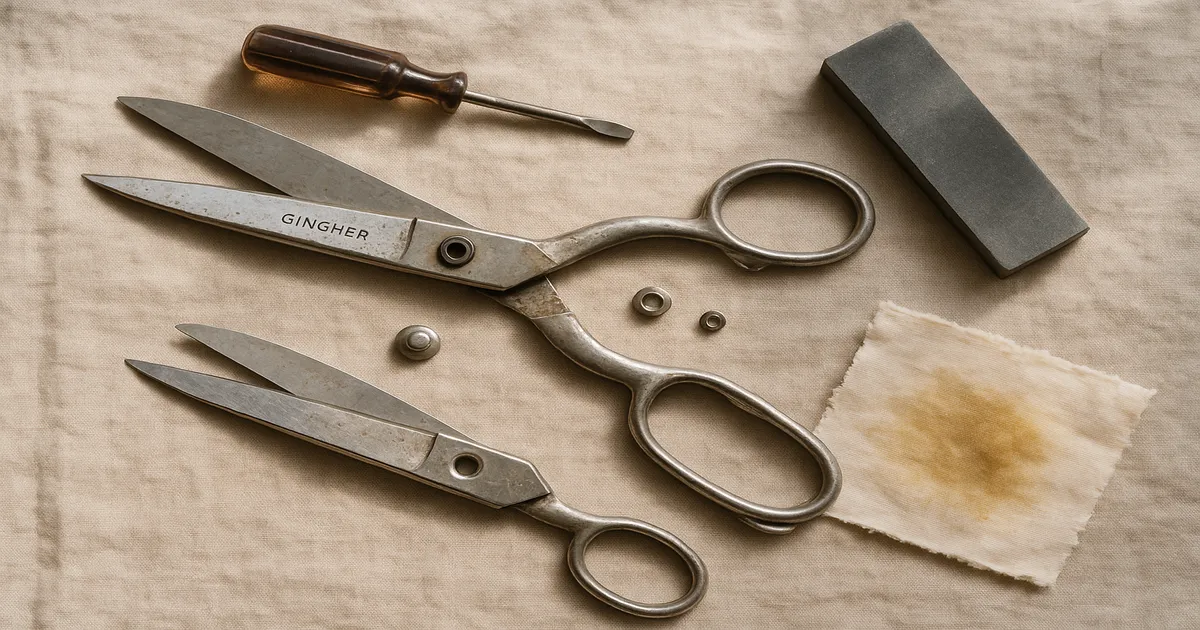
What You Need
Essential Supplies
You probably have most of this already:
- Small flat-head or Phillips screwdriver
- Isopropyl alcohol, 70–91%
- Lint-free cloth (a scrap of cotton T-shirt works fine)
- 0000-grade steel wool
- White vinegar (for heavier rust)
- Sewing machine oil or camellia oil for pivot lubrication
- Test fabric: cotton muslin or quilting cotton
Optional but Worth Having
If you plan to sharpen at home rather than send the shears out, these make a real difference:
- Combination whetstone, 1000/3000 grit — around $15–$40
- Leather strop — not optional after whetstone sharpening
- Loctite Blue 242 — for locking the pivot screw once you’ve dialed in the tension
- Camellia oil — lighter than standard sewing machine oil, with mild rust-inhibiting properties
How to Fix Sewing Shears: Step by Step
Step 1: Clean the Blades
Wipe both blades with a lint-free cloth dampened with isopropyl alcohol. This handles lint, oil film, and most surface residue. For sticky adhesive from fusible web or tape, a cotton swab with Goo Gone or acetone along the flat face of the blade dissolves it cleanly — wipe it off before it sits.
For light rust, rub gently with 0000 steel wool, always moving along the length of the blade, never across it. Heavy rust with actual pitting? Soak the metal parts (not plastic handles) in plain white vinegar for 30–60 minutes, scrub with a soft brush, rinse, and dry immediately and completely. Leaving moisture on steel after a vinegar soak is exactly how you create new rust.
Step 2: Adjust the Pivot Screw
This single step fixes probably 60% of the “broken shears” I’ve seen. The pivot screw controls how tightly the blades press against each other — too loose and they fold fabric instead of cutting it, too tight and they grind.
- To tighten: Turn clockwise in 1/8-turn increments, testing after each one.
- To loosen: Turn counterclockwise in the same small increments.
- The gravity test: Hold one handle horizontally. The blades should fall open under their own weight to about 45 degrees — not all the way, not staying shut.
Once you’ve got the tension right, lock it. If your shears have a locking nut, tighten it against the screw head. If not, a tiny drop of clear nail polish or Loctite Blue 242 on the threads will hold the setting without making it permanent.
Step 3: Realign Blades Bent from Dropping
If one blade bows slightly outward after a drop, open the shears fully and place the bowed blade flat-face-down on a granite countertop or thick glass. Apply firm, even palm pressure along the full length of the blade for 10–15 seconds. Re-test and repeat if needed.
Don’t use a hammer. Even a padded tap can create micro-fractures in the steel that won’t show up until the blade chips later. If the tips are crossing each other and palm pressure doesn’t fix it after two or three attempts, that’s a job for a professional.
Step 4: Sharpen the Blades
The single most important rule: only sharpen the beveled outer face. The flat inner face must stay perfectly flat. Touch it with a stone and you’ve destroyed the blade geometry — and there’s no easy way back from that.
Hold the beveled edge against a lubricated 1000-grit whetstone at the factory bevel angle (40–45 degrees for most dressmaker’s shears), bevel side only, and make 8–12 smooth strokes from pivot to tip. Keep the angle consistent — even a 5-degree deviation creates a secondary bevel that’s a pain to correct later. Move to the 3000-grit side for a few finishing strokes, then finish with 3–5 passes on a leather strop.
Don’t skip the strop. The whetstone raises a wire-edge burr on the blade. Without stropping, that burr folds over during use and makes the blade feel duller than before you started. Three to five passes takes thirty seconds.
If your shears disassemble at the pivot, do that first — it’s much easier to hold a single blade at the right angle.
Step 5: Lubricate the Pivot
One or two drops of sewing machine oil or camellia oil directly at the pivot joint. Open and close the blades 10–15 times to work it in, then wipe away any excess. Oil on the blades transfers to fabric, and that’s a headache you don’t need mid-project.
Step 6: Final Cut Test
Stack four layers of 100% cotton quilting fabric and make one long cut from pivot to tip. It should glide through cleanly with no dragging, skipping, or tearing. If the tip still catches, the tip geometry may need professional grinding — but everything else should be solid.
Sharpening Methods Compared
| Method | Best For | Limitations |
|---|---|---|
| Whetstone (1000/3000 grit) | Full sharpening, best results | Takes practice to hold angle |
| Ceramic rod | Maintenance between sharpenings | Can’t fix actual dullness |
| Aluminum foil (10–15 cuts) | Emergency touch-up mid-project | Temporary fix only |
| Professional service ($5–$20) | Nicks, chips, pinking shears | Turnaround 1–3 weeks |
A ceramic rod is a maintenance tool, not a substitute for a whetstone. I use one every few months between proper sharpenings and it genuinely extends the time between whetstone sessions. The aluminum foil trick — fold a 12-inch (30 cm) strip 6–8 times and make 10–15 full cuts — micro-abrades the edge and knocks off minor burrs. Good for another few weeks of cutting, not a real sharpening.
Send your shears out when there are visible nicks or chips, when home methods aren’t restoring a clean cut, or when you have pinking shears (more on those below). Many local quilt shops and sewing machine dealers either offer sharpening or can refer you somewhere good.
Common Mistakes to Avoid
Sharpening the flat inner face. Once you’ve rounded it, the blades won’t make proper contact and the shears are essentially ruined.
Over-tightening the pivot screw. Tighter is not better. If the blades grind, you’re wearing down the steel with every cut.
Using WD-40 as a lubricant. WD-40 is a water displacer and degreaser — it’s right there in the name (Water Displacement, 40th formula). It evaporates, leaves a residue, and gums up the pivot joint within weeks. Use sewing machine oil or camellia oil.
Cutting paper to sharpen shears. This myth refuses to die. Paper is coated with clay and silica particles that actively dull steel.
Neglecting the tip. Most people focus on the middle of the blade and ignore the last ½ inch (12 mm) at the tip. It’s often the first area to dull and the most important for precision work like clipping curves.
Fixing Different Types of Sewing Shears
Pinking shears — Don’t try to sharpen these at home. The serrated blades need a specialized grinding wheel. You can clean them and adjust the pivot tension using the same steps above, which will improve performance, but actual sharpening requires a professional.
Embroidery scissors — The blades on small embroidery scissors (3.5–5 inches/9–12.5 cm) are too delicate for a whetstone. Use a fine ceramic rod or a needle file at the same 40–45 degree angle. Light strokes — these blades don’t have much steel to spare.
Thread snips and spring scissors — No pivot screw means no tension adjustment. A few passes with a ceramic rod on the beveled edge is the only home fix. If they’re badly dull, replacement is often the practical call — good thread snips are cheap.
Quick Reference: DIY vs. Professional Repair
| Scenario | What to Do |
|---|---|
| Slightly dull, no damage | Strop + pivot adjustment |
| Moderately dull, no nicks | Whetstone + strop |
| Nicks or chips in blade | Professional sharpening |
| Bent blade or crossed tips | Try DIY first; pro if needed |
| Pinking shears dull | Professional only |
| Light rust | DIY: steel wool + oil |
| Heavy rust with pitting | Professional assessment |
Frequently Asked Questions
Why do my fabric shears tear instead of cut?
Tearing almost always means the pivot is too loose, the blades are dull, or both. Start with the pivot — tighten in 1/8-turn increments and test on muslin. If the tension is right but tearing continues, the blades need sharpening.
Can I use WD-40 to fix stiff sewing scissors?
No. WD-40 is a degreaser, not a lubricant. It’ll loosen the joint temporarily, then evaporate and leave a gummy residue that makes things worse within weeks. Use sewing machine oil or camellia oil.
How often should I sharpen dressmaker’s shears?
For regular home sewing, professional sharpening every one to two years is usually enough if you’re maintaining the edge with a ceramic rod between sessions and keeping the shears strictly for fabric. Heavy use — cutting multiple garments a week — may call for more frequent attention.
How do I know when to call a professional?
If you can see visible nicks or chips along the edge, or if whetstone sharpening and stropping no longer restore a clean cut through four layers of cotton, send them out. The ceramic rod and aluminum foil methods are maintenance tools — they can’t fix actual damage.
Can I fix sewing shears that were dropped?
Often, yes. If a drop caused one blade to bow slightly outward, the flat-surface palm pressure method (Step 3 above) works about 60% of the time in my experience. If the tips are crossing each other, try that first before paying for professional realignment — it’s a surprisingly effective fix for something that looks alarming.