Quick Answer: Learning how to sew for beginners comes down to four things: set up and thread your machine correctly, pre-wash and cut your fabric accurately, sew straight seams with backstitching, and press every seam as you go. The single most important concept to grasp first is seam allowance — the margin between your cut edge and the stitch line, typically 5/8 inch (16mm) for garments and 1/4 inch (6mm) for quilting. A motivated beginner can finish a functional first project within 2–3 sessions.
Getting started with sewing doesn’t have to be overwhelming. The skills build on each other logically, and if you learn them in the right order — machine setup, fabric prep, basic seams, pressing — you’ll sidestep the frustrating bird’s nests, bunched thread, and wonky seams that make most beginners want to quit. This guide walks through everything in that exact sequence.
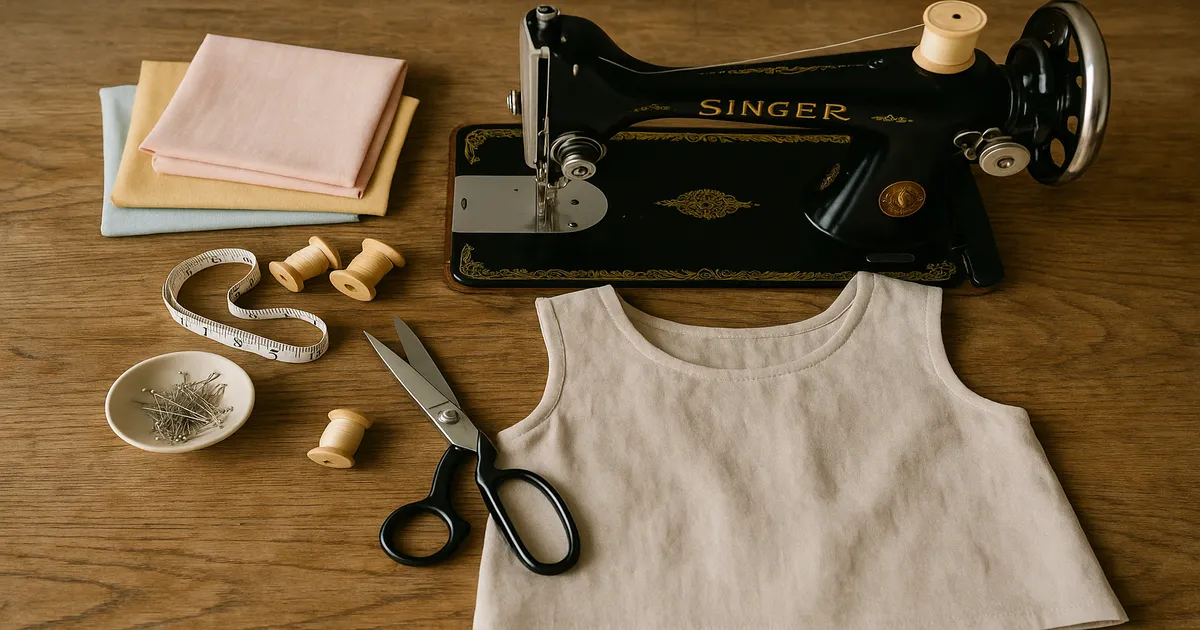
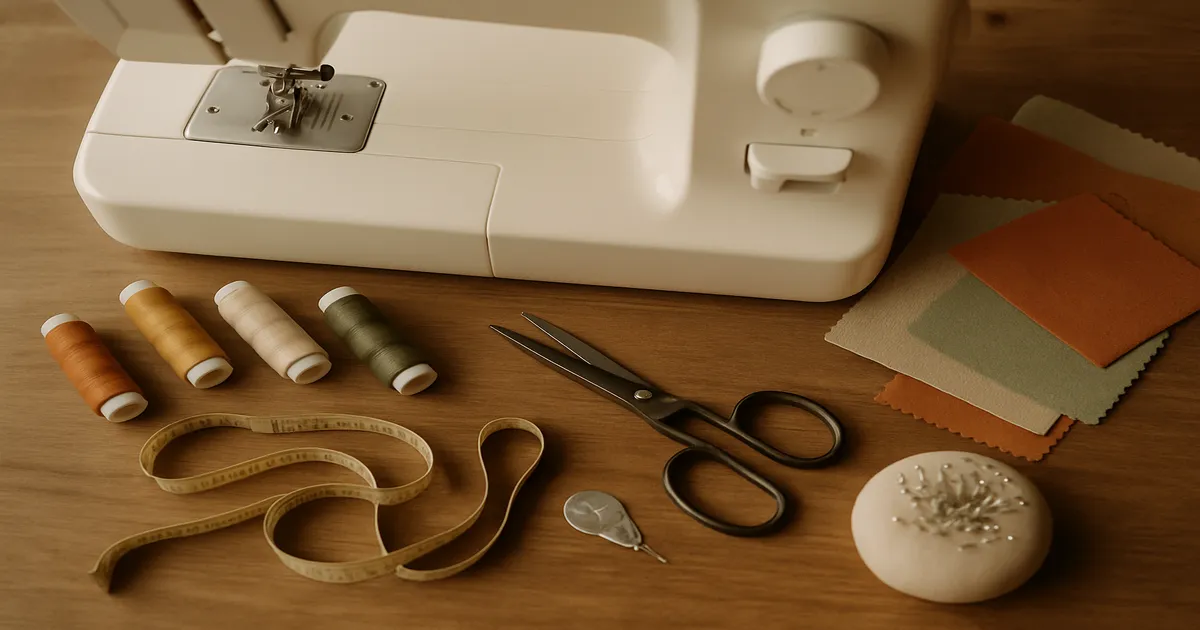
Essential Sewing Tools and Materials for Beginners
Choosing Your First Sewing Machine ($150–$350 Budget Guide)
Don’t buy the cheapest machine you can find. Machines under $100 almost always have plastic internal components that wear out fast and can’t be serviced. In the $150–$350 range, you get metal gears, reliable tension, and actual support when something goes wrong.
For a mechanical machine, the Brother XM2701 and Singer Heavy Duty 4452 are both solid. If you want a computerized option with automatic needle threading and more built-in stitches, the Brother CS6000i is one of the best values in the category.
Whatever you choose, look for:
- Drop-in bobbin — easier to load, and you can see when thread is running low
- Free arm — lets you sew sleeves and pant legs by removing the accessory tray
- Adjustable presser foot pressure — essential for different fabric weights
- At least 4–6 built-in stitches (straight, zigzag, and a few utility stitches)
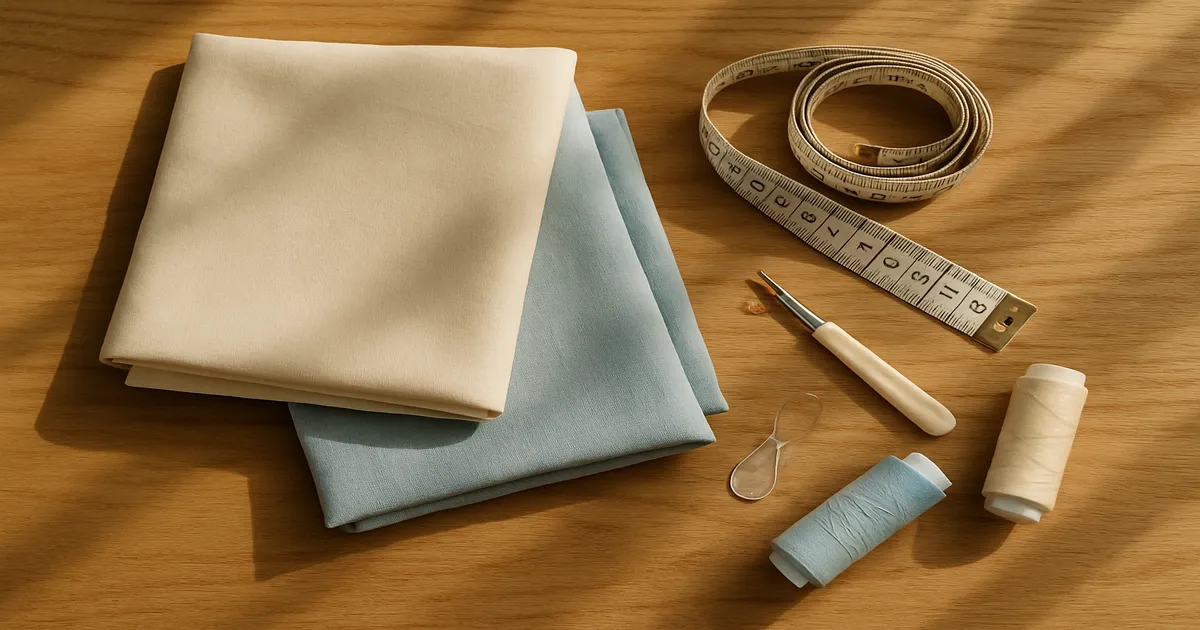
Best Fabrics for Beginners (and What to Avoid)
Quilting cotton is my top recommendation for a first project. It’s stable, doesn’t stretch while you’re sewing, presses beautifully, and comes in every pattern imaginable. Cotton muslin is even cheaper and perfect for practice runs. Linen and cotton-linen blends are also forgiving and cut cleanly.
Avoid satin, chiffon, charmeuse, and stretch knits until you’ve got at least a dozen projects under your belt. These fabrics slide, pucker, and require specialized techniques. Starting on them is a fast track to frustration.
Thread, Needles, and Presser Feet
Use 40wt all-purpose polyester thread — Gutermann or Coats & Clark are reliable brands — for the vast majority of beginner projects. Don’t buy bargain-bin thread. Cheap thread is unevenly spun and causes constant breakage and tension headaches. Match thread to your fabric color, or go one shade darker; thread always looks lighter on the spool than it does stitched.
For needles, start with an 80/12 universal. Change it every 6–8 hours of sewing time, or at the start of every new project. A dull needle makes a thudding sound as it pierces fabric instead of a clean pop — and it causes skipped stitches and fabric snags more often than people realize.
Your machine comes with an all-purpose foot that handles most tasks. Worth adding eventually: a zipper foot, a blind hem foot, and a 1/4-inch quilting foot .
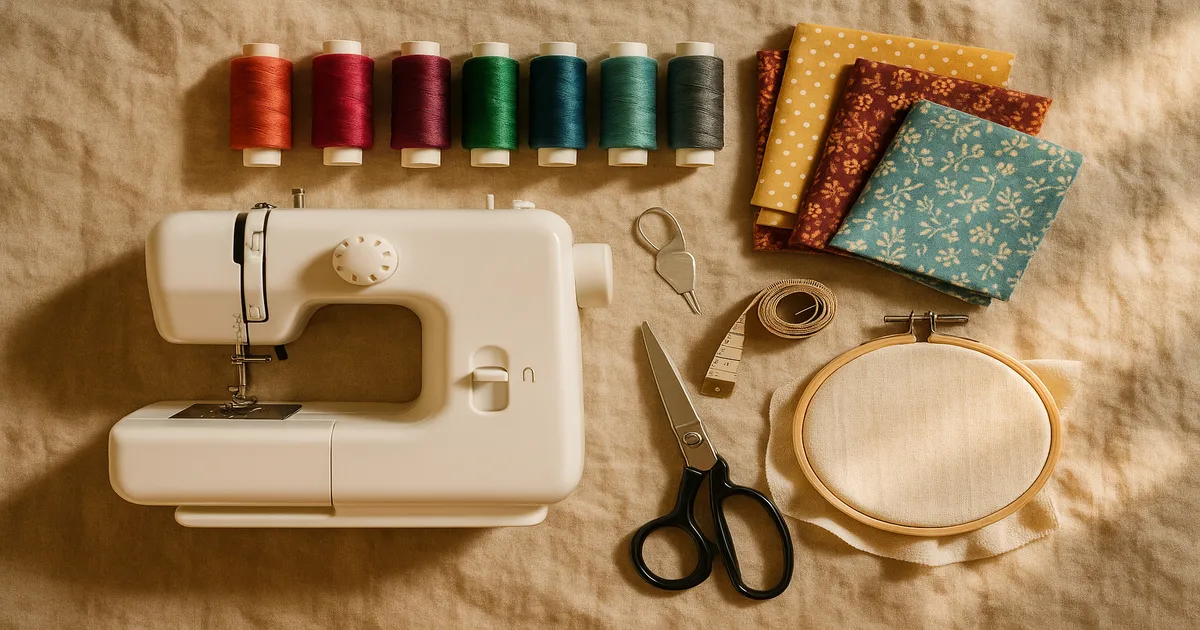
Must-Have Notions
- Dressmaker’s shears, 8–10 inch (20–25cm) bent-handle — fabric only, never paper
- Seam ripper — buy a good one with a sharp, fine tip; you’ll use it constantly
- 45mm rotary cutter + 18×24-inch (46×61cm) self-healing cutting mat — far more accurate than scissors for straight cuts
- Clear quilting ruler, 6×24 inches (15×61cm)
- Glass-head pins — plastic-head pins melt under an iron
- Tailor’s chalk or water-soluble marker
- Steam iron and ironing board — non-negotiable (more on this below)
- Tailor’s ham — a firmly stuffed curved tool for pressing darts and curved seams
How to Set Up and Thread Your Sewing Machine
Threading the Top of Your Machine
Incorrect threading is the number one cause of bird’s nests and skipped stitches — not tension, not needle size. When something goes wrong, re-thread completely before touching anything else.
- Place the spool on the spool pin and follow the numbered thread guides on your machine’s face plate.
- Pass the thread through the tension discs — there’s usually a channel you press it into.
- Loop thread around and through the take-up lever (the hook that moves up and down as you sew).
- Follow the guides down toward the needle.
- Thread the needle front to back and pull about 6 inches (15cm) of tail through.
Winding and Installing a Bobbin
Wind thread onto the bobbin using your machine’s built-in winder, making sure it winds evenly — an uneven bobbin causes inconsistent tension. Insert the bobbin into the case and draw the thread through the tension slot until you feel slight resistance.
To bring up the bobbin thread: hold the needle thread, then lower and raise the needle once using the handwheel. A loop of bobbin thread will come up through the needle plate. Pull both threads about 6 inches (15cm) toward the back of the machine before you start sewing.
Stitch Length and Tension Settings
Stitch length by task:
- 2.5–3.0mm — general sewing on woven fabrics
- 3.0–3.5mm — topstitching
- 4.0–5.0mm — basting (temporary stitching you’ll remove later)
- Zigzag at 2.0mm length / 1.5–2.0mm width — finishing edges on knits and wovens
Tension: Most machines default to 4–5 on a 0–9 scale, which is correct for most woven fabrics. A properly tensioned seam looks identical on both sides — no loops, no pulls. Loops on the top of the fabric mean top tension is too tight or the bobbin is inserted incorrectly. Loops on the bottom mean top tension is too loose. Before touching the tension dial, always check your threading first.
How to Prepare Your Fabric Before Sewing
Pre-Washing: Don’t Skip It
Natural fibers — cotton, linen, wool — can shrink 3–8% in the first wash. Skip pre-washing and a finished garment can come out of the laundry a full size smaller. Wash and dry your fabric the same way you’ll care for the finished item, then press it flat before cutting.
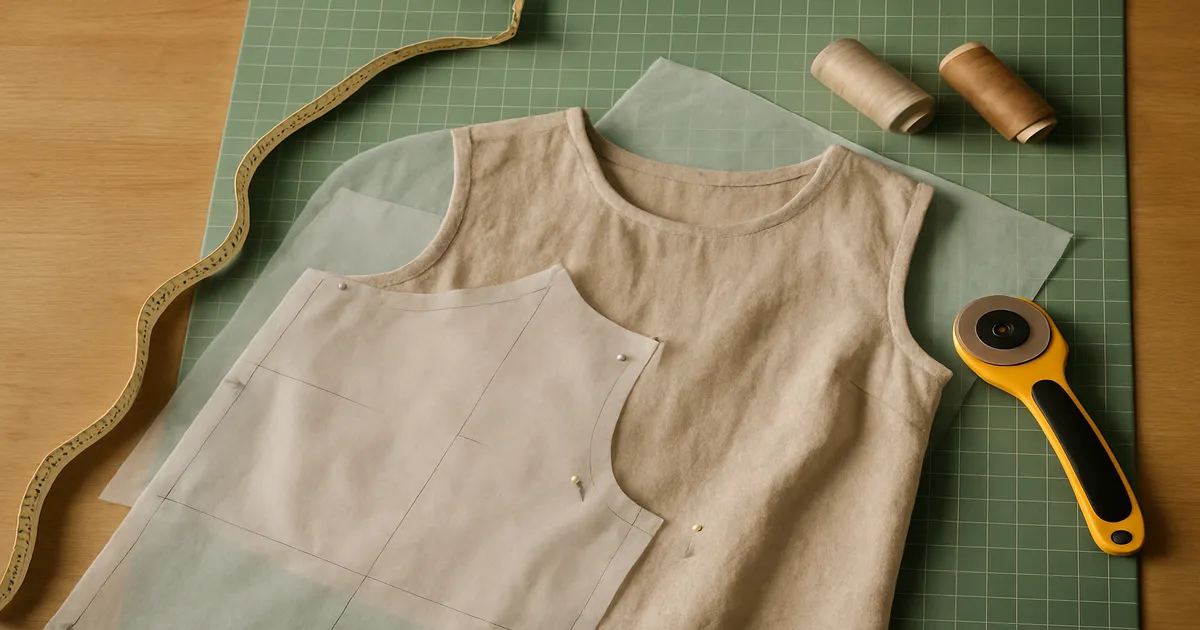
Laying Out and Cutting Fabric Accurately
Work on a flat, hard surface. Align the selvage edges parallel to each other and fold the fabric right sides together. Pin pattern pieces with pins placed perpendicular to the cutting line, every 3–4 inches (7.5–10cm) — this keeps everything from shifting while you cut.
Cut with long, smooth strokes using your dressmaker’s shears. Short, choppy cuts leave jagged edges. If a pattern piece says “cut on fold,” place that edge exactly on the fold — even 1/4 inch (6mm) off creates an unintended seam line.
Transferring Pattern Markings
Mark all notches, darts, and dots before you move anything. Tailor’s chalk brushes away cleanly, a water-soluble marker washes out, and tailor’s tacks (small looped stitches through both layers) work on fabrics where chalk won’t show. Don’t skip this step — those marks are your roadmap.
How to Sew Basic Seams, Hems, and Finishes
Straight Seams and Backstitching
Place your two fabric pieces right sides together, raw edges aligned. Slide the fabric under the presser foot so the raw edge lines up with the 5/8-inch (16mm) guide on the throat plate. Watch the seam guide, not the needle — that single habit separates straight seams from wandering ones.
Backstitch 3–4 stitches at the start of every seam, sew forward, then backstitch 3–4 stitches at the end. This locks the thread so the seam doesn’t unravel under stress. Skipping it is one of the most common beginner mistakes.
Finishing Raw Edges
- Zigzag stitch — 2.5mm length, 2.5–3.0mm width; sew along each raw edge separately
- Serger/overlocker — trims and encases the edge in one pass; the professional standard, but not required to start
- Pinking shears — cut a zigzag edge that resists fraying; works well on tightly woven fabrics
- French seam — encloses both raw edges inside the seam itself; ideal for sheers and lightweight fabrics
Hems: Double-Fold and Blind
For a double-fold hem: fold the raw edge up 1/4 inch (6mm) and press. Fold again 5/8 inch (16mm) and press. Stitch close to the inner folded edge, about 1/8 inch (3mm) from the fold.
A blind hem uses a special foot and stitch setting that catches only 1–2 threads on the fabric face, making it nearly invisible from the right side. It takes practice, but it’s worth learning for any garment with a visible hemline.
Clipping Curves and Corners
On outward (convex) curves, cut small V-shaped notches into the seam allowance every 1/2 inch (13mm), stopping within 1/8 inch (3mm) of the stitch line. On inward (concave) curves, make straight clips at the same spacing. On corners, trim diagonally across the point, leaving 1/8 inch (3mm). All of this reduces bulk so seams lie flat when turned right side out.
Pressing: The Step Most Beginners Skip
This is where most beginners lose the most ground. Pressing is the single biggest differentiator between something that looks handmade and something that looks finished. Press after every seam — not at the end of the project. After. Every. Seam.
Iron settings by fabric:
- Cotton and linen — high heat, steam is fine
- Synthetics — dry heat only; steam can distort them
- Silk and delicates — cool iron, always use a press cloth
Press from the wrong side first, then from the right side with a press cloth between the iron and fabric to prevent shine. A tailor’s ham lets you press curved seams — darts, sleeve caps, hip curves — over a shaped surface so you’re not flattening a three-dimensional shape onto a flat board.
One more thing worth knowing: pressing is not ironing. Ironing means sliding the iron across fabric. Pressing means lifting and placing it down. Pressing sets stitches without distorting the grain. It’s a small distinction that makes a big difference.
Common Beginner Sewing Mistakes (and How to Fix Them)
Machine Setup Mistakes
| Mistake | What Happens | Fix |
|---|---|---|
| Incorrect threading | Bird’s nest on underside | Re-thread completely from scratch |
| Presser foot left up | Loose, loopy stitches | Always lower foot before sewing |
| Thread tails not pulled back | Jam at the start of a seam | Hold both tails to the rear before beginning |
Cutting and Fabric Mistakes
Skipping pre-washing is the most heartbreaking one — you finish a project, wash it, and it shrinks unevenly. Dull scissors are a close second: they push fabric instead of cutting it, leaving jagged, inaccurate edges. Sharpen or replace your blades at least once a year if you sew regularly.
Sewing Mistakes
- Watching the needle instead of the seam guide → wandering seams
- Skipping backstitches → seams unravel under stress
- Sewing too fast → mistakes around curves and corners; practice feathering the foot pedal
- Pulling fabric through the machine → distorted stitch length, bent or broken needle; let the feed dogs do the work and just guide the fabric gently
Your First Beginner Sewing Projects
Project 1: Straight-Line Practice on Scrap Fabric
Before you cut into anything you care about, spend one session sewing straight lines on muslin scraps. Follow the seam guide at different widths, practice starting and stopping, and get comfortable with the foot pedal. This builds the muscle memory that makes every future project easier.
Project 2: A Simple Tote Bag
A tote bag in quilting cotton is the ideal first real project. It’s all straight seams, the handles teach you about reinforced stitching, and there are no curves, zippers, or buttonholes to worry about. You’ll finish it in one or two sessions and actually use it.
Project 3: A Pillowcase
A pillowcase adds hems and edge finishing to your skill set without much added complexity. It’s also fast enough that you can make a matching set in an afternoon once you’ve done one. The satisfaction-to-difficulty ratio is excellent.
Choosing a Focus Area
Sewing branches into distinct disciplines: garment construction, quilting, home décor, and alterations. Pick one and stick with it for your first 10–15 projects. The skills overlap eventually, but trying to learn garment fitting and quilting precision simultaneously is a recipe for confusion.
Frequently Asked Questions About How to Sew for Beginners
What is the easiest thing to sew as a complete beginner?
A tote bag is the easiest genuinely useful first project — all straight seams, no curves or closures, completable in a single session. If you want something even simpler to start, sew straight lines on muslin scraps first to get comfortable with the machine before cutting into real fabric.
How long does it take to learn to sew from scratch?
Most beginners can complete a functional first project within 2–3 sessions. Building real confidence — where you can read a pattern and execute it without constant second-guessing — typically takes 10–15 projects over a few months of regular practice. The learning curve is steep at first, then flattens out quickly.
What fabric should a beginner start with?
Quilting cotton. It’s stable, doesn’t stretch while you’re handling it, cuts cleanly, and presses beautifully. Cotton muslin is a good alternative for practice since it’s inexpensive. Avoid slippery fabrics like satin or chiffon, and skip stretch knits until you’ve got woven fabrics down.
Why does my sewing machine keep bunching thread underneath?
That tangle on the underside — called a bird’s nest — is almost always caused by incorrect threading of the top thread, not the bobbin. The most common culprits are missing the take-up lever or skipping a thread guide. Re-thread the entire machine from scratch, make sure the presser foot is lowered before you start, and pull both thread tails to the rear before beginning your seam.
Do I need an expensive sewing machine to learn?
No, but don’t go too cheap either. A machine in the $150–$350 range — like the Brother XM2701 or Brother CS6000i — gives you metal internal components, reliable tension, and enough features to grow into. Machines under $100 often have plastic gears that wear out quickly and can’t be repaired, which ends up costing more in the long run.