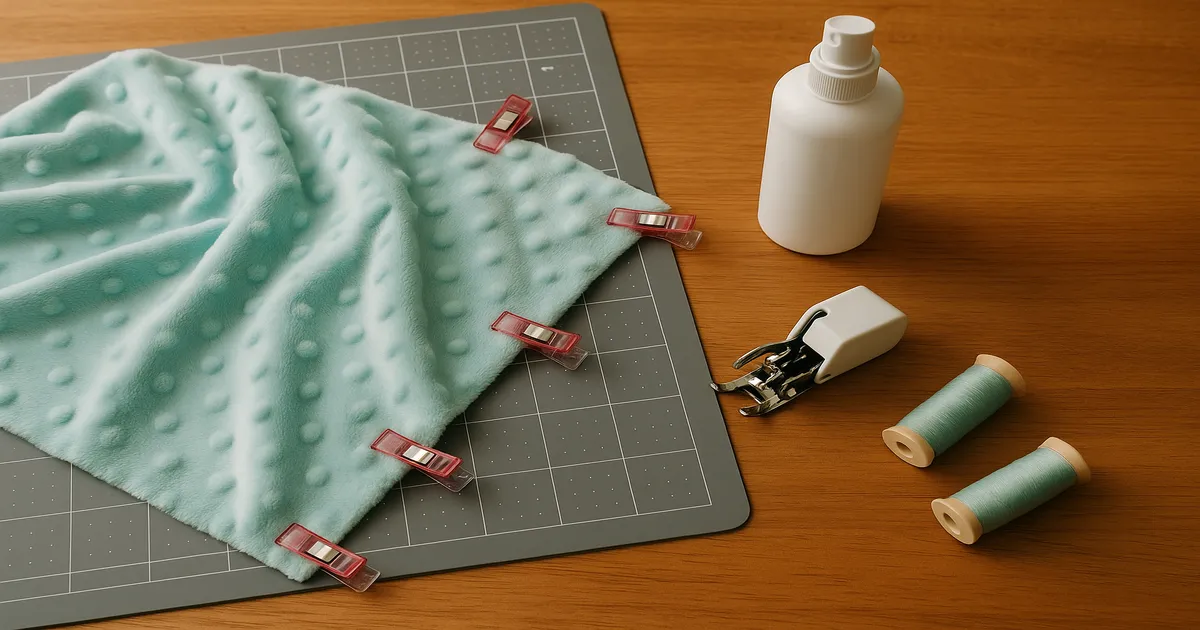
Quick Answer: Minky slides because its dense polyester pile creates an almost frictionless surface, and the knit backing stretches in every direction the moment you apply pressure. The four fixes that make the biggest difference: use a walking foot, spray baste your layers together, pin perpendicular to the seam every 2–3 inches (5–7.5 cm), and set your stitch length to 3.0–3.5 mm.
If you’ve ever tried to keep minky from sliding around, you know exactly how maddening it is — layers that drift mid-seam, corners that won’t line up, and a fabric that seems personally offended by your rotary cutter. The good news is that none of this is random bad luck. Once you understand why minky behaves the way it does, the fixes are consistent and they actually work.
What Makes Minky So Hard to Control
The pile surface acts like a ball-bearing layer
Standard minky has a pile about 3 mm (⅛ inch) deep. That’s short enough to look tidy, but dense enough that two layers pressed together create an almost frictionless interface. Your presser foot glides over the top while the feed dogs drag the bottom layer forward, and suddenly your pieces are no longer aligned. The pile fibers interlock, grip, and then release unpredictably — there’s no way to predict exactly when or where the shift will happen.
The knit backing stretches in every direction
Underneath that pile is a 4-way stretch knit backing. Unlike woven cotton, it has no fixed grain to anchor it — it distorts in any direction the moment you apply lateral pressure, which happens constantly when you’re pinning, basting, and feeding fabric through a machine. That stretch is what makes minky so soft and drapey in a finished blanket, but during construction it’s genuinely your enemy.
One more thing worth knowing: nap direction matters more than most people expect. Sewing against the nap creates noticeably more resistance and distortion than sewing with it. Mark your nap direction before you cut a single piece.
Essential Tools for Keeping Minky from Sliding
A walking foot is non-negotiable
If you don’t own a walking foot, get one before you cut into your minky. I’m not being dramatic — a standard presser foot will give you a wave or tuck at the end of every seam longer than a few inches, and no amount of pinning will fully compensate. A walking foot has its own set of feed dogs that grip the top layer in sync with the machine’s lower feed dogs, so both layers move at the same rate. It’s the single biggest difference-maker on this list.
Rotary cutter and cutting mat
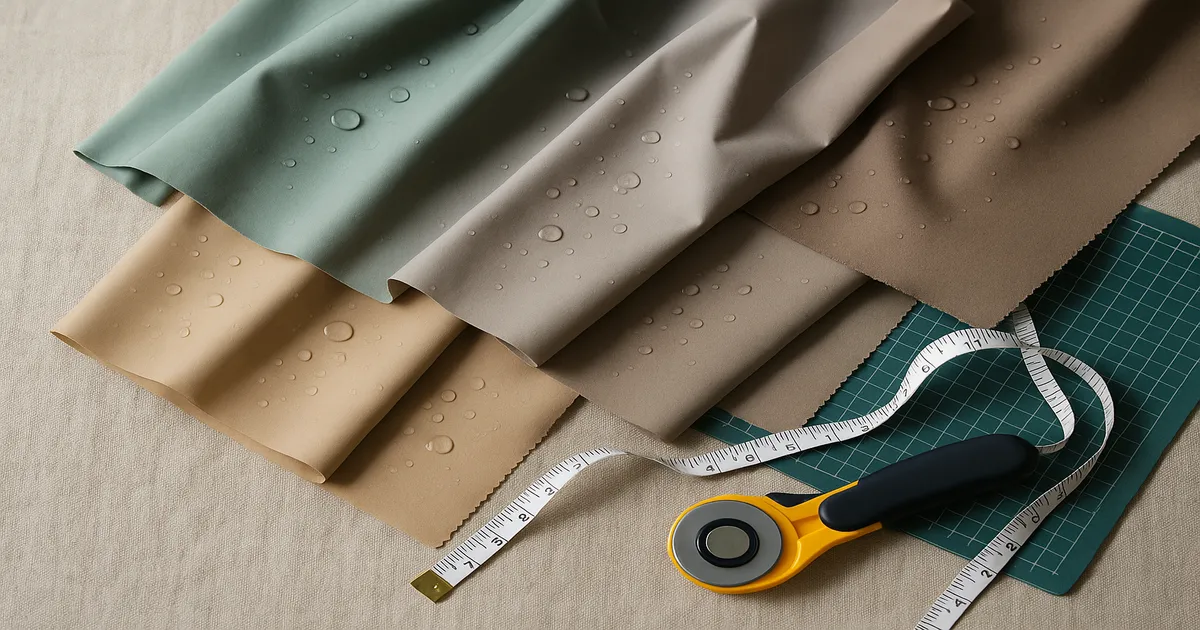
Scissors drag minky and shift layers. A 45 mm or 60 mm rotary cutter with a fresh blade cuts cleanly through the pile without disturbing it. Replace your blade after every two or three minky projects — a dull blade drags instead of slices, and you’ll feel the difference immediately. Work on a self-healing mat that’s at least 24 × 36 inches (61 × 91 cm) and use pattern weights every 4–6 inches (10–15 cm) along pattern edges instead of pins while cutting.
Spray adhesive for basting
Temporary spray adhesive is the technique that genuinely changes how minky behaves. Sulky KK2000 and Odif 505 are the two I reach for most — both are repositionable, both wash out completely, and both bond layers just enough to sew without shifting. Spray one layer lightly from 10–12 inches (25–30 cm) away, let it tack for 15–20 seconds, then press the layers together firmly with your hands. For minky-to-minky joins especially — where two pile surfaces face each other and grip unpredictably — spray basting isn’t optional.
Wonder Clips and the right needle
Clover Wonder Clips grip the full thickness of minky without distorting the pile the way pins can. Use them every 1.5–2 inches (4–5 cm) along seam edges, especially on curves. For needles, use a stretch needle — size 75/11 for standard minky, 90/14 for thicker layers. The ballpoint tip slides between knit fibers instead of piercing them, which prevents skipped stitches and snags. Pair it with 100% polyester thread (weight 40 or 50), which has a slight built-in stretch that matches the knit backing. Cotton thread has no give and will stress your seams over time.
Preparing and Cutting Minky Without Shifting
Don’t pre-wash. Minky doesn’t shrink the way cotton does, and washing before sewing can mat the pile and create more static problems than you started with. Wash the finished project, not the yardage.
Let the fabric relax. Unroll your minky and let it rest flat for at least 30 minutes before cutting. Fabric wound tightly on a bolt has tension built into it, and that tension causes distortion if you cut straight from the roll. Easy step, easy to skip, worth doing.
Mark your nap direction first. Run your hand across the surface — the direction that feels smooth and silky is with the nap; the direction that ruffles the pile is against it. Mark the wrong side with a chalk arrow before you cut anything. All pieces should have the nap running the same way, typically downward on a finished blanket so the pile strokes downward when touched.
Cut on the wrong side with single, confident strokes. Sawing motions shift layers. One clean pass with a fresh blade is all you need.
How to Pin, Clip, and Baste Minky to Prevent Sliding
Pins should go perpendicular to the seam line — never parallel. Parallel pins don’t hold layers effectively and are easy to sew over accidentally, which can damage your needle. Space them every 2–3 inches (5–7.5 cm), which is much denser than you’d use for quilting cotton. Remove each pin just before the needle reaches it.
If you prefer hand basting, a long running stitch about ¼ inch (6 mm) from the raw edge gives you good control and is easy to remove. Machine basting at a 4.0–5.0 mm stitch length, sewn ⅛ inch (3 mm) from the raw edge, is faster and works well once your walking foot is already on. Either method adds a useful layer of security before you sew the final seam.
Machine Settings for Sewing Minky Without Puckering
Stitch length: 3.0–3.5 mm. The typical cotton setting of 2.5 mm is too short — the feed dogs essentially chew at the knit backing and create puckers. A straight stitch handles most minky seams well. If the seam will experience stress or stretch in the finished project, a very narrow zigzag (width 0.5–1.0 mm, length 3.0 mm) gives it more flexibility.
Thread tension: drop it 1–2 numbers below your default. If you normally sew cotton at tension 4, try 2.5–3.0 on minky. Too-high tension pulls the top thread down into the pile and creates a dimpled seam line.
Presser foot pressure: reduce by one or two settings if your machine allows it. You want enough pressure to feed the fabric, not so much that it compresses the pile and causes drag. Keep your feed dogs fully raised, and clean them regularly during a minky project — the fibers clog the teeth faster than you’d expect. Sew at about 50% of your machine’s maximum speed; high speed generates friction heat that can temporarily mat the polyester pile.
Tissue paper trick for stubborn machines: place a strip of tissue paper or wash-away stabilizer under the minky at the feed dogs. It gives the feed dogs something to grip. Tear or dissolve it away after sewing. For minky-to-cotton seams, skip the tissue paper and just orient the layers cotton-side down — cotton grips the feed dogs far better than minky does.
Common Mistakes That Cause Minky to Slide
Using a standard presser foot. The top layer creeps forward, the bottom stays put, and you get a tuck or wave at the end of every seam. Switch to a walking foot. No exceptions for seams longer than 2 inches (5 cm).
Stitch length below 3.0 mm. The feed dogs chew at the knit backing. Lengthen your stitch.
Skipping spray baste on minky-to-minky seams. Even with a walking foot, two pile surfaces facing each other will drift over a long seam without adhesive. Use both — the walking foot and the spray baste together eliminate the vast majority of sliding problems.
Pressing with too much heat. Polyester pile melts above roughly 275°F (135°C) and that damage is permanent — you’ll get a shiny, matted patch that can’t be fixed. Use a seam roller for finger-pressing instead. If you absolutely need an iron, use the lowest steam setting on the wrong side with a pressing cloth.
Ignoring nap direction. Two panels cut with nap running in opposite directions will look like different fabrics in the finished project — one appears lighter, one darker, depending on the viewing angle.
Finishing Minky Seams Cleanly
A seam roller is the right tool here. Roll it firmly along the seam allowance to flatten and set the seam with no heat risk — faster than waiting for an iron to cool to a safe temperature, and zero chance of pile damage.
Trim seam allowances to ¼ inch (6 mm) at corners and in binding applications where bulk is a concern. Clip corners at a 45-degree angle, leaving at least ⅛ inch (3 mm) of seam allowance at the point before turning. Minky is thick enough that unclipped corners will bunch noticeably.
If you’re finishing raw edges on a serger, use a 4-thread overlock with differential feed set to 1.5–2.0. That slight gathering action keeps the stretchy knit backing from stretching out as it feeds through. Use a ballpoint serger needle, and expect to clean minky fibers from your blades and throat plate more often than usual.
Frequently Asked Questions About Sewing Minky
What’s the best presser foot for sewing minky fabric?
A walking foot (also called an even-feed foot) for all straight seams — full stop. It has its own feed dogs that grip the top layer in sync with the machine’s lower feed dogs, which is the only reliable way to keep minky from sliding around during sewing. For topstitching or decorative work, a Teflon non-stick foot reduces drag across the pile.
Why does my minky pucker when I sew it?
Almost always one of three things: stitch length is too short (go up to 3.0–3.5 mm), upper thread tension is too high (drop it 1–2 numbers), or you’re using a standard presser foot. If you’ve fixed all three and still have puckering, check your needle — a worn needle drags through the knit backing and causes distortion.
Can I use regular pins, or do I need Wonder Clips?
You can use regular pins — long, fine quilting pins work — but they must go perpendicular to the seam line and be spaced every 2–3 inches (5–7.5 cm), which is much denser than most people are used to. Wonder Clips are genuinely better for minky because they grip the full fabric thickness without distorting the pile, and you’re far less likely to sew over one accidentally.
Should I pre-wash minky before sewing?
No. Minky doesn’t shrink the way cotton does, so pre-washing doesn’t serve the same purpose. Worse, it can mat the pile and increase static buildup. Wash the finished project after it’s complete.
How do I sew minky to cotton without it sliding?
Place the cotton side down against the feed dogs and let the walking foot handle the minky on top. Cotton grips the feed dogs much better than minky does, so this orientation alone makes a big difference. Spray basting the layers together before sewing takes care of the rest.