Quick Answer: Easing is the technique of joining two fabric pieces of slightly different lengths so the finished seam lies flat with no visible tucks or gathers. Baste the longer piece, draw up the thread to match the shorter piece, distribute the fullness evenly across quarter-point marks, and press with steam over a tailor’s ham. It works best when the length difference is no more than 1–2 inches (2.5–5 cm).
If you’ve ever set in a sleeve and ended up with a lumpy, puckered seam that no amount of pressing would fix, the problem was almost certainly easing — or the lack of it. Learning how to ease fabric when sewing is one of those skills that genuinely changes how your finished garments look. It’s the difference between a sleeve that lies smooth and rolls forward naturally at the shoulder and one that bunches like a crumpled paper bag. And it’s not just sleeves: easing shows up in collar attachments, waistbands, curved yoke seams, and quilting curves too.
What Does It Mean to Ease Fabric When Sewing?
Easing means gently distributing the extra length of one fabric piece so it joins a slightly shorter piece with no visible fullness. The finished seam should look completely smooth — no tucks, no pleats, no puckers. Done right, nobody looking at the outside of your garment should be able to tell that one piece was ever longer than the other.
Easing vs. Gathering: What’s the Difference?
People mix these up all the time, and they really are different techniques. Gathering creates intentional, visible fullness — think of a gathered skirt waistband where you can see the little folds of fabric. Easing creates invisible fullness. The golden rule: if the length difference between your two pieces is more than 1–2 inches (2.5–5 cm), you’re not easing anymore. You’re gathering, whether you want to admit it or not.
Where You’ll Need to Ease Fabric
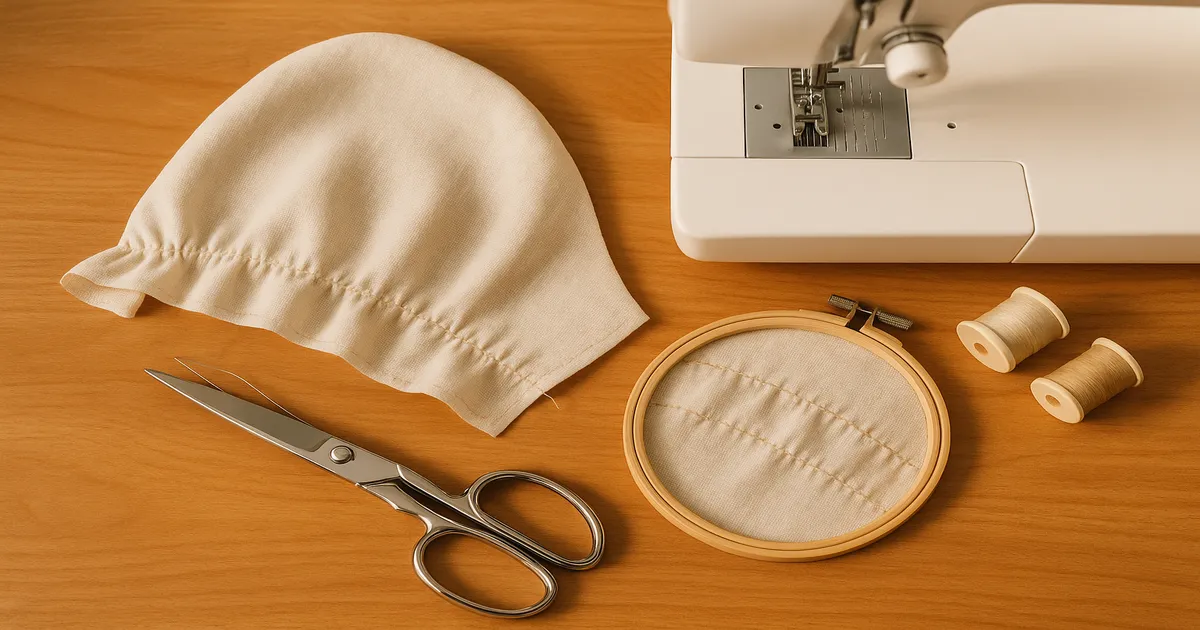
- Sleeve caps — the most frequently eased seam in garment sewing; a standard set-in sleeve cap has about 1–1.5 inches (2.5–3.8 cm) of built-in ease
- Collar attachment — the collar piece is often slightly longer than the neckline it joins
- Waistbands — particularly on slightly curved waistlines
- Curved yoke seams — princess seams and back yoke joins
- Quilting curves — when joining a concave piece to a convex one
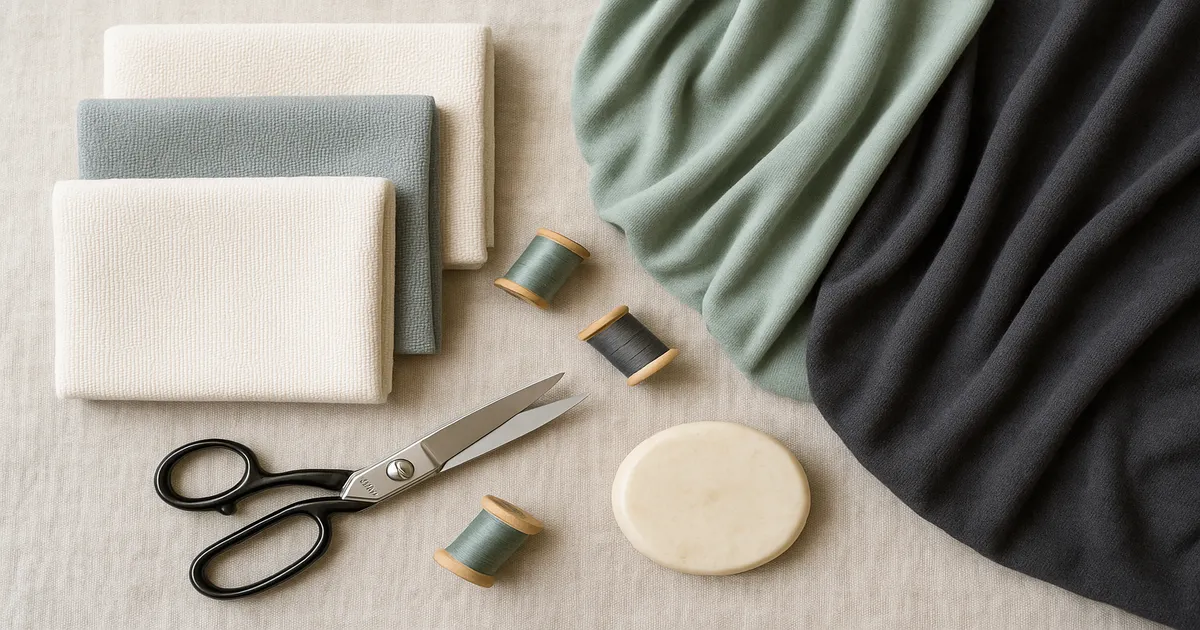
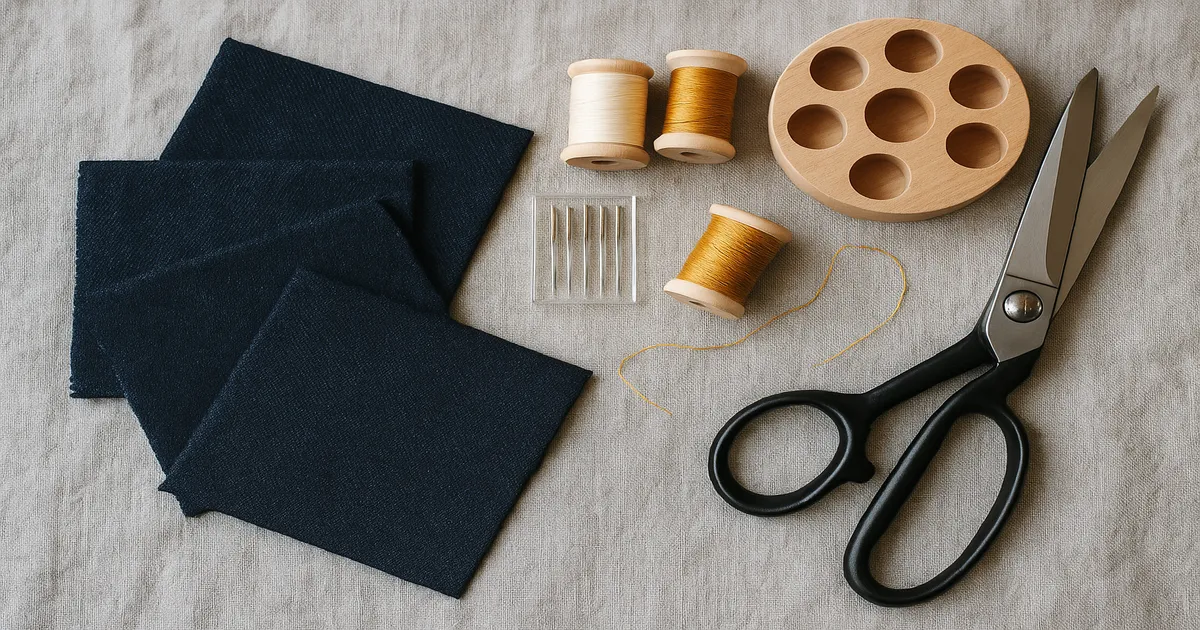
Tools You Need Before You Start
Best Fabrics for Easing (and Which to Avoid)
Wool is the best fabric to ease, full stop. It responds beautifully to steam and practically shrinks itself into shape. Cotton broadcloth, linen, and ponte knit are also forgiving. Silk charmeuse, satin, velvet, and faux leather are genuinely difficult — they resist manipulation, show every needle hole, and slide around under the foot. If you’re new to easing, practice on a medium-weight cotton before you touch anything slippery.
Presser Feet That Help
For most woven fabrics, your standard presser foot is fine. For knits, slippery fabrics, or anything with a plaid or stripe that needs to stay matched, a walking foot is worth its weight in gold — it feeds both layers at the same rate and stops the bottom layer from creeping ahead. That creeping is a real problem when you’re trying to control ease distribution.
Needles, Thread, and Pressing Tools
Use a Universal 80/12 for most medium-weight wovens, a Microtex 70/10 for delicate or tightly woven fabrics, and a Stretch 75/11 for knits. Change your needle at the start of every major project — a dull needle makes easing noticeably harder and can cause skipped stitches in the basting line.
For thread, 50-weight cotton or polyester is ideal. (Gutermann Sew-All 50wt) Anything heavier adds unnecessary bulk in the seam allowance.
Pressing tools matter more than most beginners expect:
- Tailor’s ham — non-negotiable for sleeve caps and collar curves
- Seam roll — for long curved seams
- Steam iron, minimum 1,500 watts — a weak iron won’t generate enough steam to set the ease properly (Rowenta DW5080 Master 1700W)
- Glass-head or silk pins — fine pins cause less distortion in delicate fabrics
- Stiletto or seam ripper — for guiding fullness under the presser foot
How to Ease Fabric When Sewing: Machine Basting Method (Step-by-Step)
This is the method I use for almost everything. It gives you the most control, works on the widest range of fabrics, and produces consistently smooth results once you’ve done it a few times.
Step 1: Identify and Mark the Longer Piece
Lay both pieces flat and compare their lengths along the seam edge. Mark the longer piece with pins or a water-soluble pen at quarter points — divide the seam into four equal sections. Do the same on the shorter piece. These marks are your alignment anchors for everything that follows.
Step 2: Sew Your Basting Line (or Two)
Set your machine to its longest stitch length — 4.0–5.0 mm. Sew a basting line 1/8 inch (3 mm) inside your seam allowance. With a standard 5/8-inch (16 mm) seam allowance, that means sewing at 1/2 inch (13 mm) from the raw edge.
For sleeve caps, sew a second basting line 1/4 inch (6 mm) inside the seam allowance. Two parallel lines give you far better control and prevent the fabric from tunneling — this is standard practice in couture sewing and almost never mentioned in beginner instructions.
Critical: leave thread tails of 4–6 inches (10–15 cm) at both ends, and do not backstitch. Backstitching locks the thread and makes it impossible to pull up.
Step 3: Pull Up the Basting Thread
Hold both bobbin threads at one end and pull gently. Work from both ends toward the center — pulling from only one end risks snapping the thread. Keep pulling until the longer piece roughly matches the length of the shorter piece.
Step 4: Pin and Align Using Quarter-Point Marks
Place the eased piece against the shorter piece, right sides together. Match your quarter-point marks first, then pin every 1/2–1 inch (1.3–2.5 cm) along the eased section, perpendicular to the seam line. When you hold the pinned fabric flat, you should see no individual tucks or folds — just a slight, even “scrunchiness.”
Step 5: Sew the Final Seam with the Eased Piece on Top
Switch back to your regular stitch length — 2.0–2.5 mm for woven fabrics. Sew with the eased (longer) piece facing up toward you so you can see and control any remaining fullness as you go. Use a stiletto to gently flatten small puckers as the needle approaches them. Go slowly — this is not the moment to run the machine at full speed.
Step 6: Remove Basting and Press Over a Tailor’s Ham
Pull the bobbin thread to remove the basting stitches — at 4.0–5.0 mm they should slide out in one motion. Press the seam over your tailor’s ham using generous steam. Hold the iron slightly above the fabric, let the steam penetrate, then press down. For sleeve caps, press the seam allowance toward the garment body so the cap rolls forward naturally at the shoulder.
Alternative Methods for Different Fabrics and Projects
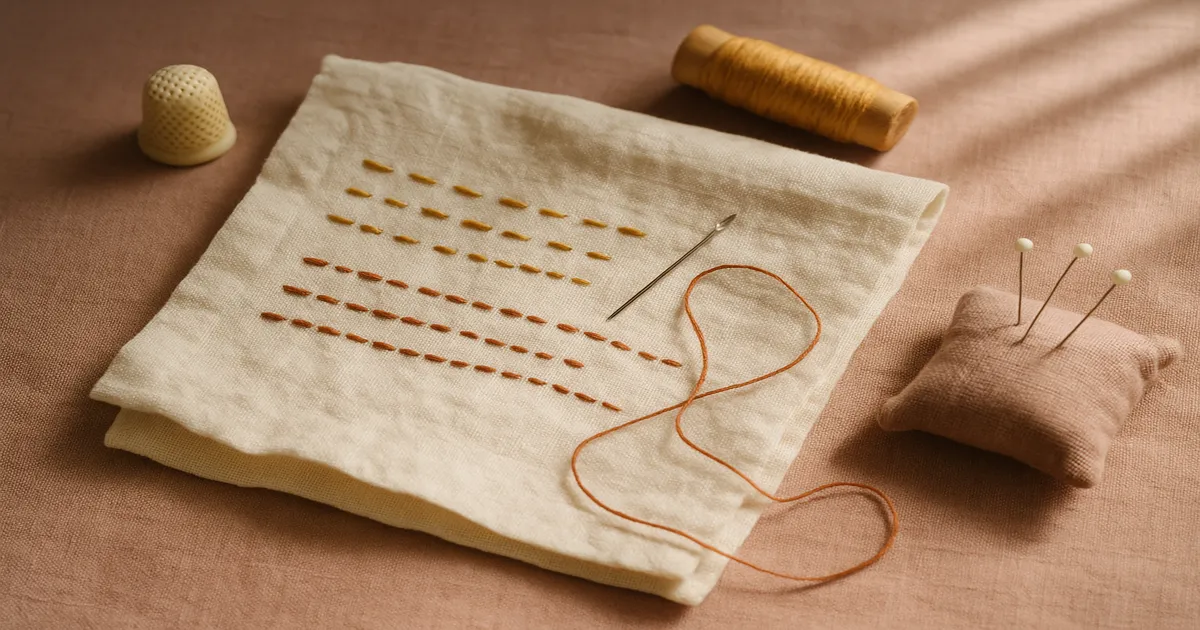
Hand basting is the best choice for tailored garments and delicate fabrics. Use a running stitch about 1/4 inch (6 mm) long, placed 1/2 inch (13 mm) from the raw edge. Scrunch the fabric along the needle before pulling through — this naturally distributes ease as you go. For silk or satin, pin a 1-inch (2.5 cm) strip of tissue paper along the seam line and baste through it. The tissue stabilizes the slippery fabric and tears away cleanly after sewing.
Ease-plus-steam is a tailoring method for wool sleeve caps that requires no basting at all. Pin the sleeve cap into the armhole with the ease distributed by hand, then hold the seam allowance over a tailor’s ham and apply heavy steam for 10–15 seconds. Wool fibers shrink slightly, permanently reducing the ease differential before you sew a single stitch. It’s a beautiful technique and produces a sleeve cap that looks like it came out of a factory press.
Ease-stitching works for small amounts of ease — under 3/4 inch (2 cm). Increase your upper tension by one or two settings, then sew a single line exactly on the seam line of the longer piece while holding a pin behind the presser foot to create back-pressure. The tension draws the fabric up slightly as it feeds through. It’s quick, but it’s not reliable for full sleeve cap ease.
Differential feed on a serger is great for knit hems. Set differential feed to 1.5–2.0 and place the longer piece on the bottom against the feed dogs. The serger eases and finishes the edge in one pass. Not suitable for set-in sleeves.
Staystitch-and-clip handles convex-to-concave curved seams like princess lines. Staystitch the curved edge at 1/2 inch (13 mm), then clip into the seam allowance every 1/4–3/8 inch (6–10 mm), stopping just short of the stitching. The clips let the curve spread and conform to the opposing curve.
Common Mistakes When Easing Fabric
Pulling basting threads too tight. Pull gradually. The eased piece should look slightly scrunched but have no individual visible folds when pinned flat.
Skipping quarter-point marks. All the ease ends up in one spot. Always divide both pieces into quarters and match the marks before you distribute anything.
Sewing with the wrong side on top. If you sew with the shorter piece on top, the feed dogs push the bottom layer faster than the top, working against your distribution. Always put the eased piece on top.
Backstitching the basting line. This locks the thread completely. Leave long tails instead.
Trying to ease too much. If the difference is more than 2 inches (5 cm), check your pattern pieces for cutting errors. If they’re correct, the design calls for gathering, not easing.
Skipping the final press. Honestly, this is the biggest one. An unpressed eased seam looks lumpy no matter how good the sewing is. The tailor’s ham and steam do the real finishing work — don’t skip them.
Frequently Asked Questions About How to Ease Fabric When Sewing
What is the difference between easing and gathering in sewing?
Easing joins two pieces of different lengths so the seam lies flat with no visible fullness — the extra fabric is distributed invisibly. Gathering intentionally creates visible folds or pleats. The key distinction is the result: easing should be invisible; gathering is a design feature.
How much ease can you sew without it showing as gathers?
Most sewists can ease up to 1–1.5 inches (2.5–3.8 cm) cleanly using the machine basting method. Up to 2 inches (5 cm) is possible with careful technique and the right fabric. Beyond that, you’ll almost always see visible fullness regardless of how carefully you distribute it.
Why does my eased seam have puckers even after pressing?
Usually one of three things: the ease wasn’t distributed evenly between the quarter-point marks, you sewed with the shorter piece on top instead of the eased piece, or you didn’t press over a tailor’s ham with enough steam. A flat ironing board can’t shape a curved seam — the ham is what does the work.
Do you ease with the longer or shorter piece on top when sewing?
Always sew with the longer (eased) piece on top. This lets you see the fullness and control it with a stiletto as the needle approaches. Sewing with the shorter piece on top means the feed dogs are pushing the bottom layer faster than the top, which fights your distribution and creates puckers.
Can you ease fabric on a serger instead of a sewing machine?
Yes, if your serger has differential feed. Set it to 1.5–2.0 and place the longer piece on the bottom against the feed dogs. It works well for knit hems and curved seams on stretch fabric, but it’s not a good method for set-in sleeves — for those, the machine basting method gives you far more control.