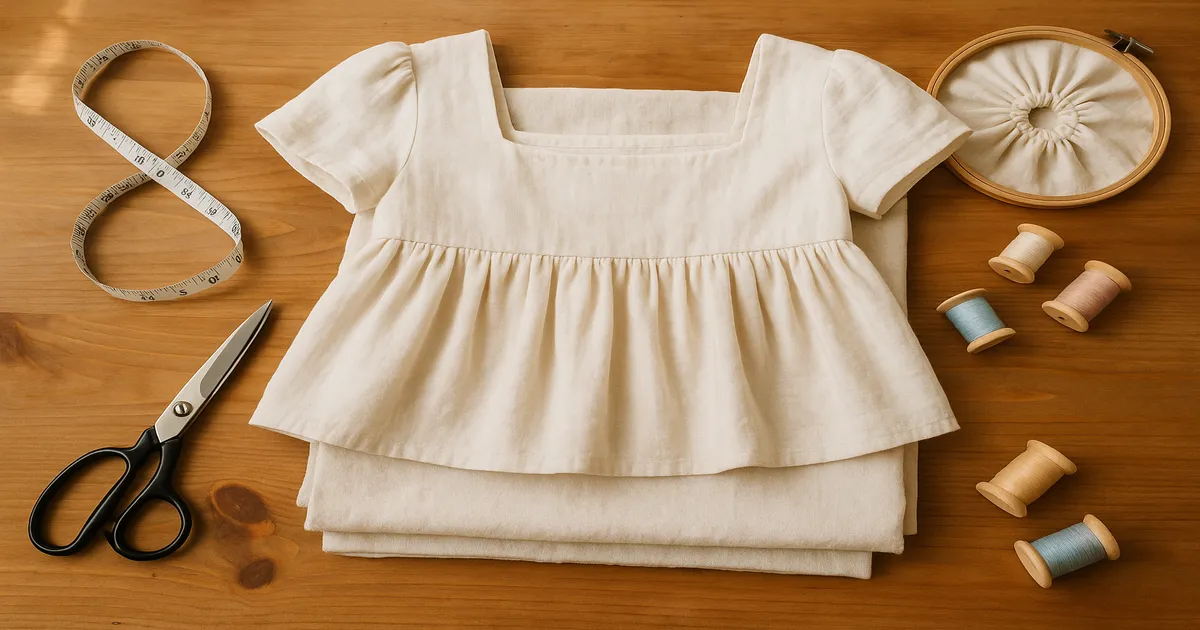
Quick Answer: A babydoll top is an empire-waist garment fitted above the bust and gathered below — one of the most forgiving tops you can sew. Construction comes down to six steps: assemble the bodice, gather the skirt panels, join them at the empire seam, finish the neckline, attach straps, and hem. Expect to spend 2–4 hours on your first one.
The babydoll silhouette has been around since the late 1950s, named after the Baby Doll film (1956) and the scandalously short nightgowns that followed. It cycled through the 1960s mod era, resurfaced in the 1990s grunge-and-chiffon moment, and it’s squarely back now thanks to the Y2K revival. If you want to learn how to sew a babydoll top, this is a genuinely satisfying place to start: the pattern math is simple, the fitting is forgiving, and the finished result looks far more involved than it actually is.
What You Need to Sew a Babydoll Top
Fabric
| Fabric | Weight | Best For | Notes |
|---|---|---|---|
| Cotton lawn | 60–80 gsm | Casual, summer styles | Crisp gathers, beginner-friendly |
| Rayon challis | 80–100 gsm | Flowy, drapey looks | Slippery — use tissue paper under the foot |
| Chiffon | 30–50 gsm | Romantic, layered styles | Needs rolled hem; use fine needles |
| Linen | 120–180 gsm | Structured, artisan styles | Pre-wash — it shrinks up to 10% |
| Jersey knit | 150–180 gsm | Comfortable, casual wear | Use a ballpoint needle and stretch stitches |
| Broderie anglaise | 60–80 gsm | Vintage/cottagecore | Decorative edge doubles as your hem |
| Satin | 100–130 gsm | Dressy, going-out styles | Marks easily; use a walking foot |
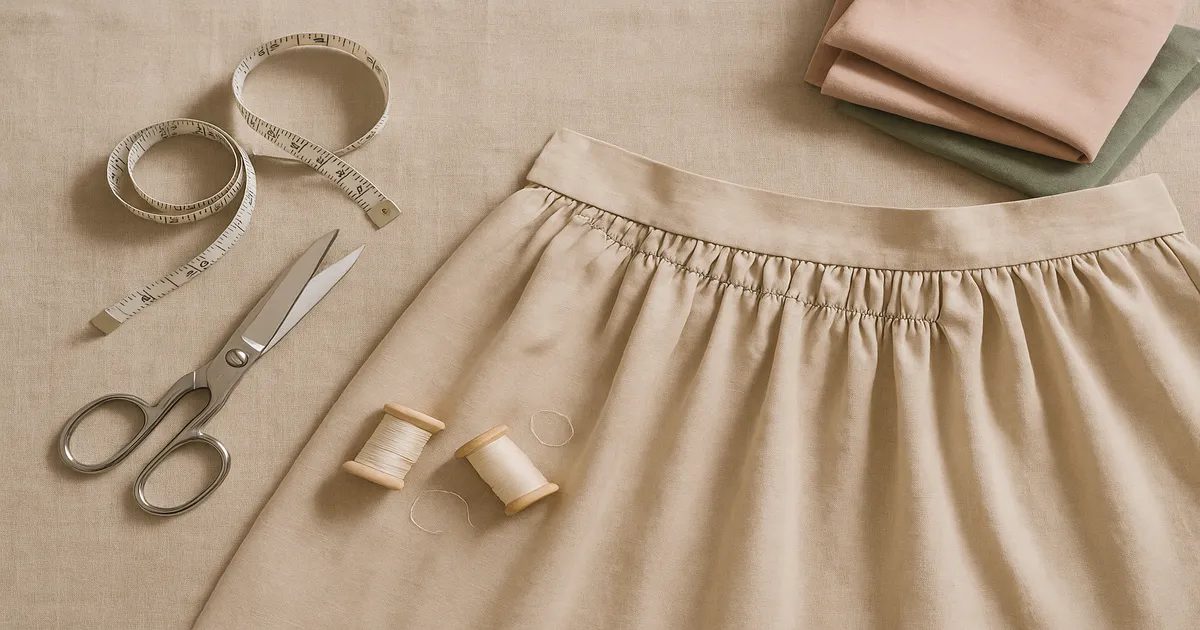
For a standard size medium, plan on 1.5–2.5 yards (1.4–2.3 m) of 44-inch (112 cm) fabric, or 1–1.5 yards (0.9–1.4 m) of 60-inch (152 cm) fabric. Cotton lawn is my honest recommendation for a first attempt — it’s inexpensive, easy to press, and gathers beautifully without fighting you.
Thread, Needles, and Presser Feet
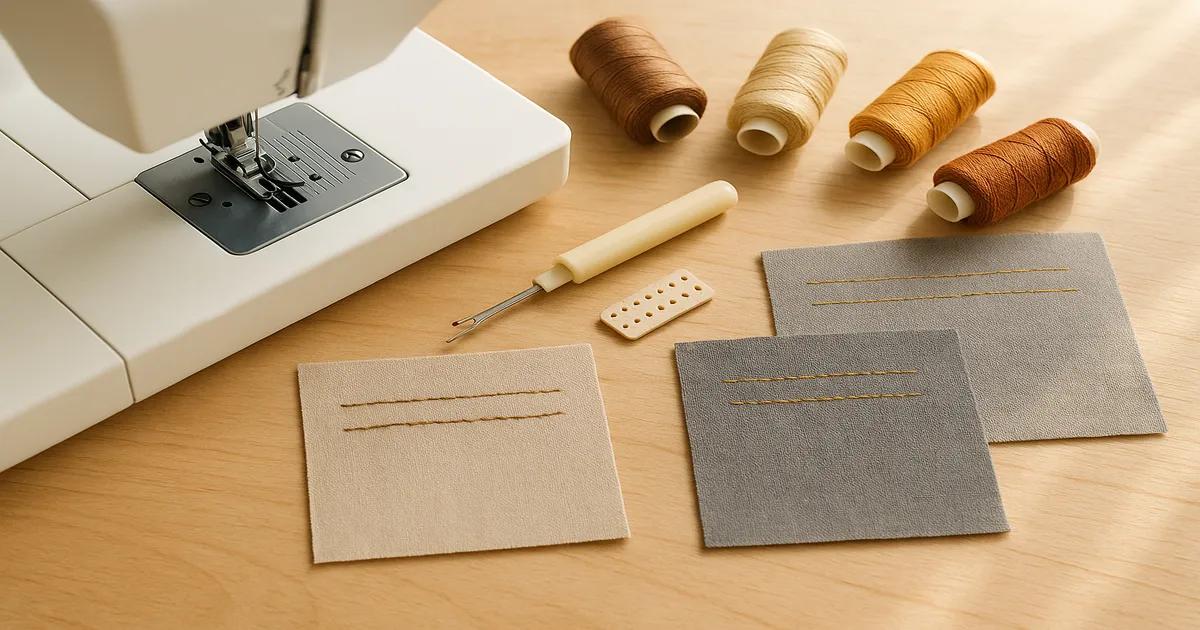
- Thread: All-purpose 50-weight polyester for most wovens ; woolly nylon in the bobbin for knits; silk thread for chiffon and fine sheers
- Needles: Universal 80/12 for wovens; Microtex 70/10 for sheers; Ballpoint 75/11 for knits
- Presser feet: A gathering foot saves serious time on long skirt panels ; a rolled hem foot is non-negotiable for chiffon; a walking foot helps with satin
Notions
- Lightweight fusible interfacing (20 g) for facings
- ¼-inch (6 mm) elastic for neckline casings
- Double-fold bias tape or self-cut bias strips for binding
- Invisible zipper, 7–9 inches (18–23 cm), if you want a back closure
- ⅜-inch (9.5 mm) D-rings and sliders for adjustable straps
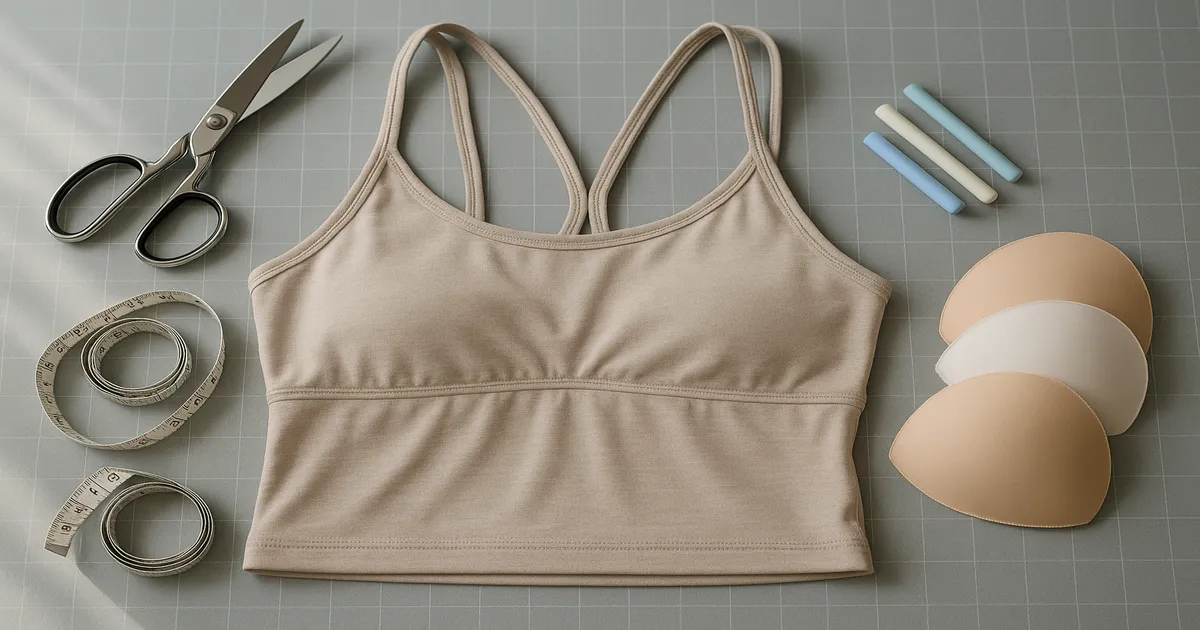
- Tailor’s chalk or water-soluble marker, glass-head pins, seam ripper
- Loop turner for spaghetti straps
Taking Measurements and Cutting Pattern Pieces
Measurements You Need
Four numbers: full bust (around the fullest part), underbust (directly under the bust), shoulder width (seam to seam across the back), and desired length (shoulder to hem). The empire seam sits 1–3 inches (2.5–7.5 cm) above the natural waist — or right at the underbust line for a high empire style.
Bodice Dimensions
- Bodice width (front and back each): (bust ÷ 2) + ½–1 inch (1.3–2.5 cm) ease + two 5/8-inch (1.6 cm) seam allowances
- Bodice height: shoulder-to-empire-seam measurement + 5/8 inch (1.6 cm) seam allowance at top and bottom
For a size medium with a 34-inch (86 cm) bust: front bodice width = 17 + 0.5 ease + 1.25 seam allowances = approximately 18.75 inches (47.6 cm).
Gathered Skirt Panel Dimensions
The gather ratio determines how full your skirt looks. A 2:1 ratio gives soft, elegant gathers; 2.5:1 gives a fuller, more romantic look.
- Skirt panel width: bodice width × 2 (or 2.5)
- Skirt panel height: desired length from empire seam to hem + 5/8 inch (1.6 cm) seam allowance at top + 1 inch (2.5 cm) hem allowance
For the size medium example above, skirt panels will be approximately 34–42.5 inches (86–108 cm) wide before gathering.
Spaghetti Straps
Cut two strips 1.5 inches (3.8 cm) wide by your desired finished length plus 1 inch (2.5 cm) for seam allowances. Most people need a finished strap of 10–14 inches (25–36 cm), but try the bodice on first — torso length varies more than you’d think.
How to Sew a Babydoll Top: Step by Step
Step 1: Assemble the Bodice
Sew bust darts first if your pattern includes them — a standard dart runs about 4 inches (10 cm) long with a ½-inch (1.3 cm) intake at the widest point. Join front and back bodice at the side seams with a 5/8-inch (1.6 cm) seam allowance, press seams open, and finish raw edges with a serger or zigzag stitch.
Then staystitch the neckline at ½ inch (1.3 cm) from the raw edge. Do this before anything else. It’s the step most people skip, and it’s exactly why their neckline ends up wavy. Stitch in the direction of the grain to keep the curve from distorting.
Step 2: Gather the Skirt Panels
- Set stitch length to 4–5 mm and reduce upper tension slightly (from the default 4 down to 2–3).
- Sew two parallel basting rows along the top edge of each skirt panel: one at 3/8 inch (9.5 mm) and one at 5/8 inch (1.6 cm) from the raw edge.
- Leave 4-inch (10 cm) thread tails at both ends — don’t backstitch.
- Mark both the skirt panel and the bodice bottom edge into quarters.
- Match quarter marks, then pull the bobbin threads from both ends simultaneously to gather evenly.
- Pin every ½ inch (1.3 cm) before sewing.
Step 3: Attach the Skirt at the Empire Seam
Sew the empire seam at 5/8 inch (1.6 cm), going slowly over the gathered sections. Remove basting threads, then press the seam allowance upward toward the bodice. This matters — pressing it down creates bulk and makes the gathers hang awkwardly.
Step 4: Finish the Neckline
Three options are covered in detail below. The short version: bias binding is the most versatile, a faced neckline looks the most polished, and an elastic casing is the easiest for casual fabrics.
Step 5: Make and Attach the Straps
Fold each strap strip in half lengthwise, right sides together, and sew along the long edge at ¼ inch (6 mm). Turn right side out with a loop turner, press flat with the seam centered on the underside. Pin straps to the right side of the bodice — typically 2–3 inches (5–7.6 cm) from center front — before attaching the neckline finish so they get caught in that seam. Try the bodice on and adjust placement before you commit.
Step 6: Hem the Skirt
- Wovens: Press up ¼ inch (6 mm), then another ¾ inch (1.9 cm); stitch at 5/8 inch (1.6 cm) from the folded edge.
- Knits: A twin needle — try a Schmetz 2.0/80 or 4.0/80 — gives a professional stretch hem that won’t pop.
- Chiffon/sheers: Use a rolled hem foot for a delicate ⅛-inch (3 mm) finished hem.
Neckline Finishes
Bias Binding
Cut bias strips 1.5 inches (3.8 cm) wide, or use pre-made double-fold tape. Attach to the neckline right sides together at ¼ inch (6 mm), fold the binding over to the wrong side, and stitch in the ditch from the right side. Works beautifully on cotton and linen — the crisp fold suits those fabrics well.
Faced Neckline
Cut a facing piece that mirrors the neckline shape, 2–2.5 inches (5–6.4 cm) wide, and fuse lightweight interfacing to the wrong side. Sew to the neckline right sides together at 5/8 inch (1.6 cm), clip curves every ½ inch (1.3 cm), then understitch at ⅛ inch (3 mm) to keep the facing from rolling out. This is my preferred finish for anything structured or dressy.
Elastic Casing
Fold the neckline edge down 5/8 inch (1.6 cm), press, fold again ¾ inch (1.9 cm), and stitch close to the inner fold — leave a 1-inch (2.5 cm) gap to thread your elastic. Use ¼-inch (6 mm) elastic cut to your neck measurement minus 1–2 inches (2.5–5 cm). Best for jersey or lightweight cotton; gives a relaxed, casual look.
Common Mistakes (and How to Fix Them)
Uneven or bunched gathers. Quarter-mark both pieces before you pin anything. Pull bobbin threads from both ends at the same time. For very wide panels, divide into eighths.
Gathering threads breaking mid-seam. Two basting rows instead of one is the main fix. If thread still breaks, try the zigzag-over-cord method: wide zigzag (4 mm width, 2 mm length) over a piece of thin crochet thread or dental floss without catching it in the stitches, then pull the cord to gather. Nearly impossible to break.
Skipping staystitching. I said it in the steps and I’ll say it again. Staystitch immediately after cutting, before you do anything else.
Wrong strap placement. Always try the bodice on before permanently attaching straps. Standard placement is 2–3 inches (5–7.6 cm) from center front, but shoulder width varies.
Not pre-washing fabric. Cotton shrinks 3–5% in the first wash; linen up to 10%. Pre-wash and dry the same way you’ll launder the finished top.
Pressing the empire seam the wrong way. Upward toward the bodice, always. Pressing toward the skirt creates a visible ridge through lightweight fabrics.
Stitch length too short on sheers. Short stitches perforate chiffon, causing seams to tear. Use a Microtex 70/10 needle, a stitch length of at least 2–2.5 mm, and tissue paper under the foot if the fabric shifts.
Design Variations
Sleeves. Cap sleeves are the simplest swap for spaghetti straps. Flutter sleeves — essentially a wide, loose cap cut on the bias — add movement without much extra complexity. Short puff sleeves require a gathered sleeve head, which adds one more gathering step but is worth it.
Neckline shapes. A square neckline pairs best with a faced finish because the corners need structure. A sweetheart neckline is easiest bound with bias tape, which curves around those dips naturally. A scoop neck works with any of the three finishing methods.
Layering over a camisole. The 1990s/Y2K way to wear a sheer chiffon babydoll is still one of the best: layer it over a fitted camisole in a contrasting color. Cut the camisole slightly shorter than the babydoll top so both hems are visible.
Lengthening into a dress. Extend the skirt panel height to whatever length you want — mini, midi, or maxi. Construction is identical. This also makes an excellent maternity silhouette, since the released empire waist accommodates a growing belly without any structural changes.
Frequently Asked Questions
How much fabric do I need to sew a babydoll top?
For a size medium, plan on 1.5–2.5 yards (1.4–2.3 m) of 44-inch (112 cm) fabric, or 1–1.5 yards (0.9–1.4 m) of 60-inch (152 cm) fabric. Fuller gather ratios, larger sizes, or longer hemlines push you toward the higher end.
Is sewing a babydoll top beginner-friendly?
Yes — with one caveat. The construction is genuinely simple: few pattern pieces, minimal fitting, and the gathered skirt hides a lot of minor imperfections. The one technique that trips beginners up is even gathering. Use the quarter-marking method, two rows of basting stitches, and start with cotton lawn. You’ll be fine.
How do I gather fabric evenly without a gathering foot?
Two parallel rows of long basting stitches (4–5 mm) at 3/8 inch and 5/8 inch from the raw edge. Mark both pieces into quarters, match those marks with pins, then pull the bobbin threads from both ends at the same time. If thread keeps breaking, use the zigzag-over-dental-floss method described above.
How do I adjust a babydoll top pattern for a larger bust?
The main adjustment is a full bust adjustment (FBA) on the bodice front — adding width and rotating the bust dart to accommodate a larger cup size. For sizes above a D cup, add an extra ½–1 inch (1.3–2.5 cm) of ease to the bodice width and confirm the empire seam sits at the underbust rather than across the fullest part of the bust.
What’s the best fabric for a first babydoll top?
Cotton lawn, no contest. It’s lightweight enough to gather beautifully, stable enough to behave on the cutting table, easy to press, and cheap enough that a mistake won’t hurt. Once you’ve made one in cotton lawn and understand how everything goes together, rayon challis or chiffon are great next steps.