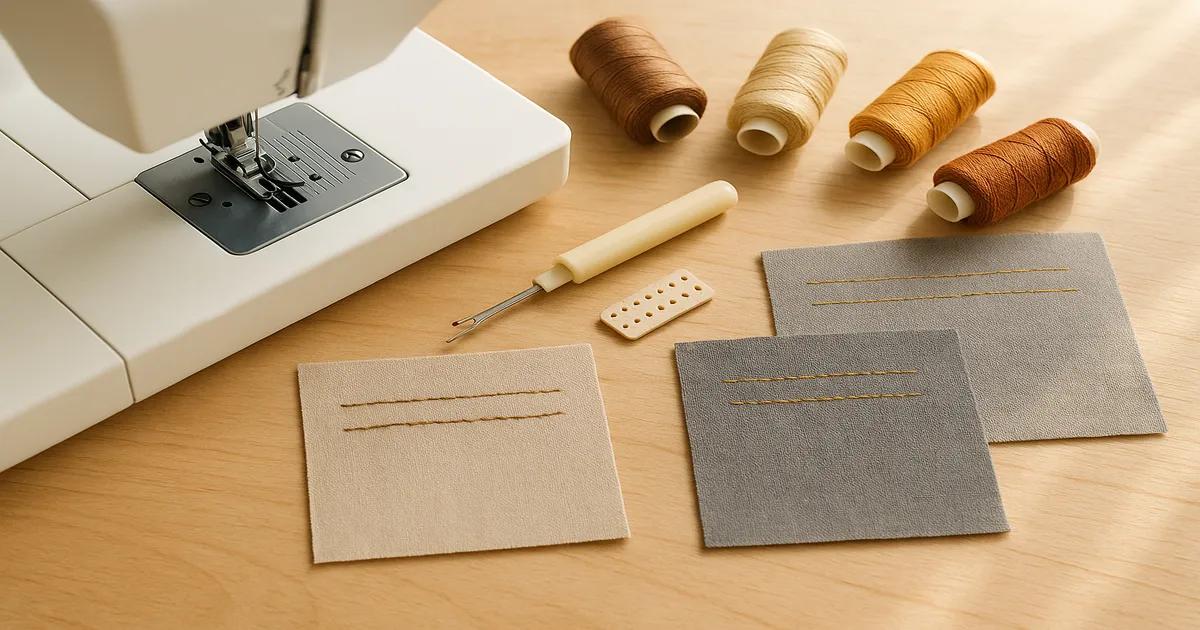
Quick Answer: If your topstitch thread looks too straight, flat, or rigid, you’re almost certainly dealing with one of three things: thread that’s too fine (50-weight when you need 30-weight), a stitch length that’s too short (under 3.0mm), or upper tension that’s too high. All three pull the thread down into the fabric instead of letting it sit up with the bold, defined ridge topstitching is supposed to have — and all three are easy to fix once you know what to look for.
Topstitching is meant to be seen. That’s the whole point. So when your top stitch thread looks so straight it practically disappears into the fabric — or the stitching has that stiff, mechanical quality that screams “home sewing project” — something’s off. And it’s almost never the machine’s fault.
Why Is My Top Stitch Thread So Straight? (The Real Causes)
Before you start changing settings, pin down exactly which problem you’re dealing with. These issues look similar but have different causes.
Thread that sinks into the fabric surface. You stitch a line, flip the fabric over, and the thread is barely visible — lying flat in the weave rather than sitting up on top of it. No ridge, no definition, no visual presence. This is the most common complaint, and it almost always comes down to thread weight or tension.
Stitching that looks rigid and mechanical. The thread is visible, but the line looks like it was printed rather than sewn. Too perfect, too tight, almost dotted. This points to stitch length — the individual stitches are so compressed they lose their character.
Thread that won’t follow curves smoothly. The stitching follows your line, but on curves it looks choppy or drifts. Speed is usually the culprit here, along with presser foot choice.
The diagnostic test: Sew a 6-inch (15cm) test line on a scrap of your project fabric, then hold it at eye level and look across the surface at a low angle. You’ll immediately see whether the thread is sinking in, sitting up but looking rigid, or tracking unevenly. Don’t skip this — it tells you exactly which fix to try first.
Topstitching vs. Edgestitching: What’s the Difference?
Topstitching is any line of stitching sewn on the right (visible) side of a garment, typically parallel to a seam or edge. It’s functional — holding seam allowances flat, reinforcing stress points — and decorative. Edgestitching is its close cousin, but it sits right at the edge: about 1/16 inch (1.5mm) from the fold. Topstitching typically sits 1/4 inch (6mm) to 3/8 inch (9.5mm) from an edge, sometimes even 1/2 inch (12mm) on heavy fabrics.
That extra distance means topstitching needs visual presence to read clearly — which is exactly why thread weight matters so much. The amber topstitching on Levi’s jeans is probably the most recognized example in fashion history. That’s 30-weight or 40-weight thread doing exactly what heavy thread is supposed to do: sitting up on the fabric surface with presence. Home sewers have been trying to replicate that industrial look with standard all-purpose thread for decades, and it never quite works. That’s why dedicated topstitching thread exists.
Because topstitching is intentionally on display, it has zero tolerance for inconsistency. Tension fluctuations, thread weight mismatches, a needle that’s slightly dull — all of it shows up immediately. Never skip testing on scraps. What looks fine at your cutting table will be glaringly obvious on a finished jacket.
Step-by-Step Fix for Flat or Overly Straight Topstitching
Step 1: Adjust Your Stitch Length to 3.0–3.5mm
Most machines default to 2.0–2.5mm, which is fine for seams but actively bad for topstitching. At that length, stitches compress the thread flat against the fabric. Bump it up to 3.0–3.5mm for most fabrics, and go as high as 4.0mm on heavy materials like denim or canvas. The longer stitch gives each individual stitch room to show its character.
Step 2: Switch to the Right Thread Weight
If you’re using 50-weight all-purpose thread, that’s almost certainly your problem. 50-weight is engineered to be invisible in seams — it’s doing exactly what it was designed to do. You’re just using it for the wrong job.
- 30-weight — standard starting point for topstitching on medium-weight fabrics
- 12-weight — bold topstitching on denim, canvas, outerwear
- 8-weight — heavy decorative work on jeans-weight denim
Gutermann Top Stitch Thread and Coats Dual Duty Plus Topstitching Thread are both solid, widely available options. Either will make an immediate, visible difference if you’ve been using all-purpose thread.
Step 3: Loosen Your Upper Thread Tension
Standard tension pulls the upper thread down through the fabric layers to lock with the bobbin thread — great for seams, bad for topstitching. Drop your tension 1–2 settings from your normal position. On a 0–9 dial, if you normally sew at 4, try 3 or even 2.5. The thread should sit on top of the fabric, not be dragged through it. If the bobbin thread starts pulling to the top, you’ve gone too far — tighten slightly until it disappears back to the underside.
Step 4: Match Your Needle to Your Thread
Threading 30-weight topstitching thread through a size 80/12 universal needle is like trying to run a garden hose through a drinking straw. The thread shreds, compresses, and lies flat. Use a topstitch needle — these have an elongated eye (roughly 40% larger than a standard needle) that handles heavier thread without mangling it.
- 30-weight → 90/14 Topstitch needle
- 12-weight → 100/16 or 110/18 Topstitch needle
- 8-weight → 110/18 or 120/19 Topstitch needle
Schmetz Topstitch needles are the industry standard. Replace your needle every 8–10 hours of sewing — a dull needle causes more topstitching problems than most people realize.
Step 5: Choose the Right Presser Foot
A standard all-purpose foot works fine for seams, but you have better options for topstitching:
- Topstitching foot — center guide groove for consistent distance from an edge
- Walking foot — feeds all layers evenly; essential for denim, quilts, or anything with multiple thick layers
- Open-toe foot — maximum visibility for following curves or marked lines
- Edge stitch foot — ideal for edgestitching very close to an edge
A walking foot is my go-to for anything with multiple layers. It feeds top and bottom fabric at the same rate, which prevents that maddening drift where your top layer shifts slightly with every stitch.
Step 6: Slow Down
This is the tip most people ignore, and it makes a bigger difference than they expect. At full speed, you’re fighting the machine for control of the fabric. Slow down to about half your normal speed — use your machine’s speed limiter if it has one. Topstitching is a deliberate, controlled technique, not a race.
Step 7: Press Before and After
Press seam allowances flat before you stitch. Lumpy seam allowances make the presser foot rock, which causes tension to fluctuate and the stitch line to wander. After you’re done, press the finished topstitching from the wrong side with a pressing cloth. You want to set the stitches without flattening the thread you just worked so hard to make visible.
Thread Weight, Needle, and Fabric Quick-Reference
Thread Weight Guide
| Thread Weight | Best For |
|---|---|
| 50-weight | Edgestitching on lightweight fabrics only |
| 40-weight | Quilting cotton, shirting, light garments |
| 30-weight | Standard topstitching on medium-weight fabrics |
| 12-weight | Bold topstitching on denim, canvas, outerwear |
| 8-weight | Heavy decorative topstitching on jeans-weight denim |
Cotton thread gives a matte finish that reads beautifully on garments. Polyester has a slight sheen and more stretch — better for knits or anything that gets washed frequently and hard.
Needle Size by Thread Weight
| Thread Weight | Needle Size | Needle Type |
|---|---|---|
| 50-weight | 75/11 or 80/12 | Universal or Microtex |
| 40-weight | 80/12 or 90/14 | Topstitch or Universal |
| 30-weight | 90/14 | Topstitch |
| 12-weight | 100/16 or 110/18 | Topstitch or Jeans |
| 8-weight | 110/18 or 120/19 | Topstitch or Jeans |
How Fabric Type Affects Thread Behavior
- Denim: 30-weight or heavier, jeans needle, 3.5–4.0mm stitch length. The dense weave actually helps thread sit up.
- Knits: Polyester thread with some stretch. Use a triple stitch or stretch stitch — straight stitch will pop when the fabric moves.
- Leather/faux leather: Thread sits very prominently on the surface. Use a Teflon foot or roller foot; a standard foot will stick and drag.
- Silk/lightweight fabrics: 50-weight thread, Microtex needle, stitch length around 2.5mm. Go heavier and the fabric will pucker.
Common Topstitching Mistakes (and Fast Fixes)
Using standard all-purpose thread. 50-weight is engineered to disappear. Switch to 30-weight and you’ll see an immediate difference.
Stitch length too short. Default settings (2.0–2.5mm) make topstitching look like a dotted line. Go to 3.0–3.5mm minimum.
Tension too high. Drop it 1–2 settings and test again.
Wrong needle for the thread. Size up and switch to a topstitch needle.
Skipping the pre-topstitching press. Two minutes with an iron before you stitch makes a dramatic difference in how even the tension stays across the whole line.
Backstitching at the start and end. This creates a bulky knot right where everyone can see it. Instead, leave 4–6 inch (10–15cm) thread tails, pull them to the wrong side, and tie them off by hand. Or use your machine’s tie-off function — a few stitches in place, no visible bulk.
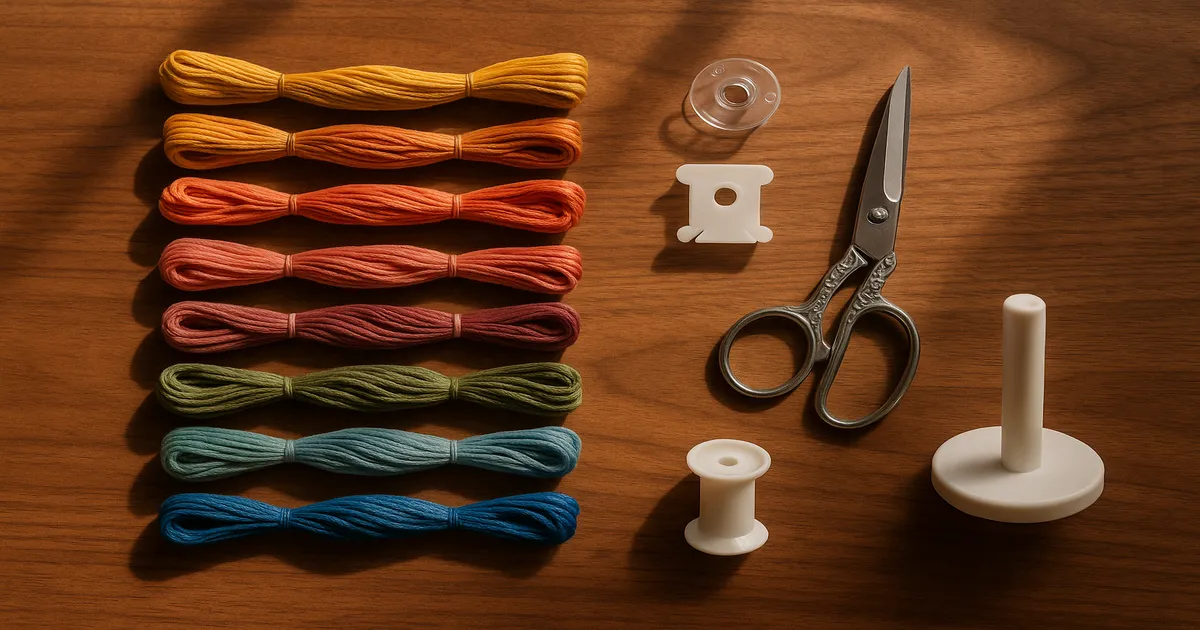
Using a horizontal spool pin with heavy thread. Heavy thread (30-weight and heavier) is cross-wound and needs to unwind from a vertical spool pin. If your machine only has a horizontal pin, the thread drags and creates tension problems that no amount of dial-turning will fully fix. A thread stand solves this completely and costs next to nothing.
Frequently Asked Questions About Top Stitch Thread
Why is my top stitch thread so straight and flat-looking?
Usually it’s a combination of three things: thread that’s too fine (50-weight instead of 30-weight), upper tension that’s too high, and stitch length that’s too short. Fix all three and the thread will sit up on the surface where it belongs. Start with thread weight — that single change makes the biggest visible difference.
What thread weight should I use for topstitching?
30-weight is the standard starting point for most topstitching on medium-weight fabrics. It’s noticeably heavier than all-purpose thread and sits up on the fabric surface the way topstitching is supposed to. For bold topstitching on denim or canvas, go down to 12-weight or even 8-weight. Reserve 50-weight for edgestitching on lightweight fabrics only.
What stitch length is best for topstitching?
3.0–3.5mm works well for most fabrics. On heavy materials like denim or canvas, go up to 4.0mm. Short stitches compress the thread and make it look flat and almost printed-on — longer stitches let each stitch show up clearly.
Should I loosen tension for topstitching?
Yes, usually by 1–2 settings from your normal position. Looser tension lets the upper thread sit on the fabric surface rather than being pulled down to meet the bobbin thread inside the layers. Always test on scraps and adjust until you can’t see the bobbin thread pulling to the top.
What’s the difference between topstitching and edgestitching?
Edgestitching sits very close to an edge or fold — about 1/16 inch (1.5mm) — and is often done with finer thread to keep it subtle. Topstitching sits further in, typically 1/4 inch (6mm) to 3/8 inch (9.5mm) from an edge or seam, and uses heavier thread to create a bold, visible line. Both are sewn on the right side of the fabric, but topstitching is meant to make a statement while edgestitching is more of a finishing detail.