Quick Answer: To sew a gathered skirt, cut a fabric panel 1.5–3× your waist measurement wide, sew two rows of long basting stitches along the top edge, pull the bobbin threads to gather the fabric down to your waist size, then attach a waistband and hem. Most beginners finish one in 2–4 hours. Close it with a fitted waistband and zipper, or keep it simple with an elastic casing — both work great.
Learning how to sew a gathered skirt is one of those projects that keeps paying off. The skills you pick up here — gathering, waistband construction, zipper installation, blind hemming — show up in everything from children’s dresses to curtain headers. And the skirt itself is genuinely wearable, endlessly adaptable, and far less intimidating than it looks from the outside.
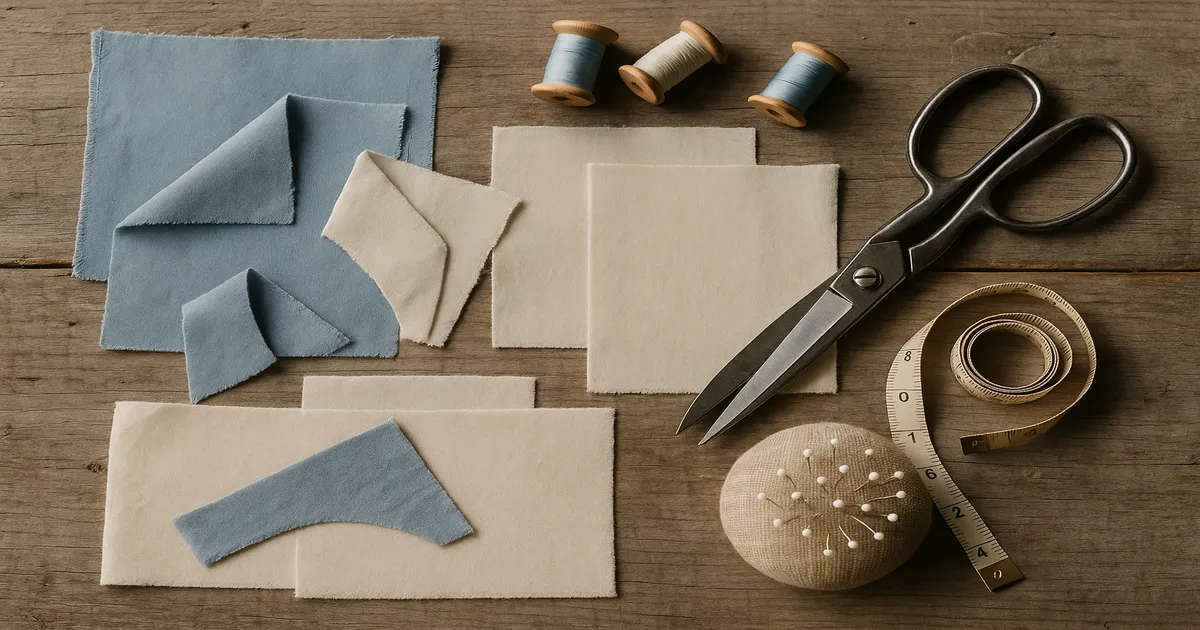
What You Need: Materials, Tools, and Fabric Choices
Best Fabrics for a Gathered Skirt
Fabric choice makes a bigger difference here than most beginners expect. The wrong fabric won’t ruin your skirt, but the right one makes the whole process noticeably smoother.
- Beginners: 100% cotton quilting fabric or chambray. Cotton doesn’t slip on your cutting mat, presses crisply, and behaves predictably under the needle. It’s my top pick for a first skirt, full stop.
- Intermediate: Linen, linen blends, or rayon/viscose. Beautiful drape, but linen frays aggressively and rayon slides — use clips instead of pins on rayon.
- Advanced: Chiffon, georgette, or velvet. Chiffon needs French seams; velvet needs a walking foot and a lot of patience.
For yardage: (skirt length + 4 inches/10 cm) × number of panels, plus an extra ¼ yard (23 cm) for the waistband if you’re cutting it from the same fabric. For a standard 2:1 ratio skirt on 44-inch (112 cm) wide fabric with a 24-inch (61 cm) finished length, you’re looking at roughly 1.5–2 yards (1.4–1.8 m).
Thread, Needles, and Key Notions
Use 50-weight all-purpose polyester thread for most woven fabrics. For your basting rows, wind a bobbin in a contrasting color — it makes those threads easy to spot and pull out later.
Needle guide:
- Universal 80/12: light to medium wovens, your everyday default
- Universal 90/14: linen or heavier cotton
- Microtex 70/10: sheers and silk
- Denim 90/14 or 100/16: heavyweight denim or canvas
Change your needle at the start of every project. A dull needle causes skipped stitches, and skipped stitches in a gathering row will make you want to throw the whole thing out the window.
Notions to have ready: woven fusible interfacing (Pellon SF101 Shape-Flex), a 7-inch (18 cm) zipper or 1-inch (25 mm) braided elastic, a size-3 hook and bar, tailor’s chalk, a seam gauge, and a safety pin for threading elastic. And your iron — pressing at every stage is what separates a polished result from something that just looks homemade.
Measuring, Calculating, and Cutting
Taking Your Measurements
Measure your waist — or wherever the skirt will sit, whether that’s your natural waist, high hip, or low hip. Also measure your desired skirt length from that point down to where you want the hem. I’ll use 28 inches (71 cm) waist and 24 inches (61 cm) desired length as working examples throughout.
Calculating Width, Length, and Waistband Dimensions
Multiply your waist measurement by your chosen gathering ratio:
- 1.5:1 (minimal fullness): 28 × 1.5 = 42 inches (107 cm)
- 2:1 (standard, great starting point): 28 × 2 = 56 inches (142 cm)
- 3:1 (very full, best for lightweight fabrics): 28 × 3 = 84 inches (213 cm)
If your total width exceeds your fabric bolt width — which it often will on 44-inch (112 cm) fabric — split it across two panels. For a 56-inch total, cut two panels at 28 inches (71 cm) each.
For cut length, add seam and hem allowances to your desired length:
- Top seam allowance: ⅝ inch (16 mm)
- Hem allowance: 1–2 inches (25–51 mm) depending on your hem method
- Example: 24 + ⅝ + 2 = 26⅝ inches (67.6 cm) cut length
For the waistband:
- Length: waist + 1 inch (25 mm) overlap + 1¼ inches (32 mm) for two seam allowances = 30¼ inches (77 cm) for a 28-inch waist
- Width: (desired finished width × 2) + 1¼ inches (32 mm). A 1½-inch (38 mm) finished waistband means cutting a strip 4¼ inches (10.8 cm) wide.
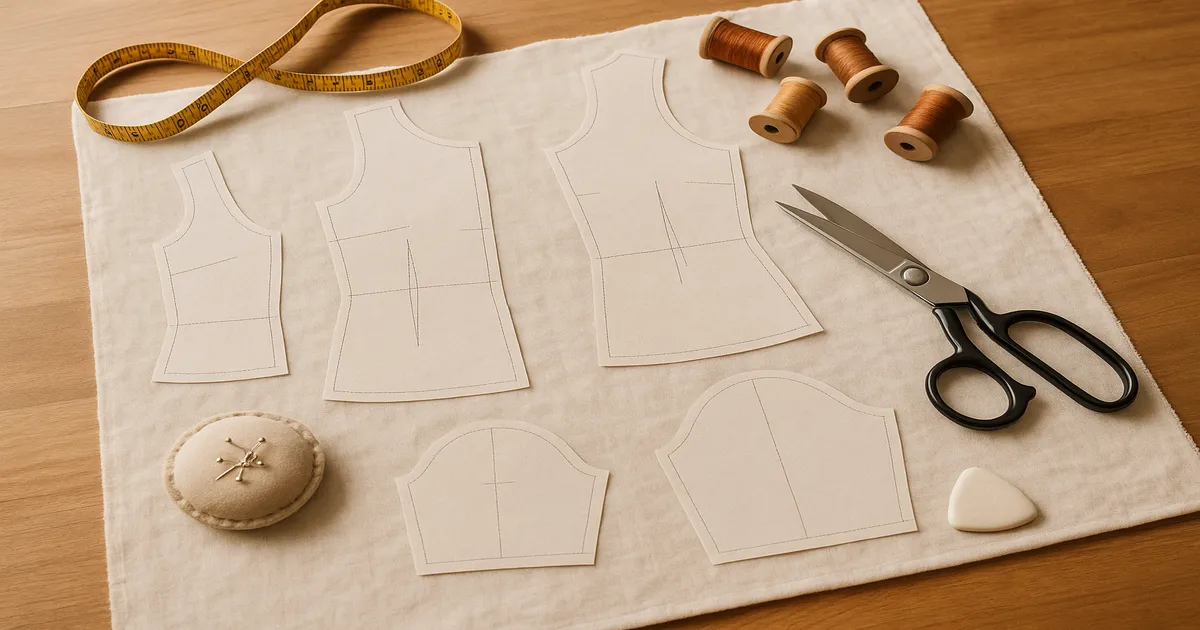
Cutting Your Panels
Always cut on the straight grain, parallel to the selvage. This gives you the best drape and prevents the skirt from twisting after washing. A rotary cutter and a long quilting ruler will give you cleaner cuts than scissors on panels this size.
Sewing the Skirt Body
Side Seams and Zipper Opening
Pin your panels right sides together and sew the side seams with a ⅝-inch (16 mm) seam allowance. If you’re adding a zipper, leave one seam open from the top down 7–9 inches (18–23 cm). For an elastic waistband, sew both side seams completely closed.
Press seams open, then finish the raw edges — a serger is ideal, but a zigzag stitch at 3–4 mm width or pinking shears both work fine.
Installing a Zipper
For an invisible zipper, install it before sewing the rest of that seam. Unroll the zipper coil with a warm iron first, then stitch right along the coil using an invisible zipper foot. The result looks like the zipper simply isn’t there, which I think is worth the slightly fussier process.
For a lapped zipper, press the seam allowances under, lap one side over the zipper tape, and topstitch with a regular zipper foot. Faster, totally acceptable — just more visible from the outside.
How to Gather Fabric: Three Methods That Actually Work
Method A: Double Basting Stitch (Best for Beginners)
This is the most reliable method for most home sewists.
- Set your stitch length to the longest your machine offers — 4–5 mm.
- Sew the first row at ⅜ inch (10 mm) from the raw top edge.
- Sew the second row at ⅝ inch (16 mm) — right on the seamline.
- Do not backstitch at either end. Leave 6-inch (15 cm) thread tails.
- For wide panels, sew in sections — quarter the skirt and gather each section separately for more even control.
Method B: Zigzag Over Cord (Best for Heavy Fabrics)
Cut a length of pearl cotton or thin cord slightly longer than your panel. Set your machine to a wide zigzag (4–5 mm width) and stitch directly over the cord at the seamline — the key is to not catch the cord in the stitches, just cage it. Pull the cord to gather. This method is strong enough that it won’t snap under the tension of heavier fabrics, which is exactly where basting threads tend to fail.
Method C: Differential Feed on a Serger
If your serger has differential feed, set it to 2.0 and serge the top edge — the fabric gathers itself as it feeds through. It’s fast, but you have less control over exact fullness. Best for lightweight fabrics on casual projects.
Distributing Gathers Evenly
Mark both the skirt’s top edge and the waistband into quarters using pins or chalk. Hold the bobbin threads from both basting rows at one end and slide the fabric along toward the center. Pull the bobbin thread, not the top thread — it moves more smoothly and is far less likely to snap.
Pin the skirt to the waistband at the quarter marks first, then distribute gathers evenly between the pins. Before you sew, run a tape measure along the gathered edge to confirm it matches your waistband length. Two minutes of checking here saves a lot of frustration later.
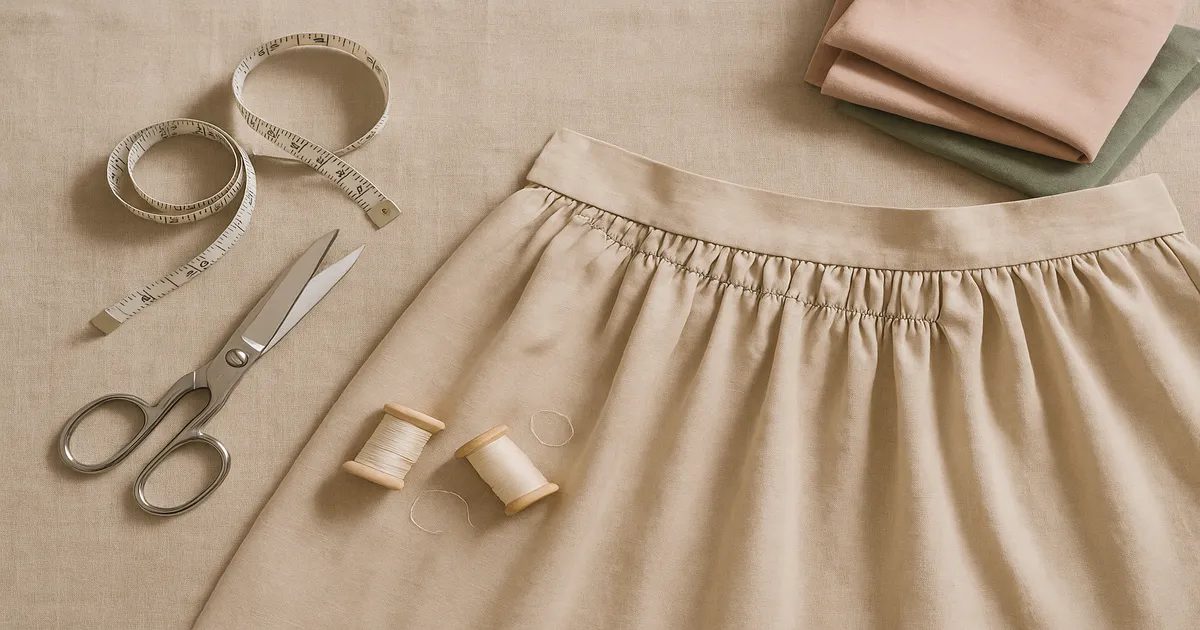
How to Sew a Gathered Skirt Waistband
Fitted Waistband with Interfacing
Fuse your interfacing to the wrong side of one half of the waistband strip. Fold the waistband in half lengthwise, wrong sides together, and press a crisp fold line down the center.
Pin the non-folded (interfaced) edge to the gathered skirt top, right sides together, matching your quarter marks. Stitch with a ⅝-inch (16 mm) seam allowance, sewing with the gathered side facing up so you can see and control the folds as you go — this prevents little tucks from sneaking through unnoticed.
Trim the seam allowance to ¼ inch (6 mm) and press it up into the waistband. Fold the waistband over to the inside along the pressed line and secure the inner edge by slipstitching by hand or stitching-in-the-ditch from the right side. Fold in the raw ends at the overlap, slipstitch closed, and attach a size-3 hook and bar at the closure.
Elastic Waistband (Simpler, Great for First Projects)
If this is your first skirt, elastic is honestly the smarter choice — you skip the zipper entirely and the construction is more straightforward.
- Cut elastic to your waist measurement minus 1 inch (25 mm) — so 27 inches (68.6 cm) for a 28-inch waist. Use 1-inch (25 mm) braided elastic for the most comfortable result.
- Fold the top edge of the skirt down 1¼ inches (32 mm), press, and stitch close to the raw edge, leaving a 2-inch (5 cm) opening.
- Thread the elastic through with a safety pin, overlap the ends by 1 inch (25 mm), and stitch a box stitch to secure.
- Close the opening and press.
Hemming Your Gathered Skirt
Hang the finished skirt (minus the hem) for at least 24 hours before marking the hemline. Full skirts are heavy enough that the fabric relaxes and drops — sometimes unevenly — and if you hem immediately, you’ll end up with a wavy hem that no amount of pressing will fix. After hanging, put the skirt on and have someone mark the hem at a consistent height from the floor using chalk or a hem marker.
For full, lightweight skirts, the narrow hem is the better choice — less bulk, lies flat even through lots of gathers. Press under ¼ inch (6 mm), then another ¼ inch (6 mm), and topstitch. Clean, simple, durable.
For medium-weight fabrics where you want an invisible finish, use a blind hem foot and the blind hem stitch on your machine. It takes a bit of practice to get the fold right, but the result is nearly invisible from the outside. Either way, press the finished hem firmly — this step genuinely transforms how professional the skirt looks.
Common Mistakes and How to Fix Them
Backstitching the gathering rows. This locks the thread ends so they can’t be pulled. Leave 6-inch (15 cm) tails and never backstitch on basting rows — not at the start, not at the end.
Stitch length too short. Stitches at 1.5–2 mm create so much thread tension that the thread snaps the moment you try to gather. Use 4–5 mm. No exceptions.
Pulling the top thread instead of the bobbin thread. The top thread breaks easily under tension. Always pull the bobbin thread — it slides through the fabric much more smoothly. Better yet, pull both bobbin threads from both rows simultaneously.
Uneven gathers. Gathers bunch in one spot and thin out in another. Fix this with the quarter-marking system: pin at the quarter marks first, then distribute gathers between those anchor points. For very full skirts, use eighth marks.
Skipping pressing between stages. This is the single biggest reason a handmade garment looks handmade in a bad way. Press your side seams before gathering. Press the waistband seam before folding. Press the hem before stitching. An iron isn’t a finishing touch — it’s part of the construction.
Frequently Asked Questions
How much fabric do I need for a gathered skirt?
Use this formula: (desired skirt length + 4 inches/10 cm) × number of panels, plus ¼ yard (23 cm) for the waistband. For a 2:1 ratio skirt on 44-inch (112 cm) wide fabric with a 24-inch (61 cm) finished length, you’ll need approximately 1.5–2 yards (1.4–1.8 m).
What’s the best gathering ratio for a beginner?
Start with 2:1 — enough fullness to look intentional without requiring an overwhelming amount of fabric or gathering work. Once you’re comfortable, go up to 2.5:1 or 3:1 for a more dramatic, flowy look.
Can I use an elastic waistband instead of a zipper?
Absolutely, and for a first project I’d actively recommend it. Skip the zipper opening entirely, sew both side seams closed, gather the top edge, and stitch a simple elastic casing. Just as wearable, and much less fiddly.
Why does my gathering thread keep breaking?
Almost always one of two causes: stitch length is too short (under 3 mm), or you backstitched at the ends. Set your machine to 4–5 mm, leave long thread tails, and always pull the bobbin thread. If you’re working with a wide panel, gather in sections rather than trying to pull the entire length at once.
What’s the easiest fabric for a gathered skirt?
100% cotton quilting fabric. It doesn’t slip while you’re cutting or sewing, presses beautifully, comes in every print imaginable, and is forgiving enough that small mistakes don’t show. Once you’ve made a skirt in cotton and feel confident, you can move on to more challenging fabrics.