Quick Answer: To sew curtains, measure your rod width, multiply by 2–2.5 for fullness, then add hem allowances for your cut dimensions. Sew side and bottom hems first, then finish the top with a rod pocket, tab top, or pinch pleat heading. Unlined panels take as little as 1.5–2 hours per pair and typically cost 50–70% less than comparable ready-made curtains.
Learning how to sew curtains is one of the best home décor projects you can tackle. The construction is almost entirely straight seams, the results are immediately visible, and you get custom sizing that off-the-shelf panels simply can’t match. I’ve made curtains for everything from tiny bathroom windows to 10-foot ceiling installations, and the process is the same every time: measure carefully, cut on grain, hem methodically, finish the top. That’s it.
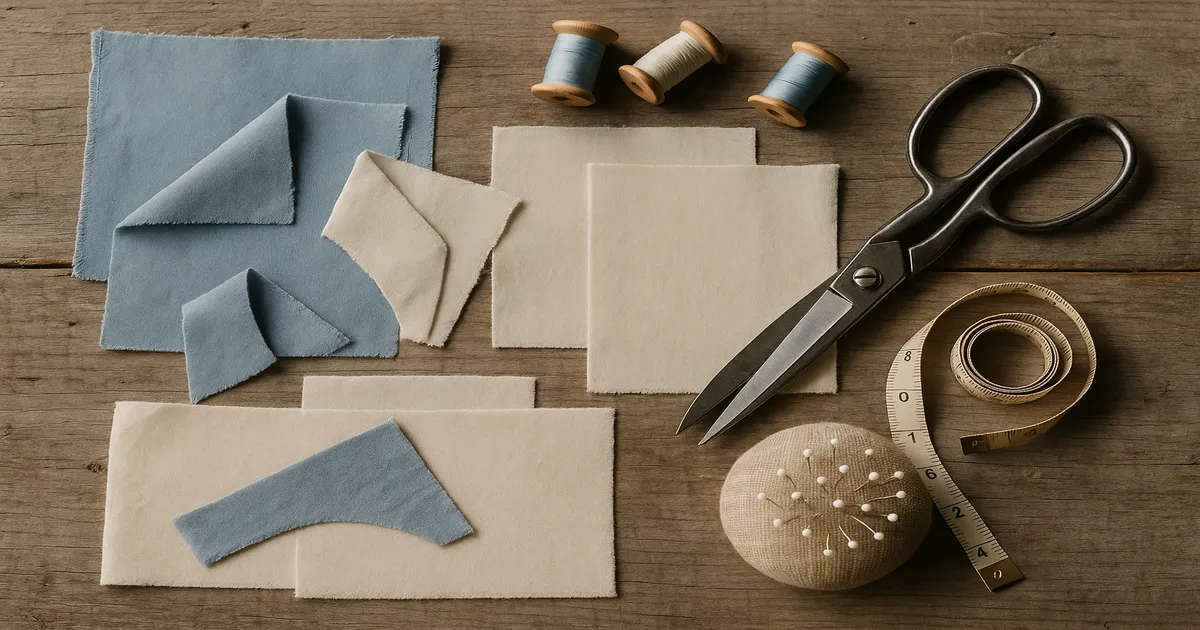
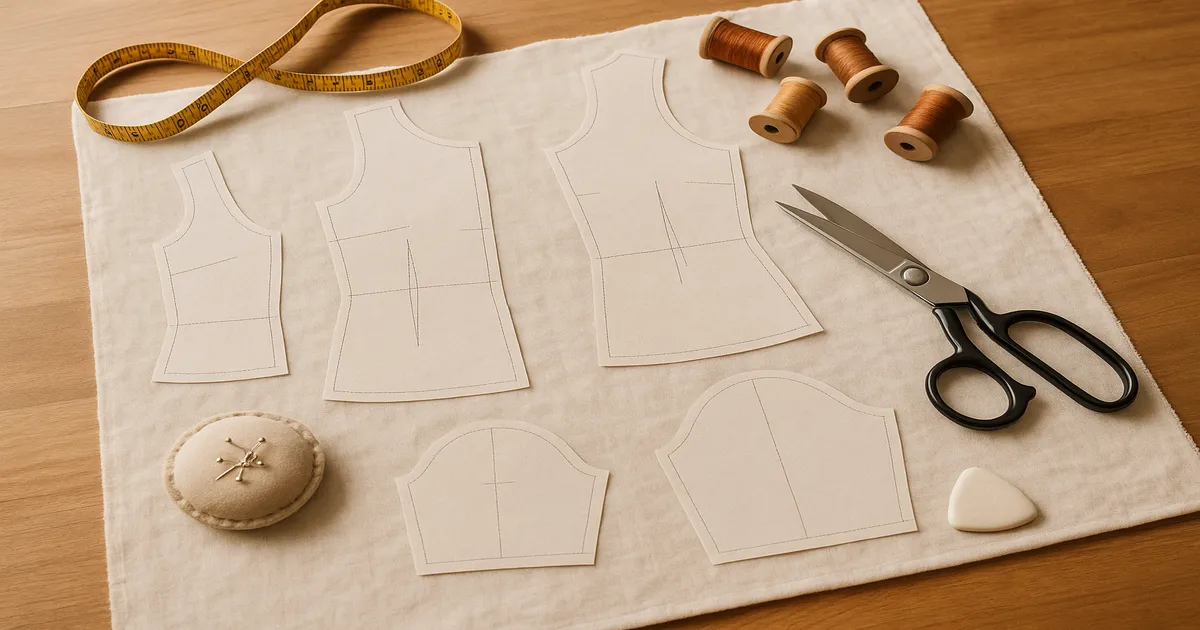
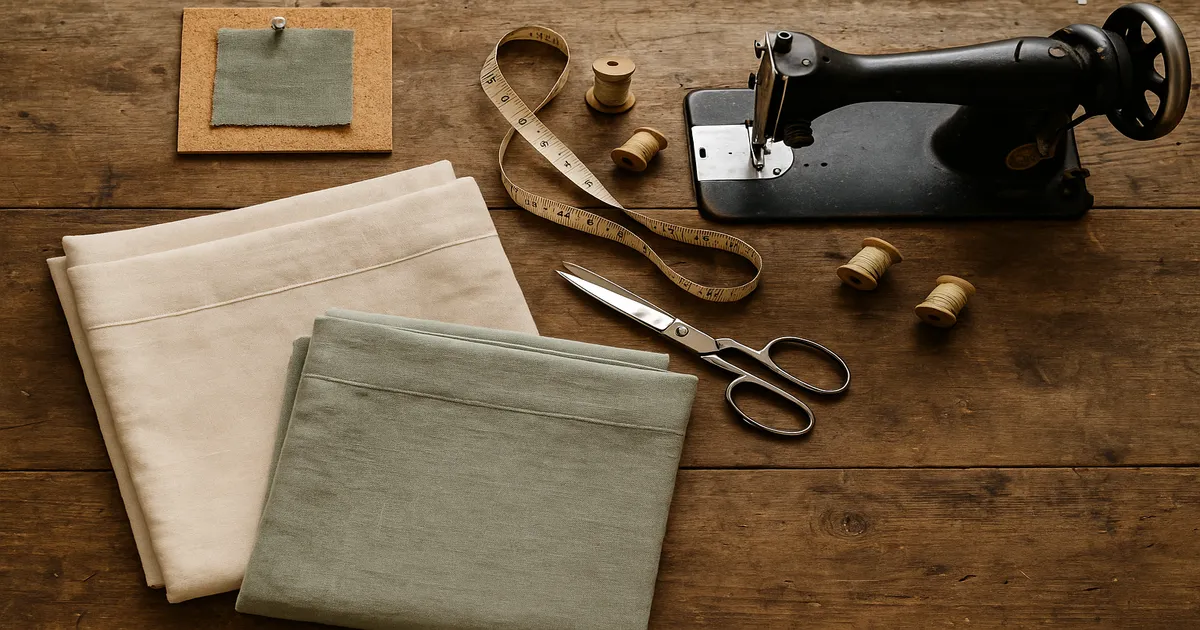
What You Need: Fabric, Tools, and Materials
Choosing the Right Curtain Fabric
Your fabric choice shapes everything — how the curtains hang, how they launder, and how much patience you’ll need at the machine.
| Fabric | Weight | Best Use | Sewing Notes |
|---|---|---|---|
| Cotton canvas/duck | Medium-heavy | Kitchen, structured panels | Easy to sew; takes dye well |
| Linen or linen blend | Medium | Casual, airy panels | Wrinkles easily; press often |
| Cotton sateen | Medium | Lined drapery | Smooth face; great for prints |
| Velvet | Heavy | Formal drapery | Mind the nap; use a walking foot |
| Sheer voile/organza | Lightweight | Privacy sheers, café curtains | Fine needle; French seams recommended |
| Blackout fabric | Heavy | Bedroom, nursery | Never iron directly; use a pressing cloth |
| Outdoor/Sunbrella | Heavy | Patio, sunroom | UV-resistant; needs heavy-duty needle |
Aim for fabric that’s at least 54 inches (137 cm) wide; 60 inches (152 cm) is better because it cuts down on how often you’ll need to join widths.
Lining Options
Lining isn’t just about blocking light — it adds body, protects the face fabric from UV damage, and makes curtains hang dramatically better. Your main options:
- Standard sateen lining — cotton/polyester blend, the everyday workhorse
- 3-pass blackout lining — blocks 99% of light; ideal for bedrooms and nurseries
- Thermal/Milium lining — reflective coating for energy efficiency
- Bump interlining — thick flannel-like layer between face fabric and lining; gives that weighted, expensive-drape feel you notice in high-end custom curtains
Thread, Needles, and Presser Feet
Use 50wt all-purpose polyester thread for most curtain fabrics — Gutermann Sew-All is my go-to. Drop to 60–80wt for sheers (it reduces puckering noticeably) and go up to 30wt for canvas or outdoor fabric.
Needle selection matters more than most people think:
- Universal 80/12 — medium-weight cotton, linen
- Universal 90/14 — heavier fabrics, lined panels
- Microtex 70/10 — sheers and voile
- Denim 100/16 — canvas, outdoor fabric, thick stacked layers
For presser feet, a walking foot is non-negotiable if you’re sewing velvet, thick layers, or any patterned fabric you want to stay aligned. A blind hem foot handles bottom hems cleanly, and an edge-stitching foot keeps side hem topstitching perfectly straight.
Other Notions and Equipment
Essential notions: buckram (4-inch/10 cm woven type for pleated headings), drapery weights, heading tape or grommets depending on your style, tailor’s chalk or a fabric marking pen, and long glass-head pins (at least 1.5 inches/38 mm).
For equipment, a steam iron is non-negotiable — pressing at every step is what separates professional-looking curtains from homemade-looking ones. A rotary cutter paired with a self-healing mat (minimum 24 × 36 inches) and a long quilting ruler make accurate cutting on long fabric lengths genuinely achievable. Scissors introduce too much wobble on anything over 36 inches (90 cm).
How to Measure Your Window and Calculate Fabric
Measuring Width and Length
Mount your rod before you measure — the rod position determines everything. Measure rod width from end to end, including any returns (the part that bends toward the wall).
For length, decide on your hem point:
- Sill length — to the window sill
- Apron length — 4–6 inches (10–15 cm) below the sill
- Floor length — within ½ inch (12 mm) of the floor
- Puddle length — 6–18 inches (15–46 cm) of fabric pooling on the floor
Calculating Cut Width and Length
Width formula: (rod width ÷ number of panels) × fullness factor, then add 4 inches (10 cm) for side hems.
Example: 60-inch (152 cm) rod, 2 panels, 2.5× fullness → 60 ÷ 2 × 2.5 = 75 inches, plus 4 inches for hems = 79 inches (200 cm) cut width per panel. On 54-inch fabric, that means joining two widths per panel.
Length formula: finished length + top allowance + 8-inch (20 cm) bottom hem allowance = cut length.
Top allowances by heading style:
- Rod pocket: 8 inches (20 cm) — covers the turn-under, header, and pocket depth
- Tab top: 1 inch (25 mm) seam allowance only
Example: 84-inch (213 cm) finished length with a rod pocket → 84 + 8 + 8 = 100 inches (254 cm) cut length.
Adjusting for Pattern Repeats
If your fabric has a repeat, round each panel’s cut length up to the nearest full repeat before multiplying by your number of widths. A 24-inch (60 cm) repeat with a 100-inch cut length rounds up to 108 inches per width. That extra 8 inches adds up fast across multiple panels — factor it into your yardage before you buy.
How to Sew Curtains: Step-by-Step
Cut on the Grain
Before anything else, press the entire length of fabric. Then pull a single thread across the width to reveal the true crosswise grain and cut along that line. Off-grain cuts are the number one reason curtain panels hang crooked, and it’s completely preventable. Use your rotary cutter and long ruler for every cut.
Joining Fabric Widths
Use a ½-inch (12 mm) seam allowance, press the seam open, and finish the raw edges with a serger or zigzag stitch. For patterned fabric, use a ladder stitch to hand-match the pattern before machine stitching — it sounds fussy, but it takes five minutes and the result is seamless. Place full widths toward the center of the window and partial widths at the outer edges where they’re less visible.
Sewing the Side Hems
A double-fold 1-inch (25 mm) side hem is standard: fold 1 inch to the wrong side, press, fold again, press, stitch close to the inner fold. For sheers, use a ¼-inch (6 mm) double-fold hem to keep bulk minimal. On heavy or lined curtains, a slip-stitched hand hem looks considerably more polished than machine stitching.
Sewing the Bottom Hem
A double-fold 4-inch (10 cm) bottom hem is the standard. Fold 4 inches to the wrong side, press thoroughly, fold again, press again, pin. Machine stitch for casual curtains; use a blind hem stitch — by hand or machine — for anything you want to look refined.
Miter the corners first. Fold and press both the side and bottom hems, open them out, then fold the corner diagonally so the fold point sits exactly at the intersection of the two hem lines. Trim the excess, refold, and you get a flat mitered corner instead of a bulky lump.
Add drapery weights at each bottom corner and at every seam intersection along the hem. Most beginners skip this step and then wonder why their curtains don’t drape properly.
One more thing: hang your curtains for 24–48 hours before finishing the bottom hem. Fabric relaxes and drops under its own weight, and if you hem before that happens, you may end up with uneven panels once they’ve settled.
Sewing Curtain Headings
Rod pocket: Size the pocket to the rod diameter plus ¼ inch (6 mm) ease — so a 2-inch (50 mm) pocket for a 1-inch (25 mm) rod. Fold the top edge down ½ inch (12 mm) and press, then fold down again by the full pocket-plus-header depth and press. Stitch along the lower fold to form the pocket. Add a second line of stitching 2–4 inches above if you want a decorative header ruffle. Use a walking foot — it feeds thick folded layers evenly.
Tab top: Cut each tab 4 inches (10 cm) wide × 10–12 inches (25–30 cm) long. Fold in half lengthwise right sides together, stitch a ½-inch (12 mm) seam, turn right side out, press with the seam centered on the back. Space tabs 6–8 inches (15–20 cm) apart with one at each end. Sandwich the raw ends between the curtain top and a facing strip, then stitch across.
Pinch pleat with buckram: Attach 4-inch (10 cm) woven buckram to the top of the curtain, then calculate your pleat spacing: finished panel width = rod width ÷ number of panels; fullness to take up = cut width − finished width; divide evenly among 5–7 pleats, each taking 4–6 inches (10–15 cm) of fabric; space between pleats 3.5–4 inches (89–100 mm). Pinch each pleat into three equal folds and hand-tack at the base with a doubled thread and bartack stitch. Attach drapery hooks at each pleat and at both ends.
Other options: Eyelet/grommet headings use 1.5–2-inch (38–50 mm) inner diameter grommets set with a grommet kit — alternate which side faces front for a neat wave. Clip-top rings spaced 4–6 inches apart require no stitching at the top at all. Heading tape (pencil pleat, goblet, or triple pleat) is a great shortcut if you want gathered fullness without calculating pleat spacing yourself; you just pull the cords.
How to Line Curtains
Lining improves drape, extends the life of your face fabric, adds insulation, and makes even a budget fabric look expensive. I’d line almost everything except sheers and casual café curtains.
Attached lining method: Cut lining 2 inches (50 mm) shorter and 2 inches (50 mm) narrower than the finished curtain panel. Place curtain and lining right sides together, stitch the side seams with a ½-inch (12 mm) seam allowance, then turn right side out. Press so approximately 1 inch (25 mm) of face fabric wraps to the back on each side. Treat the top as a single layer and apply your chosen heading. Hem the lining separately by hand, about 1 inch (25 mm) above the face fabric hem.
Loose lining method: The lining is sewn as a completely separate panel and attached only at the top. Easier to launder and lets both layers move independently, which actually helps drape on lighter fabrics.
For lining fabric: standard sateen handles most situations. Go with 3-pass blackout for bedrooms. Thermal/Milium is worth it in drafty rooms. Bump interlining is a splurge, but if you’ve ever touched a pair of high-end custom drapes and wondered how they got that weight, bump interlining is the answer.
Common Mistakes When Sewing Curtains
Skipping the fullness factor. Cutting fabric the same width as the window gives you flat, sad panels that look more like a room divider than curtains. Always multiply by at least 2×.
Measuring from the wrong point. Measure from where the rod actually sits, not from the window frame. A rod mounted 4 inches above the frame changes your length calculation significantly.
Cutting off-grain. Invisible until the curtains are hanging and one panel twists slightly to the left. Pull that thread and cut along it — problem solved.
Not pressing between steps. This is the single fastest way to make a sewn curtain look homemade. Press every fold before you stitch it. For blackout fabric and velvet, always use a pressing cloth — direct iron contact can permanently damage the surface.
Rod pocket too snug. The curtain bunches instead of gathering. Add that ¼-inch (6 mm) ease.
Hemming before hanging. Hang for 24–48 hours first. Fabric drops. Hem after.
Frequently Asked Questions About How to Sew Curtains
How much fabric do I need to sew curtains?
Multiply your rod width by your fullness factor (2–2.5×), divide by the number of panels, and add 4 inches (10 cm) for side hems to get cut width per panel. For cut length, add 8 inches (20 cm) for the bottom hem plus your heading allowance to your finished length. If your fabric has a pattern repeat, round each panel’s cut length up to the nearest full repeat before calculating total yardage.
What is the best fabric for sewing curtains?
Cotton sateen and linen are the most versatile — both sew easily, hang well, and work in most rooms. For bedrooms, pair either with a blackout lining rather than reaching for blackout fabric itself, which is stiff and harder to work with. Sheer voile is great for privacy layers, and cotton canvas is a solid budget option for casual, structured panels.
How do you calculate curtain fullness?
Fullness is the ratio of fabric width to finished (hung) width. A 2× fullness factor means you’re using twice as much fabric as the rod width; 2.5× gives a lush, gathered look. Multiply your rod width by your chosen fullness factor to get total fabric width needed, then divide by the number of panels. Anything below 1.5× will look flat.
Can a beginner sew curtains?
Absolutely. Curtains are one of the most beginner-friendly home décor projects because the construction is almost entirely long, straight seams. Unlined tab-top or rod-pocket panels can be finished in 1.5–2 hours per pair. Start with an unlined panel in a solid medium-weight fabric, focus on pressing every fold, and you’ll have a result you’re genuinely proud of.
What is the difference between lined and unlined curtains?
Unlined curtains are a single layer of fabric — lighter, faster to sew, and easier to launder. They work well in casual spaces and with heavier fabrics that hang well on their own. Lined curtains have a second layer sewn to the back, which adds body, blocks more light, insulates better, and makes the curtains hang with noticeably more weight and structure. For most rooms, lining is worth the extra hour of work.