Quick Answer: Yes — you can lengthen a dress and add sleeves at home. Letting down an existing hem is a beginner project that takes under an hour. Adding a fabric extension runs another hour or two. Setting in sleeves is intermediate work, but very doable if you’re comfortable with curved seams. Budget a half-day if you’re doing both.
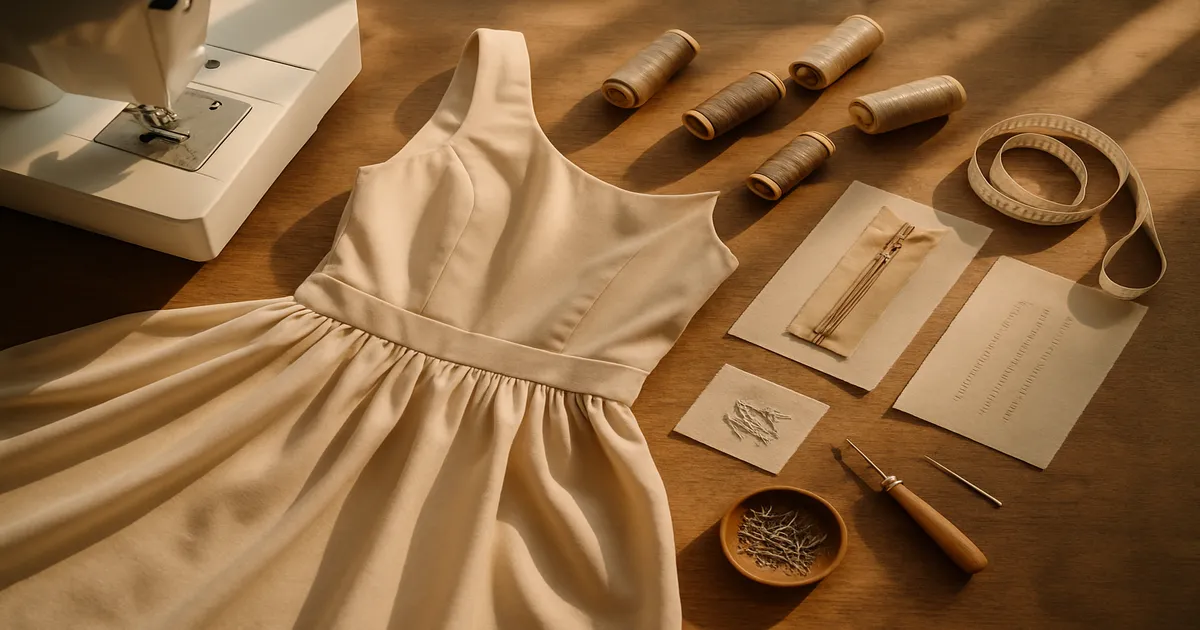
If you’ve been Googling “how to lengthen this dress, and maybe add sleeves,” you’re not alone. These are two of the most common home alterations — a bridesmaid dress that needs to hit the knee, a sundress you want to wear to the office, a sleeveless formal that needs to be modest for a religious ceremony. Both are completely achievable with a standard sewing machine and a bit of patience. Here’s how to do them well.
Assess Your Dress Before You Cut Anything
This is the step most people skip, and it’s where things go wrong.
Measure how much length you need. Put the dress on with the shoes you’ll wear it with. Have someone measure from the current hemline straight down to where you want the new hem. Write it down. Don’t eyeball it.
Look at your existing hem construction. Turn the dress inside out. You’ll find one of these:
- Double-fold hem — raw edge folded up twice and stitched
- Single-fold hem with serged edge — one fold, raw edge finished by an overlocker
- Blind-stitched hem — nearly invisible stitches on the outside, machine or hand-sewn
- Hem facing — a separate strip of fabric sewn inside the hem
Also measure the hem allowance depth. Standard on wovens is 1.5–2 inches (3.8–5cm). If you need more length than that, you’ll need a fabric extension — more on that below.
Check the armhole if you’re adding sleeves. Run a flexible tape measure along the armhole seamline (on its edge, not flat) to get the circumference. Most women’s dresses fall between 16–18 inches (40.6–45.7cm), but this varies. Note whether the armhole has a facing, a binding, or is lined — that determines how much prep work you’ll need before attaching a sleeve.
Respect the grain. Fabric grain is non-negotiable. Cut an extension or sleeve off-grain and it will twist, pull, and hang crooked no matter how carefully you sew. Your extension panels must be cut on the same grain as the dress skirt. If the skirt is bias-cut, the extension needs to be bias-cut too.
How to Lengthen This Dress: Four Methods
Method 1: Let Down the Existing Hem
The easiest option — if the existing allowance gives you enough extra length.
- Unpick the hem with a seam ripper, working slowly to avoid snagging the fabric.
- Press the released allowance flat with a damp pressing cloth. Stubborn crease lines on polyester? Dampen the cloth with a 1:1 white vinegar and water solution and press with a medium-hot iron (around 300°F/150°C). Repeat until the crease relaxes.
- Mark your new hemline all the way around with tailor’s chalk or a water-soluble pen and a hem gauge.
- Trim the allowance to a consistent depth — 1.5 inches (3.8cm) for a double-fold hem, or 0.625 inches (1.6cm) if you’re serging the raw edge.
- Finish the raw edge with a serger, zigzag stitch, or pinking shears on tightly woven fabrics.
- Fold, press, and stitch. Hand blind-hemming gives the most invisible result: catch just 1–2 threads of the fashion fabric per stitch, spaced about 0.25–0.375 inches (6–10mm) apart. A machine blind hem foot works well too — test on a scrap first.
Method 2: Add a Hem Extension Panel
When you need more length than the existing allowance provides, sew on a new fabric panel.
- Panel width: full hem circumference plus 1.25 inches (3.2cm) for seam allowances
- Panel height: length to add, plus 1.25 inches (3.2cm) for the top seam and bottom hem
- Cut on the same grain as the skirt. Match the number of seams — if the dress has two side seams, your panel gets two seams in the same positions so the vertical lines align.
- Sew the panel into a tube, attach it to the dress hem with right sides together using a 0.625-inch (1.6cm) seam allowance.
- Press the seam upward and understitch 0.125 inches (3mm) from the seamline to keep it from rolling to the outside. Hem the bottom.
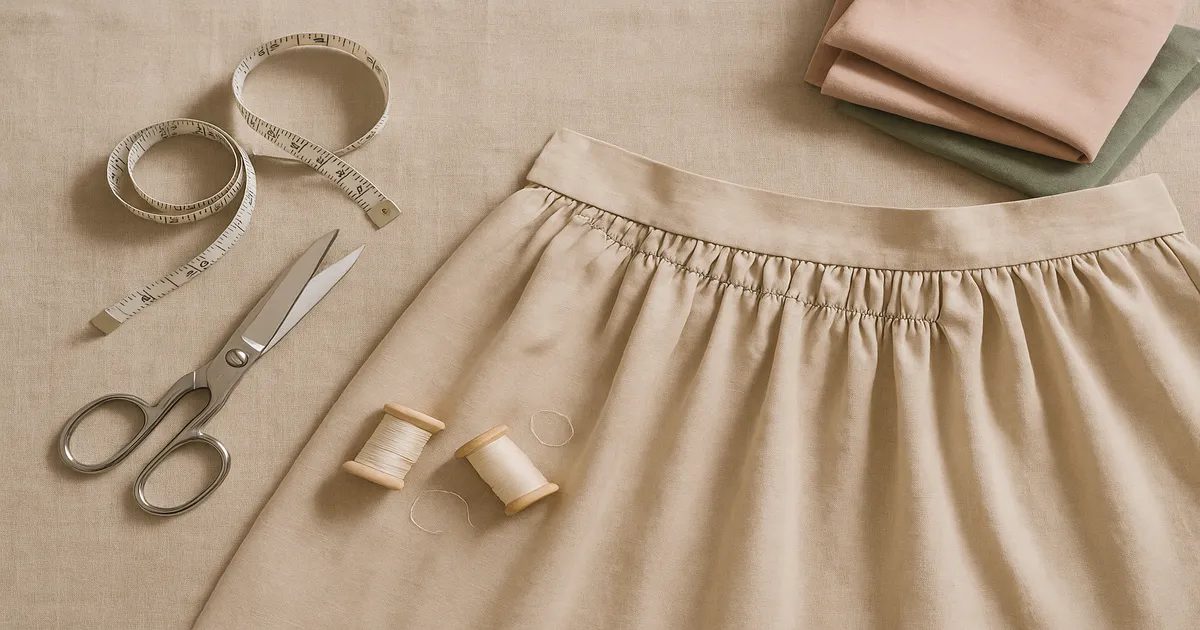
Method 3: Add a Ruffle or Tiered Extension
A gathered ruffle adds length with built-in visual interest — great for casual and boho styles. Cut ruffle fabric 1.5–2× the hem circumference, ease-stitch the top edge at 0.5 inches and 0.75 inches from the raw edge, pull the bobbin threads to gather, and attach the same way as an extension panel. This method is forgiving of fabric matching because the style difference is clearly intentional.
Method 4: Lace or Contrast Facing as a Design Detail
Wide lace trim (3–6 inches/7.5–15cm) sewn to the hem adds subtle length while looking completely deliberate. A contrast hem facing turned to the outside creates a clean decorative border. Both work beautifully on lingerie-style dresses, slips, and anything delicate.
Which method should you use?
| Need to add | Best method |
|---|---|
| Less than 2 inches (5cm) | Let down existing hem |
| 2–6 inches (5–15cm) | Extension panel |
| More than 6 inches (15cm) | Tiered or ruffled extension |
| Any amount, decorative finish | Lace trim or contrast facing |
How to Lengthen This Dress and Add Sleeves: Setting In a Sleeve
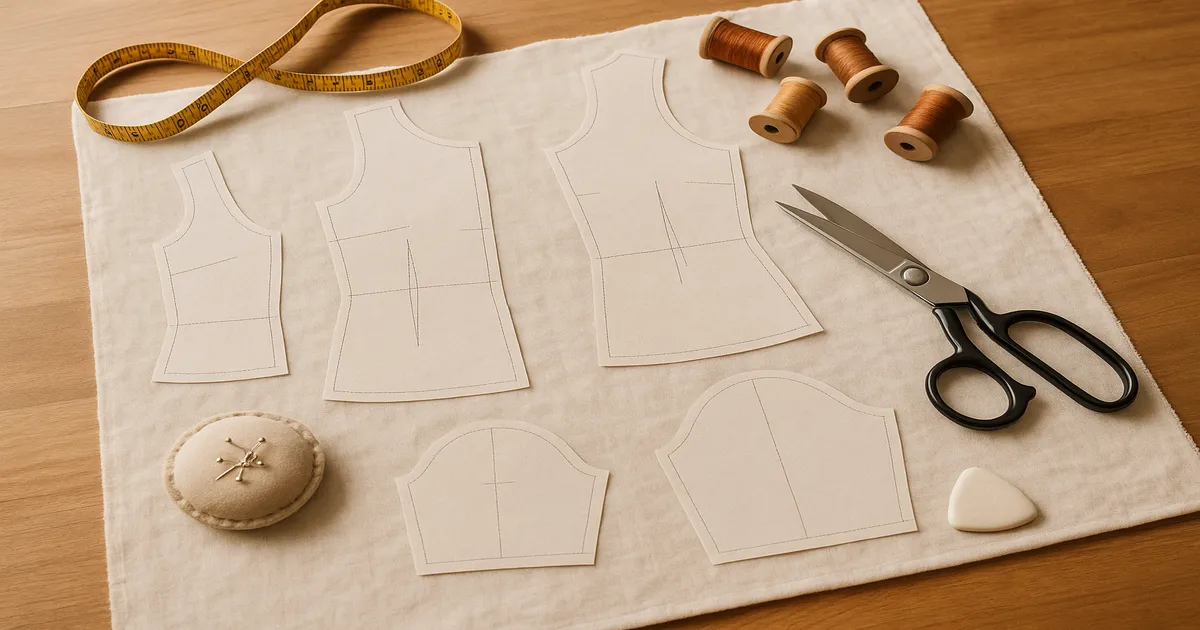
Find or Draft a Sleeve Pattern
You have three options: buy a commercial pattern with a set-in sleeve sized to your armhole measurement, trace a sleeve from a well-fitting garment (add 0.625-inch/1.6cm seam allowances all around), or draft one from your measurements. Drafting is intermediate pattern-making — worth learning, but not necessary for a first attempt.
A standard set-in sleeve cap has 1–1.5 inches (2.5–3.8cm) of ease built in, meaning the cap is slightly larger than the armhole. That ease creates the rounded, three-dimensional shoulder shape. Without it, the sleeve will pull and restrict movement.
Prepare the Armhole
Carefully unpick the armhole facing and press the seam allowance flat — you’re releasing the 0.625-inch (1.6cm) allowance that was turned inside so you have an open edge to work with. Once the facing is removed, staystitch the raw armhole edge at 0.5 inches (1.3cm) from the cut edge. Those curves are cut on the bias and will stretch out of shape fast if you handle them without that stabilizing row of stitching.
Cut and Ease-Stitch the Sleeve Cap
Cut your sleeves with the grain line arrow parallel to the selvage. Ease-stitch the sleeve cap between the notches using the longest stitch your machine offers (4–5mm):
- Row 1: 0.5 inches (1.3cm) from the raw edge
- Row 2: 0.75 inches (1.9cm) from the raw edge
Leave long thread tails — don’t backstitch. Pull the bobbin threads gently to gather the cap until it matches your armhole circumference. Most of the ease belongs at the crown — roughly the 2 inches (5cm) on either side of the shoulder notch. The underarm section should be nearly flat.
Sew the Sleeve Seam and Finish the Cuff
Fold the sleeve right sides together and sew the underarm seam from cuff to underarm with a 0.625-inch (1.6cm) seam allowance. Press the seam open. Finish the cuff edge before you set the sleeve — it’s much easier while the sleeve is still flat.
Set the Sleeve
Turn the dress wrong-side-out and keep the sleeve right-side-out. Slip the sleeve into the armhole so right sides are together — the sleeve sits inside the dress body. Match these points first: underarm seam to side seam, shoulder notch to shoulder seam. Then pin generously around the cap every 0.5 inches (1.3cm), distributing ease as you go.
Stitch with the sleeve side up so you can see and control the ease. Add a second reinforcement row in the underarm area only (the lower half of the armhole), 0.125 inches (3mm) inside the first — this is the highest-stress part of the seam and one row isn’t enough. Trim the underarm seam allowance to 0.375 inches (1cm) and clip curves every 0.5 inches (1.3cm).
Press the seam allowance toward the sleeve using a tailor’s ham. The curved surface lets you press that seam without flattening the cap — it makes a genuine difference to the finished shape.
Cuff Finishing Options
- Simple turned hem: fold under 0.625 inches (1.6cm) twice, press, topstitch 0.5 inches (1.3cm) from the edge
- Faced cuff strip: cut a strip 2.5 inches (6.4cm) wide × sleeve circumference plus 1.25 inches (3.2cm); attach right sides together, fold to inside, slipstitch
- Elastic casing: great for casual styles — thread 0.75-inch (1.9cm) elastic through a casing for an easy, comfortable finish
Materials, Needles, and Notions
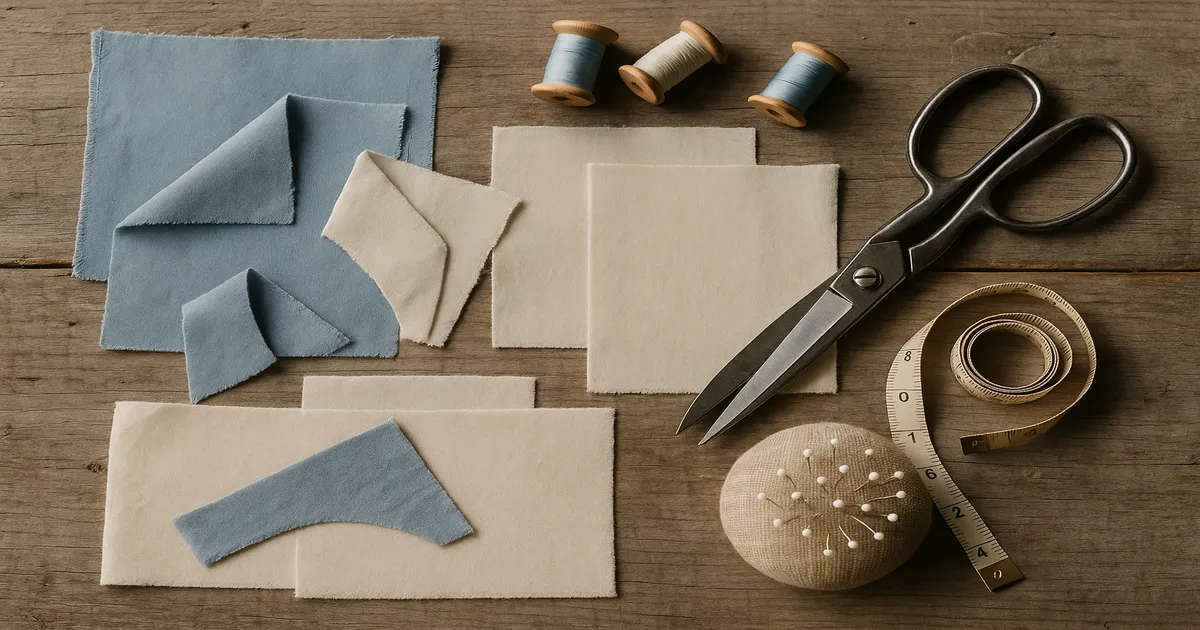
Fabric for extensions: Match fiber content, weight, and weave as closely as possible. If you can’t find a true match, commit to a deliberate contrast — a coordinating solid or complementary print. A near-miss always looks like a mistake. A clear contrast looks intentional.
Fabric for sleeves: Drape is the key variable. A flowy dress needs a flowy sleeve — chiffon, crepe, rayon. A structured dress needs a sleeve with similar body. If the dress is a knit, the sleeves must be knit with a matching stretch percentage, or they’ll pull and restrict movement.
Thread and needles:
| Fabric Type | Needle | Size |
|---|---|---|
| Woven cotton/linen | Universal | 80/12 or 90/14 |
| Silk/chiffon | Microtex/Sharp | 70/10 or 60/8 |
| Knit/jersey | Ballpoint or Stretch | 75/11 or 90/14 |
| Denim/heavy canvas | Denim/Jeans | 90/14 or 100/16 |
| Velvet/pile | Microtex or Universal | 80/12 |
All-purpose 50-weight polyester thread handles most wovens. For knit hems, woolly nylon in the bobbin adds stretch. Change your needle for every major project — a dull needle causes more sewing problems than almost anything else.
For structured sleeve caps, cut a small piece of weft-insertion fusible interfacing on the bias and fuse it to the cap area before ease-stitching. (Pellon SF101 Shape-Flex) It helps the cap hold its rounded shape after pressing.
Pressing tools you actually need: a tailor’s ham for sleeve caps, a sleeve board for pressing sleeve seams without flattening them, and a pressing cloth for anything synthetic or delicate. These aren’t optional extras — they’re what separate a professional-looking result from a homemade-looking one.
Common Mistakes to Avoid
Cutting the extension off-grain. An off-grain panel will twist around the hem within a few wearings. Pull a thread or align your ruler with the weave before you cut. Two extra minutes, project saved.
Ignoring a permanent crease line. Polyester can hold a fold line forever. The vinegar-and-pressing-cloth trick fixes most of them, but if a crease truly won’t budge, design around it — use it as your new fold line, or position a decorative seam there on purpose.
Mismatching fabric weight. Even if the color matches perfectly, a heavy sleeve on a flowy dress will drag it down and look wrong. Feel the fabrics together before you buy.
Bunching the ease in one spot. Uneven ease creates puckers that no amount of pressing will fix. Take your time pinning the cap — it’s the most important step in the whole process.
Skipping the underarm reinforcement stitch. That seam flexes every time you move your arm. One row isn’t enough. The second row takes thirty seconds and prevents failure.
Special Situations
Lined dresses: Alter the lining separately. The lining hem should sit about 0.5 inches (1.3cm) shorter than the fashion fabric so it doesn’t show. When adding sleeves, attach the sleeve to the fashion fabric armhole first, then tack the lining edge to the seam allowance. Don’t try to sew them together in one pass.
Bridal and formalwear: Many bridal fabrics are proprietary blends — take the dress to a fabric store and compare swatches in natural light. For linings, Bemberg rayon (also sold as Ambiance lining) is the best option: it breathes, drapes beautifully, and doesn’t cling.
Knit and stretch fabrics: Use a ballpoint needle, woolly nylon in the bobbin, and a stretch stitch or serger for all seams. The sleeve fabric must have a similar stretch percentage to the dress fabric. Sew with the knit’s greatest stretch going around the arm, not along its length.
Detachable sleeves: If you want sleeves only sometimes — for a ceremony, or a conservative setting — detachable sleeves are worth considering. They attach with snaps, ties, or small buttons and come off in minutes. It’s actually an old technique: Renaissance sleeves were tied onto bodices with laces, making them interchangeable between garments. Modern detachable sleeves have appeared on designer runways and are a genuinely smart option for brides who want flexibility between ceremony and reception.
Frequently Asked Questions
How much does it cost to have a dress lengthened professionally?
A simple hem let-down typically runs $20–$50. An extension panel — where a tailor has to source and attach new fabric — is usually $50–$80 or more, depending on the fabric and your location. Lined dresses and formal fabrics cost more. Adding sleeves professionally can run $75–$150+, since it’s a more involved reconstruction.
Can you add sleeves to any sleeveless dress?
Most sleeveless dresses can take sleeves. Faced armholes are the easiest to work with because they already have a clean seam allowance. Strapless dresses are trickier — the bodice structure often relies on boning and inner construction that a sleeve attachment would compromise. For those, detachable sleeves are usually the better solution.
How do you get rid of the crease line when letting down a hem?
Press the crease with a damp pressing cloth and a medium-hot iron. For polyester and synthetic blends, dampen the pressing cloth with a 1:1 white vinegar and water solution — the mild acid helps relax the fibers. Press firmly, let the fabric cool completely, then check. Repeat two or three times if needed. If the crease still won’t budge after four or five passes, it’s likely permanent and you’ll need to design around it.
What if my dress doesn’t have enough hem allowance to let down?
If the existing allowance is less than 0.5 inches (1.3cm) after unpicking, you don’t have enough to work with for a clean hem. Move straight to Method 2 — an extension panel — or consider a decorative lace border that covers the original hemline entirely.
Do I need a serger to add sleeves or lengthen a dress?
No. A serger makes finishing faster and neater, but a zigzag stitch on a standard sewing machine does the job perfectly well. Set your zigzag to about 2.5mm width and 2mm length for wovens. For knits without a serger, a stretch stitch (the lightning-bolt stitch on most machines) or a narrow zigzag works fine.