Quick Answer: The best free sewing patterns for beginners are simple, low-piece designs — think tote bags, pillowcases, and elastic-waist skirts — available from sites like Mood Fabrics, BurdaStyle, and Freesewing.org. Print at exactly 100% scale, cut on-grain, and press every seam before sewing the next one. Those three habits alone will take your results from frustrating to genuinely good.
Free patterns are a completely legitimate way to learn to sew — don’t let anyone tell you otherwise. The best sewing for beginners free patterns online often come from indie designers releasing them as a taste of their paid collections, which means they’re frequently simpler, better-photographed, and more clearly written than the vintage big-four patterns buried at the bottom of a fabric store bin. This guide walks you through finding, printing, cutting, and sewing your first free pattern from start to finish.
What Makes a Pattern Truly Beginner-Friendly?
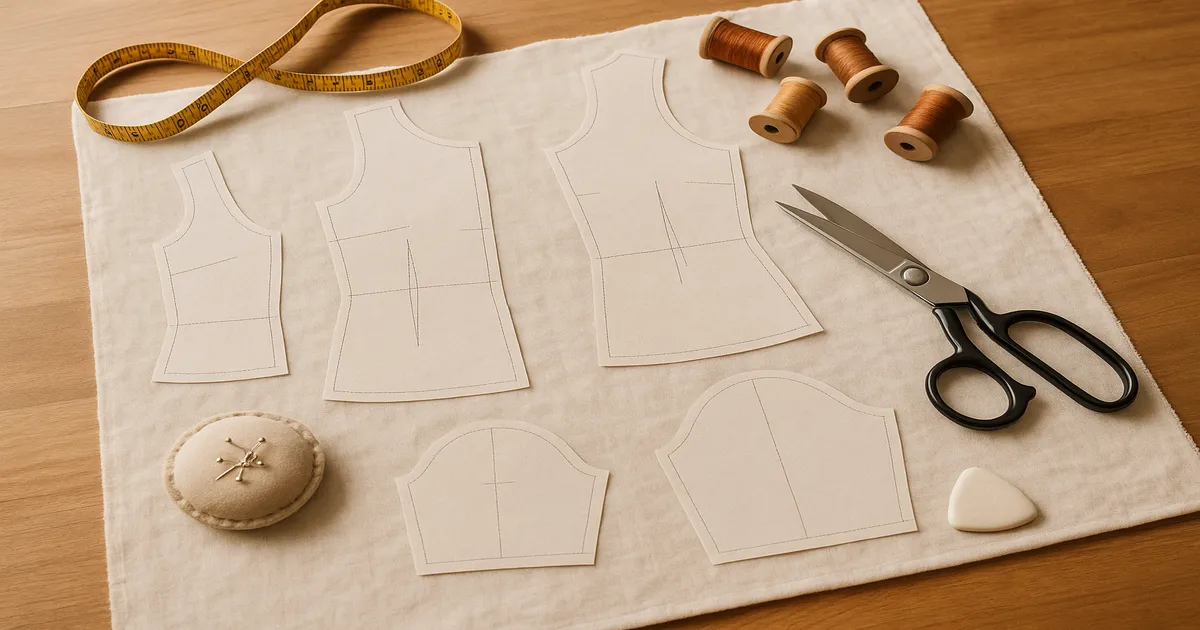
A genuinely beginner-friendly pattern has five or fewer pattern pieces, straight or gently curved seams (no set-in sleeves, no complex shaping), minimal notions, and clear instructions with diagrams. If the supply list includes interfacing, boning, or invisible zippers, save it for later.
The best first projects are tote bags, pillowcases, elastic-waist skirts, and pajama pants. All straight seams, all forgiving, all genuinely useful when they’re done.
Best Free Pattern Sources to Bookmark
- Mood Fabrics (moodfabrics.com) — downloadable PDFs with yardage guides; no account needed
- BurdaStyle (burdastyle.com) — large community library with skill-level filters
- Freesewing.org — open-source patterns drafted to your exact measurements; slightly technical but eliminates most fitting headaches
- Wiksten and True Bias — occasional free releases from respected indie designers; instructions are usually excellent because these patterns are essentially marketing for paid collections
- Craftsy/Bluprint — free starter patterns in their library
YouTube channels like Made to Sew pair free patterns with step-by-step video walkthroughs. Watching someone else troubleshoot in real time is worth more than any written instruction.
How to Print and Assemble a Free Sewing Pattern for Beginners
The One Print Setting That Ruins Most Beginner Patterns
Print at 100% scale. Never choose “fit to page” or “scale to fit” — those options shrink your pattern to fit the printable area of your paper, and your pieces will be the wrong size. I’ve watched people cut out an entire project only to discover the pieces don’t match because of this. Easy mistake, expensive fix.
Most free patterns come in both US Letter (8.5 × 11 in / 216 × 279 mm) and A4 (210 × 297 mm) versions. Download whichever matches your printer.
Every well-made PDF includes a calibration square — usually 1 inch (25 mm) or 2 inches (50 mm) — on the first page. Print that page and measure it with a ruler before you do anything else. This takes 90 seconds and saves hours of frustration.
Taping Pages Together
Trim-first method: Trim the margin off one edge of each page before taping. Cleaner result, more time upfront. Overlap-and-trim method: Overlap pages using the alignment crosshairs, tape, then trim. Faster, slightly bulkier. Either works fine. Hold pages up to a window to align the crosshairs accurately, and use low-tack tape so you can reposition without tearing the paper.
If your pattern download includes an A0 or “copyshop” file, skip all of this. Take it to Staples or FedEx Office and have it printed large-format for around $3–8. No taping, no alignment marks, no fuss.
Understanding Sizing, Ease, and Measurements
Why Sewing Sizes Don’t Match Ready-to-Wear
This trips up almost every beginner. A pattern labeled “Size 14” might correspond to a ready-to-wear 8 or 10. Pattern sizing is based on standardized body measurements, not the arbitrary numbers clothing brands use. Ignore the size number on the envelope entirely and go straight to the measurement chart.
Measure bust, waist, and hip over your underwear with the tape parallel to the floor — flat but not compressed. If your measurements fall between sizes, cut the larger size and take it in. It’s much easier to remove fabric than to add it.
What Is Ease?
Ease is the extra room built into a pattern beyond your actual measurements. Wearing ease (roughly 2–4 inches / 5–10 cm for fitted garments) lets you breathe and move. Design ease is intentional extra room for a relaxed silhouette — sometimes 12 inches (30 cm) or more. For your first project, choose something with generous ease so fitting isn’t a concern at all.
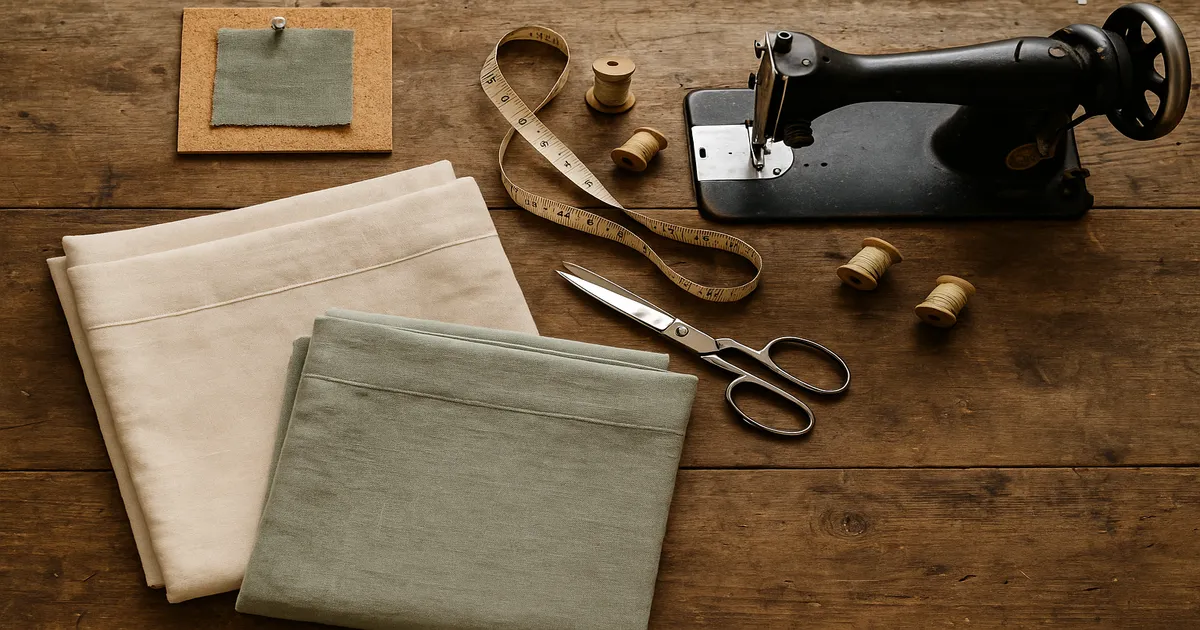
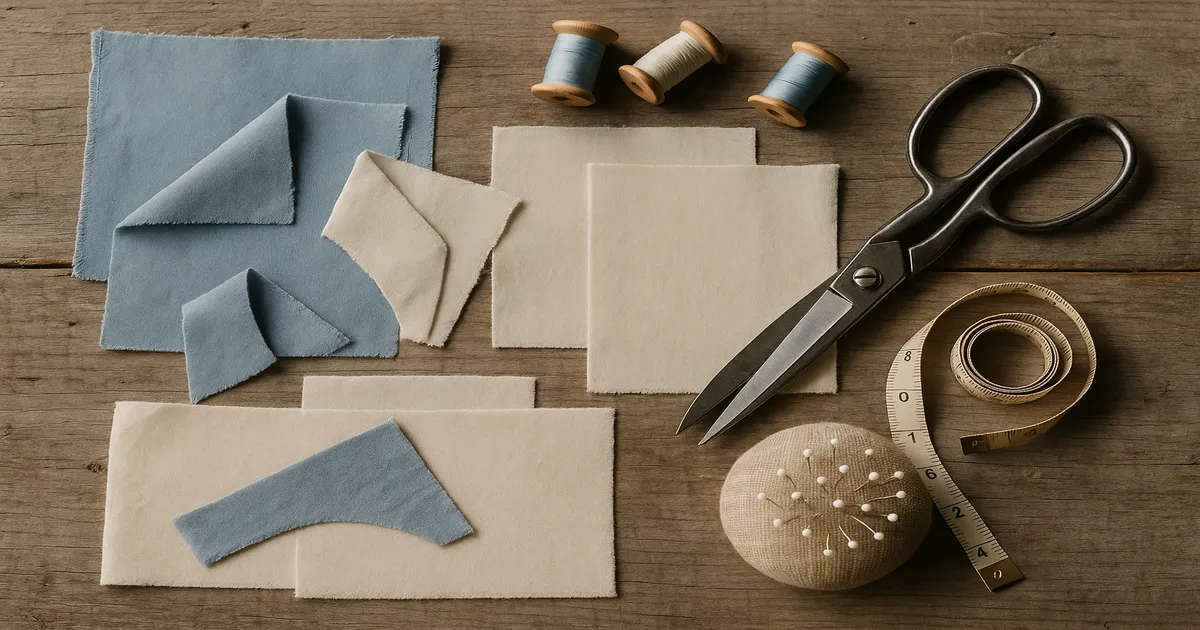
Preparing Your Fabric
Cotton can shrink 3–8% in the first wash. Pre-wash and dry your fabric the same way you’ll care for the finished item, then press it flat with a steam iron before cutting. Skip this step and your finished pillowcase or skirt may come out puckered and small. It’s not a fun lesson to learn twice.
Grain Lines Matter More Than Beginners Expect
Every pattern piece has a grain line — a long arrow that must run parallel to the fabric’s selvage (the finished woven edge along the length of the bolt). Cut even slightly off-grain and the finished garment will twist, hang unevenly, or stretch out of shape in ways that can’t be fixed. Fold your fabric lengthwise, align the selvages, and measure from the grain line arrow to the selvage at both ends of the piece. They should be equal.
Pin within the seam allowance so pin holes don’t show on the finished fabric. Or use pattern weights and trace around the pieces with a chalk wheel — faster and no paper distortion.
Use dedicated fabric scissors. A quality pair of 8–10 inch dressmaker’s shears cuts cleanly through multiple layers without dragging. Cut with long, smooth strokes, keeping the lower blade flat on the table. Cut notches outward as small triangles — cutting them inward eats into your seam allowance.
Beginner fabric guide:
| Fabric | Why It Works |
|---|---|
| Quilting cotton | Affordable, widely available, easy to press |
| Cotton muslin | Inexpensive — ideal for practice versions |
| Cotton-linen blend | Forgiving and looks great in simple garments |
| Anti-pill fleece | No fraying, no hemming required |
Avoid slippery fabrics (silk, charmeuse), sheers (chiffon, organza), and anything with significant stretch (spandex) until you have a few projects finished.
Setting Up Your Sewing Machine
Needles, Threading, and Stitch Settings
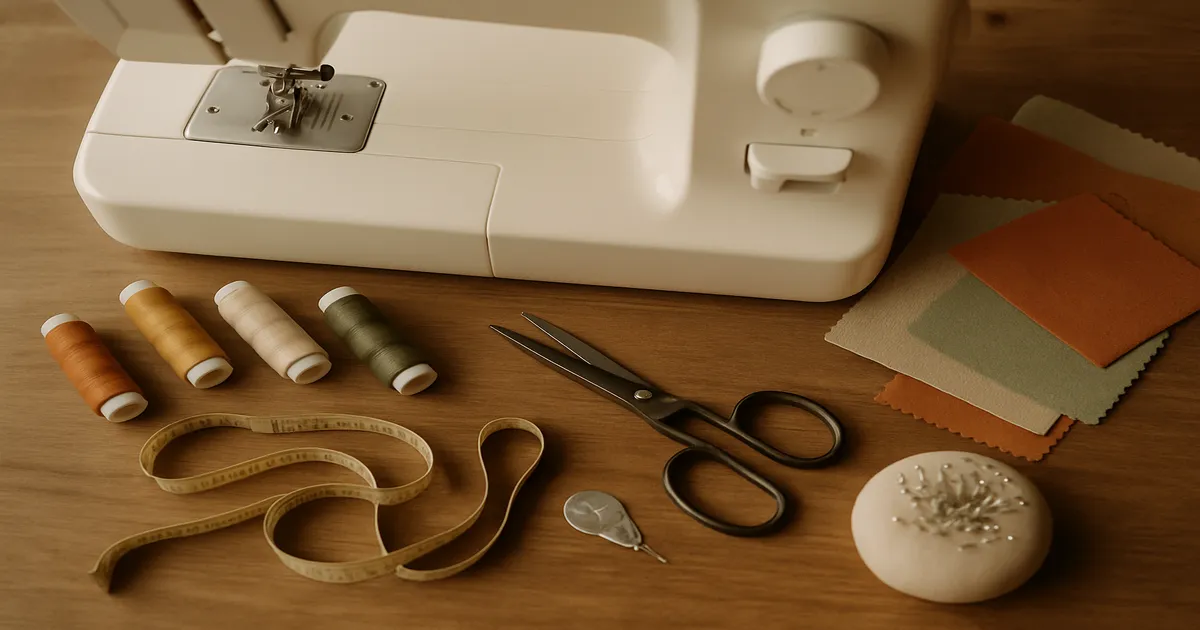
Use a Universal 80/12 for quilting cotton and most woven fabrics. Switch to a Ballpoint or Stretch 75/11–90/14 for knits, and a Denim 90/14 or 100/16 for canvas or heavy fabrics. Change your needle at the start of every major project — a dull needle makes a popping sound as it pierces the fabric and causes skipped stitches.
Incorrect threading is the number-one cause of skipped stitches and thread nesting under the fabric. Follow your machine’s manual step by step, every time. When something goes wrong with your stitches, re-thread completely — both upper thread and bobbin — before you do anything else. Most beginner machines use a drop-in (top-loading) bobbin; make sure it clicks into the tension guide or you’ll have tension problems immediately.
For most woven fabrics, set stitch length to 2.5 mm. For basting, use 4.0–5.0 mm. For knits, use a narrow zigzag (1.5–2.0 mm width, 2.5 mm length) or a dedicated stretch stitch. Tension defaults to around 4–5 on most machines — correct tension means the thread interlocks in the middle of the fabric layers. Always sew a 4–6 inch test seam on a scrap of your actual project fabric before touching the real pieces.
Sewing Your First Project: Seams, Pressing, and Finishing
Start every seam by sewing forward 3–4 stitches, reversing 3–4 stitches, then sewing forward to the end. Repeat at the finish. This locks the seam so it won’t unravel — skipping it is the most common reason beginner seams fall apart in the wash.
Guide the fabric gently with your hands. The feed dogs move the fabric at the correct speed; don’t pull or push. Pulling causes skipped stitches and can bend or break the needle.
Press Every Seam Before Sewing the Next One
This is the single biggest difference between beginner-looking and professional-looking results. Press each seam open or to the side (per your pattern instructions) before another seam crosses it. A good steam iron and a few minutes of pressing will do more for your finished project than any other technique.
Finishing Raw Edges
For a first project, a zigzag stitch (2.5–3.0 mm width, 2.0 mm length) along each raw edge is completely sufficient. Other options as you progress: a serger for the fastest finish, French seams for lightweight fabrics, or a Hong Kong finish (bias tape wrapped around the raw edge) for the inside of a jacket.
Most garment patterns use a 5/8-inch (16 mm) seam allowance. Many indie and beginner patterns use 1/4 inch (6 mm). Use the lines etched on your needle plate as guides. If you’re drifting, stick a strip of masking tape on the needle plate at the correct distance — a magnetic seam guide works even better.
Frequently Asked Questions About Free Beginner Sewing Patterns
What are the easiest sewing projects for absolute beginners?
Tote bags, pillowcases, elastic-waist skirts, and pajama pants. They all use straight seams, require minimal shaping, and produce something genuinely useful. A pillowcase can be finished in under an hour and teaches hemming and seam finishing in one project.
Do I need a serger to finish seams on beginner projects?
No. A zigzag stitch on a regular sewing machine handles raw edges perfectly well for most beginner projects. A serger is a nice upgrade eventually, but it’s not necessary to start.
How do I know which size to cut from a free sewing pattern?
Ignore the size number and go straight to the measurement chart. Measure your bust, waist, and hip, compare them to the chart, and cut the size that matches your largest measurement. You can always take in a seam — you can’t add fabric you’ve already cut away.
Can I use free sewing patterns for beginners to make clothes, or just accessories?
Absolutely. Elastic-waist skirts, wide-leg pants, and simple tops are well within reach for beginners, and free patterns for all of them exist on BurdaStyle, Mood Fabrics, and indie designer sites. Start with something that doesn’t require fitting a bodice — waistbands and elastic are much more forgiving than set-in sleeves.
Why does my thread keep bunching under the fabric?
Almost always a threading problem. Re-thread the machine completely — upper thread and bobbin — with the presser foot raised (this opens the tension discs so the thread seats correctly). Also confirm the bobbin is clicked into the tension guide in the bobbin case, not just sitting loose.