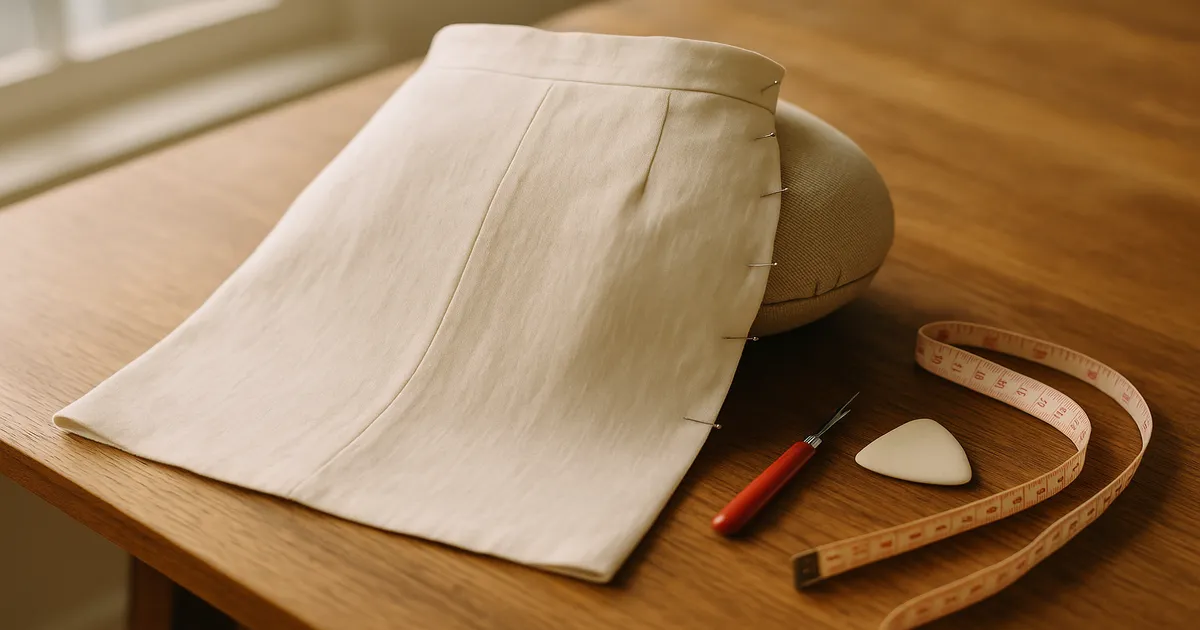
Quick Answer: To sew a dart in a skirt, mark both stitching legs and the tip on the wrong side of your fabric, fold right sides together, and stitch from the wide waistline end to the point — dropping your stitch length to 1.5mm for the last ½ inch (1.3cm). Never backstitch at the tip; tie off the thread tails with a tailor’s knot instead. Press over a tailor’s ham toward center front or center back. Once you’ve got the steps down, each dart takes about 5–10 minutes.
Learning how to sew darts in a skirt is one of those skills that quietly transforms everything you make. Darts are what turn flat fabric into something that actually follows your body — they ease the difference between waist and hip, which on most bodies runs 10–12 inches (25–30cm). Without them, you’re stuck choosing between a waist that fits and a hip that pulls, or vice versa. Once you understand what each step is actually doing, they stop feeling fiddly and start feeling obvious.
What Is a Dart and Why Does Your Skirt Need One?
A dart is a stitched fold of fabric — wide at one end, tapering to a point — that gives flat cloth a three-dimensional curve. In a skirt, that curve bridges the gap between your waist and hip measurements. No dart (or some equivalent fitting technique) means no shape.
Most skirts use a single-point dart: a simple triangle that starts wide at the waistline and tapers to a point near the hip. That’s the one this article covers. You’ll also occasionally run into:
- Double-pointed (contour) darts — pointed at both ends, widest in the middle; common in high-waisted skirts and sheath dresses
- Curved darts — a slightly curved stitching line that follows the body’s natural arc more closely than a straight dart
- French darts — long, diagonal, and curved; mostly a bodice thing, but they show up in high-fashion skirts
Most patterns include 2–4 darts per skirt half, so 4–8 total. Back darts are typically longer and deeper than front darts because the seat has more curve to accommodate.
Tools and Materials
Fabric
Woven fabrics dart beautifully — cotton, linen, wool, silk, denim, crepe, ponte, and suiting all work well. Knits usually don’t need darts because stretch handles the fit. If you do need a dart in a stable knit like ponte, use a narrow zigzag (1.5mm width, 2.0mm length) rather than a straight stitch.
Sheer fabrics like chiffon need fine pins and a sharp needle. Pile fabrics like velvet need to be pressed on a needle board to avoid crushing the pile — a Dritz Needle Board works well for this.
Thread and Needles
50-weight all-purpose polyester thread handles most skirts without complaint. (Gutermann Sew-All 50wt) For fine fabrics like batiste or organza, step down to 60-weight. For silk or fine wool, use silk thread — it leaves no impression when pressed.
Needle guide:
- Universal 80/12 — medium-weight wovens (quilting cotton, chambray, light linen)
- Microtex/Sharp 70/10 or 80/12 — tightly woven fabrics, silk, fine fabrics
- Denim 90/14 — heavy denim, canvas, thick suiting
A standard presser foot handles most darts. For slippery or thick fabrics, a walking foot keeps layers from shifting.
Marking Tools
- Tailor’s chalk or chalk pencil — brushes away cleanly, works on most fabrics; the Clover Chalk Pencil is a reliable pick
- Water-soluble or air-erasable marker — precise lines, but always test on a scrap first
- Tracing wheel + dressmaker’s carbon paper — efficient for marking multiple pieces; use the smooth wheel on delicate fabrics
- Tailor’s tacks — slow, but the safest option for pile fabrics or anything where other tools might leave a permanent mark
Pressing Equipment
Here’s the thing beginners often underestimate: pressing equipment matters as much as your stitching. A tailor’s ham is the single most important tool for darts — its curved shape lets you press over a form that actually resembles the body. Without it, you’re pressing a three-dimensional shape flat, which defeats the whole point. The Dritz Tailor’s Ham is the standard recommendation for good reason.
You’ll also want a press cloth (organza ones let you see what you’re pressing) and a wooden clapper if you work with wool — steam the dart, then press immediately with the clapper to set the shape permanently.
How to Read Dart Markings on a Pattern
On pattern tissue, a dart looks like a triangle or V-shape with a central fold line, two stitching legs, and a dot at the tip. Some patterns also mark the wide-end points at the waistline seam.
Transfer three points to your fabric: the two wide-end points at the waistline and the dart tip. A tracing wheel gets all three in one pass. With chalk, pin the pattern in place and poke through the tissue at the tip dot.
One thing that trips up beginners: left and right darts are mirror images, not identical copies. If you mark both pieces the same way without flipping, both darts will point in the same direction. Mark each piece individually with the pattern oriented correctly.
How to Sew Darts in a Skirt: Step by Step
Step 1 — Mark the Dart
On the wrong side of the fabric, mark both stitching legs and the tip dot. A typical skirt dart is ½–1 inch (1.3–2.5cm) wide at the waistline and 3–5 inches (7.5–12.7cm) long. Before you move on, check that your left and right darts are mirror images.
Step 2 — Fold and Pin
Fold the fabric right sides together, aligning the two stitching lines so they sit exactly on top of each other. The fold line becomes a crease running from the waistline down to the tip. Pin perpendicular to the stitching line at roughly ½-inch (1.3cm) intervals, with one pin placed precisely at the dart tip.
Step 3 — Stitch from the Wide End to the Point
Always start at the waistline — never the tip. Backstitch 3–4 stitches at the wide end (it’ll be enclosed in the waistband seam, so backstitching here is fine). Set your stitch length to 2.0–2.5mm and sew along the marked line, tapering toward the point.
For the final ½ inch (1.3cm), drop your stitch length to 1.5mm. Then stitch the last 2–3 stitches directly onto the fold itself — slightly off the edge of the fabric. This “stitch off the edge” move is what creates a truly sharp, flat point. Do not backstitch at the tip.
Step 4 — Secure the Thread Tip
Leave thread tails of at least 3 inches (7.6cm). Pull both tails to the wrong side and tie a tailor’s knot — a double overhand knot pulled snug against the fabric. Trim to about ½ inch (1.3cm). For extra security, thread the tails onto a hand needle and run them back through the dart stitches for ½ inch before trimming.
Step 5 — Clip or Trim if Needed
Straight darts in light to medium fabric usually need nothing here. For curved darts, clip into the curve every ½ inch (1.3cm), stopping ⅛ inch (3mm) from the stitching line. For heavy fabrics, trim the dart fold to about ⅝ inch (1.6cm) and press it open rather than to one side to reduce bulk.
Step 6 — Press Over the Tailor’s Ham
First, press the dart flat as stitched — don’t open it yet. This sets the stitches. Then place the dart over the rounded end of your tailor’s ham and press from the wide end toward the point, lifting and repositioning the iron rather than sliding it (sliding stretches the dart).
Press front darts toward center front, back darts toward center back. Use a damp press cloth to prevent shine. Check the right side — you want a smooth, invisible point with no dimple, bubble, or fish-eye.
Step 7 — Check the Fit
Try the skirt on before attaching the waistband. The dart point should fall at or just above the fullest part of your hip. Too high means the dart is too short; extending below the hip curve means it’s too long. The surrounding fabric should lie flat with no drag lines.
Common Mistakes (and How to Fix Them)
Backstitching at the tip. This is the most common dart mistake, and it creates a hard lump that no amount of pressing will fix. Reduce stitch length and tie off instead.
Mismatched darts. If one dart is longer or wider than the other, the skirt will hang unevenly. Spend 30 seconds measuring both darts with a ruler before you sew — it’s much easier to fix a marking error than a sewn one.
Skipping the tailor’s ham. Pressing a dart flat on an ironing board flattens the 3D shape you just worked to create. A rolled towel works in a pinch, but a tailor’s ham costs $10–15 and will genuinely change how your garments look.
Pressing toward the side seams. This adds bulk right where you don’t want it and can interfere with waistband attachment. Vertical skirt darts go toward center front or center back, full stop.
Sewing from the point instead of the wide end. This causes the fabric layers to shift and the dart to twist. Always sew waistline to point.
Pro Tips for Perfect Darts
The stitch-off-the-edge trick. As you approach the dart tip, gradually walk your stitching line onto the folded edge so the last stitch or two fall on the fold itself. The result is a naturally tapered point that lies completely flat — no dimple, no lump.
Sew a quick muslin first. Dart placement that looks right on a flat pattern may not suit your proportions. If your fullest hip sits lower or higher than the pattern assumes, the dart point ends up in the wrong place. Even a rough muslin of just the front and back panels lets you check before cutting into your fashion fabric.
Pressing by fabric type:
- Wool: Steam generously, then press immediately with a wooden clapper to set the shape
- Velvet and corduroy: Press on the wrong side only, over a needle board
- Silk and fine fabrics: Use silk thread, a fine needle, and an organza press cloth
- Synthetics: Lower iron temperature, always use a press cloth — they scorch and shine fast
Frequently Asked Questions
Which direction should darts be pressed in a skirt?
Front darts press toward center front; back darts press toward center back. This keeps bulk away from the side seams and creates a clean line under the waistband. Check your pattern instructions — some designs specify otherwise — but center-front/center-back is the standard.
How do I stop my dart point from puckering?
Two main culprits: backstitching at the tip and a stitch length that’s too long near the point. Drop to 1.5mm for the final ½ inch (1.3cm), stitch the last few stitches onto the fold, and tie off with a tailor’s knot. Pressing over a tailor’s ham with steam will smooth out any minor remaining puckering.
How long should darts be in a skirt?
Most single-point skirt darts run 3–5 inches (7.5–12.7cm) from the waistline seam to the tip. Back darts tend to be longer than front darts. The real measure is whether the tip lands at or just above the fullest part of your hip — that’s what matters for your specific body.
Can I sew darts without a tailor’s ham?
You can, but your results will suffer. A tightly rolled towel secured with a rubber band is a workable substitute — press the dart over the rounded end. That said, a tailor’s ham is inexpensive and one of the most useful pressing tools you can own. Just get one.
How do I fix a dart that’s too long or too short?
Use a seam ripper to open the last inch or so of stitching and re-sew to a corrected tip point. If the error is significant, it’s often faster to rip the whole dart and start fresh with corrected markings. Re-press over the ham after any correction.