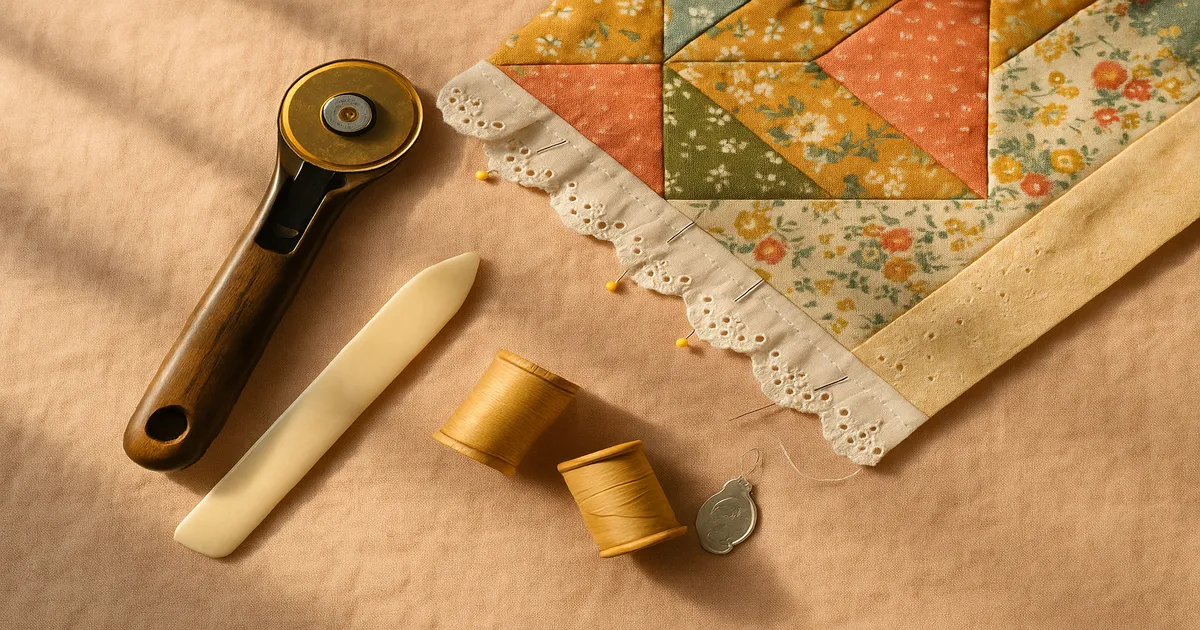
Quick Answer: To sew eyelet trim on quilt top corners, place the trim right-side down along the quilt’s raw edge and stitch with a 1/4-inch (6mm) seam allowance, stopping with your needle down at a pivot dot marked exactly 1/4 inch from each corner. Corners can be handled three ways: mitering (cleanest result), pleating (easiest for beginners), or gathering (soft and romantic). Pre-wash your trim before anything else — skip it and you’ll regret it the moment the quilt comes out of the washer.
Eyelet trim is one of those finishing touches that can make a quilt look genuinely heirloom — or, if the corners go wrong, genuinely homemade in the bad way. Learning how to sew eyelet trim on quilt top corners is really about mastering that one tricky 90-degree turn, because the straight sections practically sew themselves. The three methods below will get you there, whether you’re going for sharp and tailored or soft and ruffled.
What You Need to Know About Eyelet Trim
Eyelet vs. Regular Lace
Eyelet trim — technically called broderie anglaise — is an embroidered cotton fabric with punched or stitched holes in decorative patterns. Unlike bobbin lace, which is woven in open netting, eyelet has a solid cotton base. That matters because it behaves predictably: it presses crisp, washes well, and ages at the same rate as quilting cotton. That last point is more important than people realize. Polyester-blend lace will outlast the quilt fabric around it and eventually cause puckering along the seam line.
For quilt borders, 1.5 to 2 inches (38–51mm) wide is the sweet spot. Wider than that and it can overwhelm the piecing; narrower and it disappears.
Why Corners Are the Hard Part
Eyelet trim is fundamentally a linear material — it wants to lie flat along a straight edge. Asking it to turn a sharp 90-degree corner without any extra manipulation is asking for puckers, gaps, or bunching. The corner treatment is what separates a quilt that looks polished from one that looks like an afterthought.
Materials and Tools
Eyelet Trim: What to Buy
Stick with 100% cotton eyelet. Wrights and M&J Trimming carry reliable options; Farmhouse Fabrics stocks beautiful heirloom-quality trim if you want to splurge. Buy 10–15% more than your calculated yardage — you’ll need it for shrinkage and corner ease.
Thread, Needles, and Presser Feet
- Thread: 50-weight, 100% cotton in white or off-white. Aurifil 50wt is my go-to. Avoid polyester — it’s stronger than the cotton eyelet and will eventually cut through the embroidery with repeated washing.
- Needles: Universal 70/10 or 80/12. Change your needle every 8–10 hours of sewing; a dull needle snags eyelet embroidery fast.
- Presser feet: A 1/4-inch quilting foot for consistent seam allowance, an open-toe appliqué foot for corner visibility, and an edge-joining foot for topstitching.
Other Supplies
- Quilting ruler (6 × 24-inch) and a small right-angle square
- Water-soluble or air-erasable marking pen — avoid wax chalk, which leaves residue in the eyelet holes
- Silk pins or fine glass-head pins
- Pressing cloth (a Teflon pressing sheet or thin cotton muslin)
- Point turner or bamboo skewer for pushing miter folds into crisp corners
Machine Settings
- Stitch length: 2.5mm for seaming, 2.0mm for topstitching
- Tension: Standard (4–5 on most machines); reduce slightly if the trim puckers
- Presser foot pressure: Reduce by 10–15% if your machine allows — heavy foot pressure compresses and distorts the embroidery
Preparation: Don’t Skip These Steps
Pre-wash and Press
This is non-negotiable. Cotton eyelet shrinks 3–5% in the first wash. Sew it on dry and those corners will pucker and pull inward the moment the quilt hits the washer. Machine wash in warm water (105°F / 40°C) with a small amount of gentle detergent, tumble dry on medium heat, then press on the wrong side with a medium-hot iron. Pre-wash your quilt top fabric in the same load.
How Much Trim to Buy
Measure each side of your quilt top, add 3 inches (76mm) per corner for ease, then add 10–15% for shrinkage. For a standard 60 × 80-inch lap quilt, that’s roughly 8.5 yards (7.8 meters). When in doubt, round up — leftover trim is great on a pillowcase.
Mark Your Pivot Points
Using your ruler and right-angle square, mark a small dot exactly 1/4 inch (6mm) in from both edges at each corner on the wrong side of the quilt top. This pivot dot is your single most important reference mark in the entire process. If it’s off by even a millimeter, your miter won’t align and you’ll end up with a gap or an overlap. Take the extra two minutes to mark it accurately.
How to Sew Eyelet Trim on Quilt Top Corners: Three Methods
Method 1: Mitered Corner (Most Professional Result)
This is the method for heirloom quilts, show quilts, or any project where you want the corners to look genuinely sharp.
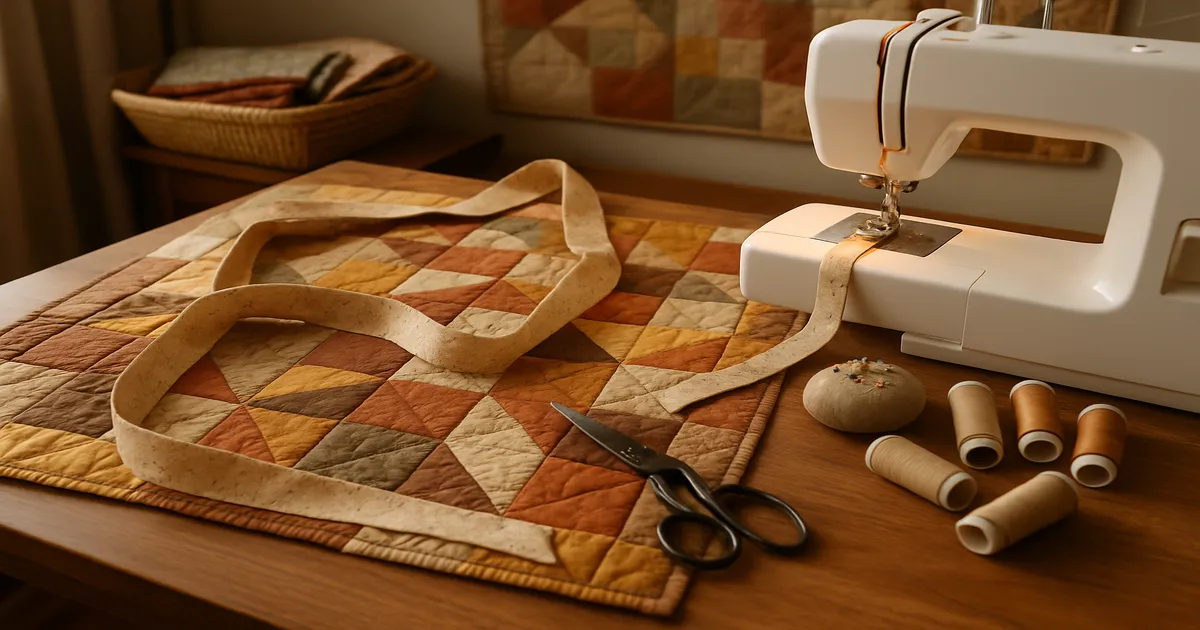
- Place the eyelet trim right side down on the right side of the quilt top, aligning the raw header edge with the quilt’s raw edge.
- Begin sewing 2 inches (51mm) away from the corner — not at the corner itself. Leave a 3-inch (76mm) thread tail instead of backstitching (see Pro Tips below for why).
- Sew toward the corner with a 2.5mm stitch and a 1/4-inch (6mm) seam allowance, stopping with the needle down exactly at your pivot dot.
- Lift the presser foot. Fold the trim up at a 45-degree angle away from the quilt, then fold it back down along the next side, aligning the raw edge. This creates a small triangular fold — your miter.
- Pin the fold precisely, lower the presser foot, backstitch 3–4 stitches, and continue along the next side.
- Repeat for all four corners. When you return to your starting point, overlap the trim ends by 1/2 inch (13mm) and fold the top end under by 1/4 inch (6mm) for a clean join.
Method 2: Pleated Corner (Best for Beginners)
The pleated method skips the 45-degree fold entirely. Stop at the pivot dot with the needle down, pinch a 1/2-inch (13mm) pleat of trim toward the quilt center, pin it, pivot the quilt 90 degrees, and keep sewing. It creates a small fan effect at each corner — not as tailored as a miter, but genuinely charming on cottage-style or everyday quilts, and much faster to execute.
Method 3: Gathered Corner (Soft and Romantic)
Run two rows of basting stitches at 4.0mm length along the header edge of the trim near each corner. Pull the bobbin threads to gather 1.5 to 2 times the corner circumference worth of trim, distribute the gathers evenly, pin, and sew. This method is ideal for baby quilts and quilts with rounded corners. The result is full and soft — the opposite of a crisp miter, and beautiful in its own right.
Finishing: Clip and Topstitch
After sewing all four corners, clip the seam allowance diagonally across each corner to within 1/8 inch (3mm) of the stitch line. This eliminates the bulk that would otherwise create a lumpy bump when the quilt sandwich is assembled. Then topstitch from the right side along the header edge at 1/8 inch (3mm) from the seam line using a 2.0–2.5mm stitch. Technically optional — I’d call it mandatory. It keeps the trim lying flat and stops it from rolling inward.
Common Mistakes to Avoid
Skipping the pre-wash. The trim shrinks, the corners pucker, the quilt is ruined. Pre-wash every time.
Starting the seam at the exact corner. You’ll have no room to create a miter fold, and your first stitches will almost certainly be crooked. Always start 2 inches (51mm) away.
Inaccurate pivot dot placement. If the dot isn’t exactly 1/4 inch (6mm) from both edges, the miter will gap or overlap. Use a ruler and right-angle square, not your eye.
Pulling the trim while sewing. The header edge has a slight bias and stretches easily. Let the machine feed the trim naturally — just guide it gently from the sides. Pulling from behind the foot creates wavy seams you can’t press out.
Pressing directly on the eyelet embroidery. Direct iron contact flattens or scorches the raised stitches. Always press from the wrong side with a pressing cloth on top.
Not clipping the corner seam allowances. Unclipped corners create lumpy bumps in the finished quilt sandwich. Clip diagonally after sewing, before assembly.
Pro Tips for Perfect Corners
Leave thread tails instead of backstitching. Backstitching under delicate eyelet creates a visible lump and can distort the embroidery. Leave a 3-inch (76mm) tail at the start of each seam and tie it off with a surgeon’s knot after sewing. Invisible and more secure.
Pin all four miters before sewing any of them. Fold and pin all four, lay the quilt flat, and step back. You’ll catch asymmetrical miters before they’re stitched in — much more pleasant than catching them after.
Staystitch stretchy trim first. If your eyelet seems particularly stretchy, run a line of staystitching along the header edge at 1/8 inch (3mm) before attaching it. This stabilizes the trim and prevents stretching during the main seam.
Use spray starch for crisp miter folds. Lightly spray the trim with spray starch and press before sewing. Starched trim holds its 45-degree fold far more crisply and is much easier to pin accurately.
Try glue basting for fussy corners. A tiny dot of washable fabric glue stick holds the miter fold in place without pins shifting during sewing. For very precise work, this is genuinely better than pins.
Always test on a scrap first. Sew a corner on a 6 × 6-inch scrap of your actual quilt fabric before touching the quilt top. Eyelet from different manufacturers behaves differently. Five minutes of testing saves hours of seam ripping.
Creative Variations Worth Trying
Corner medallion squares. Cut four small squares of quilt fabric sized to the trim width plus seam allowances. Attach the trim to each square separately, then join the squares to the quilt sides. This eliminates corner sewing on the quilt top entirely and produces an extremely clean, tailored result — great if mitering still intimidates you.
Double-layer eyelet. Layer two widths of trim — wider underneath, narrower on top — for extra depth and a distinctly heirloom feel. Especially effective on bed quilts where the border shows against white bedding.
Mixed widths. Using wider trim on the outer border and narrower trim at inner sashing creates visual rhythm without adding complexity. It’s a subtle detail, but it’s the kind of thing people notice and can’t quite name when they say a quilt looks “really finished.”
Frequently Asked Questions
Should you attach eyelet trim before or after assembling the quilt sandwich?
Before. Attach the trim to the quilt top first so the seam allowance gets enclosed between the quilt top and backing. Trying to add trim after the sandwich is assembled is awkward and rarely looks as neat.
How do you stop eyelet trim corners from puckering after washing?
Pre-wash the trim and quilt top fabric before sewing — that’s the main fix. Also make sure your pivot dot is accurately placed and your seam allowance is a consistent 1/4 inch (6mm). If you’ve done all that and still get puckering, the culprit is usually pulling the trim while sewing, which stretches the header edge.
Can you sew eyelet trim onto a quilt by hand?
Yes, though it’s slow. Use a small running stitch or backstitch along the header edge with 50-weight cotton thread, keeping stitch length consistent at about 1/8 inch (3mm). Hand-sewing gives you excellent control around corners — some hand quilters actually prefer it for mitered corners specifically.
How much eyelet trim do you need for a standard lap quilt?
For a 60 × 80-inch lap quilt, plan on approximately 8.5 yards (7.8 meters). That includes 3 inches (76mm) of ease per corner and a 10–15% buffer for pre-wash shrinkage. Buy a full extra yard if you’re at all unsure — running short mid-project is a real headache, especially if you need to match an eyelet pattern at the join.