Quick Answer: To sew binding on a quilt, cut 2¼-inch (57mm) fabric strips, join them with diagonal seams into one long strip, fold and press in half lengthwise, then machine-sew the raw edges to the quilt front with a ¼-inch (6mm) seam allowance using a walking foot. Miter the corners as you go, close the binding loop with a diagonal join, then wrap the folded edge to the back and hand-stitch it down with a blind stitch. The whole process takes 1–3 hours depending on quilt size and your hand-stitching speed.
Learning how to sew binding on a quilt is one of those skills that looks intimidating but clicks fast once you’ve done it once. It’s the final step before a quilt is truly finished — and it’s worth doing right. A beautifully quilted top with sloppy binding is like a great meal served on a dirty plate.
What Is Quilt Binding and Why It Matters
Binding encases the raw edges of the quilt sandwich — top, batting, and backing — so they don’t fray or wear through. It’s the most handled part of any quilt, taking the most folding and washing over time. That’s why both your method and your fabric choice actually matter.
Double-fold vs. single-fold: Early American quilts were often self-bound — the backing simply folded over to the front. Dedicated binding strips became standard in the late 19th century, and the double-fold (French fold) method has dominated ever since. Two layers of fabric at the edge last dramatically longer than one. Single-fold binding still shows up on antique quilts and wall hangings, but for anything that’ll be used and washed, double-fold is the right call.
Bias vs. straight-grain: Bias binding (cut at 45° to the grain) stretches slightly, which helps it ease around curved edges. Straight-grain binding is cut selvage to selvage, uses less fabric, and is perfectly adequate for any quilt with straight edges — which is most quilts. Unless you’re binding a curved or scalloped edge, straight-grain is the practical choice.
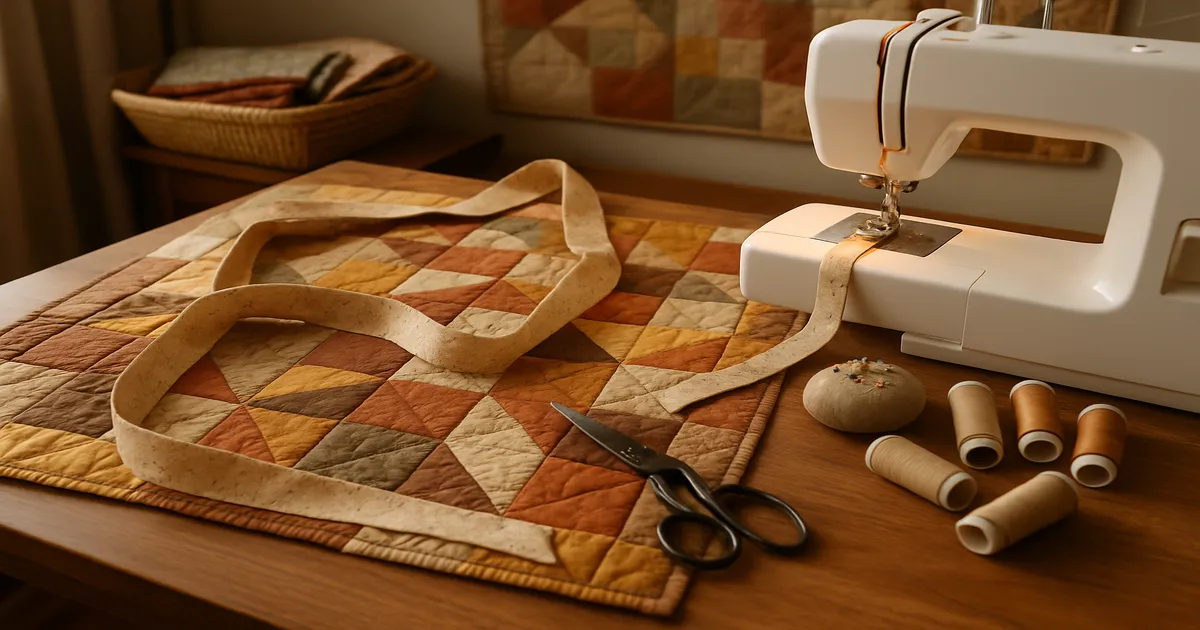
Materials and Tools You’ll Need
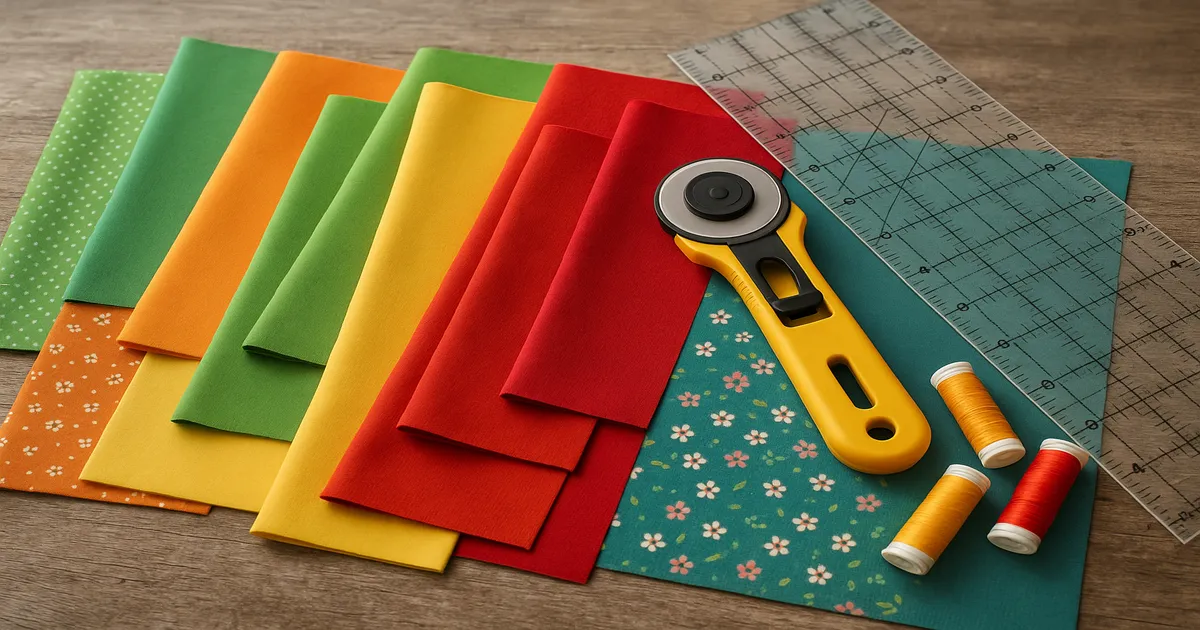
Fabric: Stick with 100% quilting-weight cotton. It presses crisply, wears well, and behaves predictably. You’ll need about ½ yard (46cm) for quilts up to 60 × 80 inches (152 × 203cm), or ¾ yard (69cm) for larger quilts. Stripes cut on the bias are a personal favorite — instant visual upgrade, almost no extra effort.
Thread: For machine work, 50-weight cotton thread is the standard. Aurifil 50wt Cotton Thread and Gutermann Mako Cotton both perform well. For hand stitching, use 50- or 60-weight cotton, or silk thread (size 100) if you want something that virtually disappears. One thing to avoid: polyester thread for hand binding. Over years of washing, it can cut through cotton fibers.
Tools:
- Rotary cutter: 45mm with a fresh blade — a dull blade drags and distorts strips
- Cutting mat: At least 24 × 36 inches (61 × 91cm)
- Acrylic ruler: 6 × 24 inches (15 × 61cm) for strips; a 12½-inch (32cm) square for corners
- Walking foot: Non-negotiable for attaching binding evenly
- Binding clips (Wonder Clips): Far better than pins for holding binding in place
- Hand needle: Size 10 or 11 Sharps
- Thimble: You’ll thank yourself after the first hour
- Fabric marking pen or chalk: For marking corner stopping points
- Hot, dry iron: Skip the steam — it can distort bias-cut strips
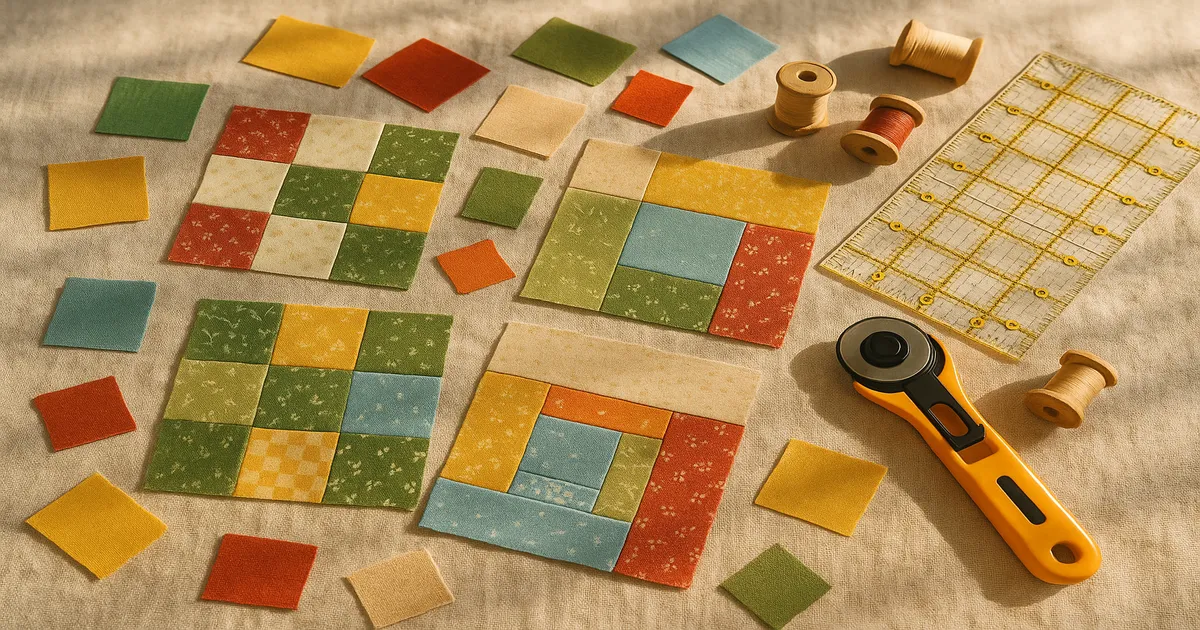
How to Calculate, Cut, and Join Your Binding Strips
How Much Binding Do You Need?
Add all four sides of your quilt together, then add 10–12 inches (25–30cm) for joining seams and corners. For a 60 × 80-inch (152 × 203cm) quilt: 60 + 60 + 80 + 80 = 280 inches, plus 12 = 292 inches (741cm) total.
Divide that number by 40 (the usable width of a selvage-to-selvage strip) and round up. For this example: 292 ÷ 40 = 7.3, so cut 8 strips.
What Width to Cut
- 2¼ inches (57mm): Standard for most quilts with thin to medium batting
- 2½ inches (64mm): Better for thicker batting or a chunkier finished edge
- 2 inches (51mm): Fine for baby quilts or wall hangings with very thin batting — don’t go narrower
Joining Strips with Diagonal Seams
Always join strips with diagonal seams, not straight ones. Straight seams create a noticeable lump on the quilt edge; diagonal seams spread the bulk over a longer distance so it disappears.
To join two strips: lay them right sides together at a right angle to form an “L.” Draw a diagonal line from the upper-left corner to the lower-right corner of the overlapping square, sew on that line with a 2.5mm stitch length, trim the seam allowance to ¼ inch (6mm), and press open. Join all your strips this way until you have one continuous length.
Folding and Pressing
Fold the entire strip in half lengthwise, wrong sides together, and press firmly with a hot dry iron. This fold becomes the outer finished edge of your binding, so press it well. A light spray of starch before pressing gives you a crisper, more manageable fold — especially useful if you’re working with bias strips. If you are using bias, don’t pull the strip while pressing; let the iron do the work.
How to Sew Binding on a Quilt: Attaching It to the Front
Square Up and Baste First
Before you touch the binding, square up your quilt. Trim all four sides so you have true 90° corners, and make sure the batting and backing extend at least ⅛ inch (3mm) beyond the trimmed top edge — that extra fill is what gives the binding its body. Then run a scant ⅛-inch (3mm) basting line around the entire perimeter with your walking foot to lock the layers together. Skip this step and you’ll end up with bubbles and tucks under the binding.
Sewing the Binding to the Front
Install your walking foot, thread with 50-weight cotton, and set your stitch length to 2.5–3.0mm. Start on one of the long sides — never at a corner. Leave a 10–12-inch (25–30cm) tail hanging free, align the raw edges of the binding with the raw edge of the quilt top (right sides together), and begin sewing 6–8 inches (15–20cm) from the end of your tail, using a ¼-inch (6mm) seam allowance. Don’t tug the binding taut as you sew — if you stretch it, the edge will cup.
Mitering the Corners
Pre-mark a dot ¼ inch (6mm) from each corner on the quilt top before you start. When you reach that dot, backstitch and remove the quilt from the machine.
- First fold (away): Fold the binding up at 45° away from the quilt, aligning it with the next side
- Second fold (down): Fold the binding back down over itself, raw edges aligned with the next quilt edge — a small triangular pleat forms at the corner
- Start sewing again from the very top edge of the new side, backstitching to secure
Use a stiletto or the tip of a seam ripper to hold that corner pleat in place while you start sewing. Your fingers won’t be precise enough.
Closing the Binding Loop
Stop sewing about 12 inches (30cm) before you reach your starting point. Lay both tails flat along the quilt edge. Fold each tail back so the two fold points meet exactly in the middle of the unsewn gap and finger-press those folds. Open the tails, place them right sides together at a right angle, and sew the diagonal seam just as you did when joining strips. Check that the joined binding lies flat — not puckered, not pulling — before you trim to ¼ inch (6mm), press open, and finish sewing.
Hand-Stitching the Binding to the Quilt Back
Fold the binding over the raw edge to the quilt back so the folded edge just covers the machine stitching line. Secure it with binding clips every 3–4 inches (7–10cm). The mitered corners will want to fold naturally — coax them into neat 45° tucks with your fingers.
One thing a lot of tutorials get wrong: the back miter should fold in the opposite direction from the front miter. This distributes bulk instead of stacking it, and it’s the difference between a flat corner and a lumpy one. Stitch the corner closed with 3–4 extra stitches through all layers.
For the blind stitch, use about 18 inches (46cm) of thread — longer and it will tangle, guaranteed. Single strand, not doubled. Wax it with a beeswax block to reduce friction and strengthen it. Catch just 1–2 threads of the backing fabric with each stitch, then pass the needle through the fold of the binding. Aim for ¼-inch (6mm) spacing; stitches longer than ⅜ inch (10mm) will catch on things and eventually pull out.
To finish, insert the needle into the fold of the binding, pull the knot through so it’s hidden inside the fold, and clip the thread close. Clean, invisible, done.
Common Mistakes and How to Avoid Them
Not squaring up first. This is the single most common beginner mistake — and the one you can’t fix afterward. Wavy binding on an unsquared quilt is permanent.
Starting at a corner. The final join will land right at the corner and create a bulk nightmare. Always start on a long side.
Inconsistent seam allowance. Even small variations from ¼ inch (6mm) mean the binding won’t cover the stitching line on the back. Use a seam guide if you need to.
Sewing past the corner mark. Even one or two stitches too far ruins the miter. Mark those dots before you start sewing — every single time.
Thread that’s too long for hand stitching. Eighteen inches max. Anything longer tangles constantly and slows you down more than it saves.
Catching only the batting on the back. If your needle isn’t picking up actual threads of the backing fabric, those stitches will work loose in the wash.
Frequently Asked Questions
What width should I cut quilt binding strips?
The most common width is 2¼ inches (57mm), which works for most quilts with thin to medium batting. Go up to 2½ inches (64mm) for thicker batting, or down to 2 inches (51mm) for very thin baby quilts or wall hangings. When in doubt, 2¼ inches covers the vast majority of projects.
How do I keep quilt binding corners from bunching?
Stop sewing exactly ¼ inch (6mm) from the corner — pre-mark that point with a fabric pen before you start. On the back, fold the miter in the opposite direction from the front to distribute bulk rather than stack it.
Can I attach quilt binding entirely by machine?
Yes, and it’s a legitimate choice for utility quilts. The most reliable method is to sew the binding to the back first, wrap it to the front, then stitch in the ditch from the front so the machine stitching catches the binding on the back. It’s faster and holds up just as well in the wash. The hand-stitched finish is prettier up close, but machine binding is nothing to be ashamed of.
What’s the difference between bias and straight-grain binding?
Straight-grain binding is cut selvage to selvage — economical, easy, and perfectly fine for any quilt with straight edges. Bias binding is cut at 45° to the grain, giving it slight stretch that helps it ease around curves and wear more evenly at corners over time. For a standard rectangular quilt, straight-grain is all you need.
How do I calculate how much binding fabric to buy?
Add up all four sides of your quilt, add 12 inches (30cm) for seams and corners, then divide by 40 and round up to get the number of strips. For most quilts up to 60 × 80 inches (152 × 203cm), ½ yard (46cm) of fabric is enough. Buy ¾ yard (69cm) for anything larger to give yourself a comfortable margin.