Quick Answer: The fastest fix for thread tangling is to re-thread your entire machine with the presser foot raised, then hold both thread tails toward the back before you take a single stitch. Despite what it looks like, the bird’s nest forming under your fabric is almost always caused by the upper thread, not the bobbin. Read on for the full prevention routine, a step-by-step fix, and the habits that make tangles genuinely rare.
If you’ve ever stopped mid-seam to find a chaotic knot of thread underneath your fabric, you know that figuring out how to stop this tangle is suddenly the only thing that matters. That dense, looped mess — sewists call it a bird’s nest — can form in under three seconds on a machine running at 400–1,500 stitches per minute. Frustrating, yes. But once you understand what’s actually causing it, the fix is quick and the prevention is even simpler.
Why Thread Tangles Happen
The Upper Thread Is Almost Always to Blame
Here’s the thing that trips up almost everyone: when you see thread bunched on the underside of your fabric, your first instinct is to mess with the bobbin. Don’t. In the vast majority of cases, the problem is the upper thread failing to maintain proper tension — so instead of forming a clean stitch, it loops down through the fabric and gets caught in the bobbin area.
The bobbin is usually innocent.
Threading Errors and Thread Quality
When you thread your machine with the presser foot down, the tension discs stay closed. Thread slides in beside them rather than seating between them, so there’s no real tension on the upper thread at all. The machine then pulls that slack thread down into the bobbin area with every stitch. Skipping even one thread guide has the same effect — the thread path is a system, and every part of it matters.
Thread quality plays a bigger role than most people expect. Most commercial thread is spun in a specific direction (S-twist), and if it unwinds against that natural twist, it fights itself through the machine. Bargain thread makes this worse — uneven twist, excessive lint, and weak fibers all increase tangle risk. I’ve found that switching from a cheap spool to something like Gutermann Sew-All or Coats & Clark All Purpose solves “mysterious” tangling problems more often than any machine adjustment does.
What You Need Before You Start
Thread and Needle Basics
For most woven fabrics, a 50 wt all-purpose polyester is the most forgiving starting point — consistent twist, minimal lint, handles a wide range of tension settings without drama. For quilting, 50 wt cotton is the better choice: matte finish, slightly less stretch, behaves beautifully in quilt seams. Silk thread (100 wt) is gorgeous but unforgiving; even slightly high tension will cause it to tangle or break.
Avoid bargain thread. It’s genuinely not worth it.
A dull or burred needle is one of the most overlooked tangle triggers. Replace yours at the start of every major project, or every 8–10 hours of sewing — whichever comes first. If your needle hits a pin even once, swap it immediately. That tiny burr you can’t see will shred thread on every single stitch.
- Universal 80/12 — right for most medium-weight wovens
- Sharp/Microtex 70/10 or 75/11 — for lightweight or tightly woven fabrics
- Quilting needle 75/11 — designed to pierce multiple layers cleanly without deflecting
A Few Notions That Actually Earn Their Place
- Thread net — slips over slippery or cross-wound spools to control how they feed
- Correct spool cap — horizontal spool pins need a flat cap; vertical pins need a tapered one. This matters more than most people realize.
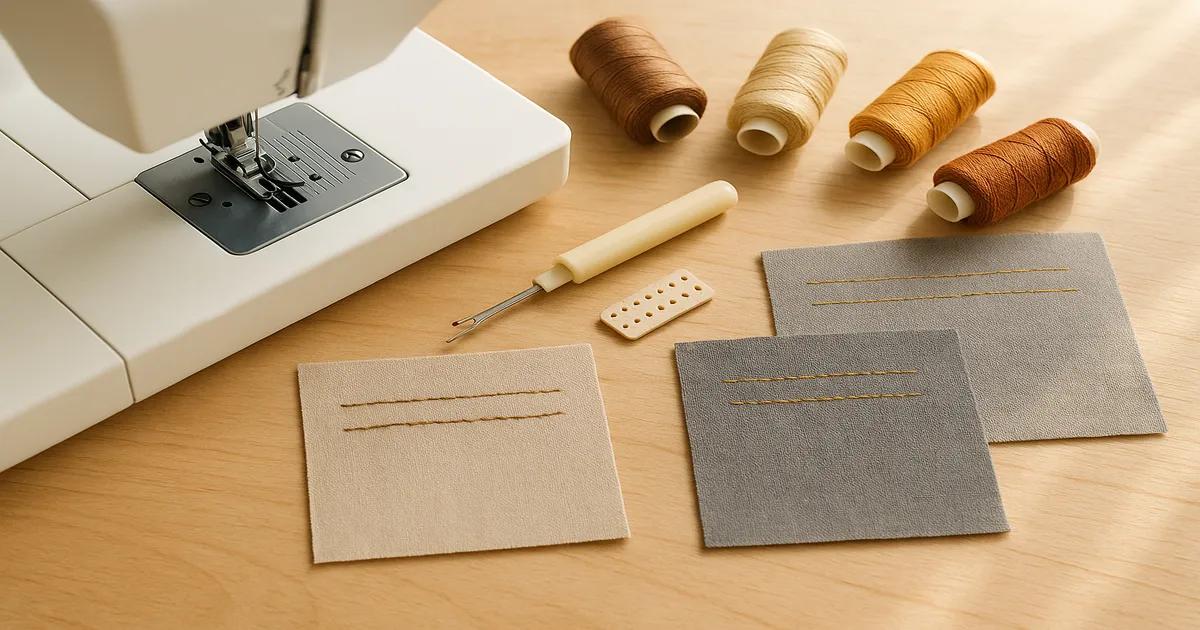
- Seam ripper — a sharp one lets you pick out tangles safely; a dull one drags and can pull fabric threads
- Soft lint brush — for cleaning the bobbin race regularly; a stiff brush can scratch the race surface
How to Stop This Tangle Before It Starts
Step 1: Re-Thread with the Presser Foot Raised
This is the single most important step, and it’s the one most people skip. Raise the presser foot lever before you touch the thread — this opens the tension discs so thread can seat properly between them. Follow your machine’s numbered thread path exactly, pull the thread firmly through the take-up lever and every guide. You should feel slight resistance as it passes through the tension discs. If it glides through with zero resistance, the thread isn’t seated. Start over.
Step 2: Wind and Load the Bobbin Correctly
Wind at a consistent, moderate speed — erratic winding creates uneven thread density and uneven tension. Check your manual for the correct unwind direction (most drop-in bobbins unwind counterclockwise when viewed from above). Leave a 4–6 inch (10–15 cm) tail pulled out before you start sewing, and don’t overfill the bobbin. Thread wound past the bobbin’s edge will catch on the bobbin case and jam.
Step 3: Set Upper Thread Tension
On a standard 0–9 tension scale:
- Most woven fabrics: 4–5
- Lightweight fabrics (chiffon, voile): 3–3.5
- Heavyweight fabrics (denim, canvas): 5–6
Always sew a test seam on a double layer of your actual project fabric. Tension behaves differently on every material, and what worked last time won’t necessarily work now.
Step 4: Hold Thread Tails at the Start of Every Seam
Hold both the upper thread and bobbin thread tails — about 4–6 inches (10–15 cm) — toward the back of the machine as you start sewing. This one habit eliminates the majority of start-of-seam bird’s nests. The machine can’t suck the thread down into the needle hole if you’re holding it back.
Step 5: Use a Leader and Ender Cloth
Keep a small scrap of fabric next to your machine. Start every seam by sewing onto that scrap first (the leader), then feed your project fabric immediately behind it. At the end of a seam, sew off onto another scrap (the ender). This prevents the machine from drawing thread down into the needle hole when you start or stop — which is exactly when most tangles form.
How to Fix a Thread Tangle When It Happens
Stop the machine the moment you notice resistance or hear something wrong. Continuing to sew turns a minor tangle into a major one.
- Raise the needle to its highest position using the handwheel (turn it toward you)
- Raise the presser foot
- Cut both threads close to the fabric on top and bottom
- Gently pull the fabric free — no yanking. Yanking can break the needle, damage the fabric, or pull threads out of the weave.
- Flip the fabric over and use a seam ripper or fine embroidery scissors to pick out the tangle from the underside, cutting individual loops rather than pulling the whole mass at once
Before you re-thread, clean the bobbin area. Tangles deposit lint and thread fragments in the bobbin race that will affect tension even after you’ve fixed the threading. Use a soft brush to clear it out, then re-thread the entire machine from scratch — presser foot raised, every guide, the whole routine. Never just resume sewing from where you left off.
How to Stop This Tangle: Expert Habits Worth Stealing
The floss test. After threading, gently tug the upper thread with your finger. It should move with slight, consistent resistance — like dental floss through a tight contact. If it moves freely with no resistance at all, the thread isn’t seated in the tension discs. Re-thread with the presser foot raised.
The bobbin color trick. Wind your bobbin with a thread color that contrasts sharply with your top thread. If that bobbin color appears on the top of your fabric, your upper tension is too tight. If your top thread color appears on the bottom, your upper tension is too loose. This turns an abstract adjustment into something you can actually see.
The 6-inch tail rule. Always leave at least 6 inches (15 cm) of thread tail after cutting. Shorter tails pull back through the needle on the first stitch and cause an instant tangle — especially after rethreading or changing bobbins.
Clean the bobbin race after every full bobbin change, not just when you remember to. Lint accumulation gradually shifts effective tension even when your settings haven’t moved. A soft brush works better than canned air, which can push lint deeper into the machine.
Wax your hand-sewing thread. Run it across a block of beeswax , then press it between two layers of scrap fabric with a warm iron. The heat bonds the wax to the thread fibers and dramatically reduces friction, tangling, and knotting. Centuries-old technique. Still works better than any modern thread conditioner I’ve tried.
Quick Mistakes Checklist
- Threading with the presser foot down — the #1 cause of bird’s nests
- Skipping thread guides — even one missed guide throws off the whole thread path
- Not holding thread tails at the start of a seam
- Wrong spool cap or orientation — causes erratic unwinding
- Overfilling the bobbin — thread catches on the bobbin case edge
- Mixing thread weights (e.g., 40 wt on top, 60 wt in bobbin) — creates a tension imbalance the machine can’t compensate for
- Pulling fabric through the machine — let the feed dogs do the work
Frequently Asked Questions
Why does my sewing machine keep tangling thread underneath the fabric?
Almost certainly an upper thread tension problem, not a bobbin problem. The most common cause is threading the machine with the presser foot down, which prevents the thread from seating in the tension discs. Re-thread completely with the presser foot raised — that fixes it in the majority of cases.
How do I stop thread bunching at the start of a seam?
Two things: hold both thread tails toward the back of the machine as you begin, and start sewing on a small leader cloth before feeding in your project fabric. Together, these two habits eliminate almost all start-of-seam bird’s nests.
Is thread tangling caused by the bobbin or the upper thread?
The upper thread, in the vast majority of cases. When you see tangling on the underside of your fabric, it looks like a bobbin problem — but what’s actually happening is that the upper thread has lost tension and is looping down into the bobbin area. Check your upper threading first before touching the bobbin.
Why does my thread keep tangling when I sew by hand?
Usually one of three things: you’re using a double thread when a single would do, your thread tail is too short and keeps pulling out of the needle, or there’s too much friction as the thread passes through the fabric. Wax your thread with beeswax and press it with a warm iron, use a single thread with a quilter’s knot, and make sure your needle eye is large enough for the thread weight you’re using.
How do I remove a bird’s nest without damaging the fabric?
Stop immediately. Raise the needle with the handwheel, raise the presser foot, and cut the threads close to the fabric on both sides. Pull the fabric free gently — no yanking. Use a seam ripper or fine embroidery scissors to pick out the tangle from the underside, cutting individual loops rather than pulling the mass. Clean the bobbin area thoroughly, then re-thread the whole machine from scratch before sewing again.