Quick Answer: You can add a divider to almost any zipper pouch pattern using one of three methods — a floating divider (easiest), a fixed full-height divider (more structured), or a zippered interior divider (advanced). For a floating divider, cut the panel 1/2 inch (12mm) narrower than your interior width and aim for 80–85% of your interior height. Baste it to the lining before final assembly and you’re done.
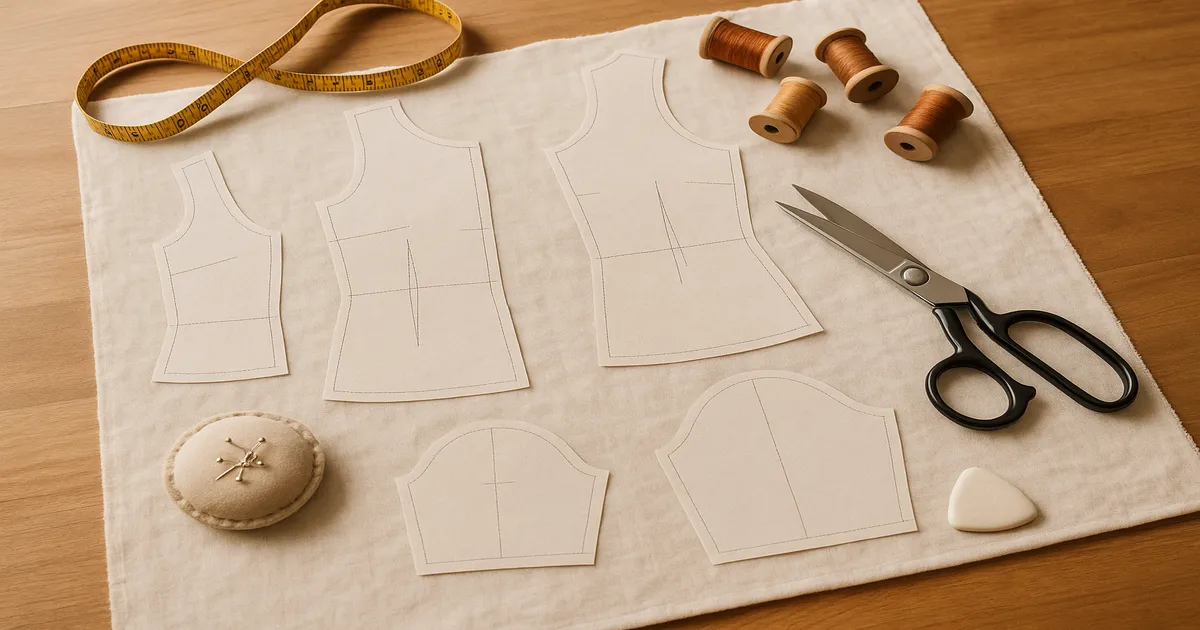
Adding a divider to a zipper pouch pattern is one of those upgrades that sounds complicated but really isn’t, once you understand the logic. Whether you’re turning a basic makeup bag into a two-compartment organizer or building a pencil case that keeps pens away from erasers, the process is the same: you’re adding a fabric panel to the interior before final assembly. Almost any existing pattern can handle it with a few simple math adjustments.
How to Add a Divider to Any Zipper Pouch Pattern
Three Methods at a Glance
- Floating divider — attached only at the bottom seam, free at the top. Best for beginners and flat rectangular pouches.
- Fixed full-height divider — locked into the bottom and both side seams for a rigid partition. Better for boxed-bottom or gusseted pouches.
- Zippered interior divider — a secondary zipper panel that doubles as a divider. Advanced technique, best planned from scratch rather than retrofitted.
Pick the floating method if you’re adapting an existing pattern and want the simplest path. The fixed method gives you more structure. The zippered version is genuinely beautiful in a cosmetic bag, but it requires patience and some advance planning.
Method 1: Floating Divider (Best for Beginners)
Step 1: Calculate Your Divider Dimensions
This is where most people go wrong, so take your time.
- Width: finished interior width minus 1/2 inch (12mm)
- Height: 80–85% of the finished interior height
For a 10 × 7-inch (25.4 × 17.8cm) finished interior, cut your divider pieces at 9½ × 8 inches (24.1 × 20.3cm). That 8-inch cut height accounts for a ¼-inch (6mm) seam allowance at the bottom, landing you at a finished floating height of roughly 6¾ inches (17.1cm) — enough to separate contents without bunching at the zipper.
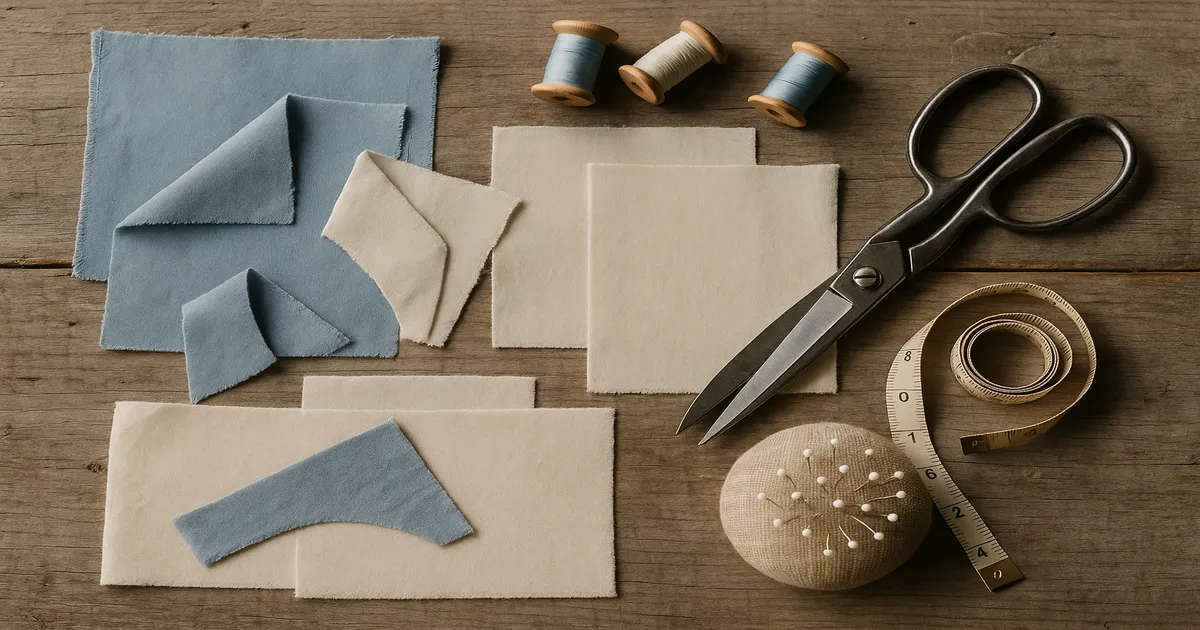
Step 2: Cut Your Fabric and Interfacing
Cut two pieces of fabric at your calculated dimensions. Cut one piece of interfacing the same size — don’t skip this, more on that below. Fuse the interfacing to the wrong side of one fabric piece before you do anything else.
Step 3: Sew and Finish the Divider Panel
- Place the two pieces right sides together.
- Sew around three sides with a ¼-inch (6mm) seam allowance, leaving the bottom edge open.
- Clip the corners at 45° to within ⅛ inch (3mm) of your stitching.
- Turn right side out and press thoroughly.
- Topstitch around the three finished sides at ⅛ inch (3mm) from the edge.
The open bottom edge is your raw edge — that’s what gets caught in the pouch seam.
Step 4: Baste the Divider to the Lining
Center the divider on the right side of one lining piece, aligning the raw bottom edges. Baste at ⅛ inch (3mm) from the bottom. Don’t skip this. Without it, the divider shifts the moment you start sewing the lining seam, and you end up with an off-center partition that’s annoying to fix.
Step 5: Assemble the Pouch as Normal
From here, just follow your existing pattern. When you sew the lining bottom seam, the divider’s raw edge gets caught and secured. It’ll stand upright inside the finished pouch.
Step 6: Optional Anchor Stitch at the Zipper
Once the pouch is fully assembled, you can hand-stitch the top edge of the divider to the zipper tape inside. A simple whip stitch with doubled thread does the job and converts your floating divider into a fully anchored panel.
Method 2: Fixed Full-Height Divider (More Structured)
If your pouch has a boxed bottom or gusset — or you just want a divider that doesn’t move — the fixed method is the right call. It locks into the bottom seam and both side seams, creating a rigid partition.
Calculating Dimensions
Use the full finished interior width (no ease reduction — the seam allowances handle that), then add your pattern’s seam allowance on all four sides to your cut dimensions. The divider gets trimmed into the seams on three sides.
Constructing and Inserting the Fixed Panel
Build the panel the same way as the floating version, but leave a 2-inch (5cm) turning gap on one side instead of leaving the bottom open. Turn, press, topstitch all four sides, and close the gap with a slip stitch or topstitching.
To insert it: before sewing your lining side seams, sandwich the divider perpendicular between the two lining pieces, aligning its side edges with the raw side edges of the lining. Sew the side seams catching all layers, then sew the bottom seam as normal. The divider is now locked in on three sides.
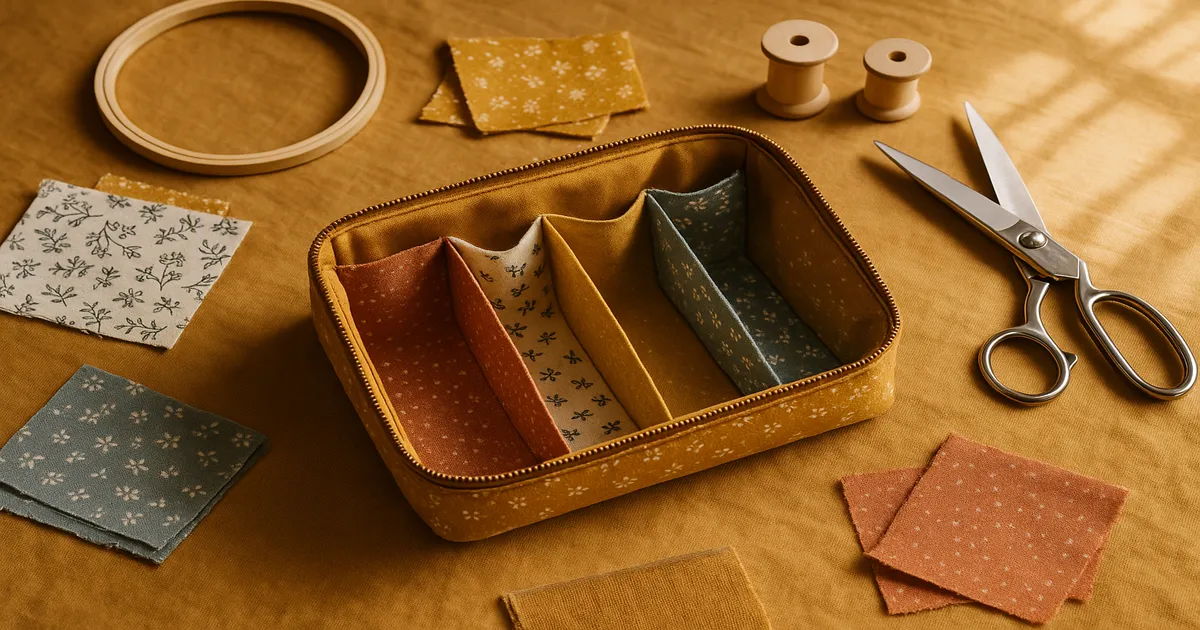
Method 3: Zippered Interior Divider (Advanced)
This is a secondary zippered pocket that also functions as a divider — the kind of detail you see in high-end cosmetic bags and travel organizers. It’s impressive, but retrofitting it into an existing pattern is more trouble than it’s worth. Either find a pattern that already incorporates it, or design the pouch around it from the start.
Zipper Length and Panel Construction
Use a zipper 2 inches (5cm) shorter than your finished interior width. For a 10-inch (25.4cm) wide pouch, that’s an 8-inch (20.3cm) zipper. Cut four fabric pieces at your divider dimensions — two for each side of the panel. Install the zipper between two pieces using the standard zipper sandwich method with a ¼-inch (6mm) seam allowance and a zipper foot, then repeat for the other side. You’ll end up with a complete zippered panel, finished on all edges.
Inserting the Zippered Panel
Follow the Method 2 insertion steps exactly, treating your finished zippered panel as the divider. Move the zipper pull clear before sewing each section, and stop at least ½ inch (12mm) from each end of the zipper tape to avoid breaking needles.
Materials and Tools
Fabric
Quilting cotton is the most beginner-friendly option — easy to press, easy to sew, available in thousands of prints. Canvas or duck cloth gives you structure without much interfacing. For travel pouches, ripstop nylon is excellent (use polyester thread and a size 75/11 microtex needle). Cork and vinyl are trendy and wipe-clean, but they need clips instead of pins and a Teflon or non-stick presser foot.
Interfacing
- Pellon SF101 Shape-Flex — woven fusible, the go-to for most dividers. Fuse at 275°F (135°C) with steam for 10–15 seconds.
- Pellon 809 Décor Bond — stiffer, for dividers that need to stand on their own.
- ByAnnie’s Soft and Stable — foam stabilizer for padded, structured cosmetic bag dividers.
Thread, Needles, and Presser Feet
Aurifil 50wt works beautifully for quilting cotton. For canvas or multiple layers, bump up to a size 90/14 denim needle. For decorative topstitching, 30-weight thread gives you a bold, professional line.
Presser feet worth having: a ¼-inch quilting foot for precise seam allowances, a Teflon foot for vinyl and cork, and a walking foot when you’re sewing through multiple interfaced layers.
Notions
- Rotary cutter, mat, and ruler — far more accurate than scissors for straight cuts
- Clover Wonder Clips — essential for vinyl and cork, great for holding dividers during basting
- Double-sided basting tape — more on this below
- Point turner or chopstick — for pushing out corners cleanly after turning
How to Find a Zipper Pouch Pattern That Already Has a Divider
Free patterns with built-in dividers are genuinely less common than basic pouch patterns. Most free tutorials skip the divider because it adds complexity. If you want a pattern that already includes one, you’ll usually need to look at paid patterns from independent designers.
Etsy is your best starting point — search “zipper pouch with divider,” “organizer pouch pattern,” or “compartment makeup bag pattern.” Craftsy has a solid selection too. Independent designers often sell through their own sites and through Fat Quarter Shop.
When browsing, look for these terms in the description: “interior partition,” “divided compartments,” or “gusseted lining.” Check that the finished pouch is at least 4 inches (10cm) deep — anything shallower and a divider is more trouble than it’s worth. Also confirm the pattern states the seam allowance clearly, since you’ll need that number when sizing your divider.
Common Mistakes (and How to Avoid Them)
Divider too wide or too tall. Too wide and it puckers; too tall and it bunches at the zipper and stops the pouch from closing. The ½-inch ease reduction for floating dividers isn’t optional.
Skipping interfacing. An uninterfaced quilting cotton divider collapses inside your pouch like a wet paper towel. Interface at least one layer. If you want a really crisp result, interface both.
Not basting before assembly. Without that ⅛-inch basting stitch, the divider slides during final assembly and you end up with an off-center partition. Takes thirty seconds to do it right.
Wrong seam allowance. Some patterns use ¼ inch (6mm), others use ⅜ inch (9.5mm) or ½ inch (12mm). Using the wrong one creates a sizing mismatch that’s hard to diagnose mid-assembly. Check your pattern first.
Skipping corner clipping and pressing. Unclipped corners are bulky and rounded. Clip at 45° to within ⅛ inch (3mm) of your stitching — embroidery scissors are ideal for small pouches. And press at every stage. A poorly pressed divider makes even beautiful fabric look sloppy.
Pro Tips for a Perfect Divider
Make a test divider first. Cut a quick version from muslin and drop it into your unassembled lining to check the fit. Takes ten minutes and has saved me from cutting into good fabric with the wrong dimensions more times than I can count.
Understitch for sharp edges. After turning the panel right side out, understitch the seam allowances to one side before pressing. It keeps the seam from rolling to the front and gives you a clean edge to topstitch against — the difference between a divider that looks handmade and one that looks intentional.
Use double-sided basting tape instead of pins. For slippery fabrics or vinyl, ¼-inch (6mm) double-sided basting tape holds everything flat and perfectly positioned. Run a strip along the bottom edge of the divider before pressing it onto the lining. No pins, no shifting.
Finger press before ironing. Pre-set the seams with your fingers before touching the iron. It gives you much more control over where the seam lands and makes pressing significantly easier.
Frequently Asked Questions
Can I add a divider to any zipper pouch pattern?
Almost any rectangular zipper pouch can be upgraded with a floating or fixed divider. The main requirement is at least 4 inches (10cm) of interior depth — shallower pouches don’t leave enough room for a divider to be functional. The sewing steps don’t change your existing pattern at all; you’re just adding one extra panel to the lining assembly.
How do I calculate the divider size for a zipper pouch pattern?
For a floating divider, cut the width at your finished interior width minus ½ inch (12mm), and target a finished height of 80–85% of your finished interior height. For a fixed divider, use the full finished interior width and add your pattern’s seam allowance on all four sides. Always check which seam allowance your pattern uses before you calculate anything.
What’s the difference between a floating and a fixed divider?
A floating divider is sewn only into the bottom seam and stands freely inside the pouch — easiest method, works in most flat pouches. A fixed divider is sewn into the bottom seam and both side seams, creating a rigid, locked partition. Fixed dividers suit gusseted or boxed-bottom pouches better, but they do require you to modify the lining assembly sequence slightly.
Do I need interfacing for a zipper pouch divider?
Yes — this isn’t the place to cut corners. Without interfacing, a quilting cotton divider will flop over and provide no real separation. Pellon SF101 Shape-Flex is the most versatile option for standard dividers. If you want something stiffer, Décor Bond or a foam stabilizer like ByAnnie’s Soft and Stable will give you a partition that truly holds its shape.
Where can I find a zipper pouch pattern that already includes a divider?
Etsy is the best place to start — search “organizer pouch pattern,” “zipper pouch with divider,” or “compartment makeup bag pattern.” Most free patterns don’t include dividers, so expect to look at paid patterns from independent designers. Check the description for terms like “interior partition” or “divided compartments,” and make sure the finished pouch depth is at least 4 inches (10cm).