Quick Answer: Most Singer sewing machine problems — thread bunching, skipped stitches, breaking thread, puckered seams — come down to three things: incorrect threading, a dull or wrong needle, or tension settings that are off. Before you do anything else, re-thread the entire machine from scratch with the presser foot raised. That one step fixes roughly 70% of problems.
If you’re asking why this is happening on your Singer sewing machine, you’re not alone. Singer is one of the best-selling sewing machine brands in the world, which means right now there are thousands of people staring at a bird’s nest of thread on the back of their fabric wondering what went wrong. This article covers the seven most common problems — bunching thread, skipped stitches, breaking thread, puckered seams, needle breakage, feeding issues, and strange noises — with specific fixes for each one.
Why Is This Happening on Your Singer Sewing Machine? Start Here.
The Most Common Culprits at a Glance
- Thread bunching under fabric → upper thread not seated in tension discs, bobbin inserted wrong
- Skipped stitches → wrong needle type, dull needle, or timing issue
- Thread breaking → tension too high, burr on needle or needle plate, thread weight mismatch
- Puckered seams → tension imbalance, stitch length wrong for fabric weight
- Needle breaking → pulling fabric sideways, wrong needle size, loose clamp
- Fabric not feeding → feed dogs lowered, stitch length at zero, lint buildup
- Loud noises → bobbin area issue, machine needs oil, loose component
The Single Most Important First Step: Re-Thread Everything
Raise the presser foot. Remove all thread. Start over.
The tension discs only open when the presser foot is up. Thread with it down and the thread was never properly seated — full stop. Re-threading from scratch, in the correct order, with the foot raised, resolves the problem about 70% of the time. Do this before you adjust anything else.
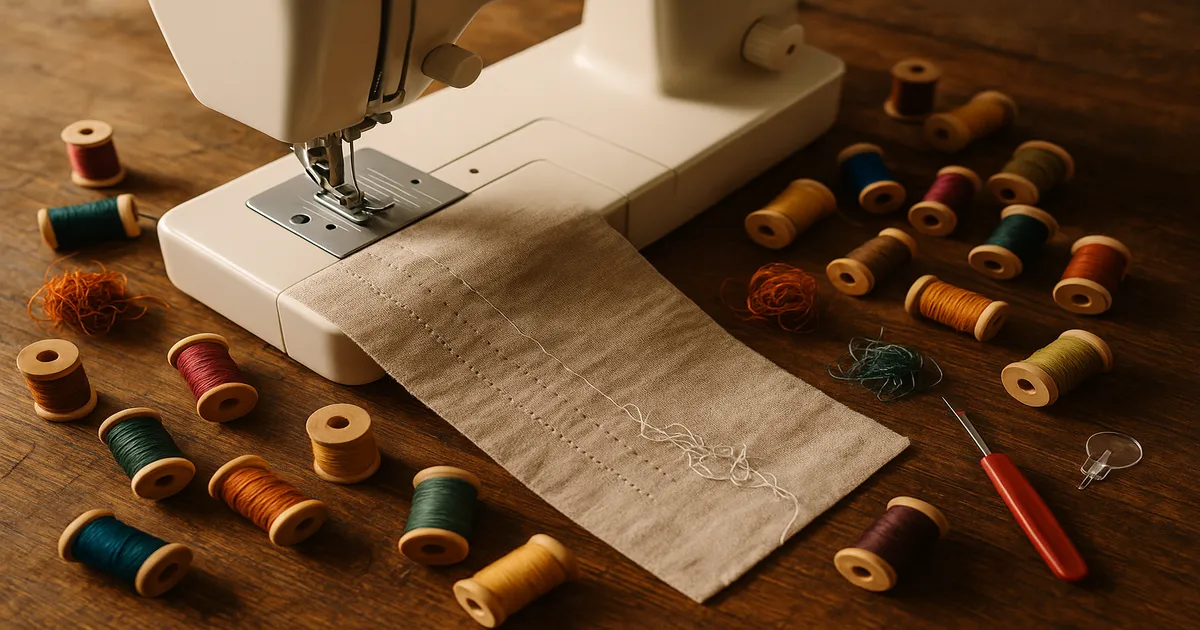
Problem 1: Thread Bunching Underneath the Fabric (Bird’s Nest)
You flip your fabric over after the first few stitches and find a tangled mess of loops on the underside. The top looks fine, which is why most people immediately blame the bobbin. Nine times out of ten, though, the real culprit is the upper thread.
When the upper thread isn’t properly seated in the tension discs, the machine can’t control the thread loop as the needle descends. The result is chaos underneath.
Fix 1: Re-thread with the presser foot raised. Singer machines have 6–8 threading guides depending on the model. The take-up lever — the hook that moves up and down on the front of the machine — is the one most people miss. Skip it and your machine will jam after 2–3 stitches.
Fix 2: Check bobbin insertion direction. On most modern Singer machines, the bobbin thread should unwind counterclockwise when the bobbin is sitting in place. More importantly, make sure the thread passes through the bobbin tension spring — that small metal slot in the bobbin area. A lot of beginners drop the bobbin in, skip that spring entirely, and then spend an hour troubleshooting what is actually a 10-second fix.
Fix 3: Hold your thread tails. Before you sew the first stitch, hold both thread tails — upper and bobbin — about 4–6 inches toward the back of the machine. If you don’t, the needle thread yanks the bobbin thread up into a tangle on that very first stitch.
Fix 4: Seat the needle fully. Push the needle all the way up into the clamp — as high as it will go — with the flat side facing the back. Even 1mm too low and the hook will miss the thread loop. Tighten the clamp screw with a small screwdriver, not just your fingers.
Problem 2: Skipped Stitches
A skipped stitch means the rotary hook failed to catch the needle thread loop at the right moment. That happens because the needle is dull, bent, or the wrong type for your fabric — or, in more serious cases, because the machine’s timing is off.
Needle type matters more than most people realize. A universal needle works fine for woven fabrics like cotton and linen, but it will skip stitches relentlessly on knits. For jersey, spandex, or any stretch fabric, you need a ballpoint or stretch needle — the rounded tip slides between fibers instead of piercing them. For denim or heavy canvas, use a denim/jeans needle in size 16/100 or 18/110.
Needle Size Chart for Common Fabrics
| Fabric | Needle Type | Size |
|---|---|---|
| Chiffon, organza | Universal or Microtex | 9/65 or 11/75 |
| Quilting cotton, linen | Universal | 12/80 |
| Jersey, knit | Ballpoint or Stretch | 11/75 or 14/90 |
| Denim, canvas | Denim/Jeans | 16/100 or 18/110 |
| Leather, vinyl | Leather | 14/90 or 16/100 |
| Embroidery | Embroidery | 11/75 or 14/90 |
To check for a bent needle, lay it flat-side down on a flat surface. If it rocks at all, it’s bent — replace it. Needles should be swapped out every 8–10 hours of sewing. A fresh needle fixes an embarrassing number of problems.
If you’ve re-threaded and put in a new needle and you’re still getting skipped stitches, the hook timing may be off. This is a mechanical issue — more common in vintage machines or any machine that’s been dropped. At that point you’re looking at a technician visit, or a careful home repair if you’re comfortable with that.
Problem 3: Thread Breaking
Upper thread breaking is usually one of four things: spool not seated correctly, tension set too high, a burr on the needle or needle plate, or a mismatch between thread weight and needle size.
If your machine has a horizontal spool pin, use a spool cap. Without one, thread catches on the notch at the end of the spool and snaps. Singer machines usually come with two cap sizes — use the one that fits snugly against the spool end.
Standard tension on most Singer machines is 4 on a 0–9 scale. If yours is at 7 or 8, the upper thread is under serious stress, especially with finer thread weights. Bring it back to 4 and test on a scrap first.
For burrs, run a scrap of old pantyhose slowly across the needle eye, the needle plate, and around the bobbin area. It’s more sensitive than your fingertip and will snag on rough spots you can’t even see. A new needle fixes the problem if the burr is on the needle itself. A burred needle plate can be polished with 600-grit emery cloth or replaced.
Thread weight and needle size should match:
- Fine thread (60–80 wt): Needle size 9/65–11/75
- All-purpose thread (40–50 wt): Needle size 12/80–14/90
- Topstitching/heavy thread (30 wt): Needle size 16/100 topstitching needle
One more thing: cheap thread causes a disproportionate number of breakage problems. Irregular thickness, excessive lint, weak tensile strength — bargain-bin thread has all of it. Stick with Gutermann, Coats & Clark, or Mettler for all-purpose sewing. It genuinely isn’t worth the savings.
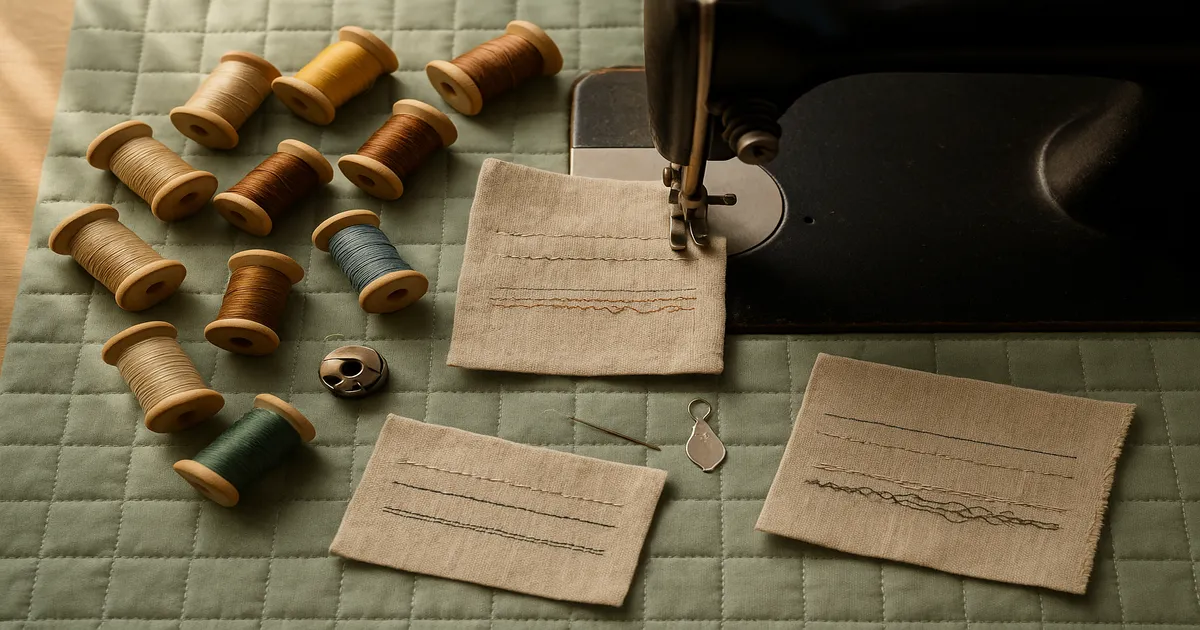
Problem 4: Uneven or Puckered Seams
Flip your test seam over and look at both sides. A balanced stitch has the knot buried in the middle of the fabric layers — invisible on top and bottom. Loops on the top surface mean upper tension is too loose. Loops on the bottom mean upper tension is too tight.
Adjust in single increments and sew a fresh test seam before adjusting again. And before you touch the tension dial at all, re-thread the machine. Tension problems are threading problems more often than not.
Don’t touch the bobbin tension screw first. I’ve watched beginners crack open the bobbin case and start turning that tiny screw after two minutes of troubleshooting, and it almost always makes things worse. Exhaust every upper thread solution first. The bobbin screw is a last resort.
Stitch length also causes puckering, especially on lightweight fabrics. Try these settings:
- Lightweight/sheer fabrics: 1.5–2.0mm
- Standard sewing: 2.5mm
- Quilting: 2.0–2.5mm
- Basting: 4.0–5.0mm
For slippery fabrics or thick quilt layers, a walking foot makes a real difference — it feeds top and bottom layers at the same rate instead of letting the presser foot drag the top layer.
Problem 5: Needle Breaking, Fabric Not Feeding, and Unusual Noises
Needles break most often because someone is pulling the fabric sideways while sewing — the needle deflects and hits the presser foot or needle plate. Guide the fabric, don’t pull it. Other causes: too fine a needle for a heavy fabric, a loose needle clamp, or a mismatched presser foot. Sewing a zigzag stitch with a straight-stitch foot (narrow slot) will break the needle immediately.
If your fabric isn’t moving, check these three things in order:
- Are the feed dogs raised? Many Singer models have a lever or button to drop them for free-motion work — make sure they’re up for regular sewing.
- Is the stitch length above zero? A setting of 0 locks the feed dogs in place.
- Is there lint packed into the feed dog area? Remove the needle plate (usually two screws) and brush it out. Do this every 3–4 bobbins — it takes two minutes and prevents a lot of grief.
Diagnosing noises:
- Clunking/knocking: Check the bobbin area first — is the bobbin case seated correctly? Is there a thread jam? Persistent knocking can indicate a timing issue.
- Grinding: The machine needs oil. Use clear sewing machine oil — not WD-40, not cooking oil, nothing else. One drop per oil port, then run the machine slowly for a minute before sewing.
- Squeaking: Thread is caught somewhere in the machine path, or the needle bar is dry.
- Rattling: Check for a loose screw, a broken needle fragment inside the machine, or something in the bobbin area that shouldn’t be there.
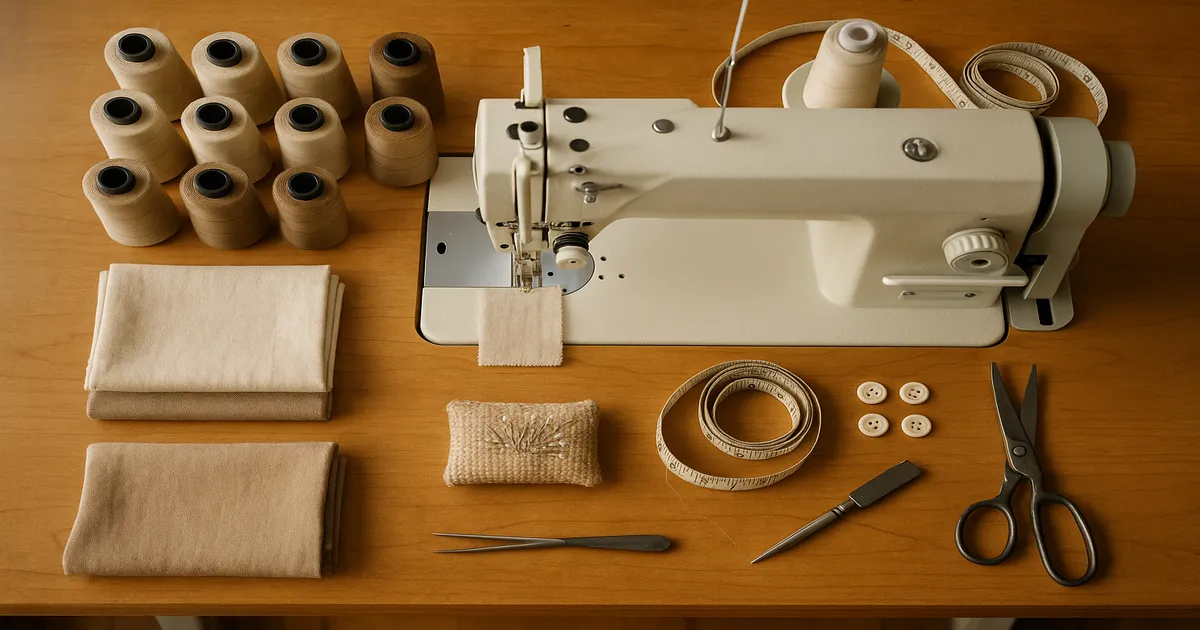
What You Actually Need: Tools, Needles, and Thread
You don’t need much. Here’s what’s worth having on hand:
- Clear sewing machine oil (Zoom-Spout, Singer brand, or Liberty Oil)
- Lint brush — the one that came with your machine works, or get a stiffer-bristle dedicated brush
- Small flathead and Phillips screwdrivers
- Seam ripper
- Spare needle assortment: Universal (11/75, 12/80, 14/90), Ballpoint/Stretch, Denim, Topstitching
For thread, 50wt all-purpose polyester handles most projects. For quilting, 50wt cotton is the standard. Gutermann, Coats & Clark, and Mettler are consistent in thickness and strong enough to handle real tension. Cheap thread sheds lint into your machine, breaks unpredictably, and creates tension problems that look like machine issues but aren’t.
Presser feet worth adding to your kit:
- Walking foot — knits, plaids, thick layers, quilts
- ¼-inch quilting foot — precise seam allowances
- Zipper foot — zippers and piping
- Free-motion/darning foot — free-motion quilting and embroidery
Common Mistakes That Cause Most Singer Problems
Threading with the presser foot down is the single most common mistake. The tension discs stay closed, the thread can’t seat properly, and everything that follows is wrong. Always raise the presser foot before you touch the thread.
Skipping the take-up lever is a close second. It moves fast and doesn’t look like a guide the way the numbered hooks do, but if it’s not threaded, your machine will sew 2–3 stitches and jam.
Using the same needle for every project — and for months at a time — is something almost every beginner does. Needles develop micro-burrs faster than you’d think. Change it at the start of every major project, more often if you’re sewing heavy fabrics.
Inserting the bobbin in the wrong direction causes immediate tension problems that look mysterious but aren’t. If you’ve lost your manual, Singer posts them free on their website and ManualsLib has most models too.
Always sew a 3–4 inch test seam on scrap fabric before starting a project. Check both sides. It takes 30 seconds and saves a lot of regret.
Frequently Asked Questions
Why does my Singer sewing machine keep bunching thread underneath?
Thread bunching underneath — the bird’s nest — is almost always caused by the upper thread not being seated in the tension discs, usually because the machine was threaded with the presser foot down. Re-thread completely with the presser foot raised, making sure the thread passes through every guide including the take-up lever. Also check that the bobbin is inserted in the correct direction and that the thread passes through the bobbin tension spring.
Why is my Singer sewing machine skipping stitches?
Skipped stitches usually mean the needle is dull, bent, or the wrong type for your fabric. Replace it with the correct type — ballpoint or stretch for knits, universal for woven fabrics — and re-thread the machine. If the problem continues after a new needle, the machine’s hook timing may be off, which requires a technician.
Why does my Singer sewing machine keep breaking the upper thread?
The most common causes are tension set too high (bring it back to 4 on a 0–9 scale), a burr on the needle or needle plate (use the pantyhose snag test to find it), or thread not flowing freely from the spool. Check that you’re using a spool cap on a horizontal spool pin, and that your thread weight matches your needle size. Cheap thread breaks far more often than quality thread — switching brands often solves the problem immediately.
How do I fix the tension on my Singer sewing machine?
Start by re-threading completely with the presser foot raised — this alone fixes most tension problems. Then sew a test seam and check both sides: loops on top mean upper tension is too loose (lower the number), loops on the bottom mean upper tension is too tight (raise the number). Adjust one increment at a time. Don’t touch the bobbin tension screw until you’ve exhausted every upper thread adjustment.
Why is my Singer sewing machine making a loud noise?
A clunking or knocking sound usually points to the bobbin area — check that the bobbin case is seated correctly and there’s no thread jam. Grinding means the machine needs oil; use one drop of clear sewing machine oil per oil port. Rattling often means a loose screw or a broken needle fragment inside the machine. If the noise is new and persistent after basic checks, take it to a technician rather than guessing.