Quick Answer: For most beginners in Australia, the sweet spot is AUD $250–$400. Machines like the Brother JX3514, Janome 2212, and Bernette b05 Academy all land in this range and come with proper Australian warranty support. Avoid grey-market imports — voltage compliance and local service centres matter more than saving $50 upfront.
Picking the right sewing machine for beginners in Australia is harder than it should be. The market is flooded with machines that look nearly identical but perform very differently, and a lot of the advice online isn’t written with Australian stock, pricing, or warranty conditions in mind. The good news: a handful of machines consistently stand out, and once you know what to look for, the choice gets straightforward.
Best Beginner Sewing Machines in Australia: Top Picks at a Glance
| Machine | Price (AUD) | Best For |
|---|---|---|
| Brother LS14S | ~$169–$199 | Absolute budget entry |
| Brother JX3514 | ~$249 | Best all-round beginner pick |
| Janome 2212 | ~$299–$349 | Learning fundamentals properly |
| Singer Heavy Duty 4423 | ~$349–$449 | Heavier fabrics, denim, canvas |
| Bernette b05 Academy | ~$349–$399 | Best build quality for the price |
| Janome 3160QDC | ~$499–$599 | Step-up computerised machine |
What Should a Beginner Expect to Pay in Australia?
Anything under $200 will get you sewing, but you’ll feel the limitations within a few months. The $250–$400 range is where machines stop feeling like toys — you get an automatic needle threader, a drop-in bobbin, and a free arm, features that genuinely matter when you’re still learning.
One thing Australian buyers should prioritise that often gets ignored: local warranty support. Janome has its Australian headquarters in Rydalmere, NSW; Brother operates out of Macquarie Park, NSW. Both have nationwide service centres. That matters when something goes wrong and you’re not in a capital city.
What to Look for in a Beginner Sewing Machine
You don’t need 300 stitches. You need the right features. Here’s what actually matters:
- Top-loading drop-in bobbin — far easier to thread than front-loading bobbins, and you can see when you’re running low on thread
- Automatic needle threader — threading a needle by hand fifty times a day gets old fast; this feature is worth paying for
- Free arm — lets you sew sleeves, cuffs, and trouser legs by sliding the fabric around the narrow arm
- Variable speed slider — limits maximum speed independently of the foot pedal, so you can sew slowly without hovering your foot nervously
- 1-step or 4-step automatic buttonhole — both work fine; 1-step is easier
- 15–25 built-in stitches — plenty for a beginner; more stitches just means more buttons to ignore
- Minimum 2-year Australian warranty — Janome and Brother both offer 2–5 years through authorised dealers
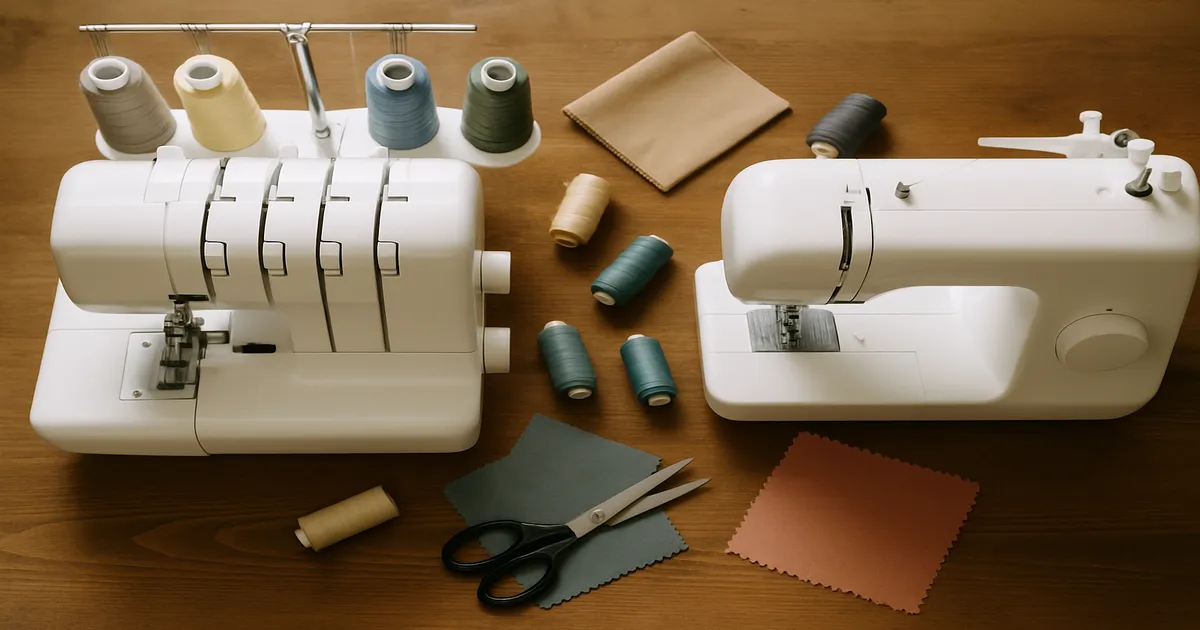
Mechanical vs Computerised: Which Is Better for Beginners?
Mechanical, for most people starting out. Machines like the Janome 2212 have physical dials you can feel and understand — there’s no touchscreen between you and what the machine is doing. When something goes wrong, it’s easier to diagnose.
Computerised machines like the Janome 3160QDC are excellent, but they’re better as a second machine once you understand tension, threading, and stitch settings. That said, if you know you’ll outgrow a basic machine quickly — or you’re planning to quilt seriously — jumping straight to a computerised option makes sense.
Why Australian Voltage and Warranty Support Matter
Australia runs on 230V at 50Hz. Most machines sold through Australian retailers like Spotlight and Lincraft are pre-configured for this, but grey-market imports bought from overseas Amazon stores or offshore eBay sellers may be wired for 110V. Plugging one of those in without a step-up converter will kill the motor instantly. It’s not worth the risk to save $30.
The Best Beginner Sewing Machines Available in Australia
Best Budget Pick: Brother LS14S (~AUD $169–$199)
The LS14S is bare-bones — 14 stitches, basic threading, no variable speed slider — but it works reliably and it’s widely stocked at Spotlight. If your budget is hard-capped under $200 and you just want to learn the basics, this gets you there. Don’t expect to grow with it long-term.
Best All-Round Beginner Machine: Brother JX3514 (~AUD $249)
This is the machine I’d recommend to most people starting out. The JX3514 has 14 stitches, an automatic needle threader, a drop-in bobbin, and a free arm — everything you actually need, nothing you don’t. It’s available at Spotlight, Lincraft, and Brother’s authorised dealers. For $249, the value is hard to beat.
Best for Learning Fundamentals: Janome 2212 (~AUD $299–$349)
The Janome 2212 is a 12-stitch mechanical machine and one of the most reliable beginner machines ever made. The tension system is smooth, the build feels solid, and because it’s fully mechanical, you actually learn why things work the way they do. I’d pick this over the Brother JX3514 if you’re serious about learning to sew properly rather than just completing a few projects.
Best for Heavier Fabrics: Singer Heavy Duty 4423 (~AUD $349–$449)
Planning to sew denim, canvas bags, or upholstery-weight fabric? The Singer Heavy Duty 4423 runs at 1,100 stitches per minute — noticeably faster and more powerful than most beginner machines — and its 23 built-in stitches cover everything you need. The trade-off is a front-loading bobbin, which takes a little more getting used to.
Best Build Quality for the Price: Bernette b05 Academy (~AUD $349–$399)
Bernette is the entry-level sub-brand of Bernina, the Swiss manufacturer, and the b05 Academy punches well above its price point. The metal frame feels noticeably more substantial than similarly priced plastic-bodied machines. If you want something that’ll last, this is the one.
Best Step-Up Machine: Janome 3160QDC (~AUD $499–$599)
The 3160QDC is a computerised machine with 60 stitches, a one-touch needle threader, and a speed control slider. It’s genuinely overkill for a complete beginner, but if you already have some experience or know you’ll be quilting seriously, it’s worth the extra investment. Available through Janome’s Australian authorised dealers.
Setting Up Your Sewing Machine: A Beginner’s Step-by-Step Guide
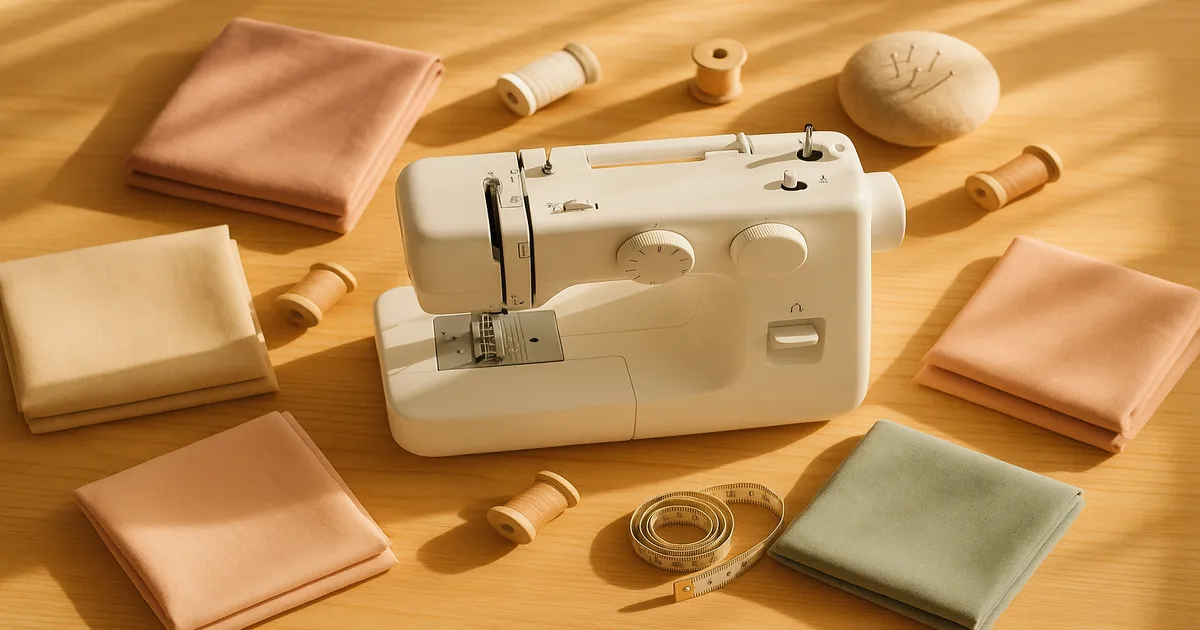
Positioning and Preparation
Place your machine on a sturdy, level table where your elbows sit at roughly 90 degrees when seated — typically a table height of 71–76cm. Remove all packing foam, tape, and the plastic bobbin-area cover before plugging anything in. Good lighting matters more than people expect; a daylight LED lamp at 5,000–6,500K makes threading dramatically easier.
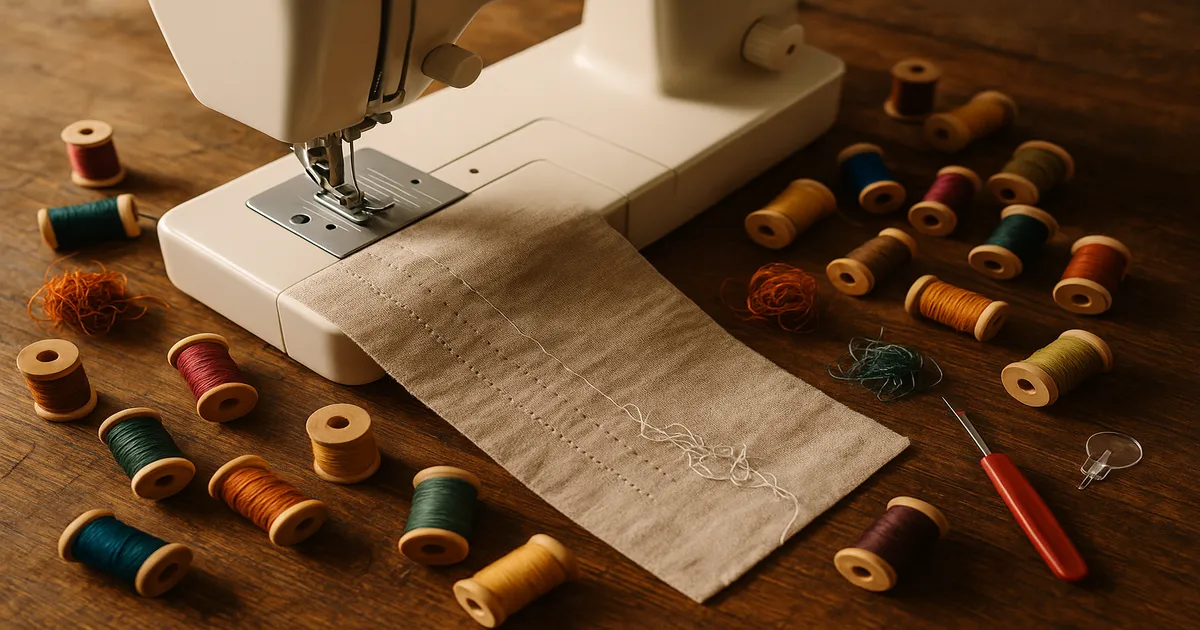
Winding and Installing the Bobbin
Place your thread spool on the spool pin, follow the thread path shown on the machine’s top panel, and snap an empty bobbin onto the bobbin winder pin. Wind at moderate speed — rushing creates loose, uneven layers. Fill the bobbin to within 1.5mm of the rim; overfilling causes tension problems that are genuinely hard to diagnose if you don’t know that’s the cause.
For drop-in (top-loading) bobbins, drop the bobbin in so the thread unwinds in the direction shown (usually counterclockwise), then draw the thread through the slot and tension spring until you feel slight resistance. For front-loading bobbins, insert into the metal case, draw thread through the tension slot, and click the case into the shuttle.
Threading the Upper Thread
Before you do anything else: raise the presser foot lever. This opens the tension discs so the thread seats correctly. Threading with the presser foot down is the single most common cause of tension problems — the thread looks threaded, but it’s sitting outside the tension mechanism.
Raise the needle to its highest position using the handwheel, always turning it toward you. Follow the numbered thread path on your machine, finishing by passing the thread through the needle eye front to back. Pull about 15cm of thread through.
Drawing Up the Bobbin Thread and Setting Tension
Hold the upper thread loosely, lower the needle into the bobbin area by turning the handwheel one full rotation toward you, then raise it back up. The upper thread will catch the bobbin thread loop — pull both threads out to the back-left, leaving tails of about 15cm.
For a standard straight stitch on medium-weight cotton, set stitch length to 2.5mm and tension to 4–5 (the midpoint on most machines). A correctly tensioned stitch looks identical on both sides — no loops, no puckering. Loops on top mean tension is too loose (increase the number); loops on the bottom mean it’s too tight (decrease it).
Sewing Your First Seam
Always test on scrap fabric first. Align fabric edges under the presser foot with the bulk of the fabric to the left. Use the 16mm (5/8-inch) seam guide on the needle plate for garments, or 6mm (1/4-inch) for quilting. Lower the presser foot, backstitch 3–4 stitches to lock the seam, then sew forward at a controlled pace. Let the feed dogs move the fabric — don’t pull or push. Backstitch again at the end, raise the needle and presser foot, draw the fabric to the back-left, and cut the thread.
Needles, Thread, and Tools You Need to Start
Fabric and Needles
Start with 100% quilting cotton at 135–170 gsm. It doesn’t slip, doesn’t stretch, and behaves predictably. Buy half a metre of cheap calico specifically for test sewing — this is called making a toile in garment sewing, and it’ll save your actual fabric from mistakes. Avoid silk, chiffon, and jersey until you’re confident.
For needles, start with a Universal 80/12 for cotton and linen. Quick guide for other fabrics:
- Knit/jersey: Ballpoint or stretch needle, 75/11 or 90/14
- Denim: Denim/jeans needle, 90/14 or 100/16
- Silk/chiffon: Microtex/sharp, 60/8 or 70/10
- Leather/vinyl: Leather needle, 90/14
Change your needle every 8–10 hours of sewing, or at the start of every new project. A dull needle causes more beginner problems than almost anything else.
Thread and Tools
Use all-purpose polyester thread (120 weight / 2-ply) from Gutermann, Coats, or Madeira. Cheap no-brand thread breaks, shreds, and causes tension problems that are easy to mistake for a machine fault. Gutermann or Coats thread isn’t expensive, and it eliminates an entire category of headaches.
Essential tools checklist:
- Fabric scissors — dedicated dressmaking shears, never used on paper
- Seam ripper — you’ll go through several
- Water-soluble fabric marking pen or tailor’s chalk
- Glass-head or flower-head pins, 30mm length
- 60-inch (150cm) flexible measuring tape
- Iron and ironing board — non-negotiable
- Seam gauge — a 15cm metal ruler with a sliding marker; invaluable for consistent seam allowances
Common Mistakes Beginners Make (and How to Avoid Them)
Threading with the presser foot down. Worth repeating: the tension discs only open when the foot is raised. Every single time you rethread, raise that foot first.
Using the wrong bobbin. Even a 0.5mm size difference between bobbin models can cause jamming. Always use the exact bobbin specified in your manual.
Pushing or pulling the fabric. The feed dogs handle fabric movement — interfering with them stretches seams, causes uneven stitches, and breaks needles. Guide, don’t drag.
Skipping backstitching. Always backstitch 3–4 stitches at the start and end of every seam. Skipping this is how you end up with a finished project that unravels the first time it’s washed.
Using the wrong needle for the fabric. Skipped stitches on jersey? Almost certainly a universal needle instead of a ballpoint. Needle keeps breaking on denim? It’s too fine for the job.
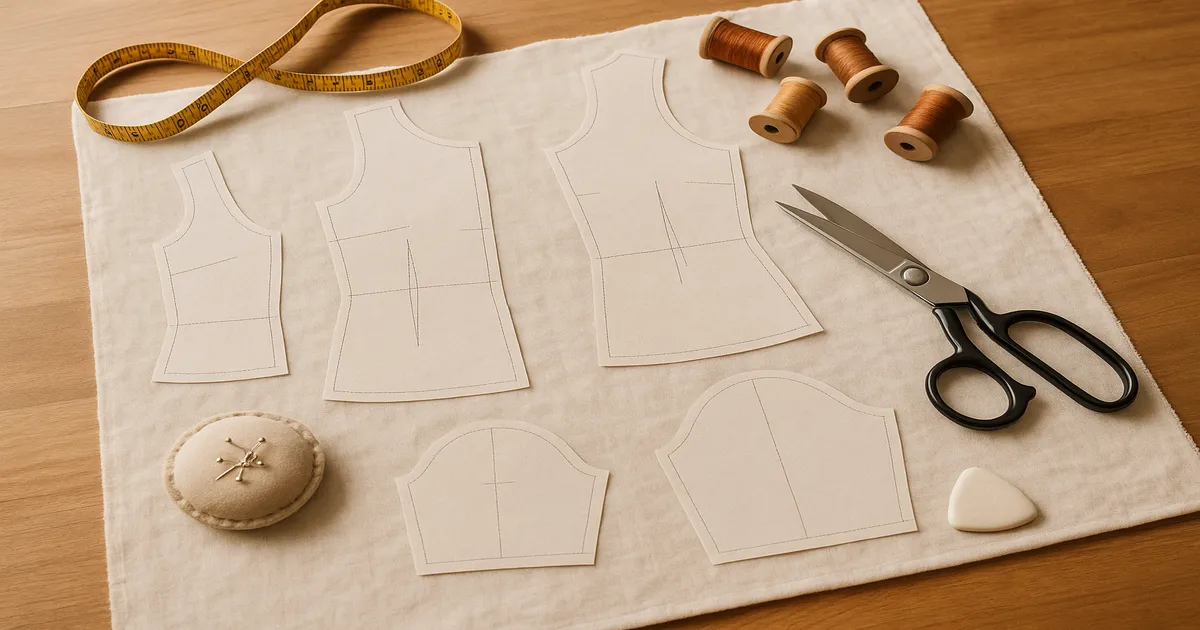
Choosing the wrong first project. Start with patterns rated “Easy” or “Beginner” — fewer than 10 pattern pieces, no set-in sleeves, no lining, no complex closures. A tote bag, a pillowcase, or a simple elastic-waist skirt are genuinely good first projects. Starting with a fitted jacket because it looks impressive is a fast way to get frustrated and quit.
FAQ: Sewing Machines for Beginners in Australia
What is the best sewing machine for beginners in Australia?
For most people, the Brother JX3514 ($249) or Janome 2212 ($299–$349) are the strongest all-round choices. Both are widely available through Australian retailers, include the features beginners actually need, and are backed by local warranty support.
Is $200 enough to buy a decent beginner sewing machine in Australia? Just. The Brother LS14S sits under $200 and works reliably, but it lacks a variable speed slider and feels limited fairly quickly. If you can stretch to $249–$299, you’ll get a noticeably better machine that you won’t outgrow in six months.
Can I buy a sewing machine from overseas to save money? Not recommended. Australia runs on 230V/50Hz, and grey-market machines wired for 110V will burn out the motor the moment you plug them in. You also lose Australian warranty coverage, which means any repairs come entirely out of pocket.
How many stitches does a beginner actually need? Honestly, about 6–10 covers 95% of what most beginners sew: straight stitch, zigzag, blind hem, stretch stitch, and a buttonhole. Machines marketed with 200+ stitches aren’t better for beginners — they’re just harder to navigate.
Where can I buy a beginner sewing machine in Australia? Spotlight and Lincraft are the most accessible options with physical stores nationwide. For Janome specifically, buying through an authorised dealer (rather than a department store) often gets you better setup support and warranty service. Brother’s website lists its Australian authorised dealers by postcode.