Quick Answer: Most “tension problems” aren’t actually tension problems. They’re caused by threading with the presser foot down, a dull needle, or a poorly seated bobbin. True tension is balanced when the upper and lower threads interlock exactly in the middle of the fabric layers. Fix those basics first, and you’ll solve the problem 70% of the time without touching a single dial.
Staring at a puckered seam and asking yourself is it because of tension or something else entirely? is practically a sewing rite of passage. The honest answer: maybe, but probably not. Tension gets blamed for everything, and while it’s a real issue, it’s also the most misdiagnosed problem in sewing. Before you start cranking dials, let’s figure out what’s actually going on.
Is It a Tension Problem? Here’s How to Tell
What Balanced Tension Actually Looks Like
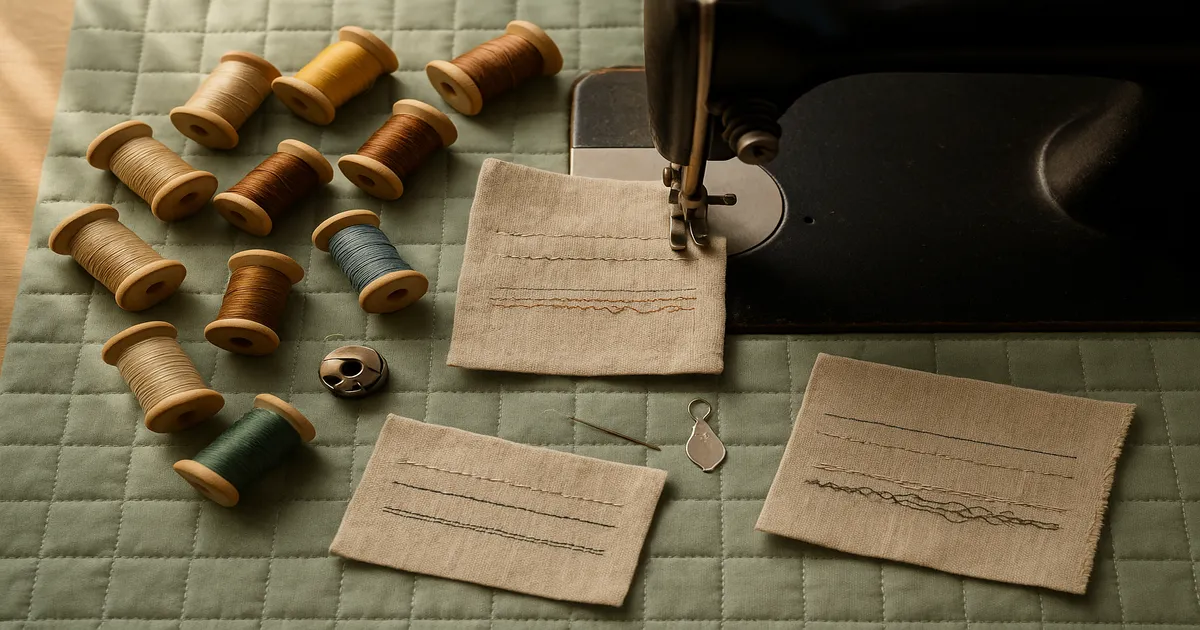
A perfectly balanced stitch has both threads meeting exactly in the middle of the fabric — no top thread visible on the underside, no bobbin thread showing on top. Flip your fabric over. If both sides look identical, your tension is fine. That’s the whole test.
The Real Culprits (Tension Is Usually Not One of Them)
Check these three things before you touch anything else:
- Threading error — specifically, threading with the presser foot down
- Dull or wrong-size needle
- Lint buildup in the bobbin area or tension discs
These account for roughly 60–70% of what sewists call tension problems. I’ve watched beginners spend an hour adjusting the tension dial when a fresh needle would’ve fixed everything in 30 seconds.
How Sewing Machine Tension Actually Works
The Upper Thread Disc System
The upper tension mechanism is two spring-loaded metal discs that grip the thread as it passes between them. Turn the dial up, and the discs press together harder — more resistance. Turn it down, and they ease off. Most machines number the dial 1 through 9, with 4–5 as the neutral starting point.
Here’s what most people don’t know: the presser foot lever controls whether those discs are open or closed. Foot up = discs open = thread seats properly. Foot down = discs closed = thread can’t get between them. This is exactly why threading with the foot down causes such chaos.
The Bobbin Tension Screw
The bobbin case has a small flathead screw that controls how tightly it grips the bobbin thread. This is far more delicate than the upper tension dial — we’re talking quarter-turn increments — and it rarely needs touching on a well-maintained home machine. Leave it alone until you’ve exhausted every other option.
How Both Threads Create a Balanced Stitch
The needle thread loops down through the fabric and catches the bobbin thread, which pulls it back up. When both tensions are equal, that interlocking point lands exactly in the middle of the fabric layers. Too much upper tension drags the bobbin thread upward; too little lets the upper thread get pulled down. Even computerized machines from Bernina, Janome, and Brother can be thrown off by specialty threads or thick seam intersections — no machine is immune.
How to Diagnose a Tension Problem (Is It Because of Tension or Something Else?)
The Two-Color Thread Test
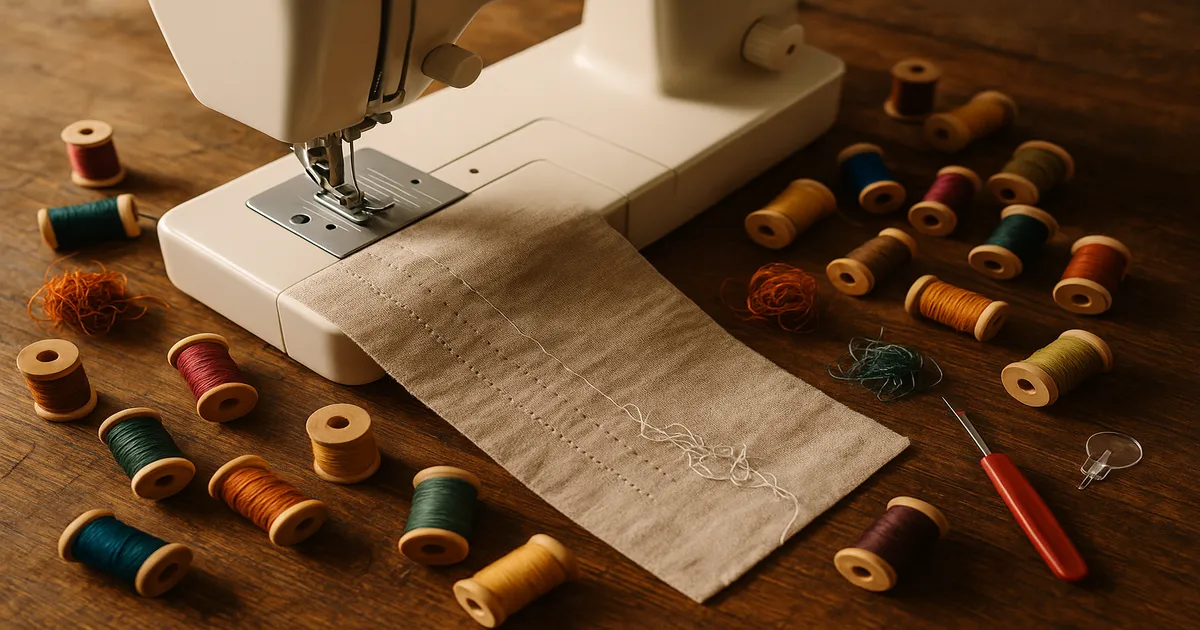
This is non-negotiable. You cannot diagnose tension with matching thread — you simply can’t see what’s happening. Thread your machine with one color on top and a completely different color in the bobbin, then sew a straight seam on two layers of quilting cotton at a 2.5mm stitch length.
Examine both sides carefully.
Reading the Stitch
| What You See | What It Means |
|---|---|
| Top thread visible on the underside | Upper tension too tight, or bobbin too loose |
| Bobbin thread showing on top | Upper tension too loose, or bobbin too tight |
| Loops on the underside | Upper tension too loose |
| Loops on the top | Bobbin tension too loose |
| Puckering on both sides | Both tensions too tight, or wrong needle/thread combo |
| Looks identical on both sides | You’re good ✓ |
Rule Out Non-Tension Causes First
Work through this checklist before touching the tension dial:
- Re-thread completely with the presser foot raised. Remove all thread and start from scratch.
- Replace the needle. Change it every 8–10 hours of sewing time, or after every major project. Sewing over a single pin can bend a needle enough to cause problems for the rest of its life.
- Remove and re-seat the bobbin. Take it out, brush the case clean with a soft brush (not compressed air — that pushes lint deeper into the mechanism), and reinsert with the thread feeding in the correct direction per your manual.
- Check your thread. Old, brittle, or bargain thread sheds lint that clogs tension discs and breaks unpredictably. Quality thread like Gutermann Sew-All makes a real difference.
- Match needle size to thread weight. A needle too small for your thread pinches it through the eye, which mimics high tension perfectly.
Step-by-Step: How to Fix Sewing Machine Tension
Step 1: Re-Thread Completely (Presser Foot Up)
Take all the thread off. Raise the presser foot lever, then re-thread from scratch following your machine’s threading path exactly. This single step fixes roughly 40% of tension complaints. Not exaggerating.
Step 2: Replace the Needle and Re-Seat the Bobbin
Put in a fresh needle — correct type and size for your fabric. Remove the bobbin, brush out the case, and reinsert it. Sew your two-color test seam again before adjusting anything else.
Step 3: Adjust Upper Tension in Half-Step Increments
If the test seam still shows a problem, now you adjust. Neutral on most machines is 4–5.
- Top thread showing on the underside? Lower the number (reduce upper tension).
- Bobbin thread showing on top? Raise the number (increase upper tension).
Move in half-step increments only, and sew a fresh test seam after each change. Never jump more than one full number at a time — you’ll overshoot and confuse yourself.
Step 4: Adjust Bobbin Tension (Last Resort Only)
Before touching the bobbin screw, mark your factory setting with a tiny dot of nail polish on the screw head. That dot is your way back if things go sideways.
The hang test: hold the bobbin case by the thread. It should descend slowly when you give it a gentle jerk — like a yo-yo lowering gradually, not dropping freely. Drops freely? Tighten the screw clockwise, quarter-turns only. Won’t budge at all? Loosen it slightly.
If you’ve reached this step and nothing is working, it’s probably time for a technician rather than more DIY adjustment.
Step 5: Document Your Settings
Once the test seam looks balanced, write down everything — thread brand, thread weight, needle size and type, fabric, and tension number. A sticky note on your machine works fine. You’ll be glad you did it.
Thread, Needles, and Tools That Affect Tension
Matching Thread Weight to Your Project
- 50wt all-purpose (polyester or cotton): the default for most woven fabrics, works at standard tension settings
- 60wt cotton: ideal for quilting; slightly finer, may need a touch less upper tension
- 30wt topstitching thread: heavier; needs a 90/14 or larger needle and slightly loosened upper tension
- Metallic and monofilament: need significant tension reduction — see below
Choosing the Right Needle
| Fabric Type | Needle Type | Size Range |
|---|---|---|
| Quilting cotton, shirting | Universal or Quilting | 75/11 – 80/12 |
| Denim, canvas | Denim/Jeans | 90/14 – 110/18 |
| Knits, jersey | Ballpoint or Stretch | 75/11 – 90/14 |
| Silk, chiffon | Microtex/Sharp | 60/8 – 70/10 |
| Leather, vinyl | Leather needle | 90/14 – 100/16 |
| Embroidery | Embroidery needle | 75/11 – 90/14 |
The thread should pass through the needle eye with slight resistance — not squeeze through. If it’s a struggle, go up a needle size.
Presser Feet That Eliminate Apparent Tension Problems
A walking foot feeds the top and bottom fabric layers at the same rate, which eliminates a huge category of puckering on quilts and knits. It’s not a tension fix — it’s better than a tension fix. A Teflon foot on vinyl or leather removes the drag that mimics tension issues on those materials.
Tension Settings for Specialty Techniques
Free-motion quilting: Reduce upper tension to 2–3. Some quilters go as low as 1 for dense stippling. The multi-directional movement puts extra stress on the upper thread, so it needs more slack.
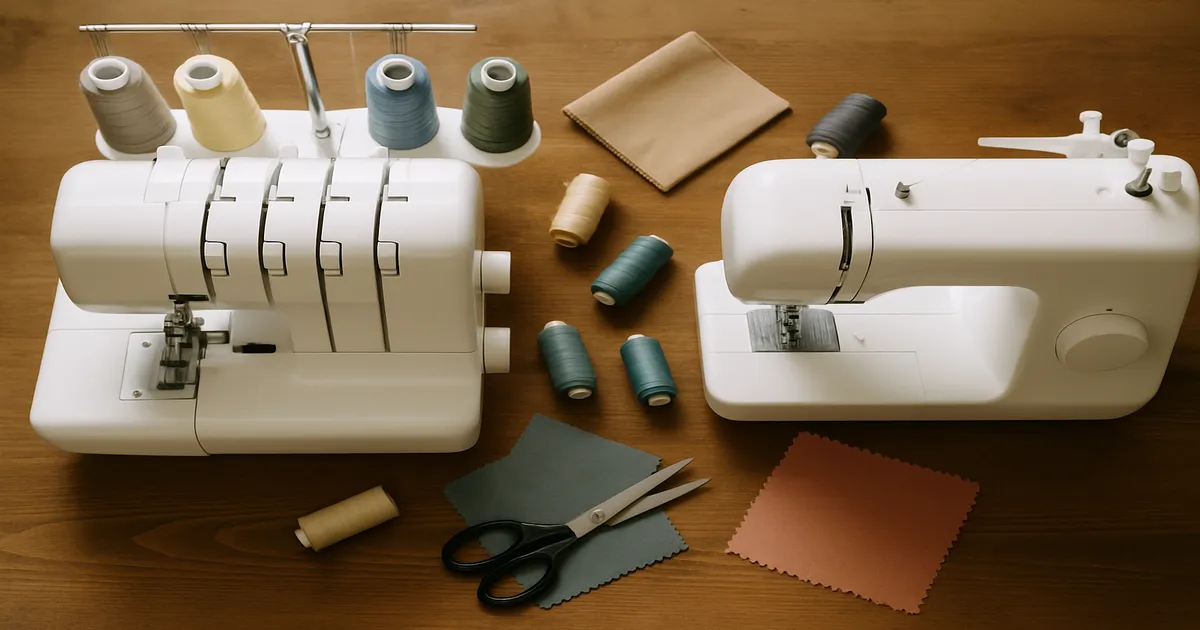
Sergers: All four dials typically sit at 4–5 for a standard balanced stitch. For a rolled hem, increase the right needle tension to 6–7 and reduce the lower looper to 2–3. Always run a 6-inch chain off the edge before touching your project.
Twin needle hems on knits: Reduce upper tension by one full number from your standard setting. This lets the single bobbin thread zigzag freely between the two needle threads underneath, creating that stretchy, professional-looking hem. Wider twin needles (4.0mm) need slightly more reduction than narrower ones (2.0mm).
Metallic and monofilament thread: Loosen upper tension to 2–3, slow your machine to half speed, and use an embroidery needle with a larger eye. Monofilament needs even more — try 1–2. These threads don’t behave like standard thread, and forcing them at a neutral setting just causes breakage and frustration.
Tension Mistakes That Are Easy to Avoid
Threading with the presser foot down. Saying it again because it’s that common. Foot down = tension discs closed = thread not seated = bunching and loops. Always raise the foot first.
Jumping straight to the bobbin screw. It’s tiny, easy to over-adjust, and the spring can launch it across the room. Exhaust every upper-thread fix first.
Testing on the wrong fabric. Setting tension on polyester satin and then sewing denim is useless. Test on a double layer of your actual project fabric, every time.
Changing multiple things at once. If you adjust tension, swap the needle, and re-thread simultaneously, you have no idea what fixed it. One change, one test seam.
Ignoring stitch length as a puckering cause. A stitch length under 1.5mm on lightweight fabric causes puckering that looks exactly like a tension problem. For lightweight fabrics, try 1.8–2.0mm. Medium-weight: 2.5mm. Heavy fabrics: 3.0–3.5mm. Try this before touching the tension dial.
Frequently Asked Questions
Why is my bobbin thread showing on the top of my fabric?
Bobbin thread pulling up to the top almost always means the upper tension is too loose — it’s not gripping the top thread tightly enough, so the bobbin thread wins the tug-of-war. Before adjusting the dial, re-thread with the presser foot raised and try again. That alone fixes it about half the time.
What number should my tension be set to?
Most machines default to 4 or 5 for standard woven fabrics with all-purpose thread. But tension dial numbers aren’t standardized across brands — a 4 on one machine isn’t the same as a 4 on another. Always run a two-color test seam on your actual fabric to verify.
Why does my thread keep bunching underneath the fabric?
Thread bunching underneath is almost always a threading problem, not a tension problem. The most common cause is threading with the presser foot down, which keeps the tension discs closed so the upper thread never seats properly. Re-thread completely with the foot raised, and the bunching usually disappears immediately.
Should I adjust bobbin tension or upper tension first?
Always start with upper tension — it’s easier to adjust, easier to reset, and it’s the right fix the vast majority of the time. Only touch the bobbin screw after you’ve exhausted all upper-thread solutions, replaced the needle, and cleaned the bobbin area.
How does humidity affect thread tension?
Thread absorbs moisture and expands slightly on humid days, which effectively tightens tension. If your machine sewed perfectly yesterday and seems off today, check the weather before touching the dial. It sounds fussy, but it’s real — cotton thread on a humid summer morning can behave noticeably differently than it did the day before.