Quick Answer: Yes, you can almost certainly save a dress you love because of its embroidery. The embroidery is usually the most durable part — it’s the base fabric that fails first. Whether you’re dealing with a tear, a fit problem, a broken zipper, or worn-thin fabric, there’s a repair approach that protects the stitching you love.
If you’ve ever held up a damaged dress and thought can I save this dress? I love the embroidery — good news: the answer is almost always yes. Embroidery outlasts fabric. Threads compress and lock together over time; they don’t unravel the way a seam or zipper does. What you’re usually dealing with is a structural mismatch — a struggling base fabric with a perfectly intact decorative layer on top. That’s a solvable problem.
This guide covers the four most common situations: fabric torn or thinned near the embroidery, a dress that no longer fits, zipper or seam failure close to the stitching, and a garment that’s structurally fine but feels dated everywhere except the embroidery. Most are fixable at home with the right approach and a little patience.
What Makes Embroidered Garments Tricky to Repair
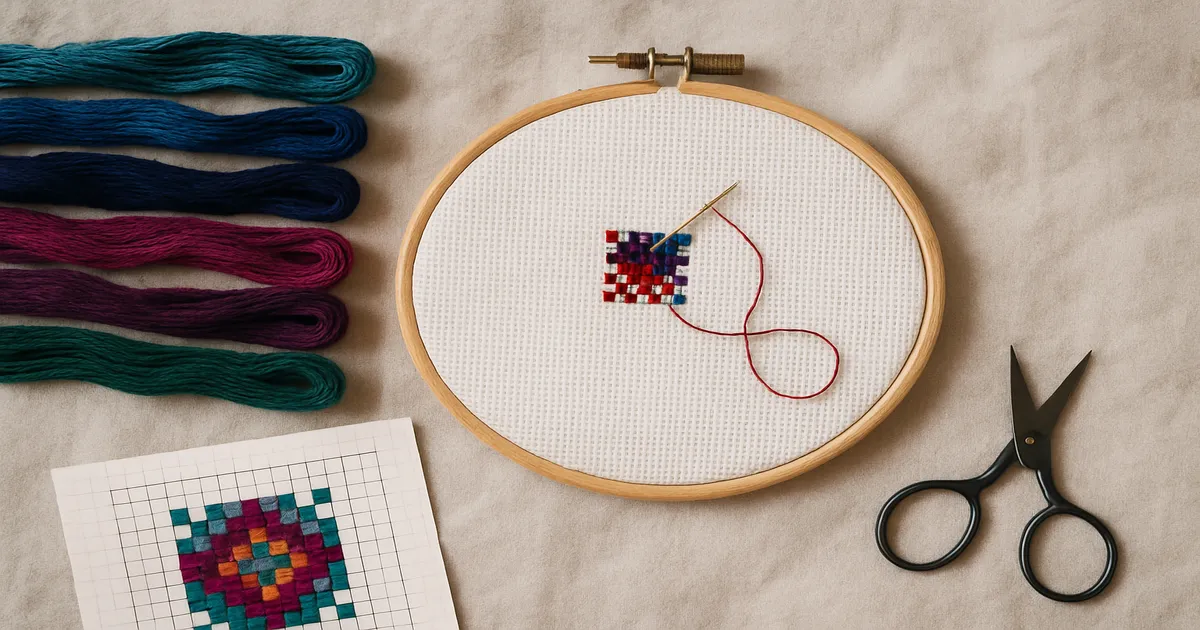
Hand Embroidery vs. Machine Embroidery
Flip the garment over — that tells you everything. Hand embroidery shows irregular jump stitches, small knots, and thread carried at odd angles between motifs. Machine embroidery has uniform bobbin thread in a single color running in neat, consistent lines across the reverse.
Why does this matter? Machine embroidery runs at 400–800 stitches per square inch using 40-weight rayon or polyester thread. It’s dense and durable, but that density means the fabric beneath it gets perforated thousands of times, which weakens it over time. Hand embroidery is gentler on the base fabric but may use silk or wool threads — especially on older pieces — that are fragile or impossible to replace.
Vintage and Cultural Embroidery: When the Stakes Are Higher
Garments from the 1920s through the 1960s often used silk or wool threads you simply can’t buy anymore. If you’re working with something like that, slow down. Every decision — whether to press, which interfacing to use, whether to wash — carries more weight than it would with a modern cotton-thread piece.
It’s also worth identifying the embroidery tradition before you start. Kantha uses running stitches that quilt layers together, so damaging one thread can affect the whole structure. Suzhou silk embroidery uses incredibly fine threads that can’t be pressed directly under any circumstances. Vyshyvanka and bordado traditions vary widely in thread weight and stitch density. Knowing what you have shapes every repair decision that follows.
Phase 1: Assess the Dress Before You Touch a Needle
Identify the Thread Fiber
If there’s a loose thread anywhere on the garment, do a burn test: cotton chars and smells like paper, silk curls and smells like burning hair, polyester melts and leaves a hard plastic bead. This tells you how the threads will behave under heat and moisture — critical information before you press anything.
Also note which stitches are raised versus flat. French knots, goldwork, and stumpwork sit above the fabric surface and snag easily during repair work. Flat satin stitch and chain stitch are much more forgiving.
Map the Damage Before You Start
Lay the dress flat on a large table under a daylight lamp — a good one makes a real difference for spotting thin spots and color variations. A lamp like the Daylight Company Slimline is worth having for this kind of work. Use tailor’s chalk or a washable fabric marker to outline every problem area: tears, thin spots, stains, seam failures, and anything within 1 inch (2.5 cm) of the embroidery.
Then photograph everything before you start. Seriously — you want a record of the original state as a reference during repair, and as proof of what you started with if something goes sideways.
Identify the Base Fabric
Common bases include cotton lawn, linen, silk dupioni, polyester crepe, denim, and velvet — and each requires a different repair approach, different needle sizes, and different heat tolerances. Check the care label first. If there isn’t one (common on vintage pieces), do a water-drop test on an inconspicuous area: silk will water-spot within seconds; cotton won’t.
Phase 2: Stabilize the Embroidery First — Can I Save This Dress Without This Step?
No, not reliably. This is the phase most tutorials skip entirely, and it’s the one that makes or breaks the whole repair.
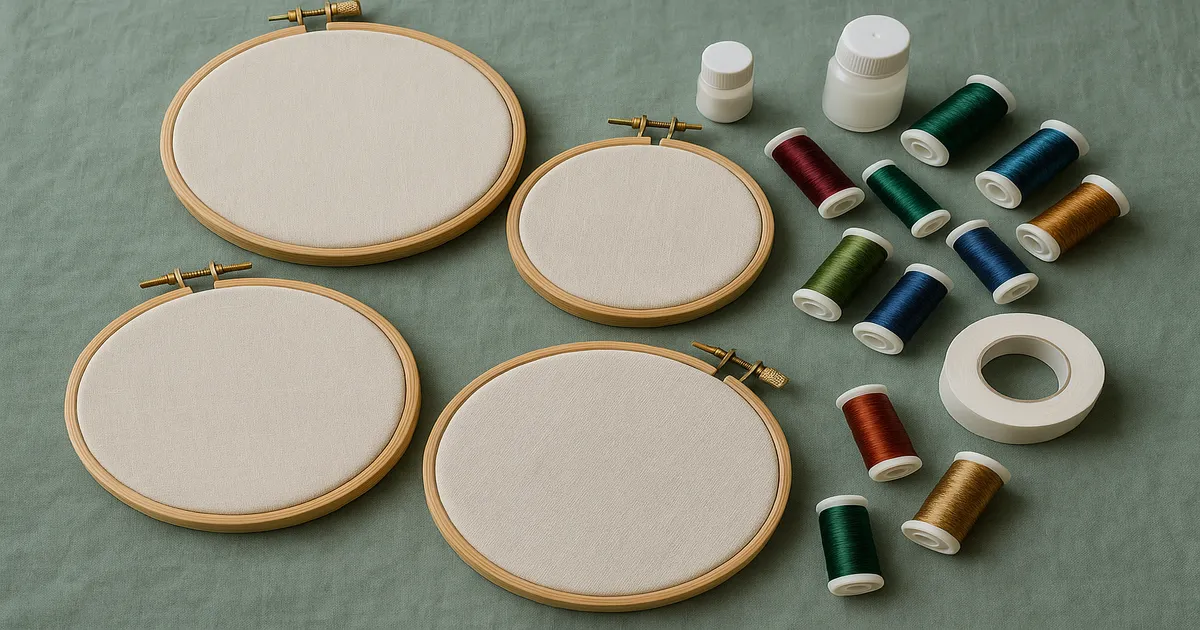
Choosing the Right Interfacing
Before you repair anything, back and stabilize the embroidery. For most standard garments, weft-insertion fusible interfacing works well — Pellon SF101 is widely available and reliably behaves itself. Cut it at least ½ inch (12 mm) beyond the embroidery on all sides.
For vintage or delicate pieces, skip the fusible entirely and use a sew-in interfacing like Pellon 20. Heat is a risk you don’t need to take. For machine embroidery on a knit base, use cut-away stabilizer (2.5 oz weight) rather than tear-away, which can distort the embroidery when you pull it off.
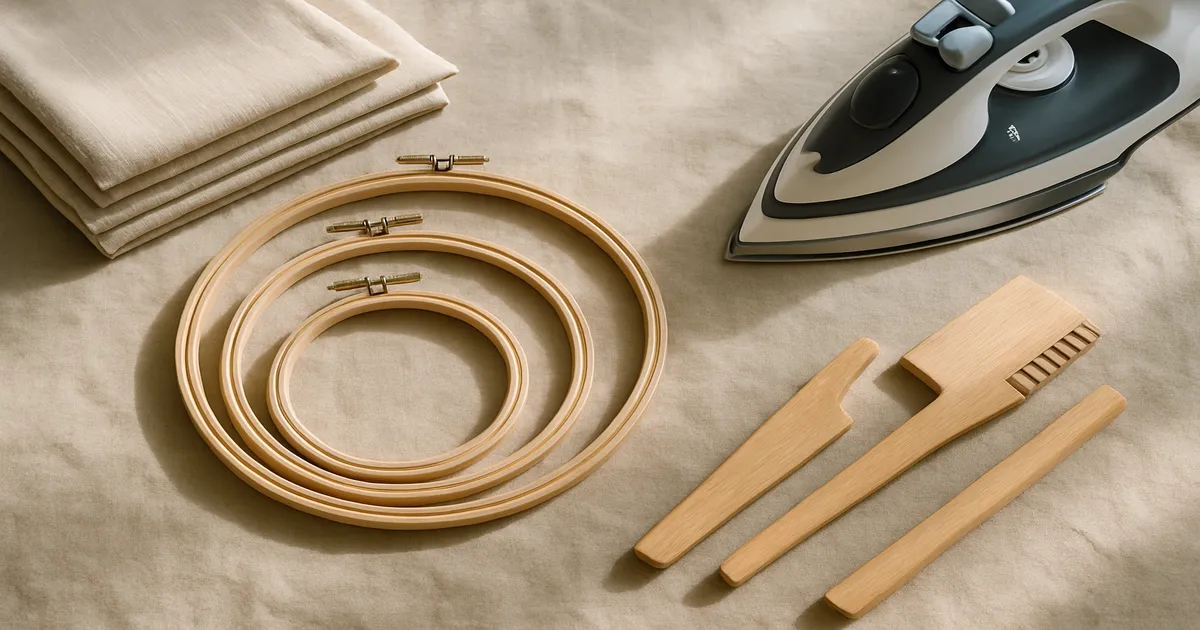
Applying Fusible Interfacing Without Damaging the Threads
Always use a press cloth. Set the iron to the temperature appropriate for the base fabric, not the embroidery thread — if you’ve got polyester embroidery on a silk base, the silk sets the temperature. Press for 10–15 seconds with firm, still pressure; don’t slide the iron. Let it cool completely — at least 3–5 minutes — before you handle it.
For raised embroidery like French knots or goldwork, place the garment face-down on a thick terry towel before pressing. The raised elements sink into the pile rather than getting crushed.
Securing Loose Thread Ends
Thread a size 10 sharp needle with a single strand of matching thread and bring any loose ends to the back, securing them with 2–3 small whip stitches. For fraying satin stitch edges, apply a tiny drop of Fray Check with a toothpick — or diluted PVA (1 part glue to 3 parts water) — working only on the thread itself, not the surrounding fabric.
Phase 3: Four Repair Scenarios
Scenario A: Tear or Hole Near (But Not Under) the Embroidery
Cut a patch of matching fabric 1 inch (2.5 cm) larger on all sides than the damaged area, aligning the grain carefully. Adhere it to the back with a lightweight fusible web like Misty Fuse or stitch it down with a running stitch at ⅛-inch (3 mm) intervals. On the right side, close any open tear edges with a ladder stitch — ⅛-inch (3 mm) stitches pulled gently together.
One firm rule: don’t use fusible web within ½ inch (12 mm) of the embroidery. The heat and pressure can affect thread tension and color.
Scenario B: Fabric Worn Thin Beneath the Embroidery
This is the most delicate scenario because the embroidery threads are anchored into weakened fabric — any pulling or aggressive pressing can cause them to tear right through. Cut a piece of silk organza (for lightweight fabrics) or cotton batiste (for medium-weight) to the exact size of the embroidered panel. Hand-baste it to the back in a grid pattern at ½-inch (12 mm) intervals using a size 9 between needle and 50-weight cotton thread.
Don’t machine-stitch through the embroidery area — the needle can cut existing embroidery threads. For extreme thinning, textile conservators use Japanese tissue paper (Kozo tissue, 9–12 gsm) applied with wheat starch paste: mix 1 tablespoon wheat starch into 1 cup cold water and cook to a translucent gel. It’s fiddly, but it’s the archival standard for a reason.
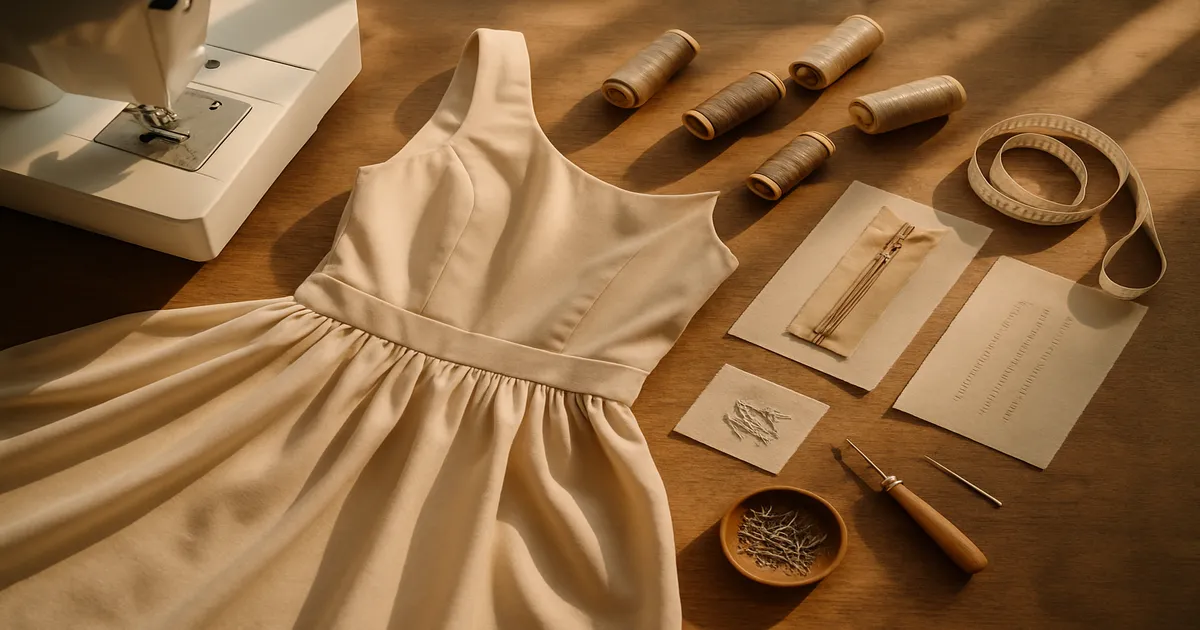
Scenario C: The Dress No Longer Fits
Start with the seam allowances — releasing them costs nothing and can give you 1–2 inches (2.5–5 cm) of circumference without touching the embroidery at all. Vintage garments often have generous ⅝-inch (16 mm) or even 1-inch (2.5 cm) allowances, so it’s always worth checking before you do anything more drastic.
If you need more room, maintain a minimum 1-inch (2.5 cm) buffer zone between any new seam line and the nearest embroidery element. If the embroidery sits on a distinct panel — a bodice front, a yoke, a cuff — consider removing it entirely and resetting it into an altered garment body. Use a fine-point seam ripper and work slowly; 10 minutes per inch is not too slow for something you care about. A Clover Fine Point Seam Ripper is worth the few extra dollars here — the fine tip gives you real control near delicate stitching. Structural additions like side panels, a laced back, or a peplum can add room while leaving the embroidered areas completely untouched.
Scenario D: Zipper or Closure Failure Near Embroidery
If the zipper is in a side seam well away from the embroidery, standard replacement applies — a size 14/90 universal needle, a zipper foot, and a 7-inch or 9-inch (18 cm or 23 cm) nylon coil zipper for most dresses.
If the zipper runs through or near embroidery, use a hand-picked installation. The stitch is called a prick stitch — a modified backstitch that shows only a tiny 1/16-inch (1.5 mm) dot on the right side, sewn at ¼ inch (6 mm) from the zipper teeth. It gives you millimeter-level control and eliminates the risk of a presser foot snagging threads.
Common Mistakes That Ruin Embroidered Garments During Repair
Pressing directly on the embroidery. Satin stitch flattens permanently. French knots crush and don’t recover. Metallic threads melt or discolor at temperatures that are perfectly safe for the base fabric. Always press face-down on a thick terry towel with a press cloth between the iron and the garment back. For metallic or silk threads, use steam held above the fabric rather than direct contact.
Cutting too close to the embroidery. Cut within ½ inch (12 mm) without preparation and threads will unravel from the cut edge — sometimes immediately, sometimes after the first wash. Maintain a 1-inch (2.5 cm) buffer wherever possible. If you absolutely must cut closer, apply Fray Check to the cut line before you make the cut.
Using the wrong interfacing weight. Too heavy and the embroidered area becomes stiff and board-like, killing the drape of the whole garment. Too light and you’ve accomplished nothing. Match interfacing weight to the base fabric, not the embroidery density. A silk chiffon dress with dense goldwork still needs lightweight interfacing — the embroidery is already providing its own structure.
Washing before completing repairs. This feels counterintuitive, but washing an already-damaged embroidered dress is genuinely risky. Agitation worsens tears, embroidery threads snag on the machine drum, and stains can set permanently. Always complete structural repairs first. For stains near the embroidery, spot-treat only — a cotton swab with diluted dish soap or a specialist textile cleaner, applied by hand.
Frequently Asked Questions
Can I cut apart an embroidered dress to use just the embroidered panel?
Absolutely — this is one of the best ways to save embroidery when the rest of the garment is beyond repair. Stabilize the embroidered panel with sew-in interfacing before you cut, and leave at least 1 inch (2.5 cm) of base fabric around the embroidery as a seam allowance. The panel can then be reset into a new garment, framed, or used as a decorative element on something else.
How do I repair fabric that has torn right through the embroidery stitches?
This is the hardest scenario, and it requires accepting that the repair will be visible to some degree. Stabilize both sides of the tear with sew-in interfacing first, then use a ladder stitch to bring the torn fabric edges together as closely as possible. Any severed embroidery stitches will need to be re-worked by hand using matching thread — do the burn test and stitch identification from Phase 1 before you attempt re-stitching.
Is it safe to wash an embroidered dress after repairing it?
Yes, once all structural repairs are complete and adhesives have fully cured — give fusible interfacing and Fray Check at least 24 hours. Hand-wash in cool water with a gentle textile wash, support the garment’s weight while it’s wet, and dry flat away from direct sunlight. Never wring or twist an embroidered garment.
How do I store an embroidered dress after restoration?
Roll or fold the dress with acid-free tissue paper between layers, making sure no fold line runs through an embroidered area — that’s where creases will eventually crack threads. Store in a breathable cotton bag, not a plastic garment bag, which traps moisture. If the dress is particularly precious, store it flat in an acid-free box with the embroidery face-up and crumpled tissue paper supporting any raised elements.