Quick Answer: Off-grain fabric causes garments to twist, quilts to pucker, and embroidery designs to distort. Use the thread-pull test to find out whether your fabric needs straightening, then fix it with wet blocking or steam pressing. For hoops, a round wooden hoop handles most hand embroidery just fine — but Q-snaps and scroll frames are better for cross-stitch, large designs, or anything where hoop burn is a real risk.
Knowing how to straighten fabric and which hoop to use are two of the most skipped fundamentals in sewing and embroidery — and they’re responsible for a disproportionate number of frustrating results. Twisted seams, quilts that won’t lie flat, embroidery that puckers no matter how carefully you stitch: nine times out of ten, the problem started before the first cut. This guide covers both issues from the ground up.
Understanding Fabric Grain
Straight Grain, Cross Grain, and Bias
Every woven fabric has three grain lines. The straight grain (warp) runs parallel to the selvage along the length of the bolt — these threads are the strongest and have almost no stretch. The cross grain (weft) runs perpendicular to the selvage, from edge to edge, with a slight natural give. The bias cuts diagonally at 45 degrees to both and has the most stretch and drape of the three.
When warp and weft threads are perfectly perpendicular, the fabric is “on grain.” Everything else flows from that.
What Off-Grain Means and Why It Happens
Fabric goes off-grain when those warp and weft threads are no longer at right angles. It happens more often than you’d think: careless bolt winding at the mill, machine-drying without care, rough handling during cutting — any of these can skew the grain. The sneaky part is how small distortions compound. Even 1/8 inch (3mm) of deviation per 12 inches (30cm) adds up to nearly half an inch across a yard. That’s enough to make a garment twist after washing or a quilt block refuse to lie flat.
One thing worth knowing upfront: fabric treated with permanent-press finishes — common on cotton-poly blends since the 1960s — can have distortion chemically locked in. No amount of blocking will fully fix those. More on that in the FAQ.
How to Tell If Your Fabric Is Off-Grain
The Fold Test
Fold the fabric in half lengthwise, selvage to selvage, and lay it flat. If it lies completely smooth with cut edges meeting evenly, you’re probably fine. Diagonal wrinkles, puckering, or corners that won’t meet are a red flag. It’s a quick first pass, but it’s not the most accurate method.
The Thread-Pull Test
This one takes an extra minute but tells you exactly where things stand. Snip into the selvage about 1/2 inch (12mm), grasp a single weft thread, and gently pull it across the fabric width. The fabric will gather slightly as you pull — cut along that gathered line. The resulting edge is a true cross-grain line. If it runs parallel to your selvage, you’re on grain. If it angles away, you’re not.
I reach for this method every time before cutting quilt fabric. The fold test can lie; the thread-pull test doesn’t.
How Much Distortion Is Too Much?
- Mild (under 1/2 inch / 12mm off per yard): Hand manipulation and pressing usually fixes this.
- Moderate (1/2 to 2 inches / 12–50mm off per yard): You’ll need wet blocking.
- Severe (over 2 inches / 50mm) or permanent-press fabric: May not be fully correctable. Decide whether your project can accommodate the skew before you invest time in it.
How to Straighten Fabric: Three Methods That Actually Work
Method 1: Wet Blocking (Best for Cotton, Linen, and Wool)
This is the most reliable method for natural fibers, and it’s my first choice for anything beyond mild distortion.
- Submerge the fabric in cool water for 10–15 minutes, or dampen evenly with a spray bottle. Don’t wring it.
- Roll it in a clean towel to remove excess water — damp, not dripping.
- Lay it on a blocking mat or interlocking foam tiles on a flat surface.
- Grasp the fabric at opposite diagonal corners and pull firmly in opposite directions. Work across the whole piece.
- Check with a quilting ruler or T-square: weft threads should be perfectly perpendicular to the warp. Pin with T-pins at 2-inch (5cm) intervals along all edges.
- Let dry completely — 4–8 hours depending on weight and humidity. Don’t cut damp fabric.
- Press lightly with steam to set the grain.
Method 2: Steam Pressing (Best for Mild Distortion)
Set your iron to the appropriate temperature for your fiber and use steam generously — but lift and place, don’t slide. Sliding can stretch fabric further off-grain. Use your free hand to gently coax the fabric back into alignment while steaming, then let it cool flat.
Method 3: Diagonal Pull (Best for Moderate Distortion Without Water)
Fold the fabric selvage to selvage, wrong sides together. Off-grain fabric will form a parallelogram instead of a rectangle. Have a helper grab one end of the shorter diagonal while you take the other, and pull firmly and steadily in opposite directions — you’ll feel the threads give slightly. Repeat a few times, checking grain alignment after each pass, then press with steam to set.
Fabric-Specific Notes
| Fabric | Special Handling |
|---|---|
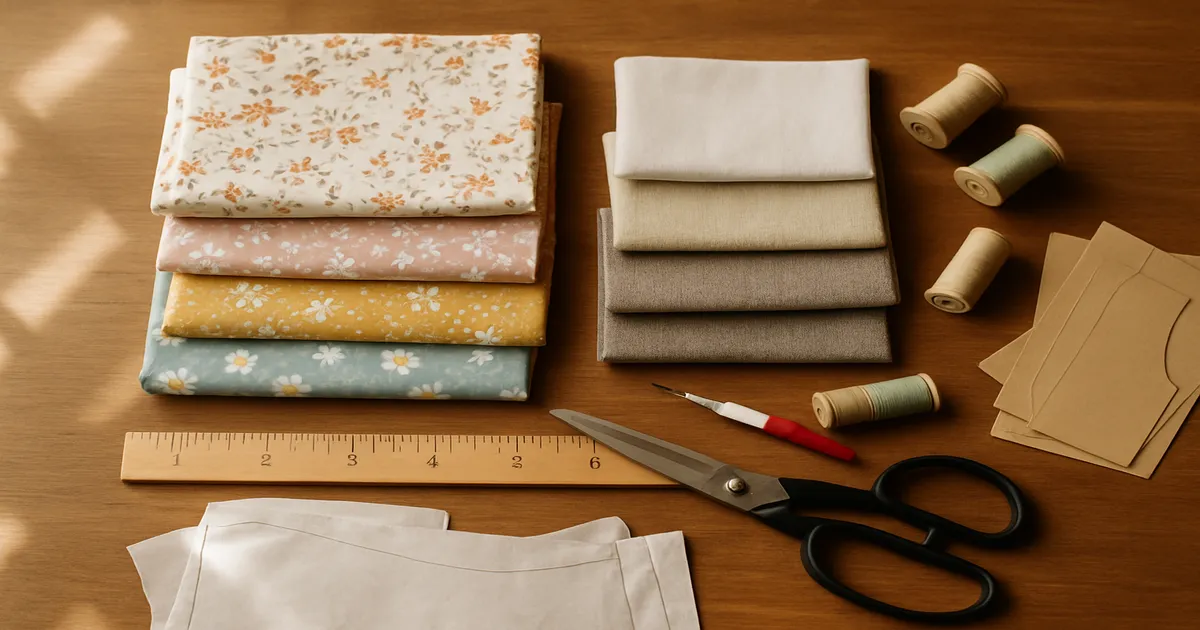
| Quilting cotton | Pre-wash first — it can shrink 2–5% |
| Linen | Responds beautifully to wet blocking; may need two rounds |
| Wool | Cool water only — hot water felts wool. Use slow, sustained tension, not sharp tugs |
| Silk | Test water on a scrap first. Always use a pressing cloth; iron at silk setting (~275°F / 135°C) |
| Rayon/viscose | Extremely distortion-prone when wet. Handle minimally; dry flat |
| Knits | No traditional grain — align by the knit ribs instead |
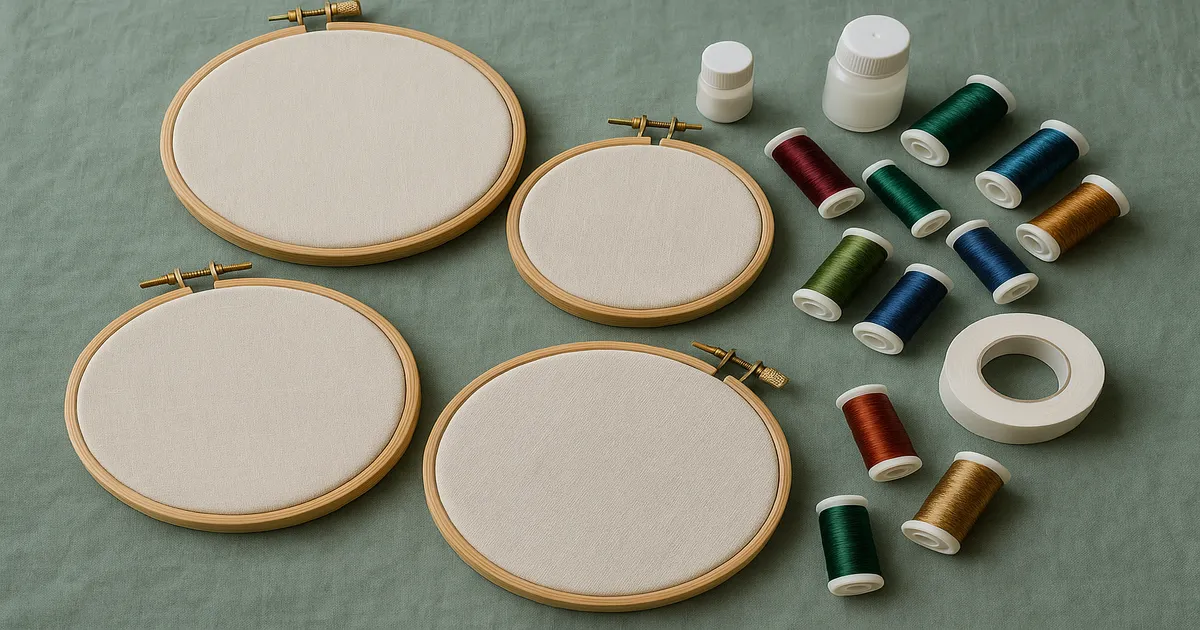
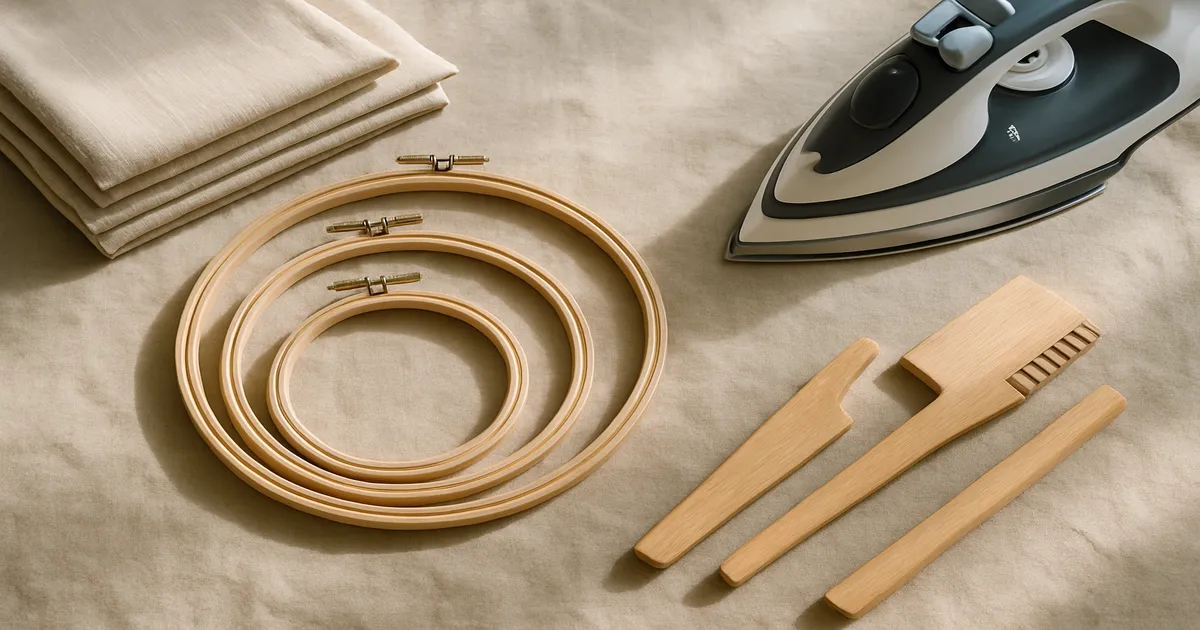
How to Choose the Right Embroidery Hoop
Matching Hoop Size to Your Design
The hoop should contain your full design without repositioning mid-project — repositioning causes hoop burn and can shift your work. Leave at least 1–2 inches (2.5–5cm) of fabric beyond the hoop edge on all sides.
- 4–5 inch (10–12.7cm): Motifs under 3 inches (7.6cm)
- 6–7 inch (15.2–17.8cm): Medium designs up to 6 inches (15.2cm)
- 8–10 inch (20.3–25.4cm): Large designs up to 10 inches (25.4cm)
- Scroll frame or Q-snap: Very large designs, or any project where repositioning is unavoidable
When in doubt, go one size up.
Hoop Materials: What to Use and When
| Hoop Type | Best For | Pros | Cons |
|---|---|---|---|
| Wood (beechwood) | Hand embroidery, general use | Good grip, affordable, classic feel | Can warp with moisture; may snag delicate fabrics |
| Plastic spring tension | Machine embroidery, quick projects | Easy one-handed use | Less grip on slippery fabric |
| Metal with screw | Heavy fabrics, denim, canvas | Very strong and durable | Heavy; harder on hands for long sessions |
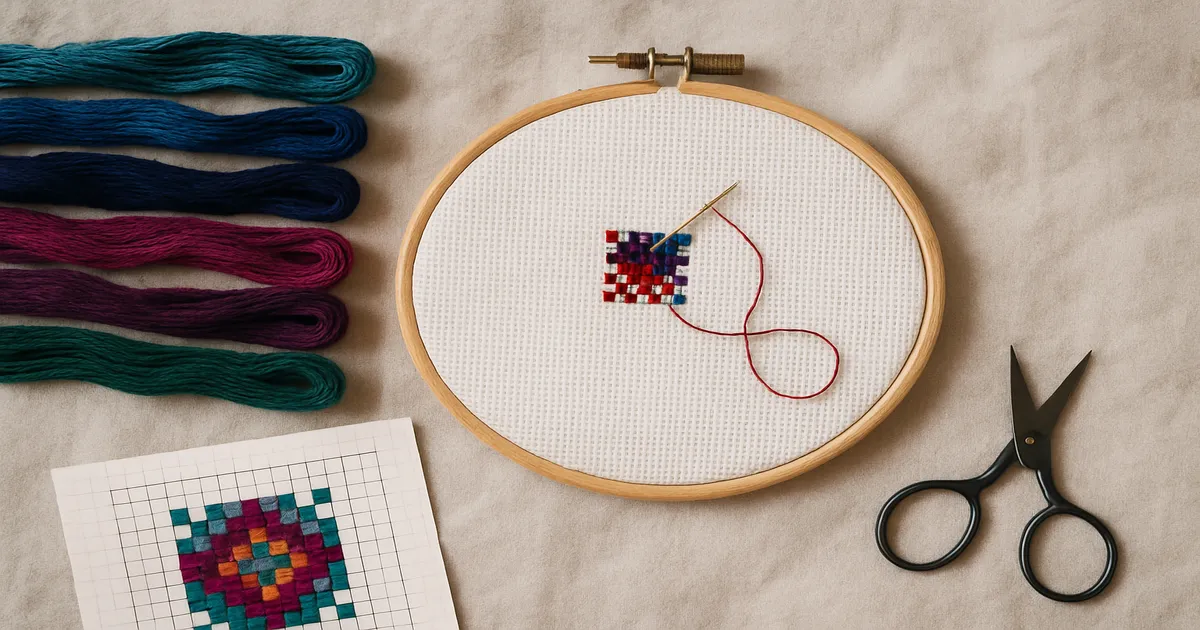
| Q-snap frame | Cross-stitch, needlepoint, Aida cloth | No hoop burn; fabric stays flat | Bulkier, less portable |
| Flexi-hoop | Display/finishing, lightweight fabrics | Doubles as a frame | Limited tension control |
For most hand embroidery, a beechwood hoop with a brass screw is all you need. Q-snaps are worth the investment if you do a lot of cross-stitch or work with fabrics that mark easily.
When to Use a Scroll Frame
If your design is large, or if you’re working on cross-stitch or needlepoint where hoop burn would damage the fabric, a scroll frame is the smarter choice. They hold tension evenly across a wide area without compressing the fabric, and you can advance the work as you go without re-hooping.
Machine vs. Hand Embroidery Hoops
These aren’t interchangeable. Machine embroidery hoops clamp the fabric between two rings with a tighter, more rigid grip designed to withstand the speed and force of a sewing machine needle. Hand embroidery hoops are built for comfortable handling and easier fabric manipulation. Using a machine hoop for hand work is awkward at best; using a hand hoop in an embroidery machine risks the fabric slipping mid-stitch.
How to Mount Fabric in a Hoop Correctly
Wrap the Inner Ring First
Loosen the screw on the outer ring until the inner ring slides out freely. Wrap the inner ring with 1/4-inch (6mm) cotton twill tape in a tight spiral, overlapping each pass by about half the tape width, and secure the end with a few hand stitches. This step dramatically improves grip on slippery fabrics and protects delicate ones from direct pressure. It takes five minutes and it’s worth every second.
Center Your Design and Mount the Fabric
Place the inner ring flat on your work surface. Lay the fabric right side up over it, centering your design visually. Press the outer ring down over the inner ring and fabric, but don’t tighten the screw fully yet. Tug the fabric gently on all four sides and diagonally to remove slack, then tighten the screw firmly. Tap the center of the fabric lightly — it should sound and feel taut, like a drumhead. If it doesn’t, tighten more.
Check Grain Alignment Before You Start Stitching
Before you pick up a needle, sight down the hoop at eye level. The warp and weft threads should run perfectly horizontal and vertical — not at any diagonal angle. The weave of the fabric is its own built-in grid; use it. If anything looks tilted, loosen the screw, remove the fabric, and re-hoop. It takes 30 seconds and saves hours of frustration.
Common Mistakes to Avoid
Skipping the pre-wash is the biggest one. Straighten before washing and the whole thing distorts again in the machine. Always pre-wash first.
Pressing off-grain fabric without correcting it first locks in the distortion — especially with steam. You’ve essentially ironed a crease into a mistake.
A few others worth knowing:
- Pulling wet wool too aggressively causes felting. Use slow, sustained tension.
- Don’t trust the selvage as a grain guide — it isn’t always reliable. Use the thread-pull test.
- Never cut damp fabric. Even slightly damp edges will shift as they finish drying.
- If your cutting mat is too small and fabric hangs off the edge, gravity is pulling it off-grain as you cut.
On the hooping side: loose hooping is the most common beginner mistake. It causes puckering and uneven tension throughout. The fabric needs to be drum-taut. But over-tightening on delicate fabrics — silk, chiffon, loosely woven linen — causes hoop burn or tears. Wrap the inner ring and use moderate tension for anything fragile.
The single most damaging error, though, is ignoring grain alignment in the hoop. If the grain is running diagonally when you start stitching, every stitch pulls it further off. The finished piece will be distorted and there’s no fixing it after the fact.
Frequently Asked Questions
Can you fix fabric that is permanently off-grain?
Sometimes, but not always. Permanent-press finishes use chemical treatments that can lock the grain in place — you may get partial improvement with aggressive steam pressing, but full correction often isn’t achievable. If the skew is severe, your best option is to assess whether your project can accommodate it, or choose a different fabric.
How do I know what size embroidery hoop to use?
The hoop should be large enough to contain your full design without repositioning mid-project, with at least 1–2 inches (2.5–5cm) of fabric beyond the hoop edge on all sides. When in doubt, go one size up.
What is hoop burn and how do I prevent it?
Hoop burn is the compression mark left by the outer ring pressing into the fabric. It’s most common on linen, silk, and some cottons. Prevent it by wrapping the inner ring with cotton twill tape, using a Q-snap frame instead of a round hoop, or removing the hoop between stitching sessions. If it does happen, dampening the area and pressing with a pressing cloth often relaxes the marks out.
Do I need to straighten fabric before cutting for a quilt?
Yes — off-grain blocks won’t sew together squarely, and the finished quilt may not lie flat. The exception is small decorative projects where precision isn’t critical, but even then, starting on grain is a good habit.
Can I use an embroidery hoop on stretchy or knit fabric?
You can, but you need to back the fabric with a cut-away stabilizer before hooping to prevent the stretch from distorting your stitches. Align by the knit ribs rather than a grain line, and consider a Q-snap frame — it’s gentler on knits than a traditional round hoop.