Quick Answer: The most common back-of-dress problems — a broken invisible zipper, a gaping neckline, a split seam, or a failed hook-and-eye closure — are all fixable at home with basic sewing tools. Most repairs take under two hours and require nothing fancier than a seam ripper, matching thread, and a replacement zipper or closure set. The trickiest part is diagnosing exactly which zone is failing before you start.
So you need to figure out how to fix the back of a dress, and you’re not sure where to begin. Good news: most of these repairs are less scary than they look. I’ve fixed split center-back seams on bridesmaid dresses the night before a wedding and gaping necklines on structured blazer-dresses that had never fit right to begin with. The process almost always follows the same logic — identify the zone, assess the damage, fix only what’s broken.
Which Problem Do You Have?
The back of a dress has up to four distinct functional zones. Knowing which one is failing tells you exactly what kind of repair you’re dealing with.
| Symptom | Zone | Fix Type | Skill Level |
|---|---|---|---|
| Zipper won’t close or pull is gone | Closure system | Zipper replacement | Intermediate |
| Gap at upper back neckline | Neckline finish | Dart or facing adjustment | Beginner–Intermediate |
| Seam split or popped stitches | Center-back seam | Re-stitching | Beginner |
| Hook fell off, snap broken | Closure system | Closure replacement | Beginner |
| Back pulls or bunches across shoulders | Shoulder/armscye | Seam alteration | Intermediate |
For almost everything in that table, yes — you can fix it yourself. The one real exception is a full back bodice re-cut for significant fit issues, which needs a professional. Everything else is doable at home.
How to Fix the Back of a Dress: Diagnosing the Problem First
Before you touch a seam ripper, spend two minutes actually looking at the dress. The closure system runs along the center back (or sometimes a side seam). The neckline finish is the facing or binding at the top edge. The shoulder and armscye seam connects the bodice back to the sleeve or facing. The center-back or side-back seam runs vertically through the body of the dress.
Worth knowing: ready-to-wear dresses are graded for a B-cup with a standard back length. Most fit problems trace back to differences in torso length, shoulder width, cup size, or back curvature — not a flaw in the dress itself.
Zipper problems: If the pull has separated from the teeth, check first whether it’s simply come off the track — sometimes you can re-thread a pull without replacing the whole zipper. Damaged teeth or a torn tape means full replacement.
Fit problems: A gap at the back neckline almost always means the neckline curve is too large for your upper back. Pulling across the shoulder blades usually means the back is too narrow. Bunching below the neckline often points to a torso-length mismatch.
Seam problems: A split seam is the easiest fix on this list — the stitches gave out, but the fabric is usually fine. Check whether the seam allowance is still intact before you start. If the fabric has frayed back past the original seamline, stabilize it before re-stitching.
Closure problems: Individual hooks and eyes pull off with surprising regularity, especially on fitted bodices under stress. The fix is straightforward; the trick is getting the replacement positioned precisely so the closure lies flat.
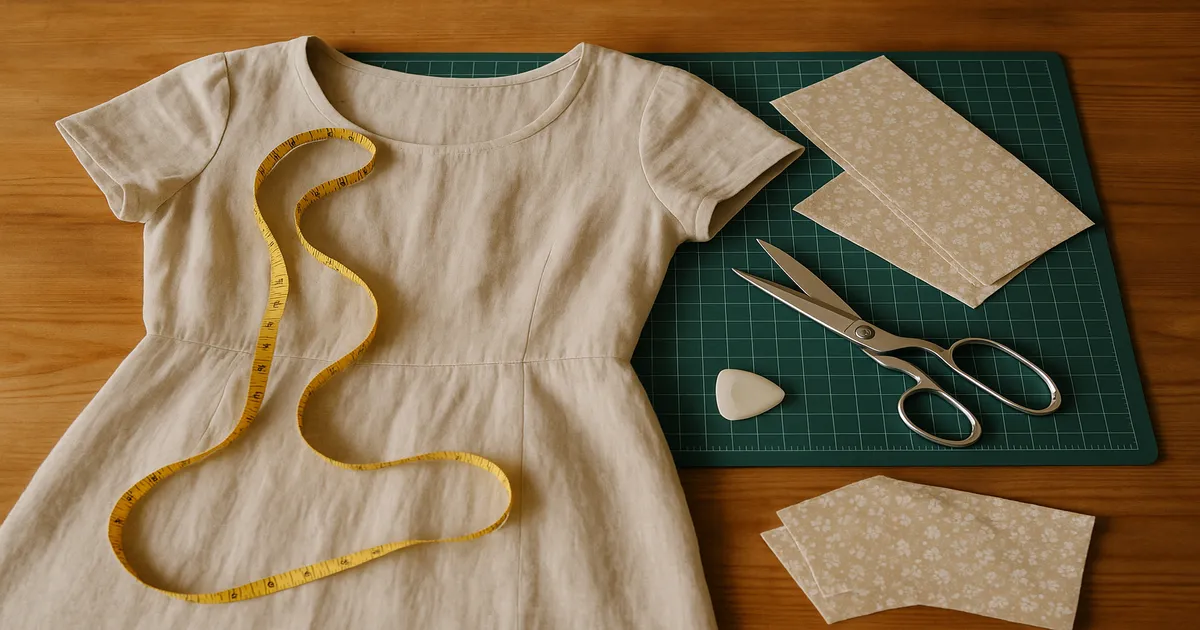
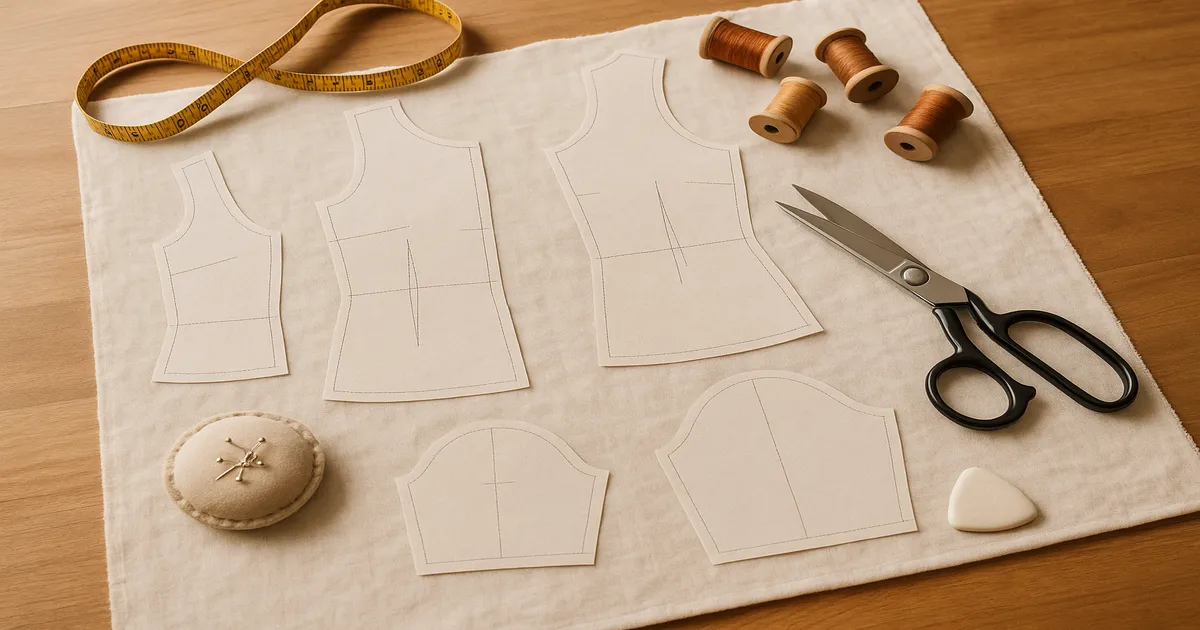
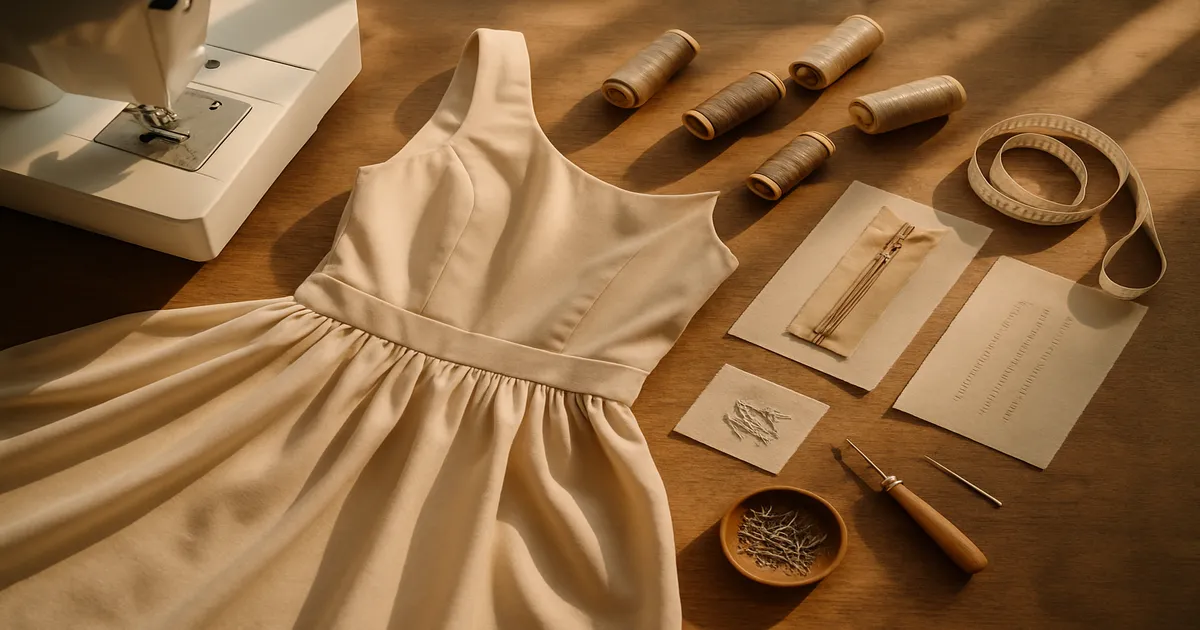
Tools and Materials You’ll Need
Essential Tools
- Sharp seam ripper — a quality one like the Clover is worth the few extra dollars
- Tailor’s chalk or water-soluble marking pen
- Pressing cloth (organza or muslin, about 12 × 18 inches/30 × 46cm)
- Tailor’s ham for pressing curved seams and darts
- Seam gauge
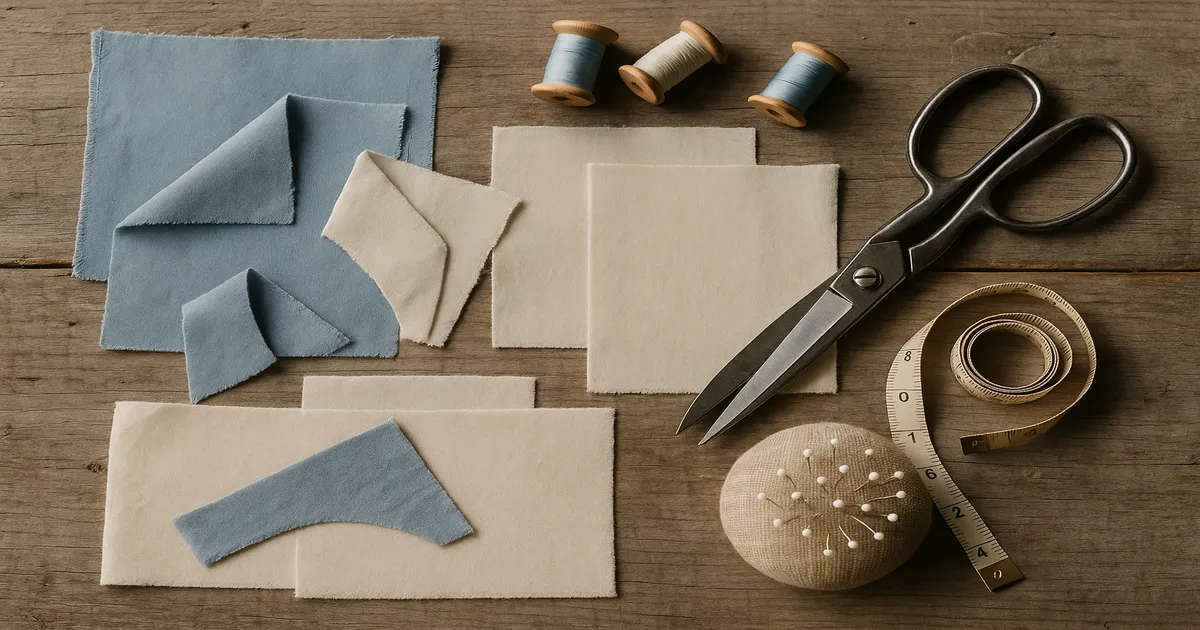
Zipper Replacement Supplies
- Replacement invisible zipper in the correct length (18, 20, or 22 inch — 46, 51, or 56cm — cover most dresses); use a lightweight #3 coil for chiffon or silk, standard #5 for cotton and polyester
- Invisible zipper foot for your machine — a generic one runs $5–$15
- Matching thread — 50wt polyester for most fabrics, 100wt silk thread for silk or chiffon
Seam and Fit Alteration Supplies
- Machine needles matched to fabric weight: 70/10 for lightweight, 80/12 for medium, 90/14 for heavier fabrics
- Microtex/sharp needles for tightly woven fabrics and silks
- Fusible stay tape, ½ inch/12mm wide, for stabilizing necklines before re-stitching
Closure Repair Supplies
- Hook-and-eye sets in the right size: size 0 for fine fabrics, size 1 for medium-weight, size 2–3 for heavier fabrics or waistbands
- Beeswax for conditioning hand-sewing thread
No-Sew Alternatives (for Emergencies)
- Iron-on seam tape for closing small split seams temporarily (Dritz Stitch Witchery)
- Fabric glue for reattaching facings — Aleene’s OK to Wash-It holds up through washing better than most
How to Fix a Broken Invisible Zipper
Step 1: Assess Before You Rip Anything Out
Lay the dress flat under good light and identify exactly what’s failed — separated pull, damaged teeth, or torn tape. If the pull has just come off the track, try re-threading it before committing to a full replacement.
Step 2: Remove the Old Zipper
Use the seam ripper to open the seam allowance on both sides of the zipper tape, working slowly. The zipper is set into a ⅝-inch (15mm) seam allowance — free the tape without cutting into the fashion fabric. Unpick an additional 1–2 inches (2.5–5cm) below the zipper stop so the new one can seat cleanly.
Step 3: Press the New Zipper Coil Open
This is the step most people skip, and it’s the single biggest cause of a visible zipper ridge on the finished dress. Run a low-heat iron along the teeth of the new zipper to uncurl the coil — no steam on nylon. The coil should lie almost flat when you’re done.
Step 4: Pin and Stitch the First Side
With the dress right-side up and the zipper face-down, align the coil directly on the seamline. The top stop should sit ⅝ inch (15mm) below the cut edge of the neckline. Using your invisible zipper foot, stitch 1–2mm from the teeth at a 2.0–2.5mm stitch length. Backstitch at the start, but stop at the bottom without backstitching — leave 4-inch (10cm) thread tails to tie off by hand.
Step 5: Align and Stitch the Second Side
Close the zipper completely, then use a pin to mark exactly where the second side of the tape should begin. This “closed zipper trick” prevents one side from sitting higher than the other. Open the zipper again, then stitch the second side the same way.
Step 6: Close the Seam Below the Zipper
Switch to a standard zipper foot, fold the zipper tape out of the way, and stitch the remaining seam from just above the zipper stop down to the hem at your standard seam allowance.
Step 7: Finish and Press
Serge or zigzag the raw edges. Before pressing, park the zipper pull at the very top of the tape — pressing over the pull leaves an imprint in the fabric. Press from the wrong side using a pressing cloth.
How to Fix a Gaping Back Neckline
Measure the gap first. Gaps under 1 inch (2.5cm) respond well to back neckline darts. Larger gaps may need a full neckline re-cut — that’s a job for a professional tailor.
Adding back neckline darts: Mark the dart position 1 inch (2.5cm) from center back on each side, pointing toward the shoulder blade. Sew from the neckline edge, tapering to nothing at 3–4 inches (7.5–10cm) down the back. Take in ¼ to ⅜ inch (6–10mm) at the widest point for a moderate gap. Don’t exceed ½ inch (12mm) without re-cutting the neckline edge, or it’ll pucker and distort. Press the darts toward center back on a tailor’s ham — the curve is doing real work here.
Re-finishing the facing: Re-attach the facing and understitch ⅛ inch (3mm) from the seam edge to keep it rolled neatly to the inside. If the facing still won’t lie flat, apply a ½-inch (12mm) strip of fusible stay tape along the neckline seamline before pressing.
If the gap is over 1 inch (2.5cm), take it to a tailor. Couture solutions exist — princess seaming, boning channels, re-cut necklines — but they require reshaping the entire back bodice, and it’s not worth distorting a dress you care about.
How to Fix the Back of a Dress by Altering the Back Seam
The math is simple: taking in or letting out ¼ inch (6mm) per seam equals ½ inch (12mm) of total circumference change. Commercial patterns use a ⅝-inch (15mm) seam allowance, giving you a practical maximum of about 1 inch (2.5cm) total when letting out — and only if the original seam allowance hasn’t been trimmed down. Measure it before you do anything. You need at least ⅜ inch (10mm) remaining after the new seam for a stable finish.
Taking in: Pin the adjustment at the seam while wearing the dress, mark the new seamline with chalk, unpick the existing seam, and re-stitch. Use 2.0–2.5mm stitch length for wovens, 2.5–3.0mm for heavier fabrics. On stretch fabrics, use a narrow zigzag (width 1.0, length 2.5) — a straight stitch will pop under tension. Trim the seam allowance to ⅜ inch (10mm), serge the edges together, and press to one side.
Letting out: Same process in reverse. Press the seam open rather than to one side.
Blending the seamline: The new seamline needs to taper back into the original over 2–3 inches (5–7.5cm) above and below the alteration point. Skip this and you’ll get a pinched, dented look at the transition. Mark the taper with chalk before you sew.
How to Fix Hook-and-Eye and Button Closures
Remove the damaged closure with small scissors or a seam ripper. Space replacements ½ inch (12mm) apart on a fitted bodice, ¾ inch (19mm) on a waistband. Sew hooks on the overlap side using a buttonhole stitch — 8–10 wraps around each hole — and align the eyes on the underlap side so the closure lies flat. Slide a strip of paper between the layers when checking placement to make sure nothing is pulling.
Thread loops from scratch: Use a double strand of thread, make 3 foundation stitches the exact length needed, then work blanket stitch over the bundle until fully covered. Sounds fiddly, takes about five minutes once you’ve done it once.
Alternative closures if the original is beyond saving:
| Original Closure | Alternative | Best For | Skill Level |
|---|---|---|---|
| Invisible zipper | Exposed zipper | Casual/contemporary styles | Beginner |
| Invisible zipper | Button loop closure | Boho, bridal, vintage | Intermediate |
| Invisible zipper | Snap tape | Quick hidden fix | Beginner |
| Hook-and-eye | Ribbon tie | Soft, adjustable back | Beginner |
| Broken zipper | Lapped zipper | Structured, tailored dresses | Intermediate |
Common Mistakes to Avoid
- Not pressing the zipper coil open before installation — causes a visible ridge on the right side, every time.
- Stitching too far from the zipper teeth — more than 2–3mm and the zipper will show. Use the invisible zipper foot.
- Backstitching at the zipper bottom — creates a hard stop that prevents the pull from reaching the end. Leave thread tails and tie off by hand.
- Mismatching zipper weight to fabric — a heavy #5 zipper on chiffon will drag and pucker.
- Checking zipper color only under store lighting — always check the match near a window.
- Skipping pressing between stages — every seam should be pressed before the next step, not at the end.
- Uneven tapering at transition points — this is what creates that pinched look at seam alterations.
- Working on an unpressed garment — press the repair area first. It reveals the true shape of the seam and makes accurate marking possible.
Pro Tips for a Professional Result
Slippery fabrics: Place a single layer of tissue paper under silk charmeuse, chiffon, or satin while stitching — it prevents the feed dogs from chewing the fabric and tears away cleanly afterward. Match your bobbin thread color on sheers, because it can shadow through to the right side.
No tailor’s ham? A tightly rolled bath towel works surprisingly well for pressing the curved center-back seam of a princess-line dress. Not ideal, but it gets the curve right where a flat ironing board won’t.
Make repairs last: Apply a ½-inch (12mm) strip of fusible stay tape along any seamline near a neckline or armhole before re-stitching. This one step dramatically reduces the chance of the repair stretching out again. For hand-sewing, condition your thread with beeswax to prevent tangling.
And baste before you machine stitch on any dress you actually care about. I know it feels like extra work. It saves hours of unpicking.
When to call a professional: A split seam, a replaced zipper, a new hook-and-eye — all DIY territory. But if the neckline gap is over 1 inch (2.5cm), the dress is pulling dramatically across the shoulders, or the seam allowances are too narrow to work with, a professional tailor is the smarter investment. Expect to pay $20–$60 for a zipper replacement and $15–$40 for a seam alteration, depending on your location and the dress.
Frequently Asked Questions
Can I fix the back of a dress without a sewing machine?
Yes, for some repairs. A split seam can be closed with iron-on seam tape (Dritz Stitch Witchery) or fabric glue for a temporary fix. Hook-and-eye replacements are entirely hand-sewn. An invisible zipper, though, really does need a machine — hand-stitching a zipper replacement is possible but rarely produces a clean result on a garment you’ll wear regularly.
Can I fix an invisible zipper without a special zipper foot?
Technically yes, but it’s genuinely harder. Without an invisible zipper foot, it’s difficult to stitch close enough to the coil — the ideal distance is 1–2mm — and the zipper will likely show on the right side. A generic invisible zipper foot costs $5–$15 and fits most low-shank machines. Buy it before you start.
How much does it cost to have the back of a dress altered by a tailor?
Roughly: zipper replacement runs $20–$60, seam alterations (letting out or taking in) typically cost $15–$40, and neckline adjustments run $25–$50 depending on complexity. Bridal and formal wear often costs more because of the fabric and construction involved. If you’re in a major city, add 20–30% to those estimates.
My zipper closes but there’s a gap at the bottom — what’s wrong?
Almost always, this means you backstitched at the zipper stop instead of leaving thread tails. The hard stop prevents the pull from traveling all the way down. Unpick the bottom of the zipper, re-stitch without backstitching, and tie off the thread tails by hand. If the gap persists, check whether the seam below the zipper was stitched close enough to the zipper stop — there should be no more than 2–3mm of overlap.
Can I replace an invisible zipper with a different type of zipper?
Yes. A lapped zipper is the most common swap for a structured or tailored dress. An exposed zipper works well on casual styles and is actually easier to install than an invisible one. Snap tape is a good hidden option if you want to avoid zipper installation entirely. The table in the closures section above covers the main alternatives and what they work best on.