Quick Answer: Quilting is the process of stitching through three layers — a decorative top, a middle layer of batting, and a backing fabric — to hold them together into a finished textile. If you’re asking “how do I quilt this?”, here’s the short version: baste the layers together, then stitch through all three using a walking foot, free-motion foot, or needle and thread. Everything below walks you through each step in detail.
Figuring out how to quilt something for the first time can feel genuinely overwhelming. There are so many methods, tools, and loud opinions out there. But the process breaks down into a handful of logical steps, and once you understand what’s happening at each stage, it clicks. Let’s go through it.
What Does “How Do I Quilt This?” Actually Mean?
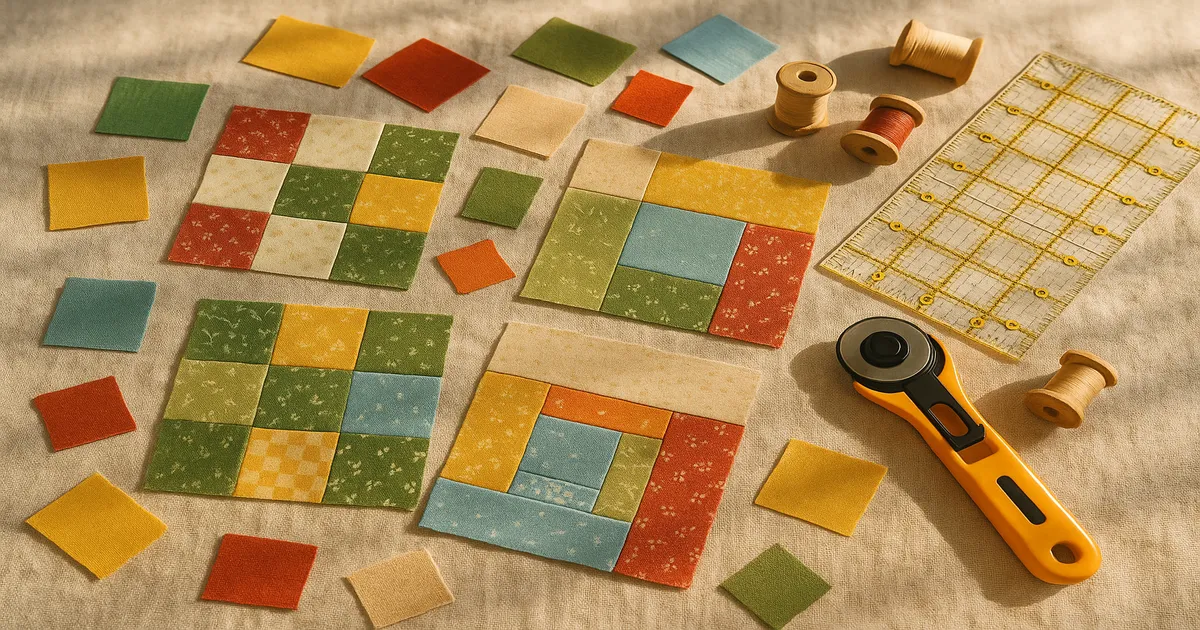
Quilting vs. Piecing — Know the Difference
This trips up nearly every beginner. Piecing is assembling your quilt top — sewing fabric patches together into blocks and rows. Quilting is what comes after: stitching through all three layers to hold everything together. You can piece a stunning top and still have a completely unquilted quilt. They’re two separate steps, and confusing them will send you down the wrong rabbit hole fast.
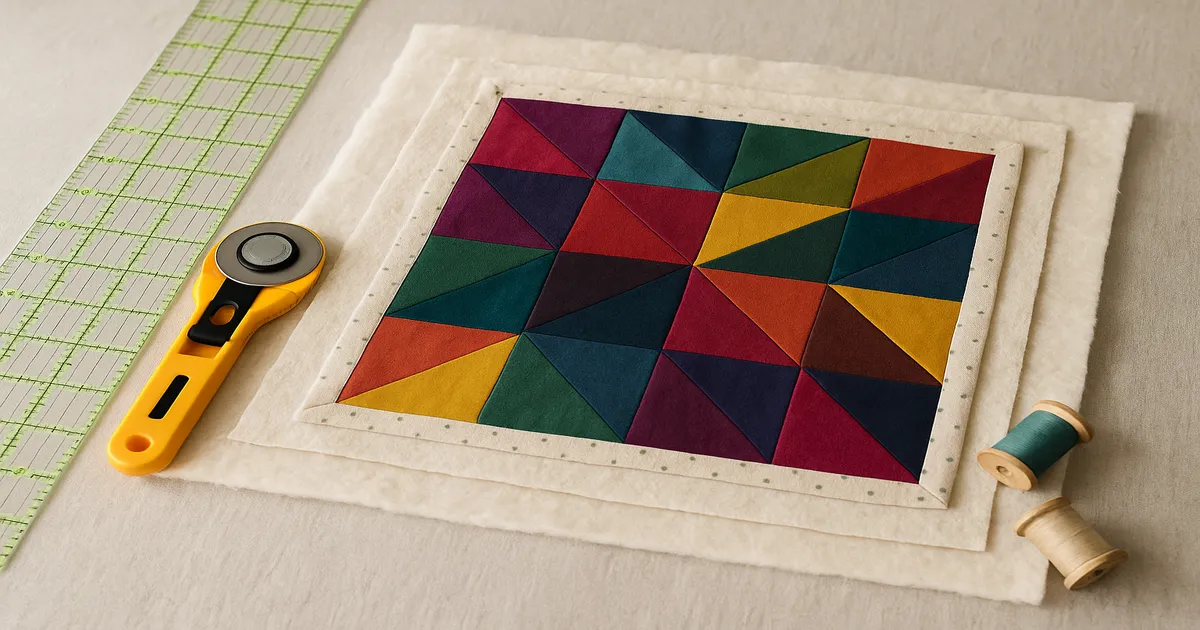
The Three Layers Every Quilt Needs
Every quilt has the same structure:
- Quilt top — the decorative face, whether pieced, appliquéd, or a single piece of fabric
- Batting — the middle layer that adds loft, warmth, and body
- Backing — the bottom fabric, usually a coordinating print or plain cotton
The quilting stitches do two things: they prevent the batting from shifting and bunching over time, and they add texture and visual dimension to the finished piece. Skip them, and your batting will migrate into lumpy clumps after a few washes. Ask me how I know.
Step 1 — Build Your Quilt Sandwich
Preparing Each Layer
Press your quilt top from the back first, then the front, using a dry iron or light steam. Do the same with your backing — any wrinkles you bake in now become permanent once the quilting is done. Batting is different: don’t iron it. Toss it in the dryer on low heat for 10–15 minutes to relax fold lines instead.
How Much Bigger Should Backing and Batting Be?
Both layers need to extend beyond your quilt top to account for shifting during quilting and to give you material to square up afterward:
- Backing: 3–4 inches (7.5–10cm) beyond the quilt top on all four sides
- Batting: 2–3 inches (5–7.5cm) beyond the quilt top on all sides
Layering in the Right Order
Work on a hard, flat surface — a large table, a clean floor, whatever you’ve got. The sequence matters:
- Lay the backing wrong side up and tape it down with painter’s tape every 6–8 inches (15–20cm). Taut, not stretched.
- Center the batting over the backing and smooth outward from the center.
- Center the quilt top right side up over the batting. Smooth again from the center out.
Always work from the center outward. That’s what pushes wrinkles toward the edges instead of trapping them in the middle where they’ll haunt you.
Step 2 — Baste the Layers Together
Basting temporarily secures all three layers before you start quilting. Skip it and you’ll end up with tucks and puckers on the back — a problem you genuinely cannot fix once the quilting is done.
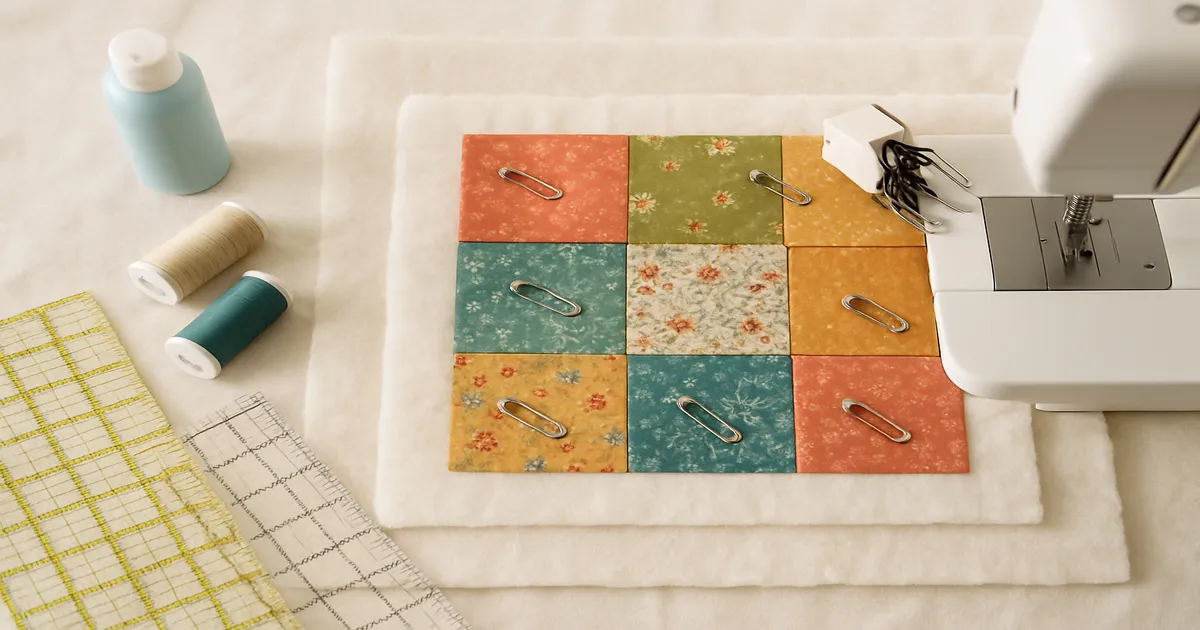
Pin Basting: Most Popular for Machine Quilting
Use size 1 curved safety pins made for quilting. Place them every 3–4 inches (7.5–10cm) across the entire quilt surface — a standard throw quilt will use 300–400 pins. Avoid placing pins directly on seam lines where you plan to stitch-in-the-ditch. A grapefruit spoon or a Kwik Klip tool makes closing hundreds of pins much less brutal on your fingers.
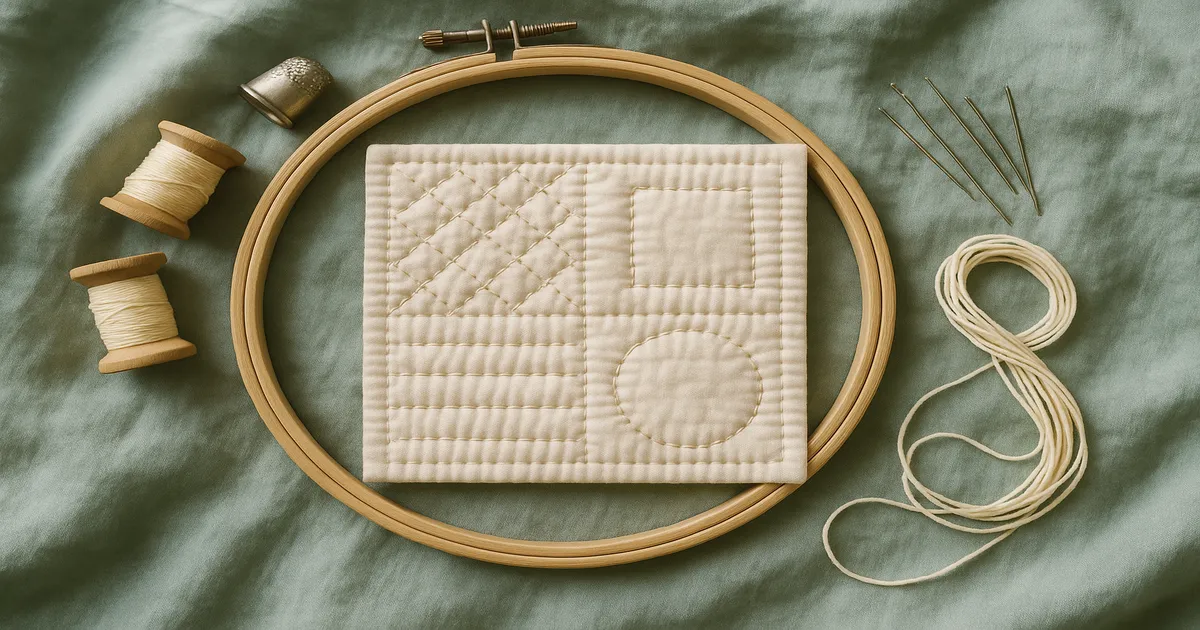
Thread Basting: The Traditional Choice for Hand Quilting
Use a long darning needle and light-colored thread — never dark, since dye can transfer to your fabric. Stitch a running-stitch grid every 4 inches (10cm) horizontally and vertically, starting at the center and working outward. It’s slower than pin basting, but there’s nothing to snag on a hand quilting hoop.
Spray Basting: Fastest for Smaller Quilts
Temporary adhesive spray works beautifully for quilts up to about 60 × 60 inches (152cm). Spray the batting, not the fabric, and work in a well-ventilated space — this stuff is potent. Layer one section at a time and smooth as you go.
Step 3 — Choose Your Quilting Method
Straight-Line and Stitch-in-the-Ditch Quilting (Start Here)
This is where most people should start, and honestly, it’s where plenty of experienced quilters stay — because the results are clean, classic, and fast. You need a walking foot on your machine. This is non-negotiable. A standard presser foot can’t feed multiple layers evenly; it pushes the top layer forward and creates ripples. The walking foot has its own feed dogs that grip all three layers simultaneously.
Set your stitch length to 3.0–3.5mm and start from the center of the quilt, working outward. For stitch-in-the-ditch, you’re stitching directly in the valley of your seam lines so the stitches sink in and nearly disappear. A seam guide bar attached to your walking foot keeps grid or diagonal lines evenly spaced.
Free-Motion Quilting: Creative and Versatile
Free-motion quilting (FMQ) is how you get those flowing stipple patterns and custom designs. Lower your feed dogs, attach a darning foot, and set your stitch length to 0 — you control everything by how fast you move the quilt relative to the needle speed. The learning curve is real. Stippling and pebbling are forgiving beginner patterns, but practice on a small scrap sandwich before you touch your actual quilt. Seriously.
Hand Quilting: The Traditional Approach
Hand quilting produces a softer, more supple quilt with a distinctly beautiful stitch that no machine can replicate. You’ll need a quilting hoop or frame, Between needles (start with a size 8), and dedicated hand quilting thread. The rocking stitch technique — loading 2–4 stitches onto the needle at once by rocking it through all three layers — takes real practice. Aim for 5–6 stitches per inch as a beginner; consistency matters far more than tiny stitches.
Longarm Quilting: Send It Out
A longarm machine moves over a stationary quilt stretched on rollers — no basting required. You can hire a professional longarm quilter (typically $0.015–$0.025 per square inch for edge-to-edge work), rent time at a local quilt shop, or eventually buy your own machine. For most beginners, sending a quilt to a longarmer is a completely reasonable choice. No shame in it whatsoever.
Essential Tools and Materials
Batting: Cotton, Polyester, Wool, and Blends
- 100% cotton (e.g., Warm & Natural): low loft, drapes beautifully, shrinks slightly when washed for a lovely crinkled look. Quilt every 3–4 inches (7.5–10cm).
- 100% polyester (e.g., Hobbs Poly-Down): higher loft, no shrinkage, good for tied quilts. Can beard through lower thread-count fabrics over time.
- 80/20 blend (e.g., Hobbs Heirloom): the most popular all-purpose choice. Can be quilted up to 8–10 inches (20–25cm) apart, which is very forgiving for beginners.
- Wool (e.g., Hobbs Tuscany Wool): exceptional warmth, naturally moisture-wicking, a pleasure to hand quilt through. More expensive, but worth it for special projects.
- Bamboo blends: eco-friendly with a silky hand; performs similarly to cotton.
Thread Weight
50-weight cotton is the workhorse — it blends in without competing with your fabric. Aurifil 50wt is widely considered the best on the market, and I’d agree with that. Use 40wt when you want the quilting itself to be a visible design element, and 60wt or monofilament when you want the stitching to disappear (ideal for stitch-in-the-ditch).
Needles
For machine quilting, a Schmetz Quilting needle in size 75/11 or 90/14 is your default — designed to pierce multiple layers cleanly. Switch to a Microtex/Sharp for precision ditch work. Change your needle every 6–8 hours of sewing time. A dull needle causes more skipped stitches than almost anything else, and most people don’t change theirs nearly often enough.
For hand quilting, Between needles in sizes 8–12 are standard. Start with an 8 and work toward finer sizes as your technique improves.
Must-Have Presser Feet
- Walking foot: essential for straight-line quilting
- Free-motion/darning foot: required for FMQ
- Ruler foot: lets you use acrylic rulers as guides on the quilt surface during FMQ — genuinely game-changing once you’re ready for ruler work
Common Mistakes and How to Avoid Them
Skipping the walking foot. A regular presser foot only feeds the bottom layer. With three layers, the top shifts forward and you get ripples and tucks. There’s no workaround — just get the foot.
Not basting enough. If your pins or stitches are spaced more than 4 inches (10cm) apart, the layers have room to shift. The backing is especially prone to puckering because it’s the layer farthest from where you’re working. More basting is almost always better.
Inconsistent stitch length in FMQ. This is a practice problem, not an equipment problem. Stitch length in FMQ is controlled by the ratio of your hand speed to your machine speed. Too slow with your hands and you get tiny cramped stitches; too fast and they’re long and loopy. Make a sample sandwich and practice until your stitches look consistent before touching your real quilt.
Starting at the edge instead of the center. Starting at an edge traps excess fabric in the middle with nowhere to go. Always start from the center and work outward — that pushes any fullness toward the edges where you can ease it off.
After the Quilting Is Done
Squaring Up
Once all your quilting is complete, the edges will likely be slightly uneven. Use a large square ruler and rotary cutter to trim all four sides straight with true 90-degree corners. This step makes binding dramatically easier and gives the finished quilt a professional look.
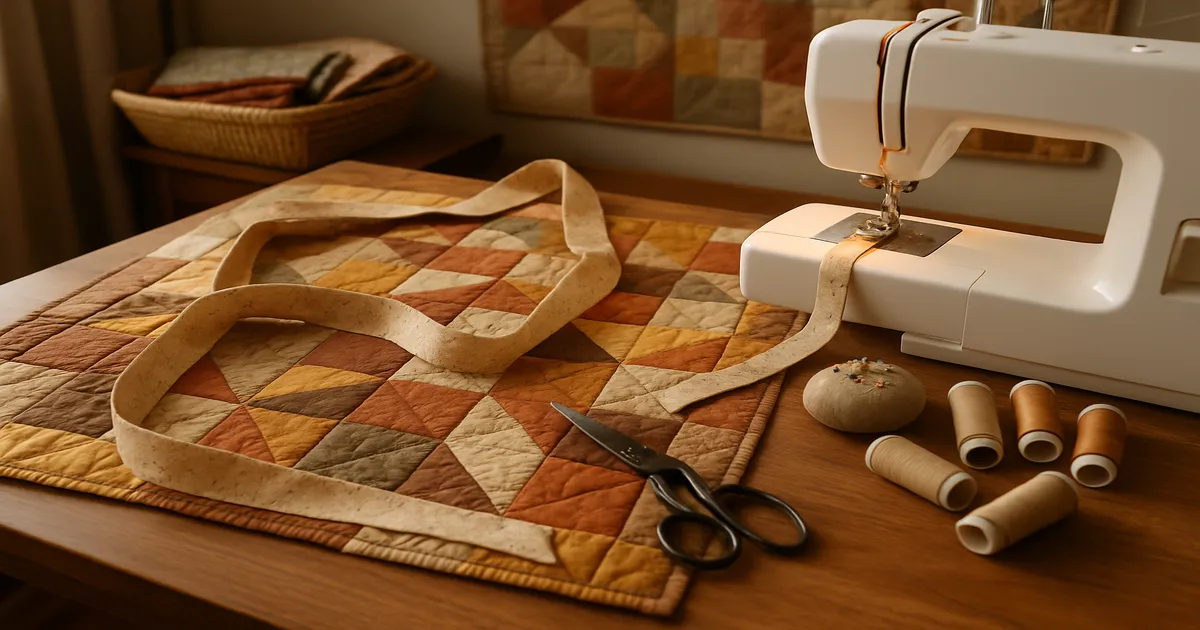
What Comes Next: Binding
Binding is the strips of fabric sewn around the perimeter to enclose the raw edges — the final step between a quilted sandwich and a finished quilt. It’s a separate process with its own technique, but for now, just know it’s the last thing standing between you and done.
Frequently Asked Questions
What’s the difference between quilting and piecing?
Piecing is sewing fabric pieces together to create the quilt top. Quilting is what comes after — stitching through all three layers to hold them together. You can’t call it a finished quilt until it’s been quilted.
Do I need a special foot to quilt on my sewing machine?
Yes. For straight-line quilting you need a walking foot, which feeds all layers through the machine at the same rate. For free-motion quilting you need a darning or free-motion foot with the feed dogs lowered. A standard presser foot will cause the layers to shift — there’s really no substitute.
How far apart should quilting lines be?
It depends on your batting. An 80/20 blend can be quilted up to 8–10 inches (20–25cm) apart. Cotton and wool battings typically need quilting every 3–4 inches (7.5–10cm). Check the manufacturer’s recommendation on your batting package — exceeding it means the batting may shift and bunch after washing.
What’s the best batting for a first quilt?
An 80/20 cotton-polyester blend like Hobbs Heirloom is the most forgiving choice for beginners. It has a nice drape, doesn’t require dense quilting, and behaves predictably. It’s what I’d recommend to anyone making their first few quilts.
Can I quilt without basting first?
Technically yes, but you really shouldn’t. Without basting, the layers shift as you quilt and create tucks and puckers on the backing that can’t be fixed after the fact. The only real exception is longarm quilting, where the quilt is loaded under tension on rollers. For home machine or hand quilting, don’t skip basting.