Quick Answer: The best hand quilting designs for beginners are stitch-in-the-ditch, diagonal grid, crosshatch, echo quilting, and outline quilting. All five forgive uneven stitches and need little or no marking. You don’t need artistic skill or expensive gear — a needle, some thread, a 14-inch (35.5 cm) hoop, and patience will get you started. Read on for design details, tool picks, and a full walkthrough of the hand quilting stitch itself.
Hand quilting designs for beginners don’t need to be complicated to look beautiful. The simplest geometric designs — the kind you mark with a ruler and a piece of chalk — often produce the most satisfying results, because the texture and shadow of the hand stitch do the heavy lifting for you. What you’re after is that soft, undulating surface that machine quilting can’t replicate: tiny stitches compressing the batting, unquilted areas puffing gently upward, a quilt that looks handmade because it is. Even stitches at 4–6 per inch create this effect. You’re not trying to be a machine; you’re doing something a machine genuinely can’t do.
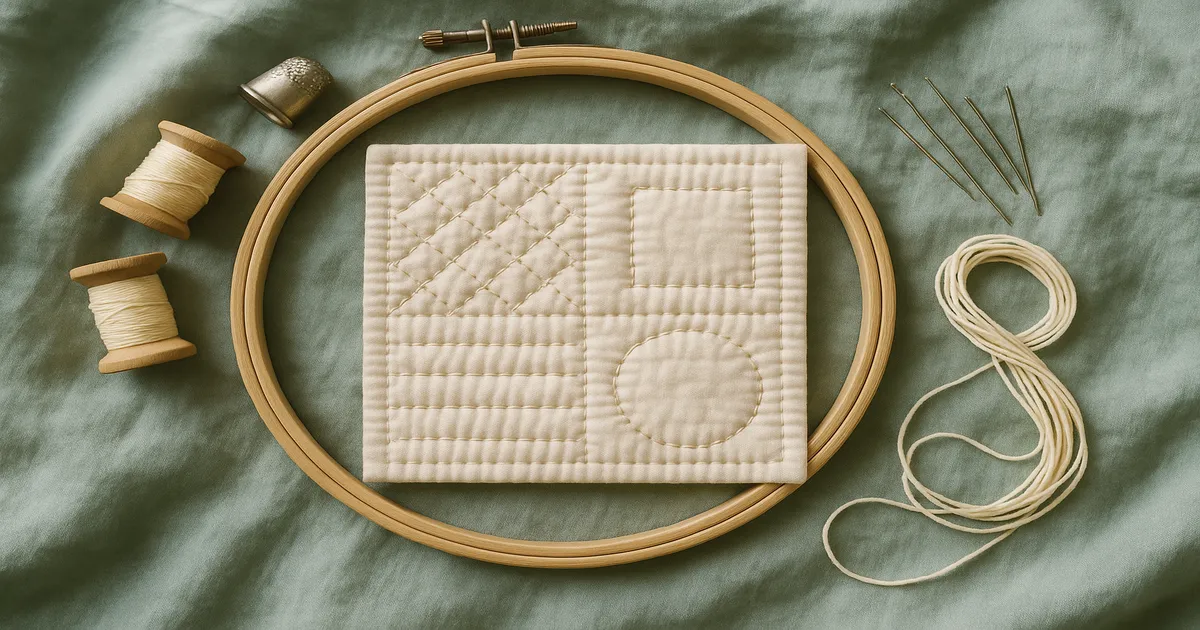
The 5 Best Hand Quilting Designs for Beginners
1. Stitch-in-the-ditch: no marking required
This is the easiest place to start, full stop. You stitch directly in the seam lines of your quilt top — right in the “ditch” where two patches meet. No marking, no ruler, no guesswork. The seam is your guide.
It suits almost any pieced quilt, and because the stitches sit inside the seam, minor irregularities are nearly invisible. It won’t show off your quilting much — but when you’re still learning the rocking stitch, that’s a feature, not a bug.
2. Diagonal grid: a classic that’s more forgiving than it looks
Mark parallel diagonal lines across your quilt at a 45-degree angle, spaced 1 inch (2.5 cm) apart, using a long quilting ruler and a chalk pencil or water-soluble pen. That’s the whole design.
Diagonal lines are forgiving because the eye reads them as intentionally geometric — a slightly wobbly line at 45 degrees still looks purposeful. This works especially well on plain blocks, sashing, and borders.
3. Crosshatch grid: double the impact, same simple technique
A crosshatch is just two sets of diagonal lines crossing each other — one going each direction, both at 45 degrees, both spaced 1 inch (2.5 cm) apart. It creates a diamond grid across the quilt surface and looks genuinely impressive for how little extra effort it takes.
Mark and quilt one full set of lines first, then mark and quilt the second set. Working in two passes keeps your markings cleaner and stops the chalk from rubbing off before you reach it.
4. Echo quilting: follow the shape, repeat the line
Echo quilting means stitching concentric lines around a shape — an appliqué motif, a large patch, a medallion center — spaced roughly 1/4 inch (6 mm) apart. Each line echoes the one inside it, like ripples in water.
This is a staple of Hawaiian quilting and looks stunning on large-scale appliqué. The spacing doesn’t have to be perfect; slight variations in the gap actually enhance the handmade quality. Use a 1/4-inch (6 mm) quilting guide or eyeball it — either works fine at this stage.
5. Outline quilting: frame every patch with a quarter inch
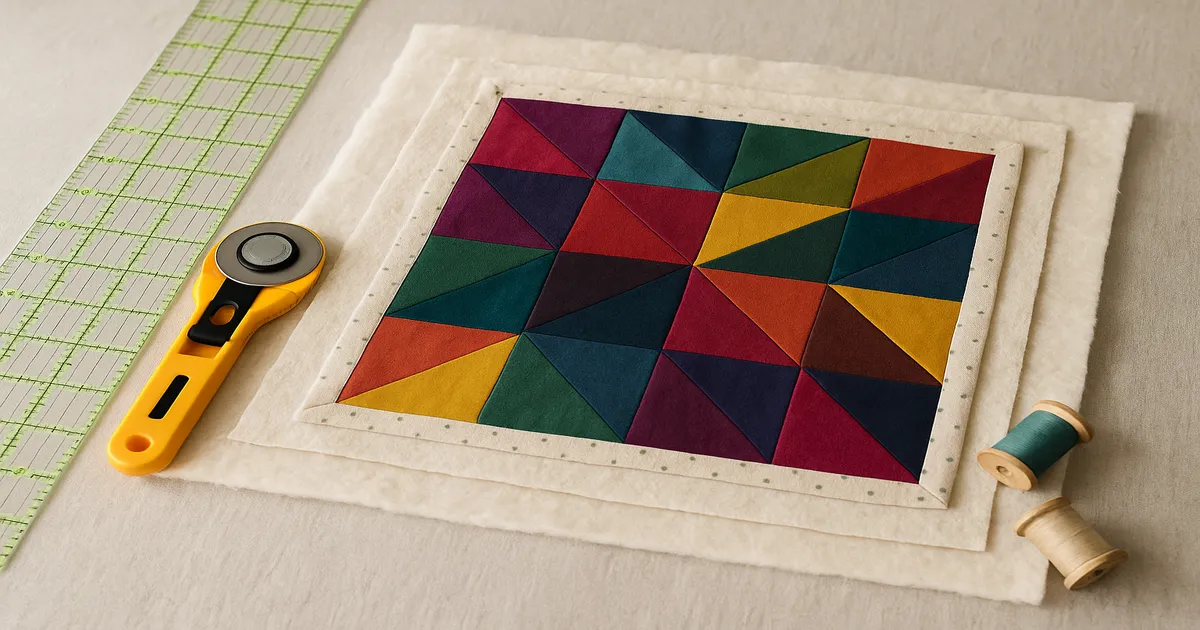
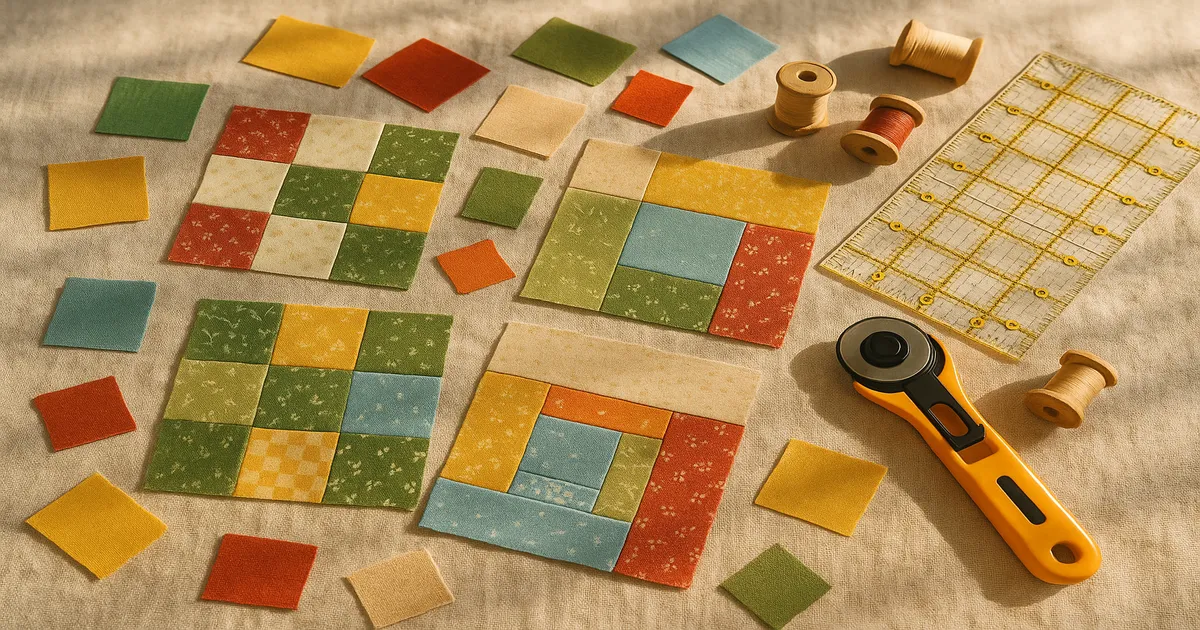
Outline quilting means stitching 1/4 inch (6 mm) inside each patch, running parallel to the seam lines. It frames every piece in your quilt top and adds wonderful texture without any complicated design decisions. Works on virtually every block style, and it’s especially effective on simple patchwork like nine-patches and log cabins.
You can use 1/4-inch (6 mm) masking tape as a stitching guide, or a dedicated quilting guide.
Want more visual punch? Try big-stitch quilting with Perle cotton No. 8 and a larger needle — a size 5 or 7 Between works well here. The stitches are intentionally bold at 3–4 per inch, and the thick thread becomes a design element in itself. It’s one of the most beginner-friendly approaches out there because the larger stitch size is easier to control and the results are immediate.
Essential Tools for Hand Quilting Designs
Fabric and batting
Stick with 100% quilting cotton for your first project. It has a thread count around 68–80, which means the needle passes through cleanly. Avoid batiks and tightly woven designer cottons — they often exceed 200 threads per inch and will make the rocking stitch feel like pushing a needle through cardboard. Muslin is ideal for practice sandwiches.
For batting, Hobbs Heirloom 80/20 is the standard beginner recommendation. The polyester component slightly lubricates the needle, making the rocking stitch noticeably easier. Keep loft at 1/4 inch (6 mm) or less — thicker batting is hard to hand quilt through regardless of skill level.
Thread, needles, and thimbles
Use dedicated hand quilting thread (Coats & Clark or Gutermann both work) and run every length through beeswax before you stitch. This one step cuts tangling and thread breakage dramatically. Keep lengths to 18 inches (46 cm) — longer than that and you’ll spend more time fighting your thread than quilting.
Start with a size 8 Between needle. Betweens are shorter than regular sharps, which gives you better control for the rocking stitch. As your technique improves, move toward size 10 or 12 for finer stitches.
A leather thimble on your dominant hand’s middle finger will save you a lot of frustration. For the finger underneath the quilt, Thimble-It adhesive pads work well until you develop a callus.
Hoops and frames
A 14-inch (35.5 cm) round quilting hoop is the standard starting point — portable, affordable, and the right size for most beginners. Note that quilting hoops have a deeper inner ring (about 3/4 inch / 19 mm) than embroidery hoops, which is necessary to accommodate the thickness of a quilt sandwich. Don’t substitute an embroidery hoop; it won’t grip the layers properly.
Q-Snap frames are a solid alternative. The PVC pipe system grips the fabric without a screw, which eliminates the over-tightening problem that trips up a lot of beginners.
Marking tools
- Light fabrics: water-soluble marking pen (Dritz or Pilot FriXion)
- Dark fabrics: chalk pencil or a Hera marker (the Hera leaves a crease with no pigment — nothing to wash out)
- Always test your marking tool on a scrap of your actual fabric before touching the quilt top.
Preparing Your Quilt Sandwich
Press all seams thoroughly and square up the quilt top before you do anything else. Cut your backing 4–6 inches (10–15 cm) larger than the quilt top on all sides, lay it wrong side up on a clean floor, and tape it down with painter’s tape so it’s taut but not stretched. Taut means flat and smooth. Stretched means you’ve distorted the grain, which causes puckering later — a distinction worth understanding before you start.
If your batting came compressed in a bag, let it breathe for 24 hours. Center it on the backing, smoothing from the middle outward.
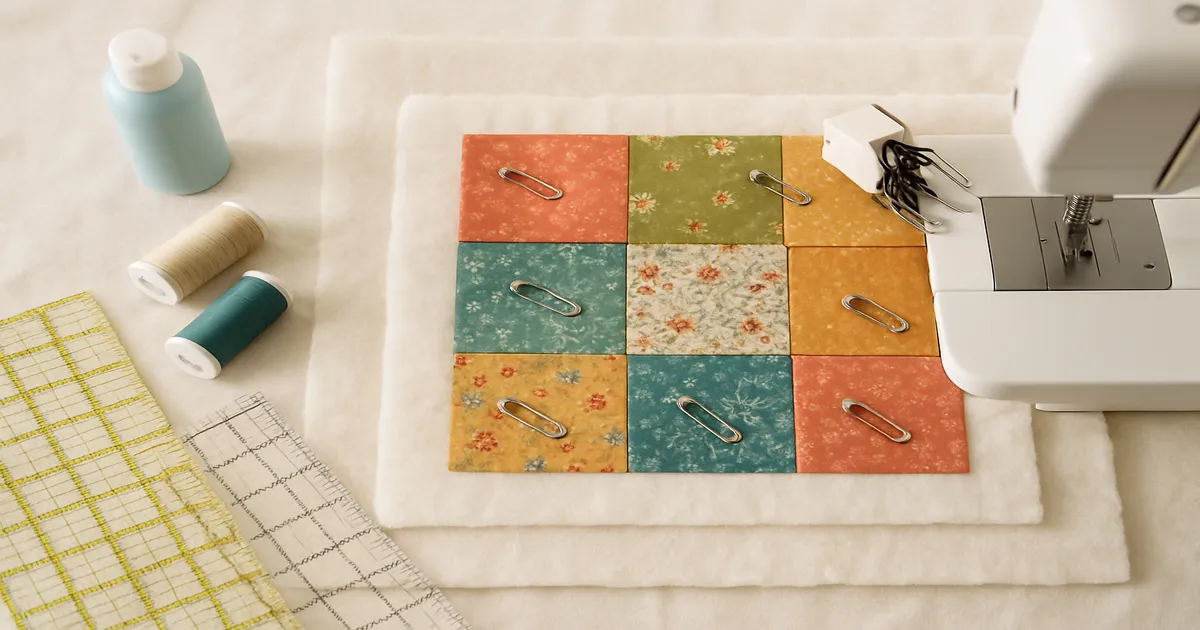
For hand quilting, thread basting beats pin basting every time. Pins catch your quilting thread constantly, and it’s maddening. Baste in a grid with rows no more than 4 inches (10 cm) apart, starting from the center and working outward. Use a contrasting thread color so the basting stitches are easy to spot and remove later.
Mark your design on a flat surface before loading the hoop — it’s dramatically easier than trying to mark inside one.
How to Do the Hand Quilting Stitch
Loading the hoop: Place the inner ring under your quilt, press the outer ring over it, and tighten just enough to hold the layers. The quilt should have a slight give — a gentle sag — not be stretched drum-tight. This feels counterintuitive, but the give is what allows the rocking stitch to work. A drum-tight hoop will fight you the whole time.
The quilter’s knot: Cut an 18-inch (46 cm) length of thread. Hold the thread end between your thumb and forefinger, wrap it around the needle 3–4 times, pinch those wraps, and pull the needle through. Insert the needle into the quilt top about 1 inch (2.5 cm) from your starting point, angling through the batting only — not through the backing. Bring the needle up at your starting point, then tug the thread with a firm, smooth pull until you feel a small “pop” as the knot buries itself in the batting.
The rocking stitch: Place your non-dominant hand under the quilt, directly below where you’re working. Put your thimble on the middle finger of your dominant hand. Position the needle at roughly a 45-degree angle to the quilt surface. Push it down until you feel the very tip with your underneath finger — you don’t need to push it all the way through. When you feel the tip, use that underneath finger to rock the needle tip back upward while your thimble finger simultaneously pushes the eye end down. This rocking motion lets you load 3–4 stitches onto the needle before pulling through. Pull with smooth, even tension — tight enough that the thread lies flat, loose enough that the fabric doesn’t pucker.
Ending a thread: When you have about 6 inches (15 cm) left, make a small knot close to the fabric surface — take one backstitch and pass the needle through the loop twice. Pop this knot into the batting just like you did at the start, clip the thread close to the surface, and it’ll retract and disappear.
Common Beginner Mistakes
Over-tightening the hoop. If your hoop feels like a tambourine, loosen it. The rocking stitch needs give to work.
Thread that’s too long. Eighteen inches (46 cm) is the maximum. Longer thread frays from repeated friction and tangles constantly. It feels wasteful, but it’s genuinely faster in the long run.
Skipping the beeswax. It’s not optional. Uncoated thread tangles, weakens, and breaks — especially through cotton batting.
Wrong fabric or batting. Batiks, tight-weave fabrics, and high-loft batting will make your first experience miserable. Start with standard quilting cotton and Hobbs Heirloom 80/20. Save the fancy stuff for later.
Inactive underneath finger. If you’re missing the backing layer or catching too much of it, your underneath finger isn’t pressed firmly enough against the fabric. Keep it right below your needle position at all times.
Frequently Asked Questions
What is the easiest hand quilting design for a complete beginner?
Stitch-in-the-ditch — no marking required, you just follow the existing seam lines. Once you’re comfortable with the rocking stitch, a simple diagonal grid is the natural next step.
How many stitches per inch should a beginner aim for?
Four to six stitches per inch is completely normal when you’re starting out. Traditional hand quilting targets 8–12 per inch, and competition quilters sometimes reach 18, but consistency matters far more than count at this stage. Stitch size improves naturally with practice.
Do I need to mark my design before I start?
It depends on the design. Stitch-in-the-ditch and outline quilting can be done without marking, using masking tape or a quilting guide as a visual reference. Diagonal grids, crosshatch, and any curved design should be marked on a flat surface before you load the quilt into the hoop.
What’s the difference between echo quilting and outline quilting?
Outline quilting stitches 1/4 inch (6 mm) inside each patch, tracing the shape of each piece once. Echo quilting repeats that outline multiple times in concentric rings, each line 1/4 inch (6 mm) from the last, radiating outward like ripples. Echo quilting creates more visual texture and is especially associated with Hawaiian appliqué quilts.
Can I hand quilt without a hoop?
Technically yes, but it’s not recommended when you’re learning. Without a hoop it’s very hard to maintain consistent tension across all three layers, which leads to puckering on the backing. Some experienced quilters prefer to “quilt in hand,” but they’ve already internalized the tension control. Start with a hoop, learn the feel, then experiment later if you want to.