Quick Answer: Yes, quilt it. Puckering isn’t a talent problem — it’s a mechanical one. Your quilt’s three layers travel at slightly different speeds under the presser foot, and that mismatch shows up as gathers or pleats. Fix the setup — walking foot, thorough basting, center-out quilting — and the fear goes away for good.
If you’ve been asking yourself “should I quilt or not because I’m afraid it will pucker,” you are not alone. I hear this constantly from people who’ve spent weeks piecing a beautiful top and are now too scared to touch it with their machine. Here’s my honest take: puckering is one of the most fixable problems in all of sewing. Once you understand why it happens, it stops being scary and starts being a checklist.
Why Quilts Pucker (And Why It’s Not Your Fault)
Puckering isn’t your quilt rejecting you. It’s what happens when the three layers of your quilt sandwich — top, batting, and backing — move at slightly different speeds as they pass under the presser foot. Those tiny speed differences add up over a foot of stitching and show up as little gathers or bubbles along your stitch line.
Your machine’s feed dogs grip and move the bottom layer. The presser foot holds the top layer down. In normal garment sewing with two layers, this works fine. Add batting in the middle and things get complicated — the batting acts like a sponge being squeezed between two moving surfaces. It compresses, grips, and releases unevenly. That’s the ripple you’re seeing.
The thicker the batting, the worse this gets. High-loft polyester is gorgeous and cozy, but it’s genuinely difficult for beginners. Keep your batting loft under ¼ inch (6mm) until you’ve got a few quilts done.
Because puckering has a mechanical cause, it has mechanical solutions. The rest of this article is a complete prevention system you can apply to your very next project.
The Tools That Prevent Puckering Before You Sew a Stitch
Get a Walking Foot — Seriously, Just Get One
If you take one thing from this article, make it this: buy a walking foot. Also called an even-feed foot, it adds a second set of feed mechanisms on top of your fabric so all three layers move through the machine at the same rate. It was invented specifically to solve this problem. Don’t attempt straight-line quilting on a full quilt sandwich without one.
Walking feet are available for virtually every domestic machine brand and cost less than the fabric in most quilts. There’s no good reason to skip it.
Choose the Right Batting
| Batting Type | Loft | Difficulty to Quilt | Best For |
|---|---|---|---|
| Cotton/poly 80/20 blend | Low–medium | Easy | Beginners, flat quilts |
| 100% cotton | Low | Easy | Hand quilting, flat machine quilts |
| 100% polyester | Medium–high | Moderate | Tied quilts, puffy throws |
| Wool | Medium | Moderate | Warmth, drape |
| Fusible batting | Low | Very Easy | Absolute beginners |
For your first few quilts, reach for Warm & Natural or Pellon 80/20 . Both are low-loft and forgiving. Fusible batting — which bonds directly to your fabric layers with heat — is a great option if you’re genuinely anxious about shifting layers.
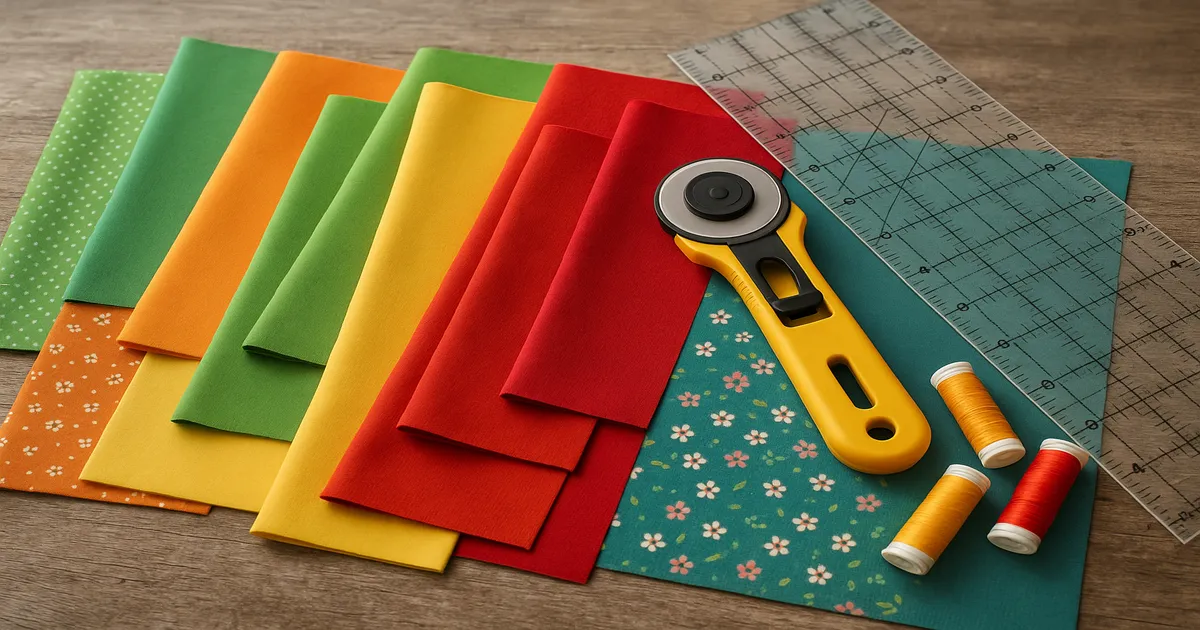
Thread, Needle, and Fabric
Use 40-weight cotton thread for quilting — it’s heavier than the 50-weight you’d use for garments and sits on the surface rather than sinking into the batting. Pair it with a Schmetz Quilting needle, size 75/11 — the tapered point is designed to pierce multiple layers cleanly. Change your needle at the start of every project. A dull needle drags, skips, and contributes to puckering in ways that are easy to overlook.
For fabric, stick to 100% quilting cotton for both the top and backing. It presses flat, feeds evenly, and has almost no stretch. Save the satin and flannel for later.
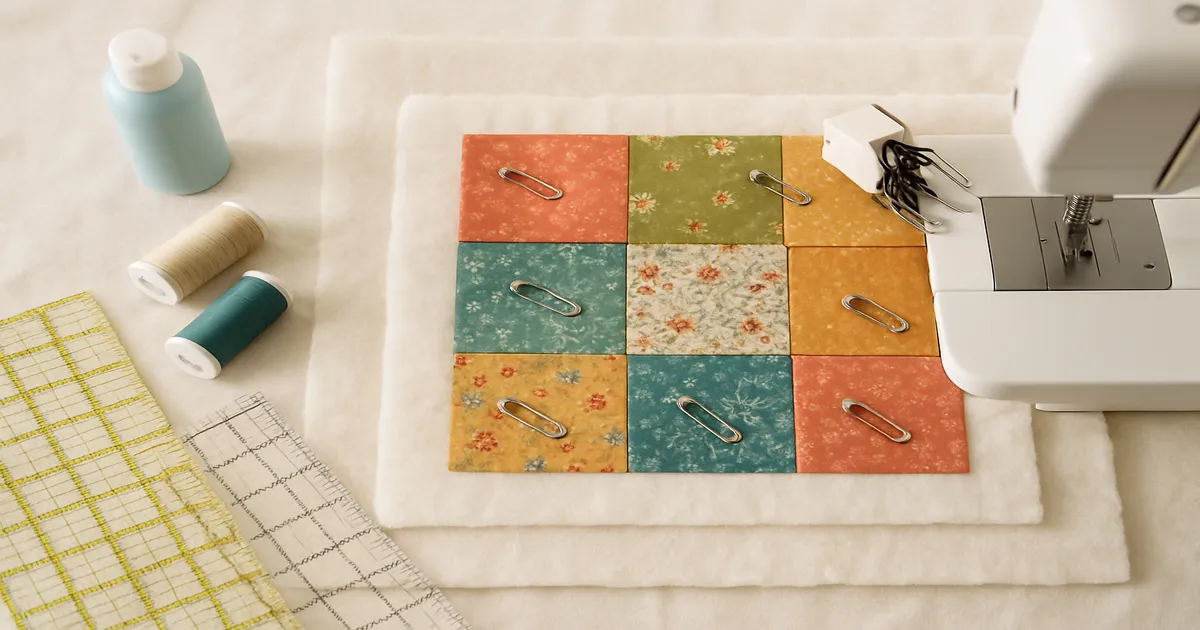
How to Build a Quilt Sandwich That Won’t Pucker
This is where most puckers are either created or prevented. Get this right and you’ve already won half the battle.
Pre-wash and press everything. Wash and dry your fabrics before cutting to remove the factory sizing and allow for shrinkage. Then press the quilt top and backing completely flat. A wrinkle basted in is a pucker baked in. Use a dry iron on cotton — steam can distort bias edges.
Cut backing and batting generously oversized. Cut both 3–4 inches (7.5–10cm) larger than your quilt top on all sides. This gives you fabric to grip during basting and accounts for any draw-up during quilting. It’s not waste — it’s insurance.
Let your batting relax. Unroll or unfold it at least 24 hours before you baste. Batting that’s been compressed in a bag has fold lines that create uneven loft, and uneven loft means uneven stitching. In a hurry? Toss polyester batting in the dryer on low for 10 minutes with a damp cloth.
Layer on a flat surface. Lay your backing wrong-side up on the floor and tape it down with painter’s tape. Smooth it completely flat. Center the batting on top, smoothing from the center outward. Lay the quilt top right-side up on top, again smoothing from center out. Nothing should be stretched or pulled taut — just naturally flat.
Baste more than you think you need to. This is the single highest-impact step for preventing puckering, and it’s the one people rush most. Use the combination method: spray baste between each layer with 505 Spray as you build the sandwich, then add curved safety pins every 4–6 inches (10–15cm) across the entire surface in a grid. If you’re wondering whether to add another pin, add it. Time spent basting is time you won’t spend ripping out stitches.
Machine Setup and Quilting Technique
Settings to Dial In First
Set your stitch length to 3.0–3.5mm — longer than you’d use for garments. Shorter stitches sink into the batting and pull the layers together. Longer stitches sit on the surface and let everything move naturally.
Start at your machine’s default tension (usually 4–5 on a 0–9 scale) and test on a scrap sandwich made from the same fabrics and batting as your actual project. Correct tension looks like this: the stitch locks in the middle of the layers, with neither thread pulling to the front or back. Loops on the back mean your upper tension is too tight — loosen it slightly. Always test at least 12 inches (30cm) of stitching and check both sides before touching your real quilt.
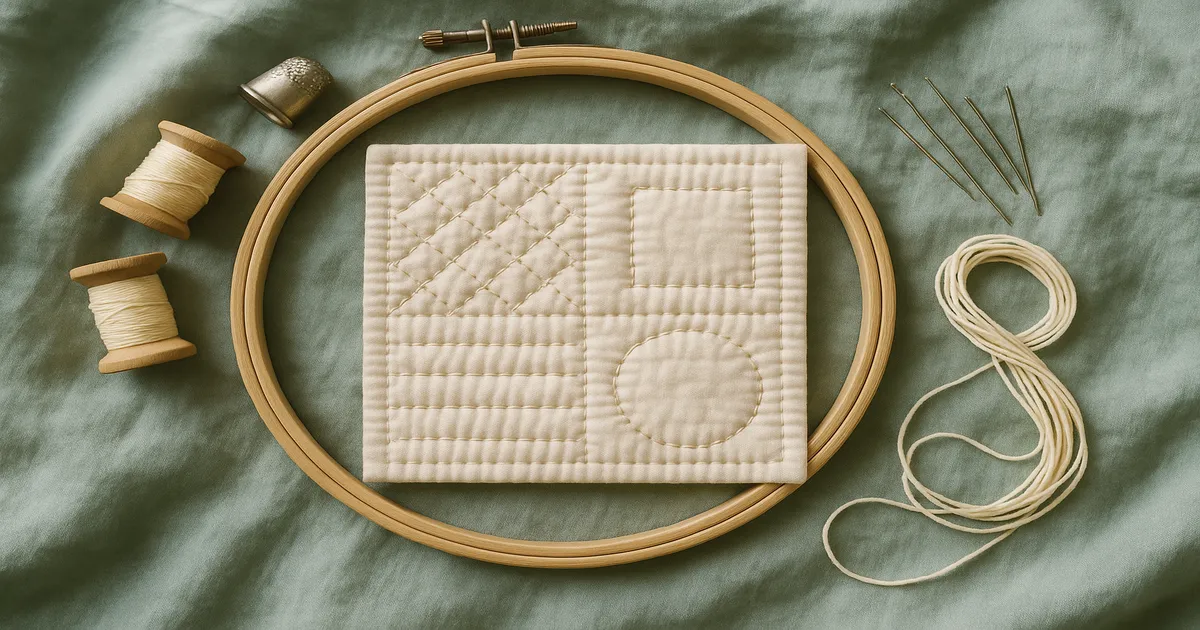
How to Quilt Without Puckering
Support the quilt weight. Set up a table or chairs on both sides of your machine so the entire quilt sits at machine-bed height. A quilt hanging off the edge pulls against the feed dogs and causes uneven feeding — one of the sneakiest puckering causes there is.
Start at the center and work outward. Begin every quilting line at the center and work toward the edges. This pushes any fullness outward where it can escape. Starting at a corner and quilting straight across is a reliable way to end up with a bubble two-thirds of the way through.
Use your hands to guide, not pull. Place your hands 3–4 inches (7.5–10cm) on either side of the presser foot and apply light, even outward pressure as you sew. Think spreading butter, not pulling taffy. You’re keeping things flat and calm, not stretching anything.
Sew at a consistent speed and check the back often. Rushing causes uneven feeding; stop-and-start sewing creates thread nests on the back. Every 6–8 inches (15–20cm), stop and flip the quilt to check for puckers. Catch one early and you’ve got a few inches to rip out. Find it at the end and you’ve got a much bigger problem.
The Mistakes That Cause Most Puckering
Most disasters come from two or three of these happening at the same time. Fix any one and your results improve noticeably.
- Skipping or rushing the basting — layers shift and create puckers you can’t remove without ripping everything out
- Using a standard presser foot — only the top layer gets actively fed; the batting and backing lag behind
- Starting at the edge instead of the center — fullness builds with nowhere to go
- Letting the quilt hang off the table — unsupported weight drags against the feed dogs
- Wrong stitch length, tension, or batting — too-short stitches sink into batting; off tension creates drag; high-loft batting amplifies every other problem
- Not pressing seams flat before basting — unflat seam allowances create ridges the machine hesitates over, causing puckers at intersections
Frequently Asked Questions
Why does my quilt pucker when I machine quilt it?
The three layers of your quilt sandwich travel at slightly different speeds under the presser foot. The batting acts as a friction buffer between them, and a standard presser foot only feeds the top layer actively. Over any length of stitching, that speed difference shows up as gathers or pleats. The fix is a walking foot, thorough basting, and starting from the center.
Do I need a walking foot to quilt on a regular sewing machine?
For straight-line quilting — in the ditch, parallel lines, grids — yes, a walking foot is essentially non-negotiable if you want to avoid puckering. A regular presser foot wasn’t designed to handle three layers. Walking feet are available for virtually every domestic machine brand and aren’t expensive.
What’s the best batting for beginners who are worried about puckering?
A low-loft cotton or 80/20 cotton/polyester blend — Warm & Natural or Pellon 80/20 are both solid choices. They’re flat enough to feed evenly and forgiving of minor technique issues. Avoid high-loft polyester until you’ve got a few quilts done. Fusible batting is another great beginner option since it bonds to your fabric layers with heat and dramatically reduces shifting.
How do I baste a quilt so it doesn’t pucker?
Spray baste between each layer as you build the sandwich, then add curved safety pins every 4–6 inches (10–15cm) across the entire surface. Do it on a large flat surface with the backing taped down so nothing shifts while you work. Baste more densely than you think you need to — the basting phase is where most puckers are either prevented or created.
Can I quilt without a walking foot if I baste really well?
Technically yes, especially on small projects. But you’re fighting the machine’s mechanics rather than working with them. Even with perfect basting, a standard presser foot will still feed the top layer at a different rate than the feed dogs move the bottom, and over 12 inches of stitching you’ll likely see the difference. A walking foot costs less than the fabric in most quilts. Just get one.