Quick Answer: There are two main ways to sew elastic to fabric: sew it directly onto the fabric while stretching it (best for knits, swimwear, and lingerie), or thread it through a fabric casing (easier for beginners and ideal for woven fabrics). Both methods need a zigzag stitch — never a straight stitch — and picking the right elastic type makes all the difference.
Knowing how to sew elastic to fabric unlocks a huge chunk of your sewing life — waistbands, cuffs, swimwear, pajama pants, lingerie, you name it. The technique isn’t complicated, but you need to make a few decisions upfront: which elastic type, which method, which stitch. Get those right and the rest falls into place.
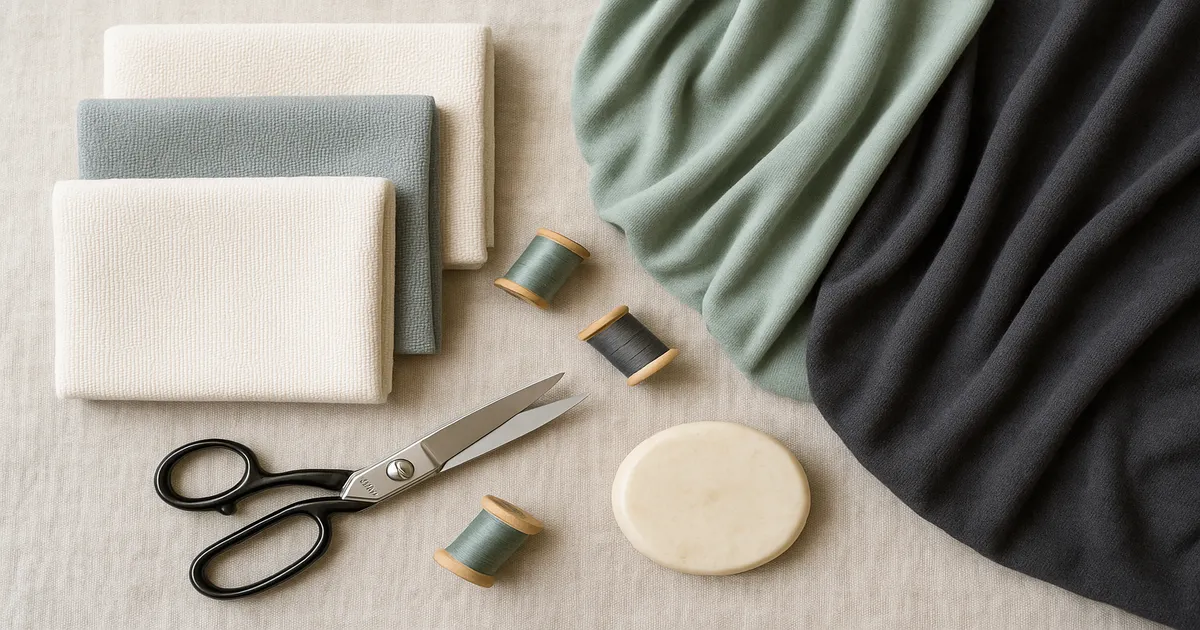
Choosing the Right Elastic
Not all elastic is interchangeable, and this is where a lot of beginners go wrong.
Braided elastic is the cheap, ridged stuff at most fabric stores. It works fine — but only inside a casing. When you stretch it, it narrows significantly, and stitching directly through it kills its recovery. Keep it in a casing and you’re good.
Woven elastic maintains its width when stretched, so you can stitch right through it without wrecking the recovery. It comes in widths from ¼ inch to 3 inches (6–76mm) and handles both methods well. It’s my go-to for most waistband projects.
Knitted elastic is the softest option — it doesn’t fray when cut, lies flat against skin, and recovers beautifully. Use it for lingerie, swimwear, and anything worn close to the body. Like woven elastic, it can be sewn directly onto fabric.
Specialty elastics worth knowing:
- Clear/transparent elastic — a firm polyurethane tape (¼–½ inch / 6–13mm wide) used for swimwear straps and lingerie. Stiffer than knitted elastic but nearly invisible.
- Fold-over elastic (FOE) — folds over a raw edge and acts as both finish and elastic in one step. Great for knit garments and baby clothes.
- Buttonhole elastic — has pre-made buttonholes at regular intervals so you can adjust the waistband after the garment is finished. Smart for kids’ clothing.
- Elastic thread — a thin rubber-core thread wound on your bobbin to create shirring. Completely different animal; don’t confuse it with elastic tape.
One more thing: if you’re sewing swimwear, buy chlorine-resistant elastic specifically. Regular elastic degrades fast in pool water.
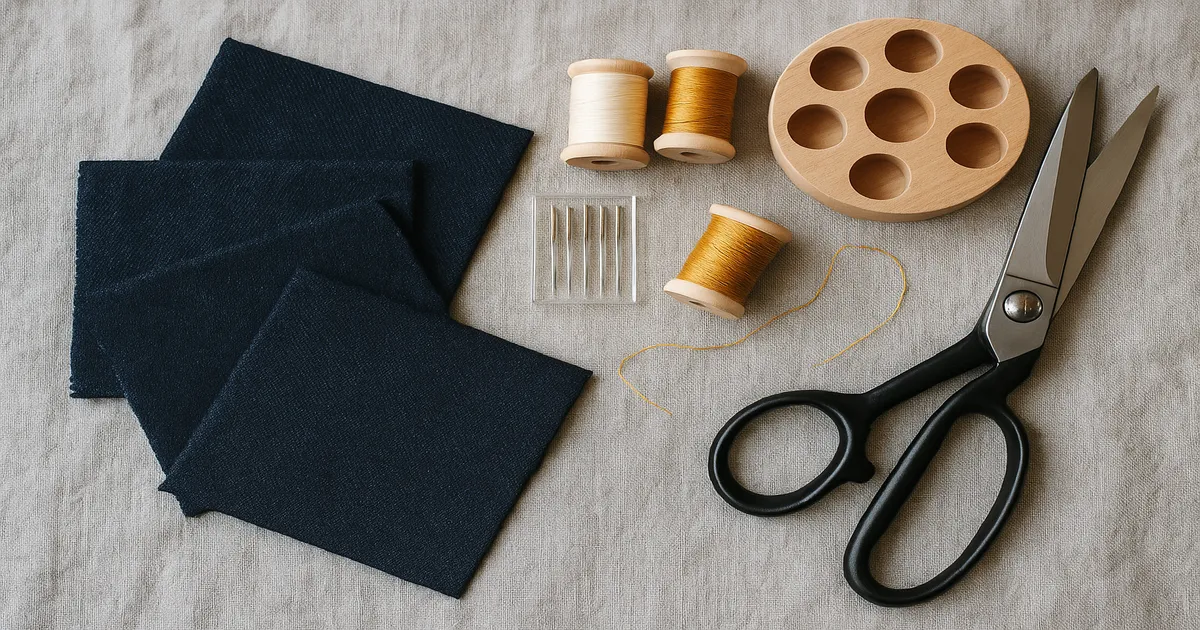
Tools and Materials
Needles
For elastic on knit fabric, use a stretch needle (labeled HAx1 SP) — size 75/11 for lightweight knits, 90/14 for swimwear and heavier fabrics. The deeper scarf above the eye is what prevents the skipped stitches that make you want to throw your machine out the window. A ballpoint needle works as a backup. For topstitching over elastic on knits, a stretch twin needle (size 4.0/75) gives you two parallel rows on top with a zigzag underneath — inherently stretchy and genuinely professional-looking.
For encased elastic on woven fabrics, a universal needle in size 80/12 is perfectly fine.
Thread
Use polyester all-purpose thread. It has a slight built-in stretch and is significantly stronger than cotton under repeated stress. Cotton thread will eventually snap at the stitch line when the elastic pulls — not right away, but it’ll happen. For serged swimwear edges, woolly nylon in the loopers fills in the stitches and adds extra give.
Presser Feet
A standard zigzag foot handles most direct elastic applications just fine. For thick elastic or slippery fabrics, a walking foot is worth the switch — it feeds both layers evenly and stops the fabric from shifting under the elastic. If you sew a lot of waistbands, a specialty elastic foot (sometimes called a gathering foot with elastic guide) feeds elastic at a consistent stretch ratio and saves a lot of hand-holding.
Notions
- Bodkin or large safety pin — non-negotiable for threading elastic through a casing
- Seam gauge — keeps your casing fold depth consistent
- Fabric clips — better than pins for holding elastic without distorting the stretch
- Fabric marker or chalk — for quarter-marking
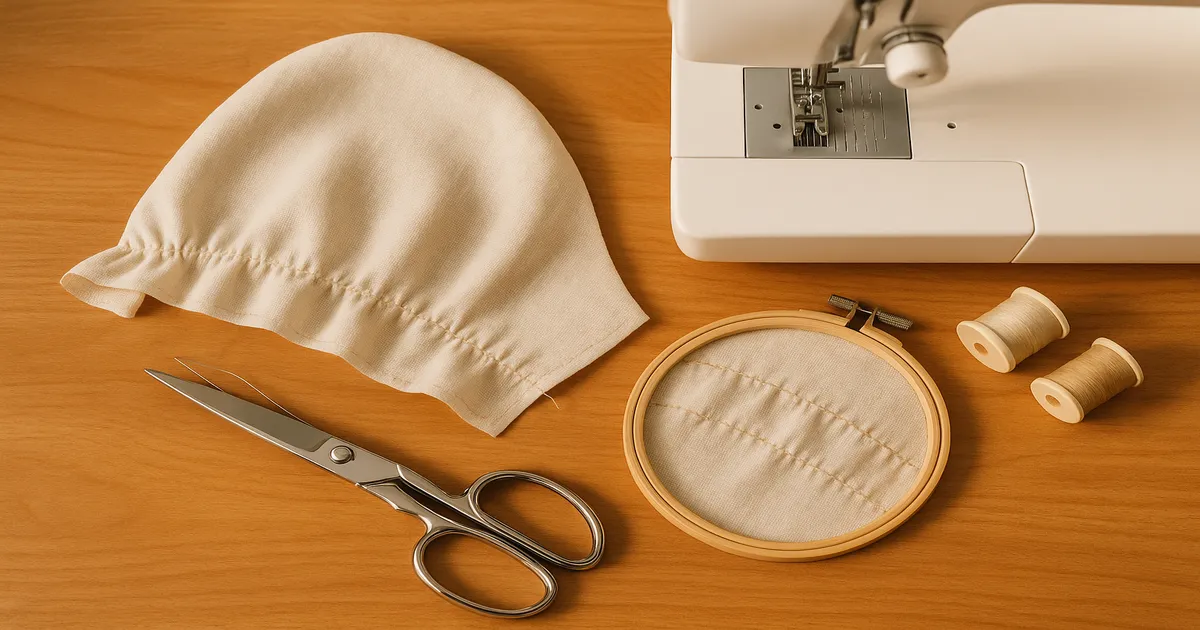
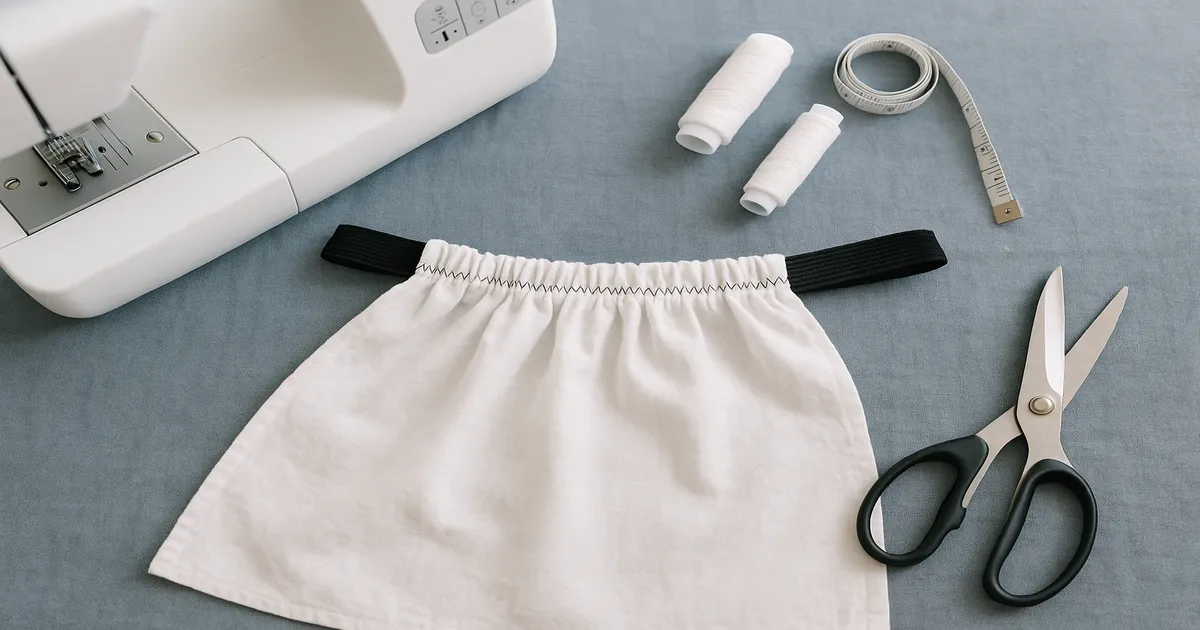
Method 1: Sewing Elastic Directly to Fabric
Faster, lower-profile finish. Right choice for knit waistbands, swimwear, cuffs, and lingerie.
Cutting Elastic to the Right Length
Don’t cut elastic the same length as your fabric edge — that’s the most common beginner mistake. Use these percentages of the actual body measurement:
- Waistbands: 80–90% (30-inch / 76cm waist = 24–27 inches / 61–69cm of elastic)
- Cuffs and wrists: 70–75%
- Necklines: 90–95%
Test-wrap around the body before cutting. It should feel snug but not constricting. When in doubt, cut long — you can always trim.
Joining the Ends
Overlap the ends by ½–¾ inch (13–19mm) and sew a box stitch — a rectangle with an X through it, using a straight stitch at length 2.0–2.5mm. It’s the strongest join and takes about 30 extra seconds. Worth it.
Quarter-Marking for Even Gathers
Fold both the elastic loop and the fabric edge into quarters and mark each quarter point. Match these marks when you clip the elastic to the fabric. Skip this step and your gathers will bunch to one side every time.
Machine Settings
- Stitch: Zigzag, width 3.0–5.0mm, length 2.0–3.0mm. For swimwear, use a 3-step zigzag (triple zigzag) at width 5.0–6.0mm, length 0.5–1.0mm.
- Needle: Stretch, 75/11 or 90/14
- Tension: Loosen slightly — move from 4 toward 3. Always test on a scrap first.
The Stretching Technique
Place the elastic on the wrong side of the fabric edge, matching quarter marks. Hold the elastic taut with both hands — left hand 4–6 inches (10–15cm) ahead of the presser foot, right hand holding the section behind it. Stretch the elastic so it matches the fabric length in the section you’re actively sewing. The fabric gathers up as you release — that’s exactly what’s supposed to happen. Sew at a controlled, moderate speed. Rushing this is how you end up with uneven gathers.
Optional Topstitching
Once the first row is sewn, fold the elastic to the inside and topstitch from the right side using a zigzag or stretch twin needle, stretching as you go. A second row of stitching ¼ inch (6mm) inside the first adds security without the bulk of a fold.
Method 2: Encased Elastic in a Fabric Casing
The beginner-friendly method and the standard approach for pajama pants, casual skirts, and woven fabrics. The elastic never gets stitched through directly.
Calculating Casing Width
The casing needs to be at least ¼ inch (6mm) wider than your elastic. For 1-inch (25mm) elastic, make a casing at least 1¼ inches (32mm) wide. Total fold-over is that casing width plus a ¼-inch (6mm) seam allowance to tuck under the raw edge — so for 1-inch elastic, fold over 1½ inches (38mm) total.
Pressing and Stitching the Casing
Press the fabric edge under by ¼ inch (6mm) first to enclose the raw edge, then press again to the full casing depth. A seam gauge makes this fast and consistent. Stitch along the folded edge with a straight stitch at length 2.5–3.0mm, leaving a 2-inch (5cm) opening for threading. Backstitch at both ends of that opening.
Threading the Elastic
Cut elastic to length (same percentages as Method 1 — don’t join the ends yet). Attach a bodkin or large safety pin to one end and feed it through the casing. Here’s the part people forget: clip the trailing end to the fabric before you start threading. Otherwise the whole elastic disappears inside and you’re fishing around with a seam ripper.
Joining Ends and Closing the Opening
Once the elastic is through, overlap the ends by ½–¾ inch (13–19mm) and sew the box-stitch join. Pull the joined elastic back into the casing, distribute the gathers evenly, and topstitch the opening closed.
Stitch in the Ditch to Prevent Twisting
After the casing is closed, stitch in the ditch at the side seams — sewing straight through all layers right in the seam line. It anchors the elastic and stops it from twisting during wear and washing. I do this on every casing project now and it genuinely makes a difference.
Method 3: Attaching Elastic with a Serger
If you have a serger, this is the fastest method by a significant margin — and it gives the cleanest finish on swimwear and activewear.
Set your machine to a 3-thread or 4-thread overlock stitch with differential feed at 0.7–0.9 to prevent wavy edges on stretch fabric. Place the elastic under the presser foot with the fabric on top, align the edges, and stretch the elastic to match the fabric as you serge. The overlock stitch trims, encases, and secures the elastic in one pass.
For swimwear, use woolly nylon in the loopers — it fills in the stitch and adds extra stretch to the seam. Finish by folding the elastic to the inside and topstitching with a coverstitch machine or stretch twin needle.
Common Mistakes When Sewing Elastic to Fabric
Cutting elastic the wrong length. Cutting it the same length as your fabric edge is the single most common beginner mistake. Use the percentage method and test-wrap before cutting.
Using a straight stitch. A straight stitch has zero give. It will snap the first time the garment is stretched. Always use a zigzag or stretch stitch for any direct elastic application.
Not stretching as you sew. If you sew elastic to fabric without actively stretching it, the fabric puckers and ripples instead of gathering evenly. Both hands need to hold the elastic taut while you sew.
Using braided elastic for direct application. Braided elastic narrows when stretched and won’t recover once stitched through. Woven or knitted only for direct application.
Wrong needle causing skipped stitches. Universal needles pierce and break knit fibers. Switch to a stretch or ballpoint needle — and replace it every 6–8 hours of sewing time. Needles dull faster than most people realize.
Skipping quarter-marks. This produces a lumpy, lopsided waistband. Quarter-mark both pieces and match the marks. For long sections, eighth-mark as well.
Making the casing too narrow. A casing that’s exactly the same width as the elastic is nearly impossible to thread and causes bunching. Add at least ¼ inch (6mm) of ease.
Frequently Asked Questions
What stitch do you use to sew elastic to fabric?
A zigzag stitch — width 3.0–5.0mm, length 2.0–3.0mm — works for most direct applications. For swimwear, a 3-step (triple) zigzag is better because it distributes stress across more thread. Never use a straight stitch; it has no give and will break under stretch.
Do you stretch elastic when sewing it to fabric?
Yes — for direct application you must stretch the elastic as you sew, holding it taut both in front of and behind the presser foot. If you don’t, the fabric puckers instead of gathering. For the encased method, you don’t stretch while sewing the casing itself, only when cutting the elastic to the right length.
Can you sew elastic directly to woven fabric?
Technically yes, but it’s not ideal. Woven fabrics don’t stretch, so direct application tends to cause puckering and the finish is rarely clean. The encased casing method is strongly preferred for wovens. Direct application really shines on knits, where the fabric and elastic stretch together.
What’s the difference between braided and woven elastic?
Braided elastic narrows significantly when stretched and loses its grip if you stitch through it — casing only. Woven elastic maintains its width when stretched and can be sewn directly onto fabric without losing its recovery. For any direct-application project, reach for woven or knitted elastic.
How do you stop elastic from twisting inside a waistband casing?
Two things. First, clip the trailing end of the elastic to the garment before threading so it can’t get pulled inside. Second, once the casing is closed and gathers are even, stitch in the ditch at the side seams — sewing straight through all layers right in the seam line anchors the elastic and prevents twisting during wear and washing.