Quick Answer: To make a custom cosplay top, gather solid reference images, take accurate measurements, draft or adapt a pattern, cut fabric on the correct grain, sew in the right construction order, and finish with pressing and detail work. Beginners can modify a commercial pattern; more experienced sewists can draft a bodice block from scratch. Budget 10–40 hours depending on complexity and $30–$150+ on materials.
Making a custom top for a cosplay is one of the most satisfying sewing projects you can tackle — and one of the most technically varied. A cosplay top might be a skin-tight spandex superhero suit, a structured fantasy bodice with boning, a flowy anime tunic, or a foam-and-fabric armored breastplate. That range is exactly what makes it challenging and genuinely fun.
This guide walks you through every stage of how to make a custom top for a cosplay, from your first reference screenshot to the final press before you pack it for the convention.
Step 1 — Research Your Character and Break Down the Design
Don’t skip this step. More cosplay projects go sideways at the reference stage than at any other point. Collect at least 5–10 images showing the character’s top from the front, back, side, and a 3/4 angle. Official art books, in-game screenshots, and high-quality fan photography all work. If the character is from a 3D game, model viewer screenshots are gold.
Organise everything in a single folder or a Pinterest board you can pull up on your phone while you’re at the fabric store.
Once you have your references, break the top into logical construction zones: bodice front, bodice back, sleeves, collar or neckline, trim, overlays, and any armor or decorative panels. Treating each zone as a separate sewing problem makes the whole project feel manageable.
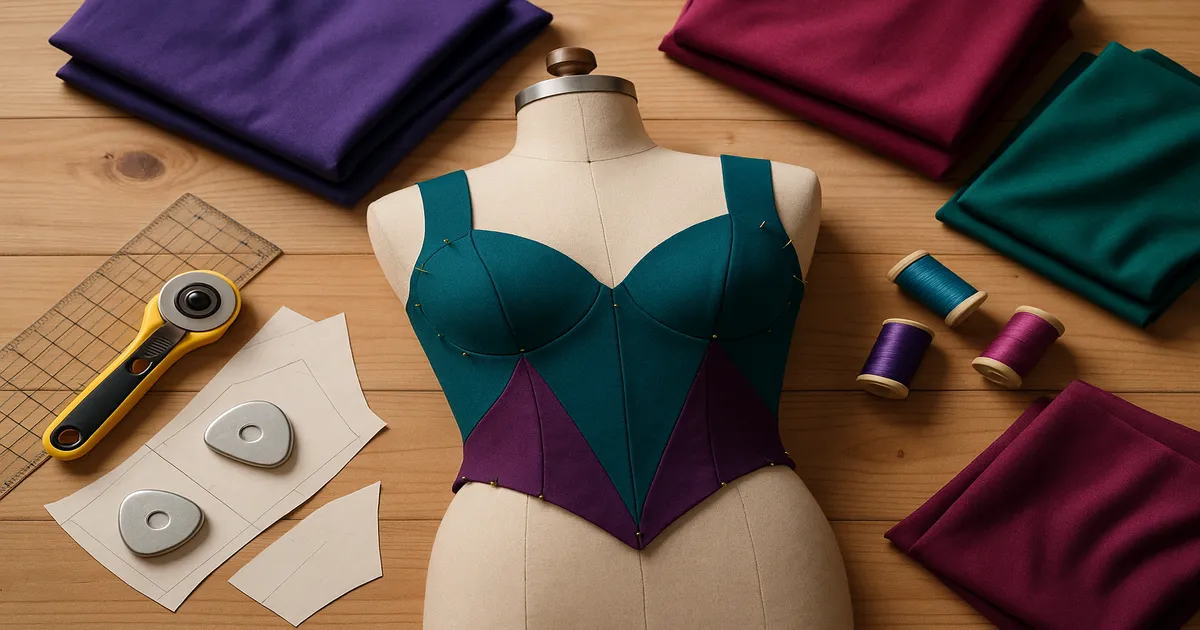
Reading fabric behaviour from source art is a skill worth developing. Soft folds and pooling drape suggest a woven like chiffon or satin. A garment that hugs every curve with no folds points to a knit or stretch woven. Shapes that hold perfectly rigid edges — think shoulder pauldrons or structured lapels — need foam, boning, or heavy interfacing to replicate.
Finally, match your fabric swatches to your reference images under natural light, not fluorescent store lighting. Fluorescent light wrecks your ability to judge undertones, and nothing is more disappointing than getting home and realising your “royal blue” is actually purple.
Step 2 — Take Accurate Measurements
Measure over the undergarments you plan to wear with the costume. You’ll need:
- Bust — at the fullest point, tape parallel to the floor
- High bust — just under the arms, above the bust; critical for bodice fitting
- Waist — at the natural waist, roughly 1 inch (2.5 cm) above the navel
- Torso length — shoulder to natural waist, measured front and back separately
- Shoulder width — point to point across the back
- Bicep circumference — especially important for fitted sleeves
- Cross-chest and cross-back — measured 5 inches (12.7 cm) below the shoulder seam
For woven fabrics, add 2–4 inches (5–10 cm) of ease to your bust measurement so you can actually move and breathe. For stretch fabrics like spandex, you typically work with negative ease — the garment is cut 0–10% smaller than your actual measurements because the fabric stretches to fit. Getting this wrong is how you end up with either a baggy superhero suit or a bodice you can’t zip up.
Measuring yourself solo is doable but annoying. Use a mirror to check the tape is level at the back, and tie a length of elastic around your natural waist to locate that measurement consistently. One friend holding the tape makes a real difference — it’s worth asking.
Step 3 — Draft or Adapt Your Pattern
Option A: Drafting a bodice block from scratch (intermediate–advanced). A bodice block (also called a sloper) is a fitted base pattern with no ease added — you draft it to your exact measurements, then modify it for the design. The Aldrich method and the Palmer/Pletsch fitting method are both well-documented. Once you have the block, use slash-and-spread techniques to add volume, create style lines, and match the character’s silhouette. Add seam allowances of 5/8 inch (1.6 cm) for standard woven construction, or 1/4 inch (6 mm) for serged knit seams.
Option B: Modifying a commercial pattern (beginner–intermediate). Simplicity, McCall’s, and Butterick all publish costume lines with silhouettes that are often close enough to modify. If you’re outside standard sizing, Cashmerette and Closet Core offer patterns drafted for a wider range of bodies. Before cutting any fabric, tissue-fit the pattern — pin the tissue pieces together and hold them against your body to check proportions.
Option C: Scaling from reference images (all levels). If the character has known proportions, use the head-to-body ratio as a scale reference. It’s not precise enough for structural fitting on its own, but it’s genuinely useful for getting trim and panel placement right.
Make a muslin. Seriously. A muslin (also called a toile) is a test version sewn in cheap cotton before you touch your fashion fabric. I know it feels like extra work. It isn’t — it’s insurance. Cutting into $25-a-yard brocade and discovering the back is 2 inches too short is a much worse afternoon than adjusting a $2 muslin. Fit the muslin, mark every change directly on it, then transfer all alterations back to the paper pattern before cutting the real thing.
Step 4 — Choose the Right Fabric and Materials
Fabric by Character Type
| Character Style | Recommended Fabric |
|---|---|
| Anime/fantasy mage robes | Polyester satin or charmeuse |
| Superhero/skintight suit | 4-way stretch spandex (80/20 nylon-spandex) |
| Armored warrior top | Craft foam + Worbla over a fabric base |
| Historical/fantasy bodice | Cotton twill, brocade, or dupioni silk |
| School uniform | Polyester suiting or cotton broadcloth |
| Sci-fi/futuristic | Scuba knit, neoprene, or vinyl/PVC |
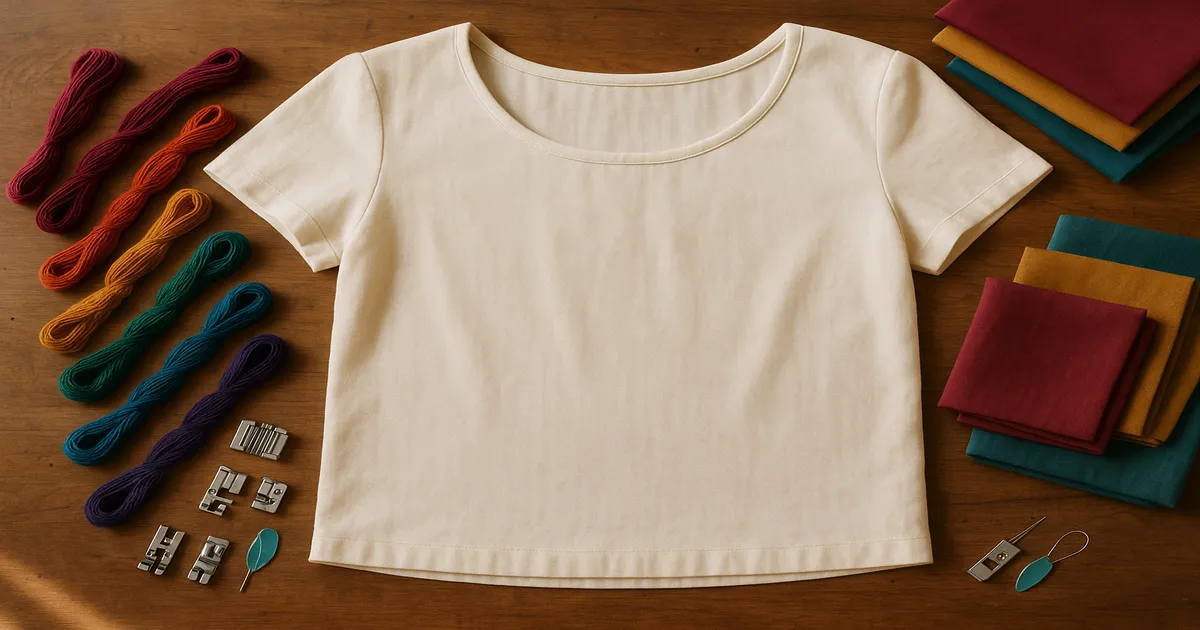
Thread, Needles, and Presser Feet
All-purpose polyester thread handles most cosplay fabrics reliably — Gutermann Sew-All is my everyday choice. For spandex, use woolly nylon thread in your serger loopers; it stretches with the fabric and prevents the popped seams that regular thread causes. Topstitching thread (30 wt or 12 wt) gives decorative stitching real visual impact.
Match your needle to the fabric:
- Universal 80/12 — general woven fabrics
- Universal 90/14 — medium-weight wovens like twill or brocade
- Ballpoint/Jersey 75/11 or 80/12 — knits and spandex blends
- Stretch 75/11 or 90/14 — high-spandex swimwear and activewear
- Microtex 70/10 or 80/12 — silk, tightly woven fabrics, vinyl
Change your needle every 6–8 hours of sewing time. A dull needle causes more skipped stitches and pulled threads than almost anything else. The presser feet you’ll actually reach for: an invisible zipper foot for clean zipper installation, a Teflon foot for vinyl and faux leather, and a walking foot for sewing through multiple layers evenly.
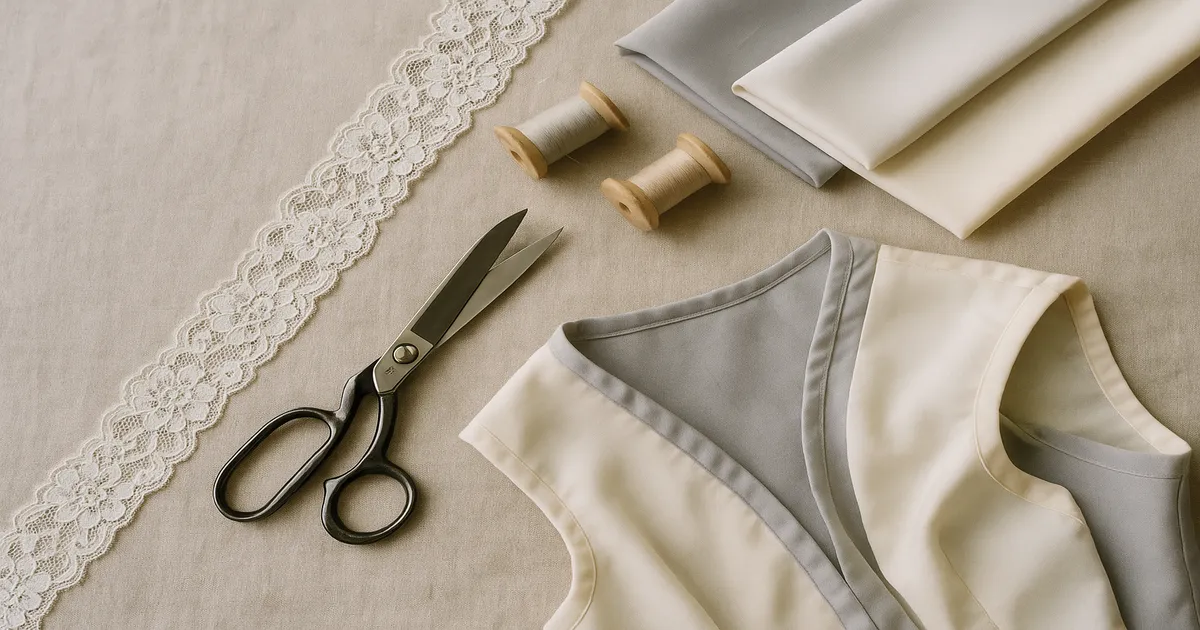
Interfacing and Structural Materials
Use woven fusible interfacing on collar pieces and facings in woven fabrics. For stretch fabrics, knit fusible interfacing adds stability without killing the stretch. If you need a bodice piece to hold its shape without boning, Pellon 809 Décor-Bond is my go-to — it’s stiff enough to matter but not cardboard-rigid.
For structured bodices, spiral steel boning handles curved seams; flat steel (or budget cable ties cut to length with filed ends) works for straight seams. For armor details, 2 mm and 6 mm craft foam gives you lightweight shaping, and Worbla thermoplastic lets you heat-form rigid pieces that attach to a fabric base.
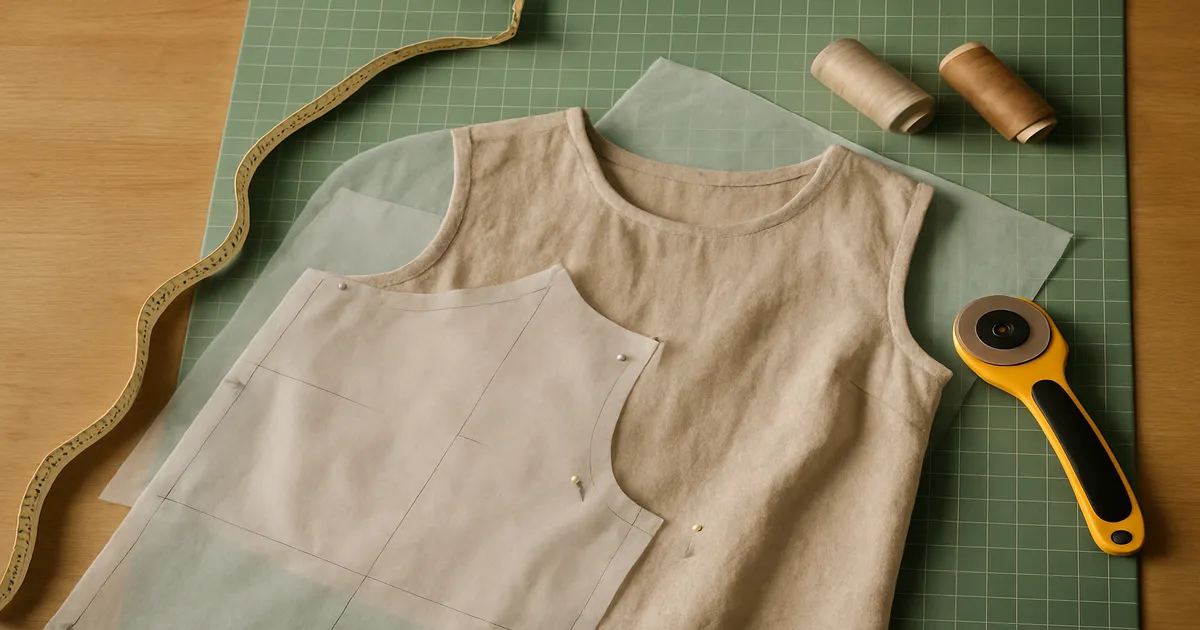
Step 5 — Cut Your Fabric and Transfer Markings
Pre-wash everything. Most fabrics shrink 3–8% on the first wash, and if you skip this step, that shrinkage happens to your finished costume. Wash and dry your fabric the same way you’ll care for the finished garment, then press it flat before laying out your pattern.
The grainline arrow on each pattern piece must run parallel to the selvage. Measure from the grainline to the selvage at two points along the piece and adjust until both measurements match. Fabric cut even slightly off-grain will twist and hang crookedly — and that’s unfixable after construction.
For cutting tools: sharp dressmaking shears (8–10 inch / 20–25 cm) for most fabrics, pattern weights instead of pins on slippery fabrics like satin or vinyl, and a rotary cutter with a 45 mm blade for knits and straight edges. Never cut paper with your fabric scissors. It dulls them fast and you will regret it.
Transfer every dart, notch, and center front/back line before moving the pattern pieces. Use tailor’s chalk for dark fabrics, a water-soluble marking pen for light fabrics, and snip-notches no deeper than 1/8 inch (3 mm).
Step 6 — Sew Your Cosplay Top in the Right Order
Construction order matters more than most beginners expect. Do things out of sequence and you’ll end up sewing into tight corners or catching finished trim in structural seams.
- Staystitch curved edges — immediately after cutting, staystitch curved necklines and armholes at 1/2 inch (1.3 cm) from the raw edge to prevent stretching.
- Sew and press darts — stitch from the wide end to the point, backstitching only at the wide end. Press bust darts downward, waist darts toward center. Always use a tailor’s ham — a flat ironing board creates creases in the wrong places on curved dart legs.