Quick Answer: Bias tape is a strip of fabric cut at a 45-degree angle, giving it enough stretch to curve smoothly around necklines, quilt edges, and corners. To sew bias tape, you either make your own strips and press them with a bias tape maker, or use commercial tape — then apply it with a two-step method (stitch one side, wrap, finish the back) or a faster one-step machine method. It takes a little practice, but it’s completely learnable.
Knowing how to sew bias tape opens up more projects than you’d expect. Quilt bindings, garment necklines, bag edges, apron ties, curved hems — bias tape handles all of them cleanly. The 45-degree cut is what makes it work: that diagonal grain stretches in all directions, so the tape bends around curves without buckling or pulling.
This guide covers everything from cutting your own strips to applying tape around tricky inside corners. If you’ve tried bias tape before and ended up with a wavy, puckered mess, there’s a good chance it was one of four fixable mistakes — and we’ll get to those.
What Is Bias Tape?
Single-Fold vs. Double-Fold
Single-fold tape has both raw edges pressed to the center, leaving a strip that’s folded but still open. It’s useful for casing channels or as a decorative insert between two fabric layers. Double-fold tape is folded in half again so the raw edges are completely enclosed — that’s the one you want for finishing edges, and it’s what most people mean when they say “bias tape.”
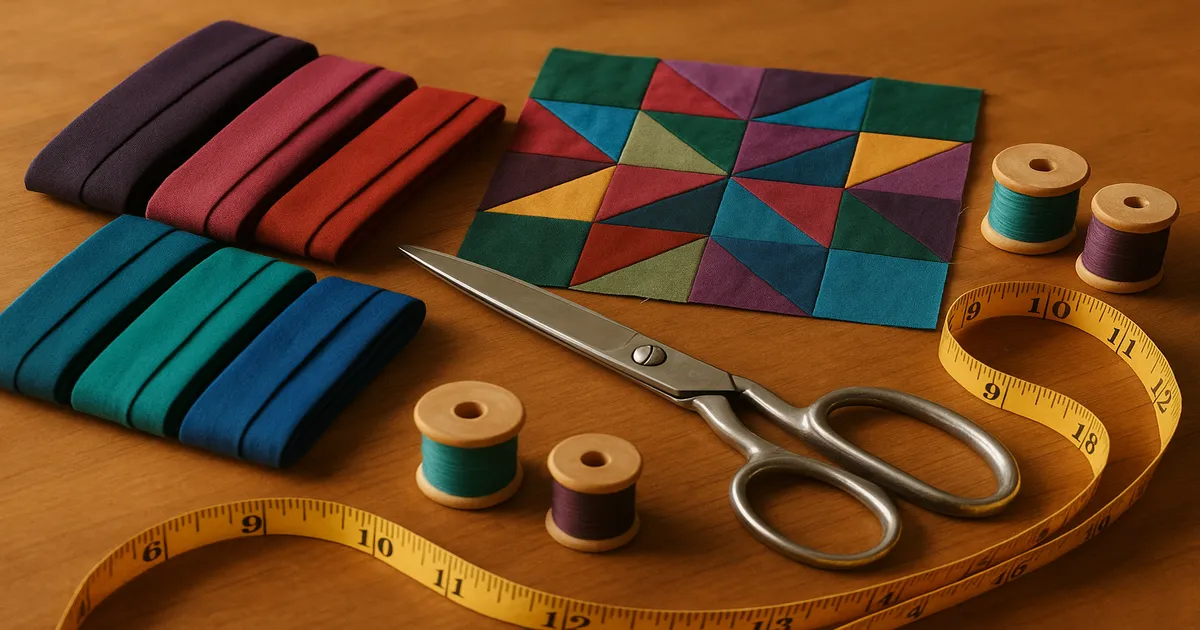
Standard Widths
Commercial bias tape comes in a few standard finished widths:
- ¼ inch (6mm): Delicate garment edges and fine details
- ½ inch (12mm): The most versatile size — works for garments, quilts, and accessories
- ⅞ inch (22mm): Heavier projects, bag edges, home décor
- 1 inch (25mm): Quilt binding, where a slightly wider finish is traditional
These are the folded widths. The flat strip you cut is always wider — more on that below.
Why Bias-Cut Fabric Behaves Differently
Straight-grain fabric is stiff along its length. Bias-cut fabric stretches, which sounds like a problem until you’re trying to ease a binding around a curved neckline. The stretch lets you coax the tape into shape without bunching, miter corners neatly, and join the tape’s ends with a diagonal seam that lies flat. Straight-grain binding simply can’t do any of that.
Tools and Materials
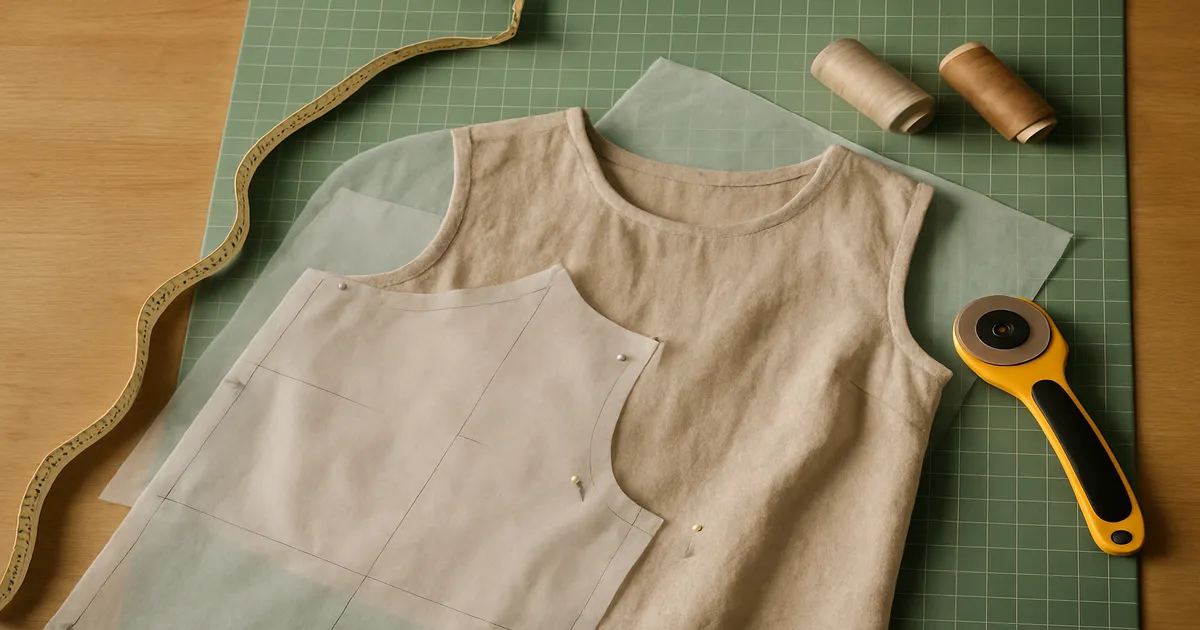
Best Fabrics for Making Bias Tape
Quilting cotton is the go-to — it presses crisply, behaves predictably, and comes in every color imaginable. For lightweight garments, cotton lawn or voile gives you a softer, finer tape. Linen works beautifully for bags and home décor. Avoid knits, loosely woven fabrics, and anything with a large directional print (it’ll look distorted on the bias, which is occasionally a cool design choice but usually just a headache).
Thread and Needle Choices
For machine stitching, a 50-weight all-purpose polyester thread works for most projects. For quilts, 50-weight cotton is a better match. When you’re topstitching from the right side, match thread to the tape. When you’re hand slipstitching, match it to the main fabric — the stitches will disappear.
Use a Universal 80/12 needle for quilting cotton and a Microtex 70/10 for lawn or silk. And change your needle more often than you think you need to.
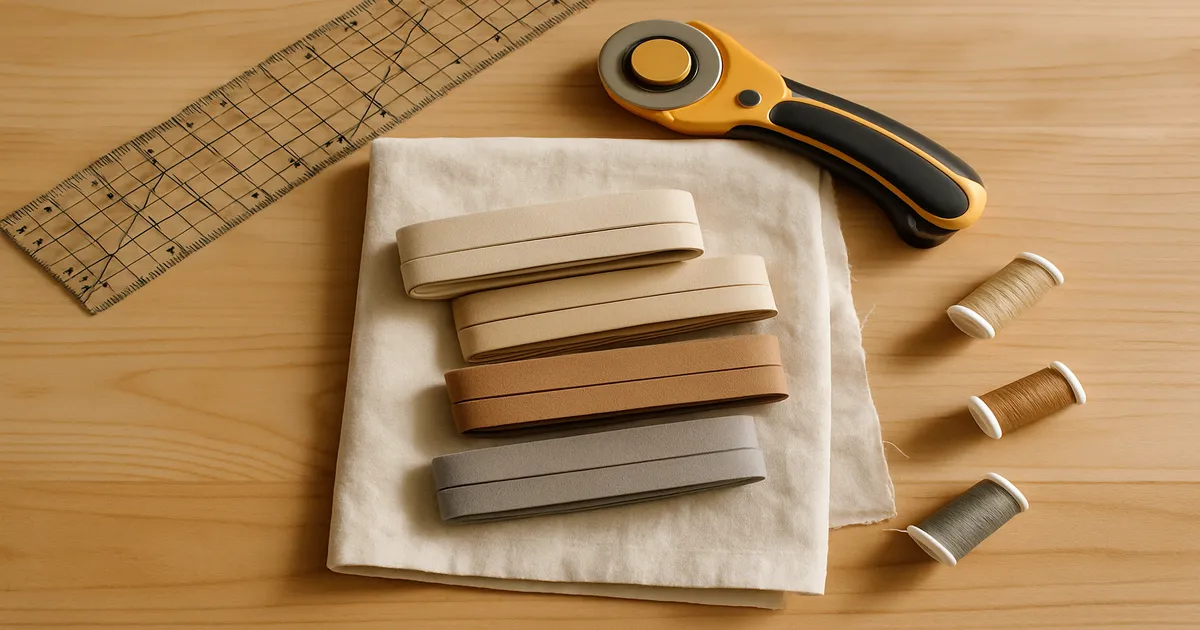
Essential Tools
A bias tape maker is the one tool that makes this whole process dramatically easier. Clover makes the best ones — they come in sizes from ¼ inch (6mm) to 2 inch (50mm) and the folds come out consistently every time. Without one, you’re pressing each fold by hand, which works but takes forever.
Everything else you need:
- Rotary cutter (45mm blade) and self-healing cutting mat (at least 18 × 24 inches / 46 × 61cm)
- Long acrylic quilting ruler, 6 × 24 inches (15 × 61cm), for marking parallel strips
- Iron — a hot, dry iron is essential
- Fabric clips for holding tape on curves without distorting it
- Chalk marker or fabric pen for drawing your bias lines
- Stiletto or awl for guiding fabric at corners
Presser Feet Worth Having
An edgestitch foot is genuinely useful — the guide runs right along the tape edge and keeps your stitching consistent. A standard foot works fine for beginners. If you’re doing a lot of quilt binding, a walking foot prevents layers from shifting. The specialty binder foot that folds and applies tape in one pass is impressive when it works, but it has a steep learning curve and doesn’t play nicely with all tape widths.
How to Make Your Own Bias Tape
Step 1: Pre-Wash Your Fabric
Wash, dry, and press your fabric before you cut a single strip. Cotton bias tape will shrink if you skip this, and it will pucker the finished edge after the first wash. A half-yard (46cm) of quilting cotton yields roughly 3–4 yards (2.7–3.6m) of 1-inch (25mm) tape — usually enough for a quilt border or a couple of garment edges.
Step 2: Find the True 45-Degree Bias
Fold one corner of your fabric so the selvage edge aligns exactly with the cut edge. The diagonal fold that forms is your true bias. Press it lightly or mark along it with chalk. This is your first cutting line, and getting it right matters — strips cut even slightly off-angle won’t stretch evenly.
Step 3: Cut Strips to the Correct Width
The formula is straightforward:
- Double-fold tape: cut strips 4× the finished width (so for ½-inch / 12mm tape, cut strips 2 inches / 51mm wide)
- Single-fold tape: cut strips 2× the finished width
Use your quilting ruler and rotary cutter to mark parallel strips from the bias line. Scissors work, but a rotary cutter is faster and more accurate.
Step 4: Join Strips with Angled Seams
Place two strips right sides together at a 90-degree angle, overlapping the ends so they’d form a straight line when unfolded. Draw a diagonal line across the overlapping square and sew on that line. Trim the seam allowance to ¼ inch (6mm) and press open. This angled seam distributes bulk diagonally instead of creating a lump — it’s noticeably better than a straight join.
Step 5: Press and Fold Using a Bias Tape Maker
Feed the strip wrong-side-up into the bias tape maker and pull it through slowly while pressing with a hot iron right at the tool’s exit — within ½ inch (12mm) of the opening. The tool folds both raw edges to the center automatically. For double-fold tape, fold the pressed strip in half again lengthwise, making one side about 1/16 inch (1.5mm) wider than the other. That wider side goes on the back so it gets caught when you stitch from the front.
No bias tape maker? Fold and press each edge to the center manually with an iron and pins, then fold in half. It works — it’s just slow.
How to Sew Bias Tape onto a Fabric Edge
Method 1: The Two-Step Method (Best for Beginners)
This is the most reliable way to apply bias tape, and the one I’d recommend until you’re comfortable with how the tape behaves.
- Staystitch curved edges first — a line of straight stitching ⅛ inch (3mm) from the raw edge stabilizes the fabric before you start.
- Open the tape completely and place it right side down against the right side of your fabric, raw edges aligned. Pin every 1–2 inches (2.5–5cm) on straight edges, closer on curves.
- Stitch along the first fold line — the crease closest to the raw edge. Use a 2.0–2.5mm stitch length and sew right on it.
- Fold the tape over the raw edge to the wrong side. The wider folded edge should extend just past your stitching line on the back.
- Finish the back — by hand with a slipstitch for garments (nearly invisible and worth the time), or by machine stitching in the ditch from the right side for quilts and utilitarian projects.
Method 2: The One-Step Machine Method (Faster, for Experienced Sewers)
Fold the tape around the raw edge first, enclosing it completely, then stitch from the right side close to the tape’s edge in one pass. The risk is that the back layer shifts and your needle misses it — which you often don’t notice until you flip the work over. Check the back frequently. An edgestitch foot helps a lot here.
How to Sew Bias Tape Around Curves
On concave curves (like a neckline), gently stretch the tape as you pin — the bias grain will ease flat. On convex curves (like a rounded hem), ease the tape slightly without pulling. In both cases, the bias cut is doing the work for you; don’t fight it.
Corners: Inside and Outside
Outside corners: Sew to the corner point, stopping exactly ¼ inch (6mm) from the edge. Backstitch and remove the work from the machine. Fold the tape back at a 45-degree angle, then fold it forward to align with the next edge — this creates a mitered fold. Pin and continue.
Inside corners: Clip into the corner almost to the stitching line (within ⅛ inch / 3mm) to let the fabric spread open. Ease the tape around the corner; the bias will accommodate the angle. A small tuck may form — press it flat after stitching.
Joining Tape Ends for Continuous Binding
Leave a 6-inch (15cm) tail at the start and stop stitching 6 inches (15cm) before you return to it. Overlap the tails, mark where they meet, and join them with the same diagonal seam you used to join strips. Trim to ¼ inch (6mm), press open, and finish stitching. It looks fussy on paper but becomes second nature fast.
Common Mistakes When Sewing Bias Tape
Cutting off the true bias. If your strips aren’t at a true 45 degrees, they’ll stretch unevenly and fight you around every curve. Always confirm your angle by folding the selvage to the cut edge, and use a quilting ruler with a 45-degree line to double-check.
Skipping the pre-wash. This one shows up after the first wash, when your finished edge puckers and pulls. Pre-wash everything — your fabric before cutting, and commercial tape before using it (fold it loosely in a mesh laundry bag).
Stretching the tape while pressing. Pulling the tape as you iron distorts it and makes it shorter than you need. Let the iron’s weight do the work and move the tape forward rather than stretching it. A bias tape maker helps enormously here because it controls the fold automatically.
Stitching too far from the fold line. If you sew outside the fold line on the first pass, the tape won’t wrap far enough to the back and you’ll end up with a gap. Stitch right on the fold line — slow down and use it as a visual guide. An edgestitch foot with the guide set to the fold line essentially solves this problem.
Pro Tips for a Clean Finish
Keep your iron close to the bias tape maker exit — within ½ inch (12mm). Any farther back and the folds start to relax before you set them. For curved garment sections, pressing over a tailor’s ham gives you a shaped surface that matches the curve.
On visible garment edges, hand slipstitching is worth the extra time. The finish looks cleaner and the stitches disappear. For quilts, bags, or anything that takes hard use, machine stitching in the ditch is faster and more durable. Neither is wrong — it depends on what the project needs.
Swap pins for fabric clips on curves. Pins can distort bias tape right where you need it to lie flat. Clips grip without pulling, and you can position them much closer together. I made the switch a few years ago and the difference in how smoothly the tape feeds under the presser foot is real.
As for commercial vs. handmade tape: commercial is fine for utility projects where the color match doesn’t matter much. But if you’re finishing a neckline in a specific fabric, need an unusual width, or need 10-plus yards of quilt binding, make your own. The fabric match is better, the quality is better, and it’s cheaper at scale.
Frequently Asked Questions
What’s the difference between single-fold and double-fold bias tape?
Single-fold has both raw edges pressed to the center, leaving the strip open in the middle. Double-fold is folded in half again so the raw edges are completely enclosed. Double-fold is the standard choice for finishing raw edges because it wraps around and covers both sides of the fabric in one piece.
How wide should I cut fabric strips for bias tape?
For double-fold tape, cut strips four times the desired finished width — so ½-inch (12mm) finished tape requires strips cut 2 inches (51mm) wide. For single-fold tape, cut strips twice the finished width.
How do you sew bias tape around curves without puckering?
Work with the bias grain, not against it. On concave curves, gently stretch the tape as you pin — it’ll ease flat. On convex curves, ease the tape slightly without pulling. Staystitching the curved edge first also helps stabilize the fabric so it doesn’t stretch out of shape while you work.
Can I use a regular presser foot to apply bias tape?
Yes, a standard foot works fine, especially for the two-step method. An edgestitch foot makes the job noticeably easier — the guide keeps your stitching consistently close to the tape’s edge. For quilt binding, a walking foot is worth using since you’re sewing through multiple thick layers.
Do I need to pre-wash bias tape before sewing?
If you’re making your own tape from cotton, yes — pre-wash the fabric before cutting. If you’re using commercial tape on a project that will be laundered, pre-wash the tape too (a mesh laundry bag keeps it from tangling). Skipping this on cotton tape almost guarantees puckering after the first wash, and that’s a miserable thing to discover on a finished garment.