Quick Answer: To sew crochet pieces together, thread a blunt tapestry needle with matching yarn and use either mattress stitch (for garment panels worked in rows) or whip stitch (for flat motifs like granny squares). Always block your pieces to identical measurements before you start — skipping that step is the single biggest cause of wavy, puckered seams.
Knowing how to sew crochet pieces together is what separates a pile of finished squares from an actual blanket. The technique is called seaming, and the method you choose makes a real difference in how the finished project looks, fits, and holds up over time. This guide covers four methods — mattress stitch, whip stitch, slip stitch join, and machine sewing — so you can pick the right one for whatever you’re making.
Which Method Should You Use?
| Project Type | Best Method |
|---|---|
| Sweater fronts, backs, side seams | Mattress stitch |
| Granny squares, hexagons, flat motifs | Whip stitch |
| Structured bags, hats, firm edges | Slip stitch join (crochet hook) |
| Crochet attached to woven fabric lining | Machine sewing |
What You Need to Get Started
- Blunt tapestry needle (size 13–22 depending on yarn weight)
- Matching yarn, same fiber content as your project
- Scissors and locking stitch markers
- Blocking mat, rust-proof T-pins, and a spray bottle or steam iron
Why the Joining Method Matters
Crochet fabric stretches in multiple directions and has an open, looped structure — it behaves nothing like quilting cotton or even knit jersey. That open structure means a seam has to anchor into the stitch loops, not just sit on top of them, or it’ll pull apart the first time someone actually wears the thing.
The seam choice also affects drape and fit. Mattress stitch is nearly invisible and preserves the fabric’s natural stretch, which is why it’s the right call for garments. Whip stitch, depending on orientation, creates either a decorative ridge or a flat hidden seam — both valid, but you need to decide before you start. Machine-sewn seams add stiffness, which is actually an asset when you’re attaching a woven lining to a crocheted bag.
Tools and Materials
Choosing the Right Needle
Always use a blunt tapestry needle for yarn-to-yarn joins. A sharp needle splits the plies instead of sliding through the loop, which weakens both the seam and the fabric underneath.
| Yarn Weight | Tapestry Needle Size |
|---|---|
| Super bulky (6) | Size 13–15 |
| Bulky (5) | Size 13–15 |
| Worsted (4) | Size 16 |
| DK / Light Worsted (3) | Size 18 |
| Sport / Fingering (1–2) | Size 20–22 |
| Thread crochet (size 10 cotton) | Size 24–26 |
Yarn for Seaming
Use the same yarn you crocheted with — same fiber, same weight. Wool seamed with acrylic will behave differently after washing and distort the seam over time. For very textured yarns that won’t thread through a needle, tapestry yarn or Persian wool in a matching color works well. For machine sewing or thread crochet, a 50wt cotton or polyester thread is the right choice. Gutermann Sew-All is a reliable, widely available option.
Blocking Supplies
Blocking before joining isn’t optional — it’s the whole game. Unblocked pieces are different sizes, and different sizes mean rippled seams no matter how carefully you stitch.
- Interlocking foam mats, at least 1/2 inch (12mm) thick — Knitter’s Pride makes a good set
- Rust-proof T-pins, 50–100 for a full blanket
- Spray bottle for wet blocking, or a steam iron for steam blocking
- Blocking wires for perfectly straight edges on shawls and blanket borders
A few extras worth having: locking stitch markers for aligning pieces, a seam gauge for consistent spacing, and beeswax for conditioning yarn before seaming. Running your seaming yarn across a block of beeswax reduces friction and helps it glide through loops — especially useful with mohair or bouclé. Collins makes a good thread conditioner if you’d rather not use raw beeswax.
How to Sew Crochet Pieces Together: 4 Methods
Method 1: Mattress Stitch — Invisible Seam for Garment Panels
This is the method for sweater panels, bag sides, or any two pieces worked in rows where you want a seam that disappears. It takes a little longer than whip stitch, but the result is worth it.
Step 1: Block your pieces. Wet-block or steam-block each piece to its finished measurements and pin flat. Let it dry completely — 8–24 hours depending on the fiber — before you pick up the seaming needle.
Step 2: Align and pin the edges. Lay both pieces right sides up, side by side, edges parallel. Pin with locking stitch markers every 2–3 inches (5–7.5cm), matching row ends precisely. If one edge has slightly more stitches, spread the difference evenly along the seam rather than compensating all at once at one end.
Step 3: Thread your needle. Cut yarn 18–24 inches (45–60cm) long. Longer than that and it’ll tangle and wear thin from being pulled through loops repeatedly. Leave a 6-inch (15cm) tail.
Step 4: Anchor without a knot. Insert the needle under the first horizontal bar (between stitches 1 and 2) on one piece, then under the corresponding bar on the opposite piece. Pull through gently, leaving the tail free to weave in later.
Step 5: Work the stitch row by row. On the right piece, insert the needle under the horizontal bar between stitches 1 and 2 of the next row up. On the left piece, insert under the corresponding bar. Alternate left-right, one bar at a time, working upward. Every 4–6 stitches, pull the yarn gently to close the seam — not after every single stitch, which causes puckering. The yarn should disappear between the stitches when you pull it up. If you can see it from the right side, you’re catching the wrong part of the stitch.
Step 6: Secure the seam. At the end, make a small locking stitch by passing the needle under a nearby loop and back through its own loop before pulling tight. Weave in both tails at least 1 inch (2.5cm) in two different directions.
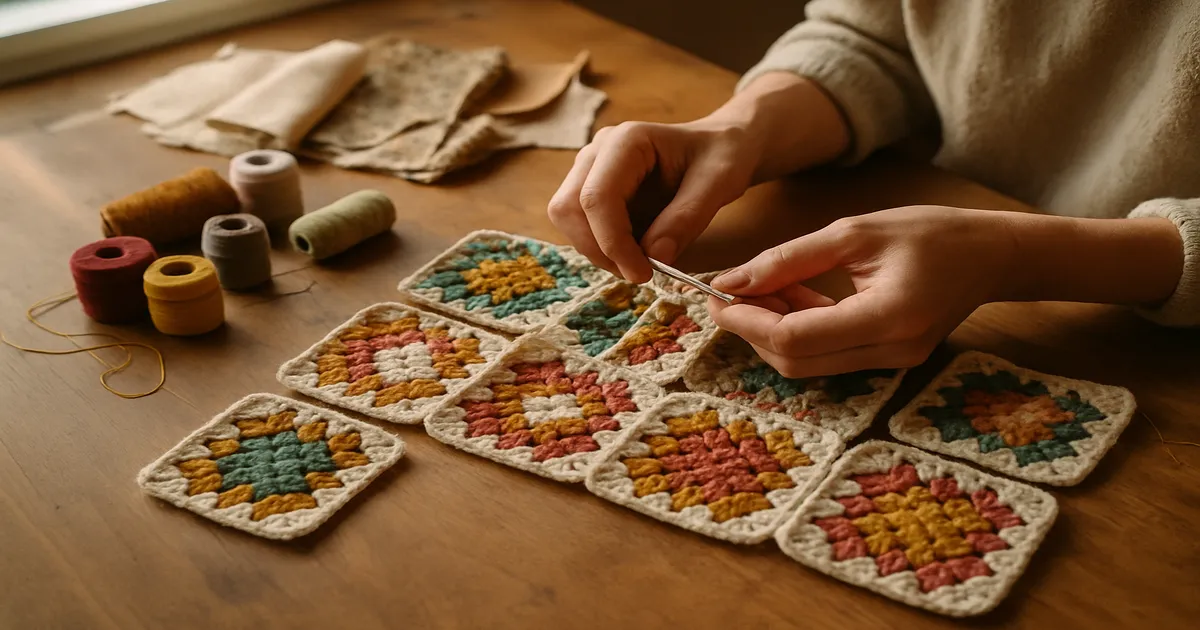
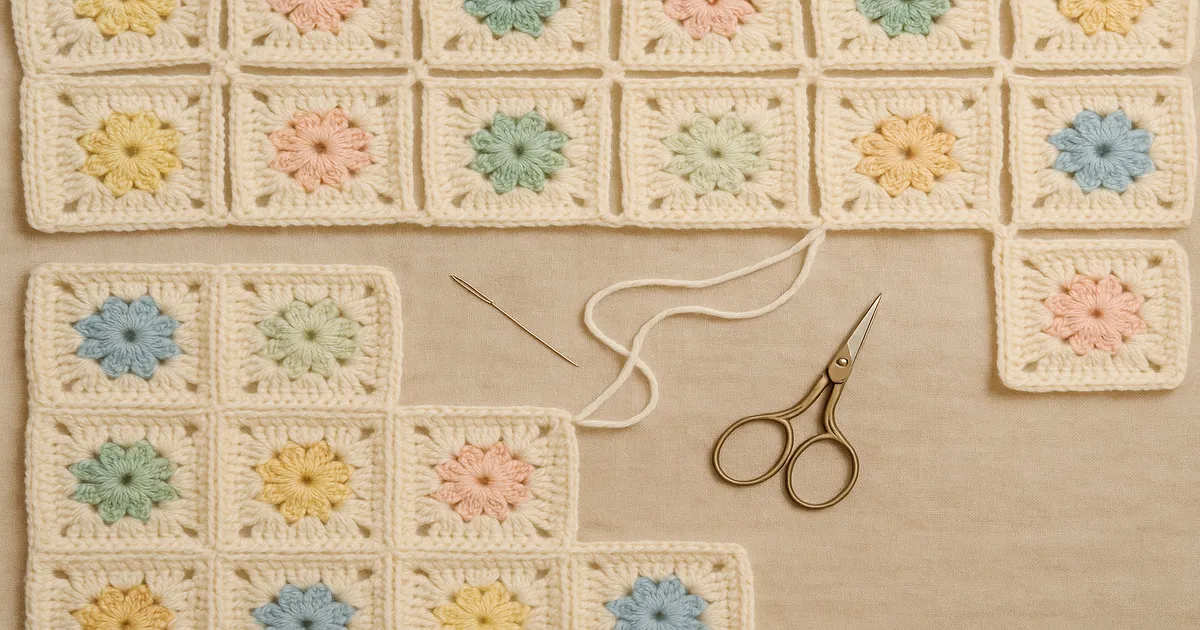
Method 2: Whip Stitch — For Granny Squares and Flat Motifs
Whip stitch is faster and ideal for flat motifs. You have two orientation options: wrong sides together creates a visible ridge on the right side (a design element a lot of people love), while right sides together hides the seam. Neither is wrong — just decide before you start, because you can’t easily switch mid-project.
Step 1: Block all motifs to identical measurements. Even a 1/4-inch (6mm) difference will make the finished piece ripple. Pin every square to the same dimensions. Standard granny squares are typically 4 × 4 inches (10 × 10cm) or 6 × 6 inches (15 × 15cm).
Step 2: Align and secure with markers. Hold two motifs together in your chosen orientation, corner to corner. Place stitch markers at each corner and at the midpoint.
Step 3: Thread and anchor. Thread about 18 inches (45cm) of yarn on a tapestry needle. Anchor by inserting through both corner stitches of both motifs, leaving a 6-inch (15cm) tail.
Step 4: Work through the edge loops. Insert the needle from back to front through the corresponding outermost “V” loops of the edge stitches on both motifs simultaneously — one stitch per crochet stitch along the edge. Keep tension consistent: firm enough to close the gap, relaxed enough to maintain stretch.
Step 5: Join motifs in the right order. Complete all horizontal row seams first, then join the rows together. Doing it the other way causes bunching at corners. Work each seam in the same direction to prevent twisting.
Step 6: Handle corners. Work 2–3 stitches into the corner stitch to prevent pulling. Secure and weave in ends the same way as mattress stitch.
Method 3: Slip Stitch Join
Hold pieces right sides together, insert a crochet hook (the same size you used for the project, or one size smaller) through both edge stitches, and slip stitch across the entire seam. It goes fast and creates a firm, slightly raised seam that’s excellent for structured bags and hats where you actually want that stability. It’s my go-to for anything that needs to hold its shape.
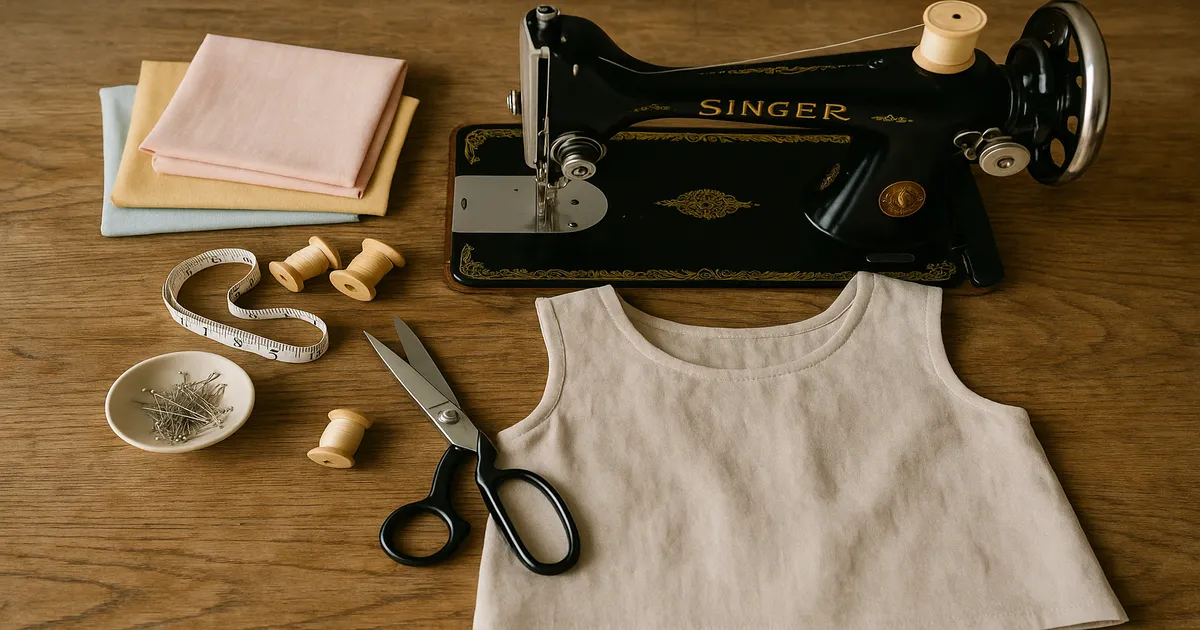
Method 4: Machine Sewing Crochet to Woven Fabric
This is specifically for attaching crochet to a woven fabric lining, or for very fine thread crochet. Don’t try to machine-sew two crochet pieces together — the fabric distorts too much.
- Stabilize the crochet edge by fusing a 1/2-inch (12mm) strip of lightweight fusible interfacing to the wrong side of the crochet edge. Pellon 906F works well for this.
- Set your machine: straight stitch, 3.0–3.5mm stitch length, reduced presser foot pressure.
- Use a walking foot to prevent layers from shifting.
- Needle size: 90/14 universal for worsted-weight crochet; 75/11 for fingering or thread crochet.
- Seam allowance: minimum 1/2 inch (12mm) — don’t trim below 3/8 inch (9mm).
- Press the seam allowance toward the woven fabric side and topstitch 1/4 inch (6mm) from the seam line to keep it flat.
Common Mistakes to Avoid
Skipping blocking. Pieces end up different sizes, and the seam ripples no matter what you do. Block everything first, full stop.
Yarn that’s too long. Anything over 24 inches (60cm) will tangle and wear thin as you pull it through loops. Join new lengths as needed.
Inconsistent tension. Pulling after every stitch causes puckering; pulling only at the end creates uneven gaps. Pull gently every 4 stitches.
Catching the wrong part of the stitch. Your needle needs to go completely through the “V” of the stitch loop, not just under a strand of yarn. A seam that only catches the surface yarn will pull apart with wear.
Joining motifs in the wrong order. Always complete horizontal seams first, then join the rows. The reverse creates bunching at corners that you can’t fix after the fact.
Not weaving in ends securely. Weave in at least 1 inch (2.5cm) in two different directions. For high-stress seams, add a small overhand knot before weaving.
Pro Tips for Cleaner Seams
The every-4-stitch pull rule. Develop the rhythm of pulling gently every 4 stitches. Once it’s a habit, it produces noticeably more professional results than any other single adjustment.
Use your tail to avoid starting knots. Leave a 6-inch (15cm) tail and hold it alongside the seam as you work the first 3–4 stitches, locking it in place. No starting knot, cleaner finish.
Consider join-as-you-go (JAYG). If you’re staring down 80 granny squares and the idea of seaming them all makes you want to abandon the project, look into JAYG. You attach each new motif to the previous one during the final round of crocheting, eliminating post-project seaming entirely. It requires more planning upfront but saves a lot of time on large projects.
Frequently Asked Questions
What is the best stitch to sew crochet pieces together?
It depends on what you’re joining. Mattress stitch is best for panels worked in rows — sweater fronts and backs, bag sides — because it produces a nearly invisible seam. Whip stitch is better for flat motifs like granny squares and hexagons, where you want a clean edge join and consistent spacing.
Can you use a sewing machine to join crochet pieces?
Yes, but only for attaching crochet to a woven fabric lining, not for joining two crochet pieces to each other. Stabilize the crochet edge with fusible interfacing first, use a walking foot, set a straight stitch at 3.0–3.5mm, and allow at least a 1/2-inch (12mm) seam allowance.
Do you need to block crochet pieces before sewing them together?
Yes, always. Unblocked pieces are often different sizes even when worked from the same pattern, because tension varies. Seaming mismatched pieces creates rippling that no amount of careful stitching will fix. Block to identical measurements, let pieces dry completely, then seam.
Why does my crochet seam pucker or ripple after joining?
Three most common causes: skipped blocking, pulling the yarn tight after every single stitch instead of every 4 stitches, and catching only the surface of the yarn rather than going through the full stitch loop. Fix the blocking, fix the pull rhythm, and make sure your needle is going completely through the “V” of each stitch.
What’s the difference between mattress stitch and whip stitch for crochet?
Mattress stitch works from the right side of both pieces laid flat, picking up horizontal bars between stitches — it’s slower but nearly invisible. Whip stitch works with pieces held together, passing the needle through the outermost edge loops — it’s faster and creates either a decorative ridge or a flat seam depending on orientation. Use mattress stitch for garments, whip stitch for motif projects.