Quick Answer: Learning how to sew clothes comes down to a handful of repeatable phases: choose a simple pattern, take accurate body measurements, pre-wash and cut your fabric on grain, sew and press every seam, finish the raw edges, install any closures, and hem. You don’t need a lot of equipment to start — a reliable sewing machine, good fabric shears, a steam iron, and a few basic notions will carry you through your first dozen projects. Elastic-waist skirts and pajama pants are the perfect starting point.
Sewing your own clothes is one of those skills that sounds intimidating until you actually do it — and then you wonder why you waited so long. Learning how to sew clothes is really just a sequence of learnable steps, each one building on the last. Get the sequence right, press your seams, and you’ll produce results that look far better than most people expect from a beginner.
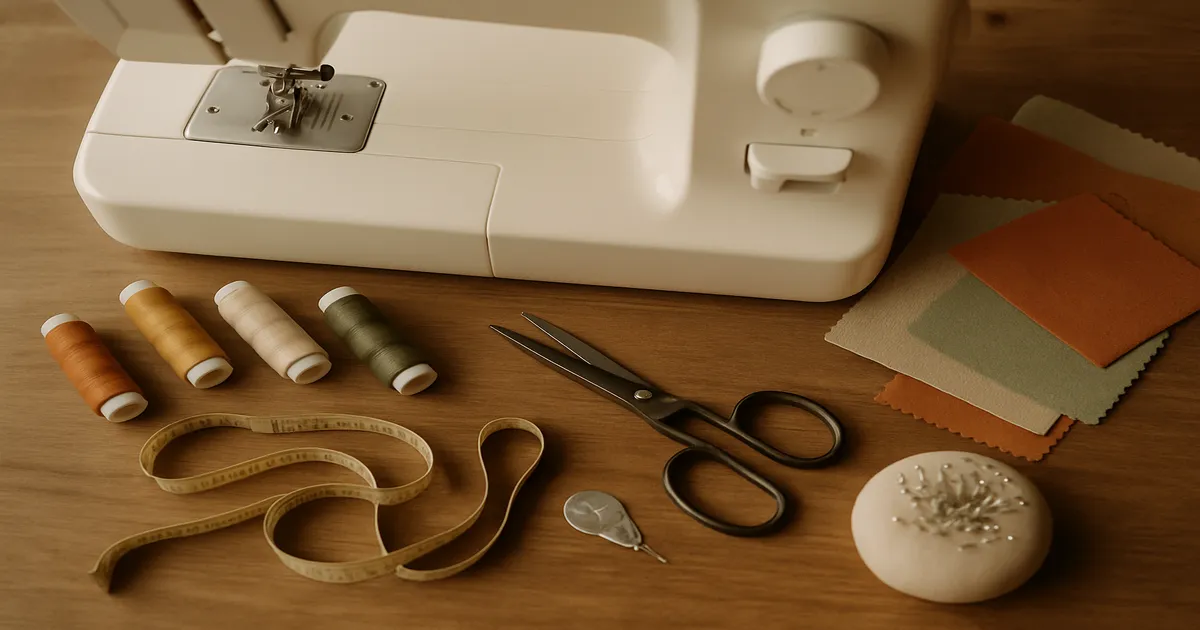
Essential Tools and Materials for Sewing Clothes
Must-Have Sewing Tools
You don’t need a studio full of gadgets. Here’s what actually earns its place on the table:
- Fabric shears — 8–10 inch (20–25cm) bent-handle dressmaker’s shears. Gingher and Kai are both excellent. Keep them for fabric only. Using them on paper is how you ruin a $50 pair of scissors in an afternoon.
- Seam ripper — fine point, and replace it when it gets dull. A dull seam ripper tears fabric instead of cutting thread.
- Flexible measuring tape — 60 inches (150cm). If it’s stretched out, throw it away; an old tape measure will quietly lie to you.
- Clear acrylic ruler — a 2×18 inch (5×45cm) quilting ruler works perfectly for marking seam allowances and hem lines.
- Tailor’s ham and seam roll — for pressing curved seams and long straight seams without leaving impressions. There’s genuinely no substitute for a tailor’s ham.
- Marking tools — tailor’s chalk, a chalk wheel, or a water-soluble pen. Always test on a scrap first.
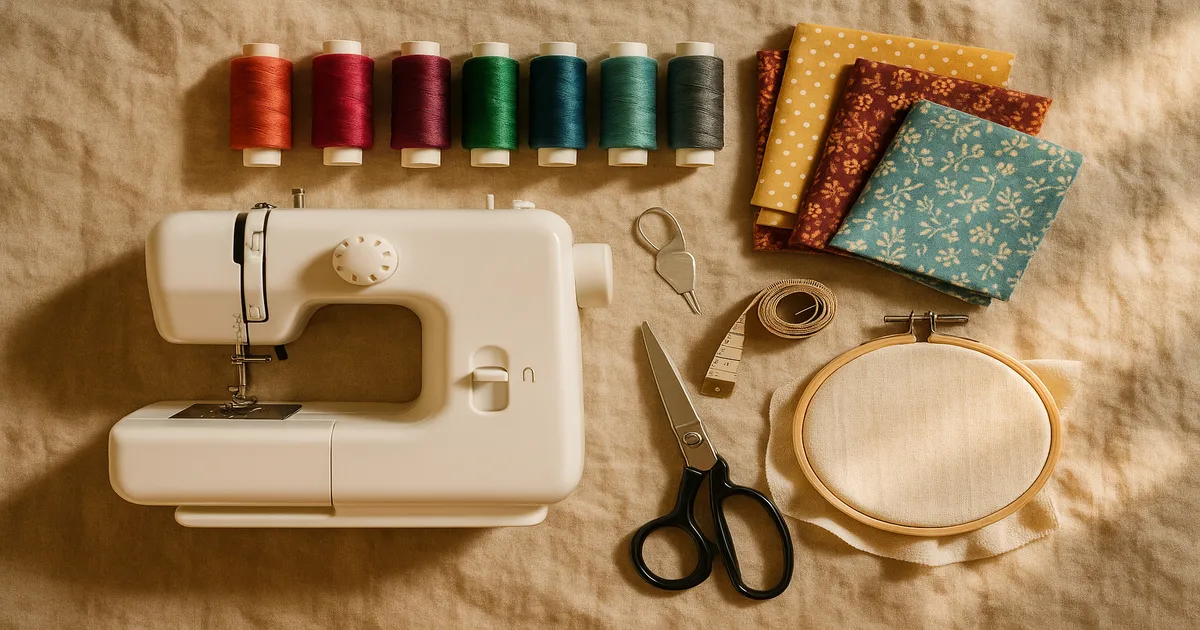
Choosing Your First Sewing Machine
A mechanical machine in the $150–$200 range is all you need to start. Singer, Brother, and Janome all make solid entry-level options. The non-negotiables are a reliable straight stitch and a zigzag stitch. Everything else is a bonus.
Computerized machines are convenient, but they’re not better for beginners — they’re just more expensive. Save the upgrade for when you actually know what features you’d use.
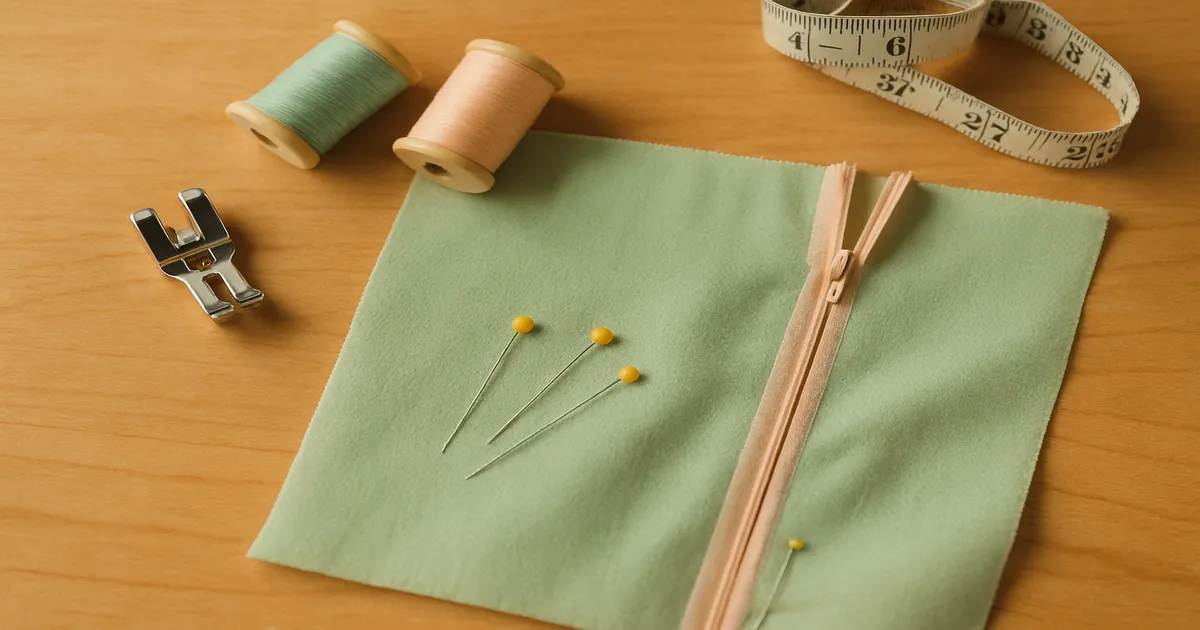
Presser Feet You’ll Actually Use
Most machines ship with an all-purpose foot, which handles straight seams and zigzag finishing just fine. Beyond that, these four are worth having:
- Invisible zipper foot — makes invisible zipper installation genuinely easy instead of genuinely maddening
- Regular zipper foot — for lapped and centered zippers
- Blind hem foot — for machine blind hemming
- Walking foot — indispensable for matching plaids or stripes, and a real help with knits
Fabric and Notions Checklist
For your first few projects, stick to quilting cotton, stable linen blends, or medium-weight knits like ponte or interlock. They don’t shift around on the table, they press well, and they behave predictably. Chiffon and silk can wait.
Stock your notions box with all-purpose polyester thread , fusible interfacing, glass-head pins, hand sewing needles, and a good steam iron. Honestly, a quality iron matters as much as a quality machine. A flat, crisp seam comes from pressing, not just sewing.
Planning Your Project: Patterns, Measurements, and Sizing
How to Choose a Beginner-Friendly Pattern
Read the pattern envelope before you buy fabric. It tells you everything: yardage requirements, notions, finished garment measurements, and difficulty level. Look for patterns rated “Easy” or “Confident Beginner” with fewer than 10 pieces and no set-in sleeves, collars, or buttonholes.
Simplicity, McCall’s, and Butterick all flag their easy patterns clearly. Independent companies like Seamwork and Named Clothing also offer excellent beginner-friendly designs with clear, modern instructions.
Best first projects, roughly in order of difficulty:
- Elastic-waist skirt or pajama pants
- Tote bag (great for building machine confidence)
- A-line skirt with an invisible zipper
- Simple knit T-shirt or tank top
- Woven button-front shirt
How to Take Your Body Measurements
Measure over well-fitting undergarments, not over clothes. Hold the tape snug but not tight.
| Measurement | How to Take It |
|---|---|
| Bust | Fullest part of the chest, parallel to the floor |
| Waist | Narrowest point, about 1 inch (2.5cm) above the navel |
| High Hip | 3–4 inches (7.5–10cm) below the natural waist |
| Full Hip | Fullest part of the seat, 7–9 inches (18–23cm) below the waist |
| Back Waist Length | Nape of neck to natural waist |
| Inseam | Crotch to ankle bone |
| Shoulder Width | Shoulder point to shoulder point across the back |
Pattern Sizing vs. Ready-to-Wear Sizing
Pattern sizes bear almost no relationship to RTW sizes — a pattern size 14 might fit someone who wears a RTW size 10, depending on the company and the decade the pattern was published. Always size by your measurements against the pattern’s size chart, not by what you wear off the rack.
When your measurements fall between sizes, cut the larger one and take it in. It’s always easier to remove fabric than to add it.
Preparing Your Fabric Before You Cut
Pre-Washing: Don’t Skip It
Woven cottons typically shrink 3–5% in the first wash. Linen can shrink up to 10%. Skip pre-washing, launder the finished garment, and you’ll end up with a shrunken, distorted mess that no amount of pressing will fix. Wash and dry your fabric the same way you’ll care for the finished piece.
How to Identify and Use the Grain Line
Every woven fabric has three grain lines:
- Lengthwise grain (warp) — runs parallel to the selvage; least stretch; this is where most pattern pieces are aligned
- Crosswise grain (weft) — runs perpendicular to the selvage; slight give
- Bias — runs at 45° to both; maximum stretch and drape
Cutting a pattern piece off-grain isn’t just a technical error — it causes the finished garment to twist, pull sideways, or hang unevenly. To check alignment, measure from the grain line arrow on the pattern piece to the selvage at two points. Both measurements must match exactly.
Laying Out and Pressing Before You Cut
Press your fabric flat before you even unfold it onto the cutting table. Wrinkles in the fabric mean inaccurate cuts, full stop. Fold right sides together along the lengthwise grain, then pin or weight your pattern pieces in place before cutting anything.
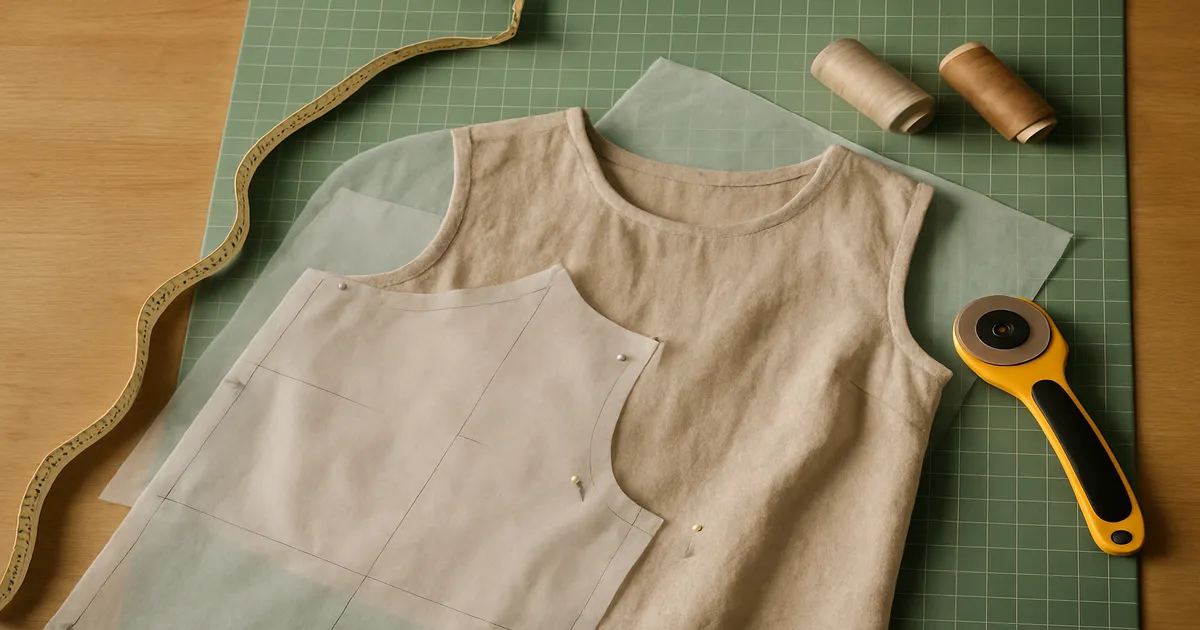
Cutting, Marking, and Interfacing
Cutting Cleanly
Cut with long, smooth strokes — let the shears do the work. Short, choppy cuts leave jagged edges that are hard to sew accurately. Keep the fabric flat on the table and move around it rather than lifting and repositioning.
Transferring Pattern Markings
Transfer all markings immediately after cutting, before you move anything. You need to capture:
- Notches (single, double, triple) — for matching seams during construction
- Dots and circles — pivot points, pocket placements, gathering stop/start points
- Dart legs and dart points
- Center front and center back lines
Tailor’s chalk works well for most fabrics. A water-soluble pen is faster. For interior markings like darts, a tracing wheel with dressmaker’s carbon paper is the most precise option.
Applying Fusible Interfacing
Interfacing goes on waistbands, collar stands, button plackets, and cuffs — anywhere the fabric needs structure. Place the glue side down on the wrong side of the fabric, cover with a damp press cloth, and press (don’t slide the iron) for 10–15 seconds per section. Let it cool completely before you move it.
Stay-Stitching Curved Edges
Stay-stitch curved edges — necklines, armholes, curved waistlines — immediately after cutting, before construction begins. One line of stitching at 3/8 inch (9.5mm) from the raw edge is all it takes. This keeps bias-cut curves from stretching out of shape before you’ve even started sewing them together.
How to Sew Clothes: Seams, Pressing, and Finishing
Basic Seam Construction
The standard seam allowance on most commercial patterns is 5/8 inch (16mm) — but always check, because PDF and indie patterns often use 1/4 inch (6mm) or 3/8 inch (10mm).
- Pin fabric pieces right sides together, matching notches and raw edges
- Align the raw edge to the 5/8-inch seam guide on your needle plate
- Backstitch 3–4 stitches at the start
- Sew forward at 2.5mm stitch length for medium-weight wovens
- Backstitch 3–4 stitches at the end
- Remove pins before the needle reaches them — sewing over pins can break the needle and damage the machine
Stitch length by fabric weight:
| Fabric | Stitch Length |
|---|---|
| Lightweight (chiffon, voile) | 1.5–2.0mm |
| Medium weight (quilting cotton, linen) | 2.5mm |
| Heavyweight (denim, canvas, wool coating) | 3.0–3.5mm |
| Basting (temporary) | 4.0–5.0mm |
| Knits | 3.0–4.0mm zigzag or stretch stitch |
Why Pressing Every Seam Is Non-Negotiable
Press every seam before you cross it with another seam. This single habit separates garments that look handmade (in the bad way) from ones that look professionally made. It’s not optional, and it’s not something you can go back and fix later.
Use a tailor’s ham for curved seams and a seam roll for long straight ones. Always press from the wrong side first, and use a press cloth on the right side — especially with wool, silk, or anything synthetic.
Finishing Seam Allowances
- Serger/overlock — the gold standard; trims and encases the raw edge in one pass
- Zigzag stitch — set to 2.5–3.0mm width and 2.0–2.5mm length; works well for most home sewers
- Pinking shears — fine for tightly woven fabrics that don’t fray heavily
- French seam — encloses raw edges within the seam; ideal for sheers and lightweight fabrics
- Hong Kong finish — bias tape around each seam allowance; beautiful in unlined jackets
Garment Construction: Putting It All Together
The Correct Order of Construction
Patterns are engineered in a specific sequence. Skipping steps or reordering them causes real problems — you’ll find yourself trying to sew in an area you can’t reach, or attaching a collar to a neckline that hasn’t been stabilized. Follow the pattern instructions in order.
A typical dress or blouse sequence:
- Sew and press darts
- Construct and attach pockets
- Sew shoulder seams
- Prepare and attach collar or neckline facing
- Sew sleeve caps and attach sleeves
- Sew side seams and underarm seams in one continuous pass
- Install zipper or closure
- Attach waistband (if applicable)
- Sew hem
- Attach buttons, snaps, or hooks
Sewing Darts
Fold the dart right sides together along the center fold line. Stitch from the wide end tapering to nothing at the very tip — and don’t backstitch at the point. Leave 4–6 inch (10–15cm) thread tails and tie them in a knot instead. Backstitching at the dart point creates a lump rather than a smooth taper. Press bust darts downward; press waist darts toward center front or back.
Installing an Invisible Zipper
Don’t press the zipper before installation — the coil needs to stay uncurled. Place the zipper face-down on the right side of the fabric with the coil sitting on the seam line. Use an invisible zipper foot to stitch as close to the coil as possible. Attach both sides, then switch to a regular zipper foot and sew the remaining seam below the zipper stop, overlapping by 1/2 inch (12mm).
Hemming Neatly
Determine your hem length while wearing the shoes you’ll actually wear with the garment — heel height changes everything. Standard hem allowances:
- Skirts and dresses: 1–2 inches (2.5–5cm) for straight hems; 1/2 inch (12mm) for curved or flared hems
- Pants: 1.5–2 inches (4–5cm)
- Blouses and shirts: 5/8–1 inch (16–25mm)
Finish the raw edge first, turn up and press, then choose your method: machine straight stitch (casual), blind hem stitch (nearly invisible), or hand slip stitch (the most polished finish for anything tailored).
Common Mistakes When Learning to Sew Clothes
Skipping pre-washing. The garment will shrink and distort after the first launder. There’s no fix after the fact.
Cutting off-grain. The finished garment will twist, pull, or hang unevenly. Measure your grain line at two points before cutting — every single time.
Using the wrong seam allowance. This catches a lot of beginners who mix commercial patterns (5/8 inch/16mm) with PDF patterns (often 1/4 inch/6mm or 3/8 inch/10mm). Always check the pattern instructions.
Not pressing between steps. Lumpy seams are almost always a pressing problem, not a sewing problem. You can’t iron them out later once they’ve been crossed by other seams.
Choosing the wrong pattern size. Sizing by RTW size instead of actual measurements is the leading cause of poor fit in home sewing. Measure yourself, compare to the size chart, and cut accordingly.
Frequently Asked Questions
What is the easiest garment to sew for a complete beginner?
An elastic-waist skirt or pajama pants. Both have minimal pieces, no complex closures, and no fitting challenges around the shoulders or bust. You’ll practice straight seams, basic seam finishing, and hemming — the core skills that carry into every other garment you’ll ever make.
Do I need a serger to sew clothes?
No. A serger produces cleaner seam finishes faster, but your machine’s zigzag stitch does a perfectly respectable job on most fabrics. French seams are another solid option for lightweight or sheer fabrics. Most home sewers make clothes for years before ever touching a serger.
How do I choose the right fabric for a sewing pattern?
Start with the pattern envelope — it lists recommended fabric types. As a beginner, lean toward stable wovens like quilting cotton and linen blends, or medium-weight knits like ponte. Avoid anything slippery, stretchy, or sheer until you’re comfortable with the basics. The right fabric makes construction easier; the wrong fabric makes it a fight.
Why doesn’t my finished garment fit even though I cut the right size?
Pattern sizes are based on body measurements, not RTW sizes. The most common culprits are cutting by RTW size rather than measurements, not accounting for ease, or skipping fit adjustments for your specific body (full bust, sway back, broad shoulders). Compare your measurements directly to the pattern’s size chart every time — don’t assume.
How long does it take to learn to sew your own clothes?
Most people can sew a simple elastic-waist garment after a few hours of practice. Getting consistently good results on fitted garments with zippers and tailored details takes longer — realistically, six months to a year of regular sewing. The learning curve is steepest at the start and flattens quickly once pressing and grain line become second nature.