Quick Answer: The fastest way to find beginner sewing classes near you is to check local fabric stores like JOANN, community colleges, makerspaces, and private instructors. Most beginner courses run 6–8 weeks (12–24 hours total) and cost anywhere from $25 to $150 per session. In-person instruction is genuinely better for beginners than online-only learning — having someone catch your threading errors in real time is worth every penny.
If you’ve been searching for sewing for beginners classes near me, you’re not alone. Enrollment in beginner sewing courses jumped 30–50% after 2020, and that demand hasn’t let up. The good news is there are more options than ever. The tricky part is figuring out which one actually fits your budget, schedule, and learning style — because a $150 makerspace series and a free YouTube playlist are not the same thing, even if both technically count as “learning to sew.”
Where to Find Sewing Classes for Beginners Near You
Start with these four venue types, roughly in order of affordability:
- Local fabric stores (JOANN, independent quilt shops) — $25–$75 per session, usually the most accessible entry point
- Community colleges and adult education centers — often the best value, sometimes free for seniors or qualifying students
- Makerspaces and boutique sewing studios — $50–$150 per session, small class sizes, excellent instruction
- Private instructors — $60–$120/hour, the fastest way to progress if budget allows
A quick Google search for your city plus “sewing classes” will surface most of these. Also check Nextdoor, local Facebook groups, and your nearest quilting guild’s website — a lot of great instruction never makes it to the first page of search results.
What to Expect From a Beginner Course
A solid beginner course covers four things: machine operation, seam construction, pressing technique, and basic pattern reading. You’ll spend the first couple of sessions just getting comfortable with the machine. That’s not wasted time — that’s the foundation everything else is built on. By the end of a typical 6–8 week course, most students have finished two or three small projects and can sew independently.
In-Person vs. Online: Which Is Better for Beginners?
In-person wins, and it’s not close. A live instructor can see that your presser foot is up — yes, that’s a real mistake people make repeatedly — and fix it before you’ve wasted 20 minutes troubleshooting. Platforms like Craftsy, Skillshare, and YouTube are genuinely useful as supplements, great for reviewing a technique at home before the next class. But they can’t watch your hands.
Types of Beginner Sewing Classes Available Near You
Local Fabric Stores (JOANN, Independent Quilt Shops)
JOANN runs regular beginner classes at most locations, typically $25–$50 for a 2–3 hour session. Independent quilt shops often have smaller classes and more experienced instructors, though prices run a little higher. Both usually provide machines, which is a big deal if you don’t own one yet.
The main limitation is depth. Store classes tend to be project-based workshops rather than structured courses — great for dipping your toe in, less ideal if you want a methodical foundation.
Community Colleges and Adult Education Centers
This is the underrated option. Continuing education programs often offer multi-week sewing courses for $80–$200 total, and some offer free or reduced-cost enrollment for seniors or low-income students. The curriculum is more structured than a weekend workshop, and the instruction is usually solid. Look in the “continuing education” or “community learning” catalog, not the main academic one.
Makerspaces and Boutique Sewing Studios
These attract serious hobbyists and creative professionals, which tends to pull up the quality of instruction. Class sizes are small — 4–8 students is typical — machines are provided, and the atmosphere is collaborative rather than clinical. The tradeoff is cost. At $50–$150 per session, it adds up. But if you learn better with lots of individual attention, it’s worth it.
Private Sewing Instructors
One-on-one instruction at $60–$120/hour is the fastest way to build skills, full stop. You set the pace, the curriculum is tailored to what you actually want to make, and every minute is spent on your specific questions. Split the cost with a friend and it becomes much more reasonable. Search local sewing guilds, Thumbtack, or even Craigslist — many talented instructors don’t advertise widely.
Online Classes as a Supplement
Craftsy and Skillshare both have solid beginner courses in the $10–$30/month range. YouTube is free and genuinely excellent for specific techniques. These platforms work best once you have some hands-on experience and just need to fill gaps or review what you learned in class. Starting with online-only is possible, but expect a steeper frustration curve.
What You’ll Learn in a Beginner Sewing Class
Week 1: Machine Setup and Threading
Threading a sewing machine correctly is the single skill that determines whether your first sessions are productive or maddening. The upper thread follows a specific path through the tension discs, the take-up lever, and the needle — miss any step and the machine will behave badly. Many instructors mark this path with colored tape directly on the machine, which is genuinely helpful.
You’ll also learn the difference between drop-in bobbins (standard on most modern machines) and front-loading bobbins, and how to wind one correctly.
Weeks 1–2: Straight-Line Sewing and Seam Allowances
Many instructors have you practice sewing along printed lines on paper with no thread first — pure machine control. Once you move to fabric, the focus is on maintaining a consistent ⅝-inch (15mm) seam allowance for garments or ¼-inch (6mm) for quilting, and backstitching 3–4 stitches at the start and end of every seam. Default stitch length is 2.5mm; drop to 1.8–2.0mm for curves.
Weeks 2–3: Cutting Fabric and Reading Patterns
Pre-washing your fabric is non-negotiable. Cotton shrinks 3–5% on the first wash — that’s up to 1½ inches on a yard of fabric. Skip this step and your finished project won’t survive its first trip through the laundry. You’ll also learn to identify the grain line, avoid cutting from the selvage, and transfer pattern markings using tailor’s chalk or a water-soluble marker.
Weeks 3–4: Seam Finishing
Raw fabric edges fray, and seam finishing is how you stop that. Three main methods:
- Zigzag stitch — set to 3.0mm length × 3.0mm width, most versatile for beginners
- Pinking shears — effective on tightly woven fabrics, faster than zigzag
- French seam — encloses raw edges entirely, beautiful finish for lightweight fabrics
Weeks 4–8: First Real Projects
The typical beginner project ladder:
- Pincushion or fabric bookmark (straight lines only)
- Tote bag (handles, reinforced stitching, box corners)
- Pillowcase (hemming, envelope closure)
- Elastic-waist skirt or pajama pants (curved seams, waistband casing)
- Zippered pouch (zipper installation — the moment everyone celebrates)
Press between every step. Good instructors treat the iron as a second sewing machine, and they’re right.
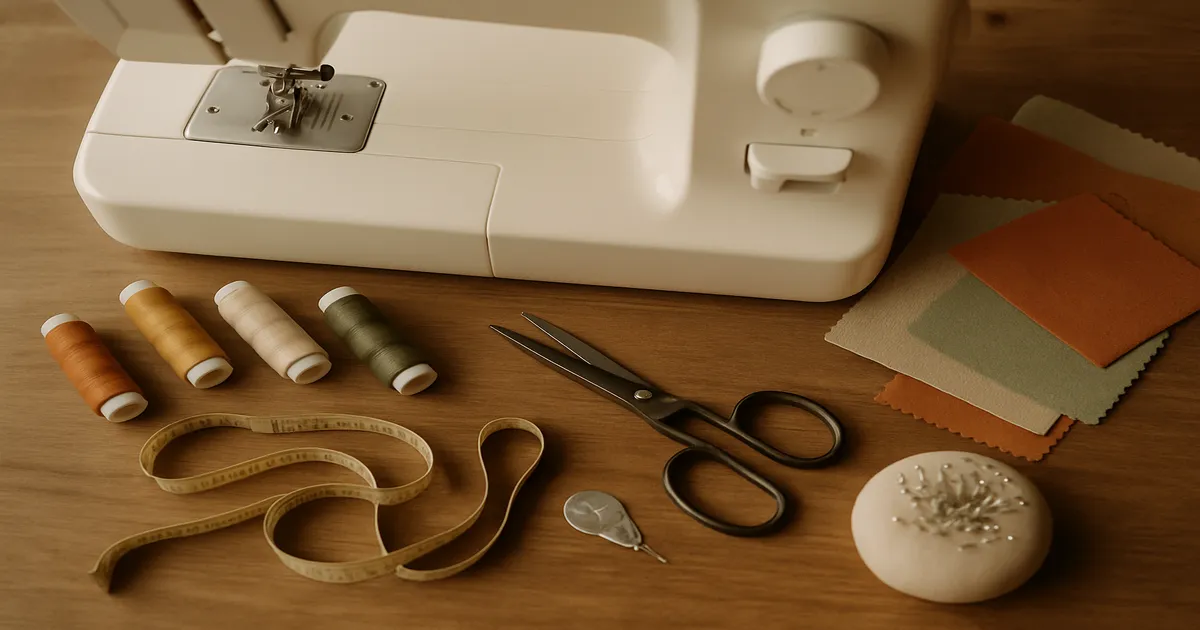
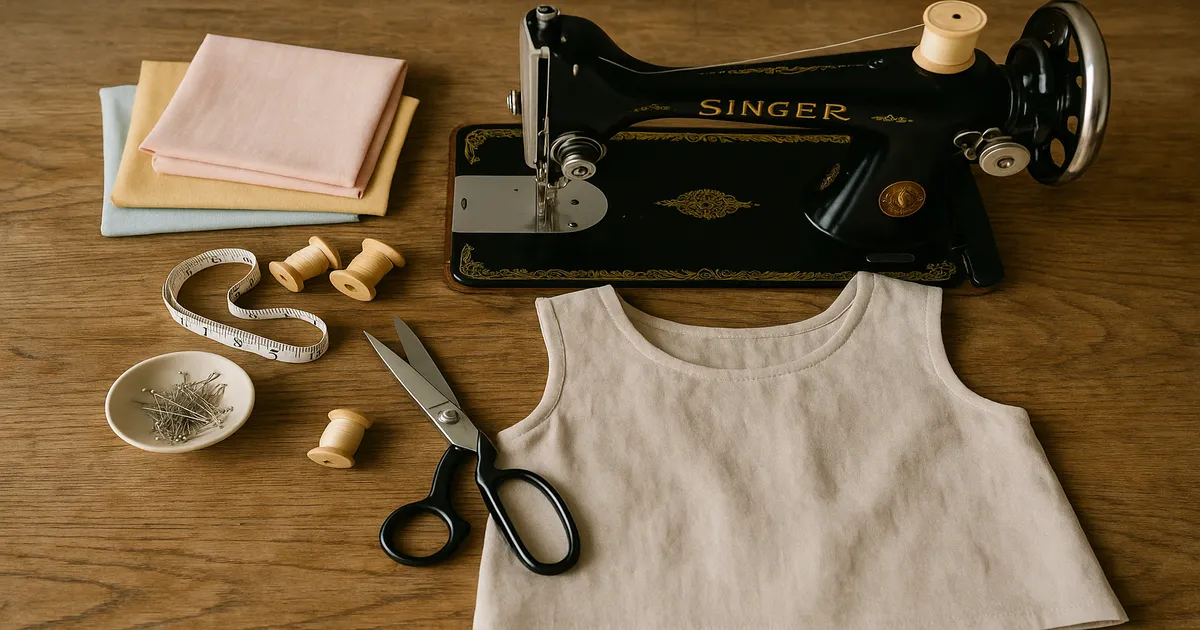
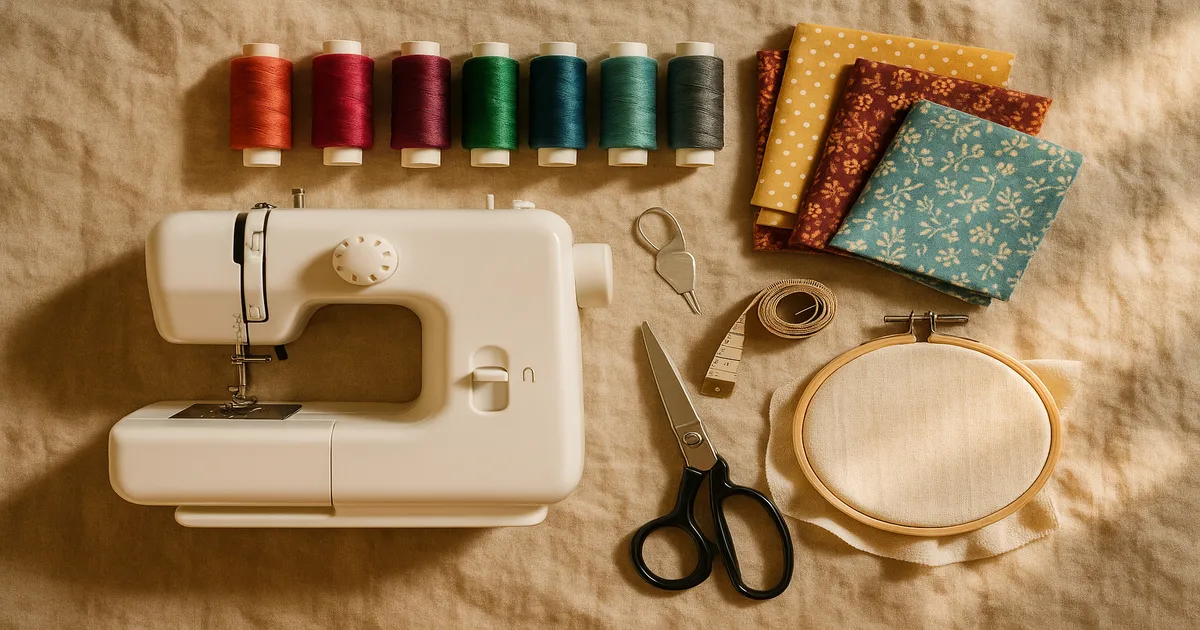
Tools and Materials to Bring to Class
Choosing Your First Sewing Machine
If your class doesn’t provide machines, you’ll want something in the $150–$350 range. Three I’d recommend without hesitation:
- Brother CS6000i — lightweight, computerized, excellent value around $180
- Singer Heavy Duty 4452 — built like a tank, handles thicker fabrics well
- Janome 2212 — mechanical simplicity that’s easy to learn on and hard to break
Avoid anything under $100. Cheap machines have inconsistent tension and will make you think you’re doing something wrong when the machine is the actual problem.
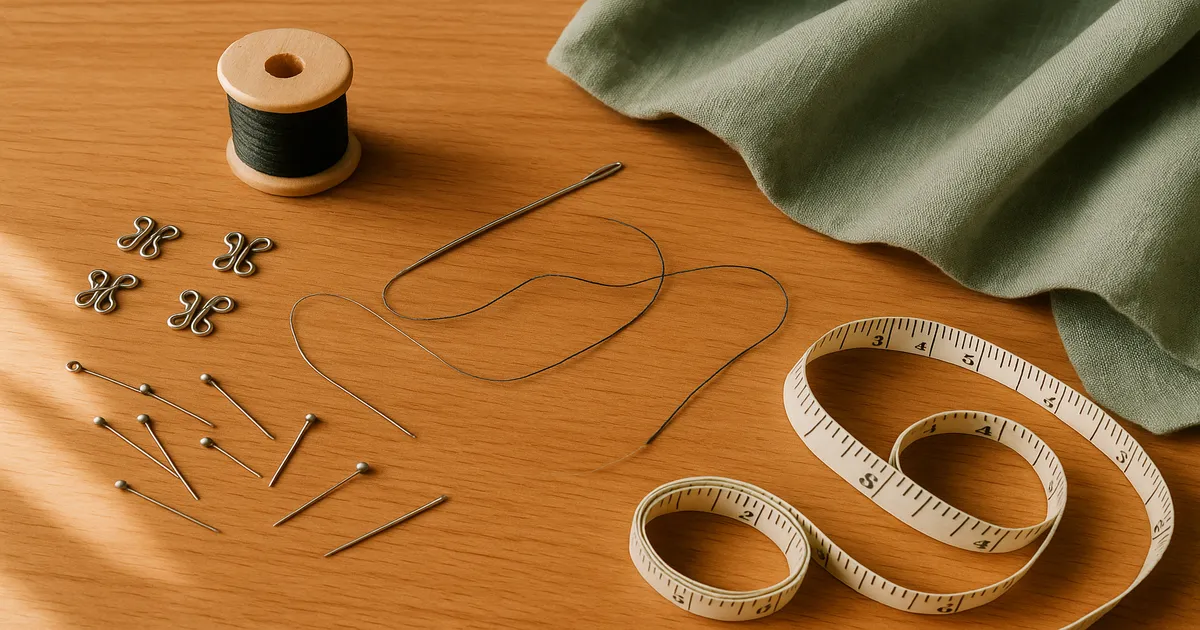
Needles, Thread, and Scissors
Start with size 80/12 universal needles for medium-weight wovens. Change your needle every 8–10 hours of sewing — dull needles cause skipped stitches and fabric snags, and most beginners sew on a dull needle far longer than they should.
For thread, stick with 40-weight polyester from Gutermann or Coats & Clark — colorfast, strong, and consistent. Bargain-bin thread shreds, builds up lint, and breaks at the worst moments.
You need two pairs of scissors: a good pair of 8-inch bent-handle dressmaker shears for fabric, and a cheap pair for paper only. Never the twain shall meet.
Cutting Tools and Pressing Gear
A 45mm rotary cutter paired with an 18 × 24-inch self-healing cutting mat and a 6 × 24-inch acrylic quilting ruler will let you cut accurately without wrestling with scissors. For pressing, a steam iron in the 1,200–1,800 watt range is what you want — lower wattage irons don’t generate enough steam pressure to actually set seams. Keep a scrap of 100% cotton muslin nearby as a pressing cloth for anything heat-sensitive.
Best Starter Fabrics
100% quilting cotton and cotton-linen blends are your best friends right now. They’re stable, press crisply, hold pins, and fray predictably. Avoid silk, chiffon, jersey knit, velvet, and faux fur until you have a solid foundation — all of those require specialized techniques that will just add frustration to your learning curve.
How to Choose the Right Beginner Sewing Class for You
Questions to Ask Before You Enroll
- How many students are in the class? (4–8 is ideal; more than 12 and you won’t get enough individual attention)
- Are sewing machines provided, or do students bring their own?
- What projects will students complete by the end of the course?
- How many years has the instructor been teaching?
Red Flags and Green Flags
Green flags: Clear week-by-week curriculum, project-based learning, small class sizes, machines provided, instructor bio with actual teaching experience.
Red flags: Vague descriptions like “learn the basics of sewing,” no mention of hands-on machine time in session one, no completed projects listed, class sizes of 15+.
If session one doesn’t involve actual sewing on an actual machine, find a different class.
How to Compare Value
Break the total cost down to cost-per-hour. A community college course at $150 for 18 hours is $8.33/hour. A makerspace series at $100 for 6 hours is $16.67/hour. Private instruction at $90/hour is expensive per hour but may require fewer total hours to reach the same skill level. The cheapest option isn’t always the best value.
Because enrollment has surged post-2020, popular classes — especially at makerspaces and boutique studios — often have waitlists. Book early.
Frequently Asked Questions About Beginner Sewing Classes Near Me
How much do beginner sewing classes near me typically cost?
It depends on the format. Local fabric store classes run $25–$75 per session. Community college courses often cost $80–$200 for a full multi-week course, sometimes less for qualifying students. Makerspaces and boutique studios charge $50–$150 per session. Private instruction runs $60–$120/hour. Online platforms like Craftsy or Skillshare cost $10–$30/month for unlimited access.
Do I need to own a sewing machine before taking a beginner class?
Most in-person beginner classes — at fabric stores, makerspaces, and community colleges — provide machines. Confirm when you register. That said, owning your own machine lets you practice between sessions, which dramatically speeds up your progress. A reliable beginner machine costs $150–$350.
How long does it take to learn the basics of sewing?
A structured 6–8 week beginner course (12–24 hours total) will get you to independent, functional sewing. You’ll be able to complete simple projects on your own by the end. Reaching comfortable intermediate skill — fitting garments, installing zippers confidently, reading commercial patterns — typically takes another 6–12 months of regular practice.
What should happen in the very first class session?
By the end of session one, you should have threaded a machine, wound a bobbin, sewn at least one straight seam on actual fabric, and backstitched. If you leave the first class without having touched a machine, the curriculum is poorly designed. Walk away and find something better.
Are online sewing classes worth it for complete beginners?
As a starting point, they’re a distant second to in-person instruction. As a supplement — reviewing techniques at home, picking up tips between classes — they’re genuinely useful. If in-person classes aren’t available in your area, online is better than nothing, but budget extra time for troubleshooting on your own.